Part 1: Curves
Open a new Rhino File and practice the curves commands by completing the following steps. Organize your Rhino file so each step is clear. Use the Text command to label each step and the commands you used.
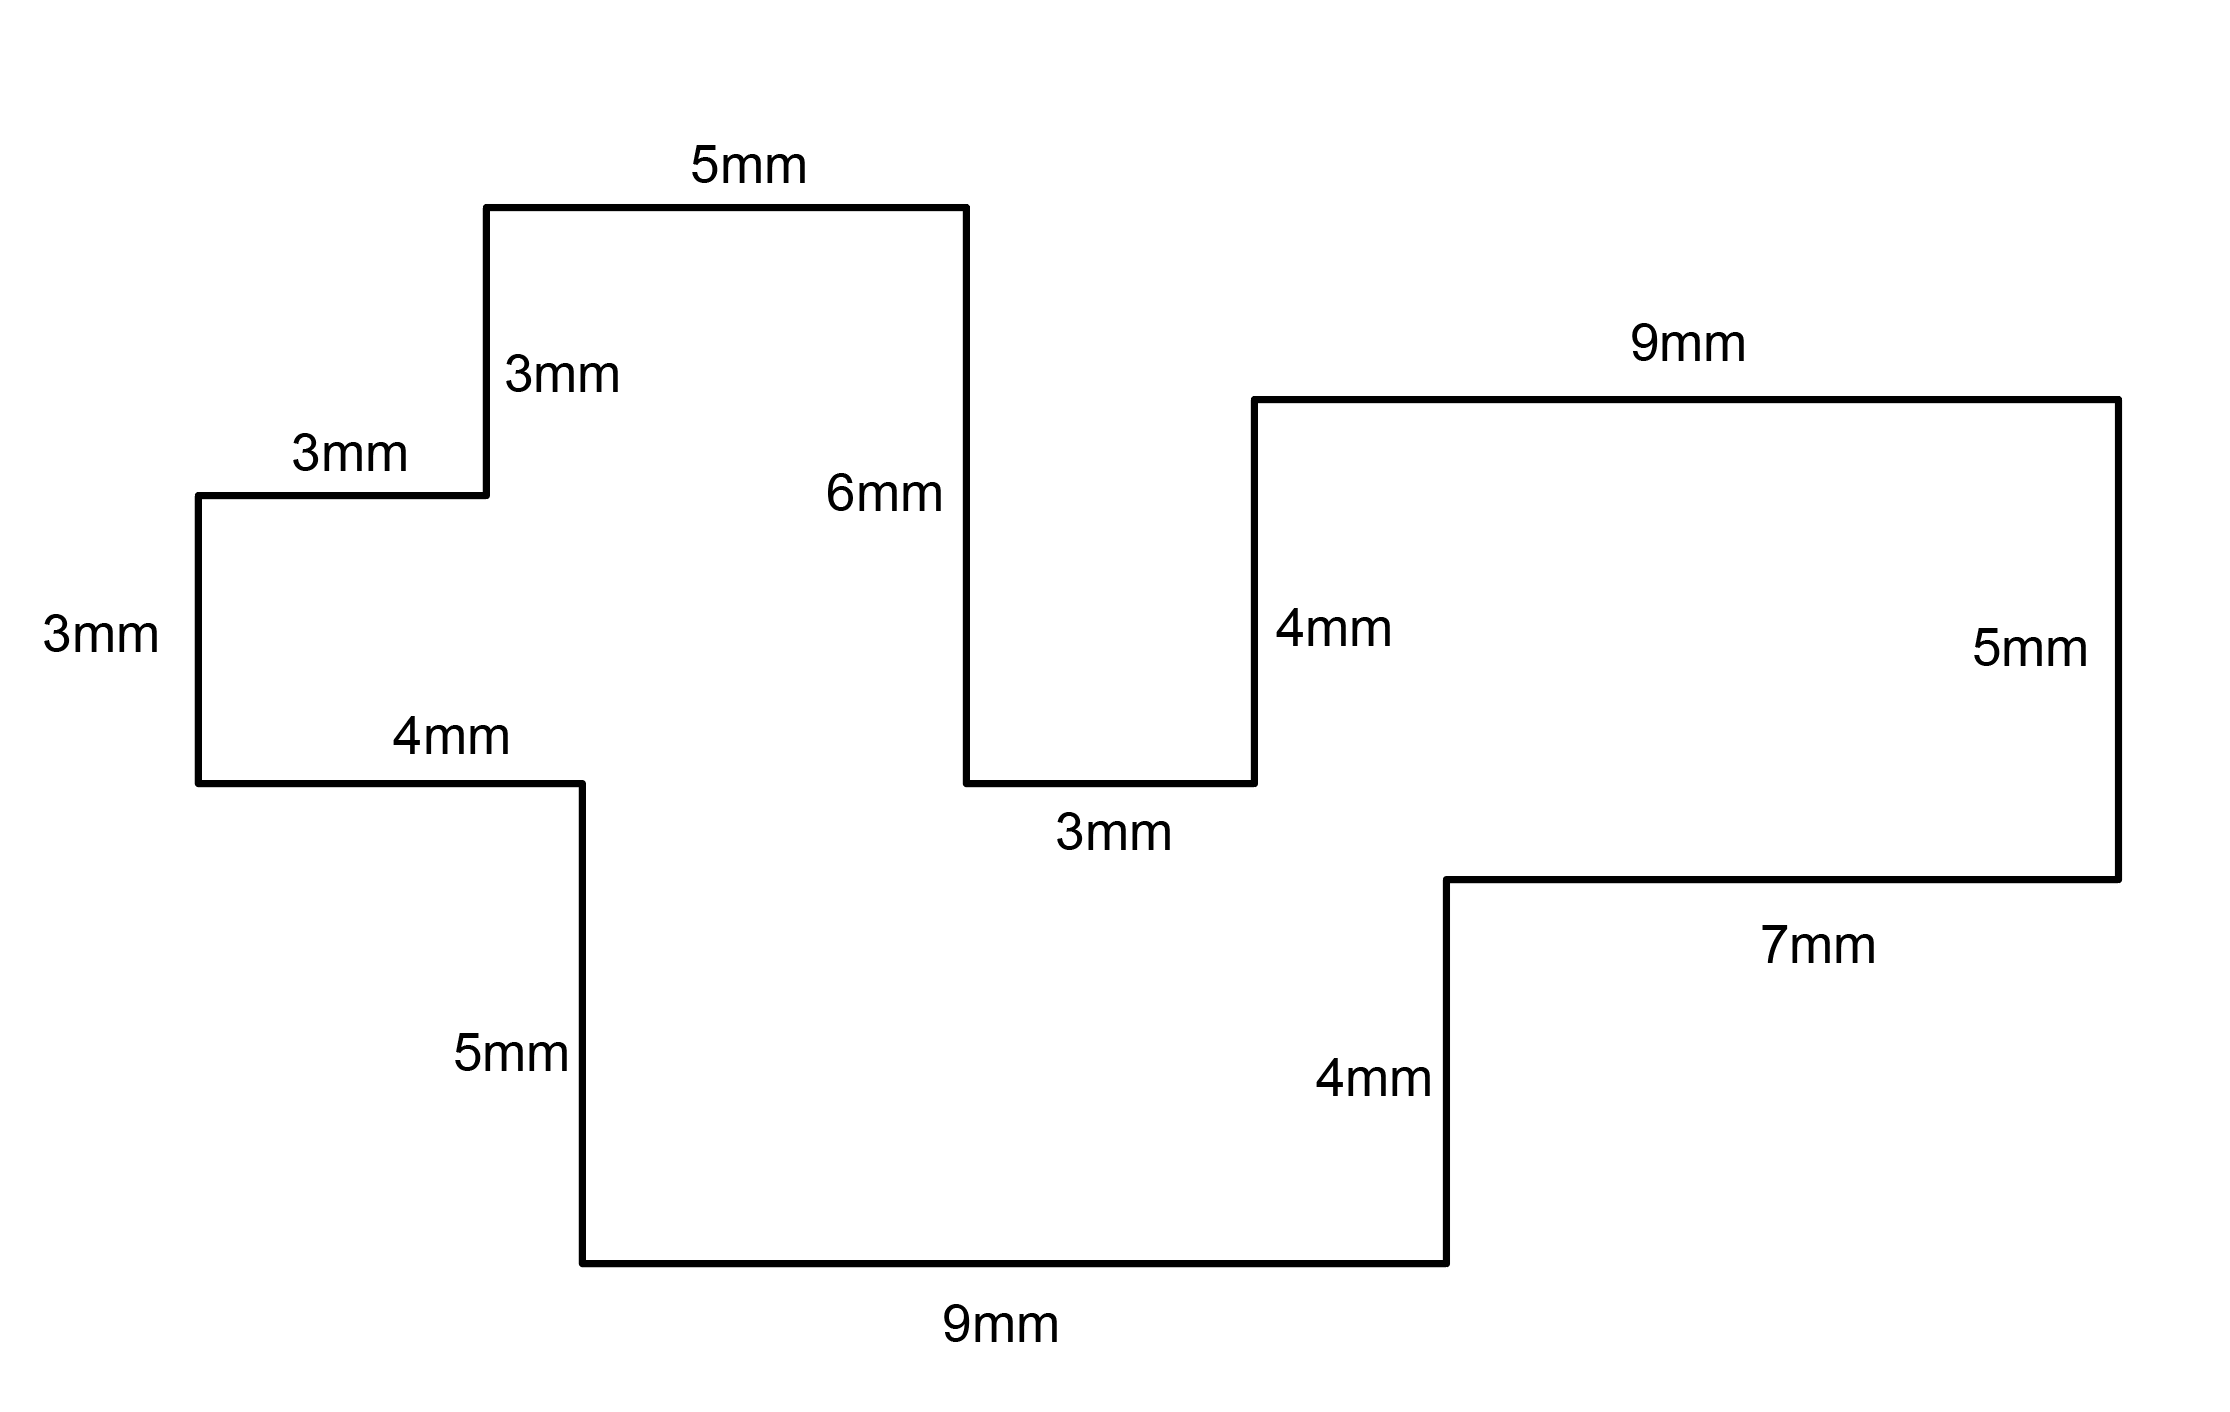
- Make the specific footprint below.
- Commands: Polyline

- Commands: Polyline
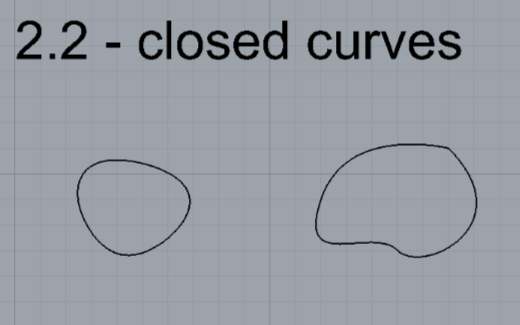
- Make 2 closed rounded curves using the various curve commands.
- Commands: Curve, InterpCurve, HandleCurve
- Commands: Curve, InterpCurve, HandleCurve
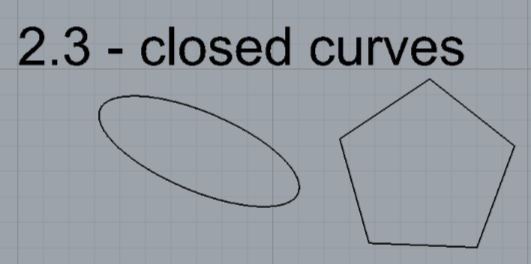
- Make 2 closed curves using polygon, ellipse, or circle
- Commands: Circle, Ellipse, Polygon
- Commands: Circle, Ellipse, Polygon
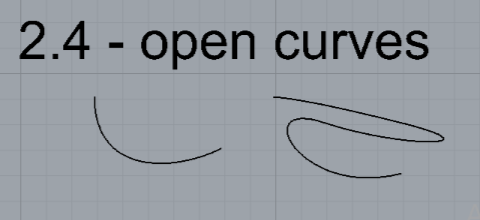
- Make 2 open curves
- Commands: Curve, InterpCurve, HandleCurve, Sketch
- Commands: Curve, InterpCurve, HandleCurve, Sketch
- Import a picture and trace an image
- Commands: Picture, InterpCurve
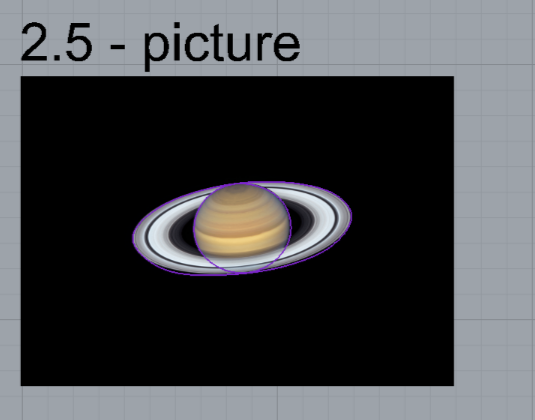
- Commands: Picture, InterpCurve
- Pick one open curve, and one closed rounded curve and make three copies of each.
- Commands: Copy
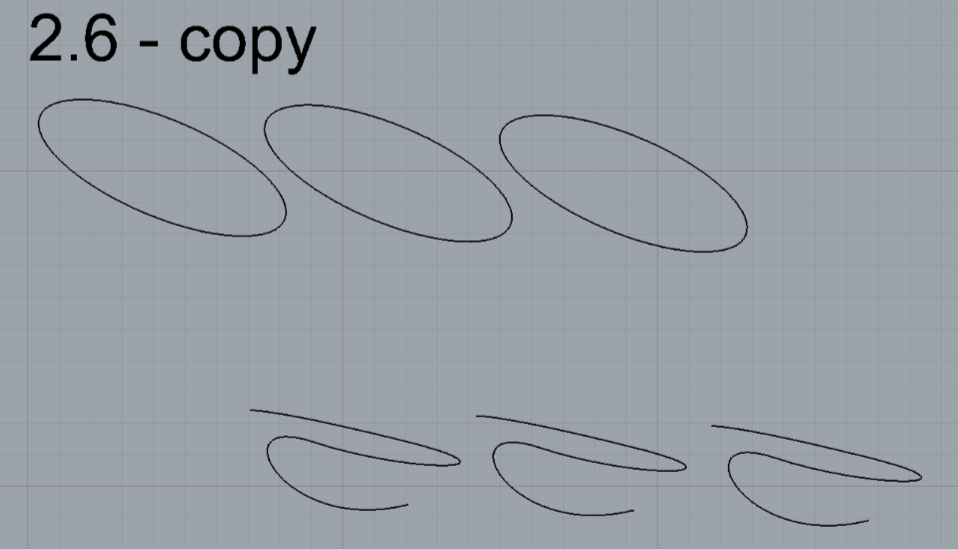
- Commands: Copy
- Take at least 3 of your closed curves and overlap them to create a new shape
- Commands: Move
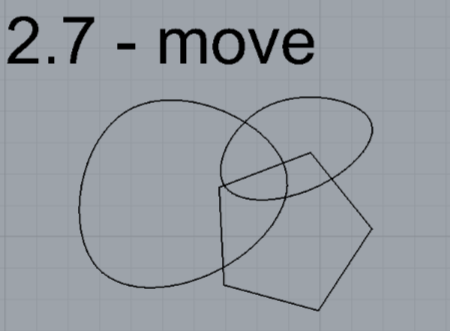
- Commands: Move
- Use split, delete, and trim to combine these curves into one open curve
- Commands: Split, Delete, Trim, Join, Explode
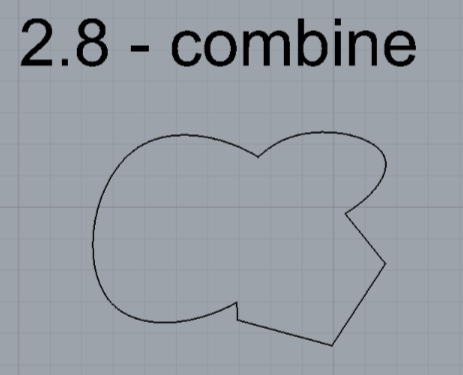
- Commands: Split, Delete, Trim, Join, Explode
- Take at least two curves and use various transformations make a pattern or composition.
- Commands: Move, Copy, Rotate, Mirror, Array, Scale, Offset, Fillet, FilletCorners
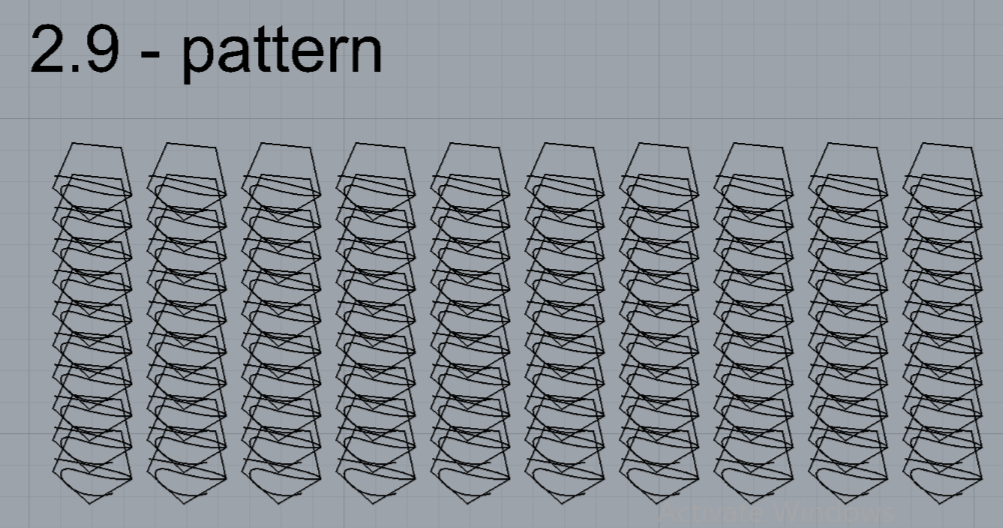
- Commands: Move, Copy, Rotate, Mirror, Array, Scale, Offset, Fillet, FilletCorners
- Organize your Rhino file so each step is clear. Use the Text command to label each step and the commands you used. Add a link to your FirstnameLastname_Curves file at this point in your post.
Part 2: Surfaces
Open a new Rhino File and practice the surfaces commands below by making two different surfaces for each command. Organize your Rhino file so each step is clear. You may want to use some of the curves you modeled in Part 1. Use the Text command to label each step and the commands you used.
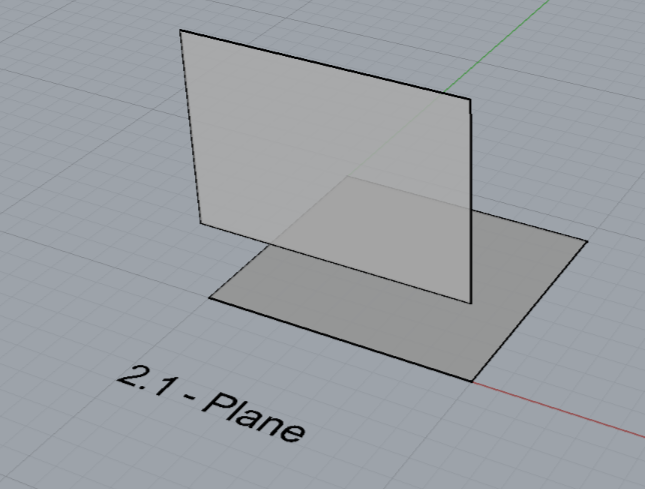
- Plane
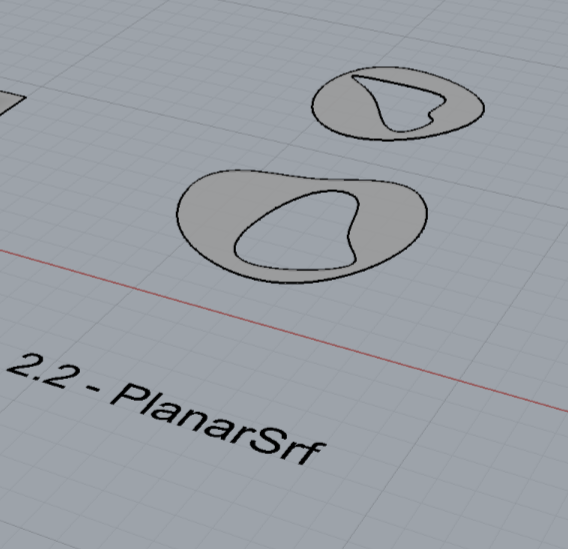
- PlanarSrf
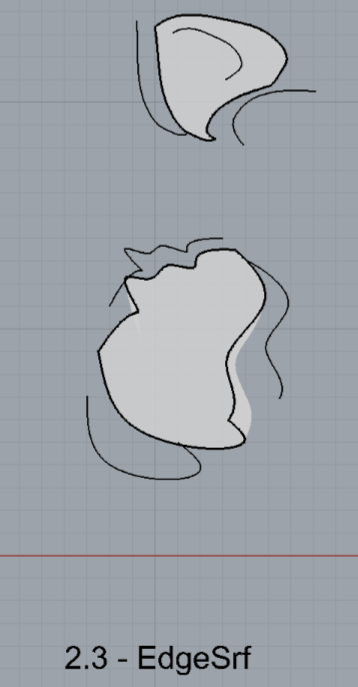
- EdgeSrf
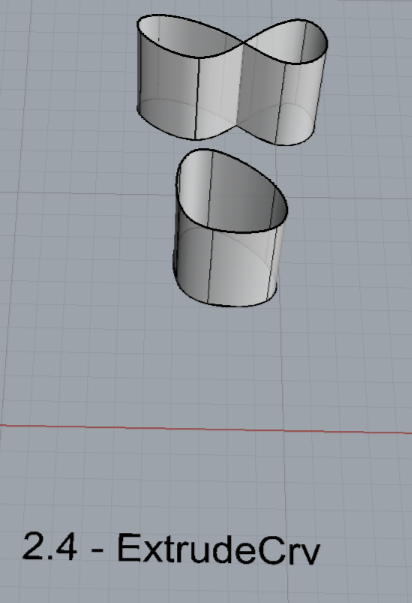
- ExtrudeCrv
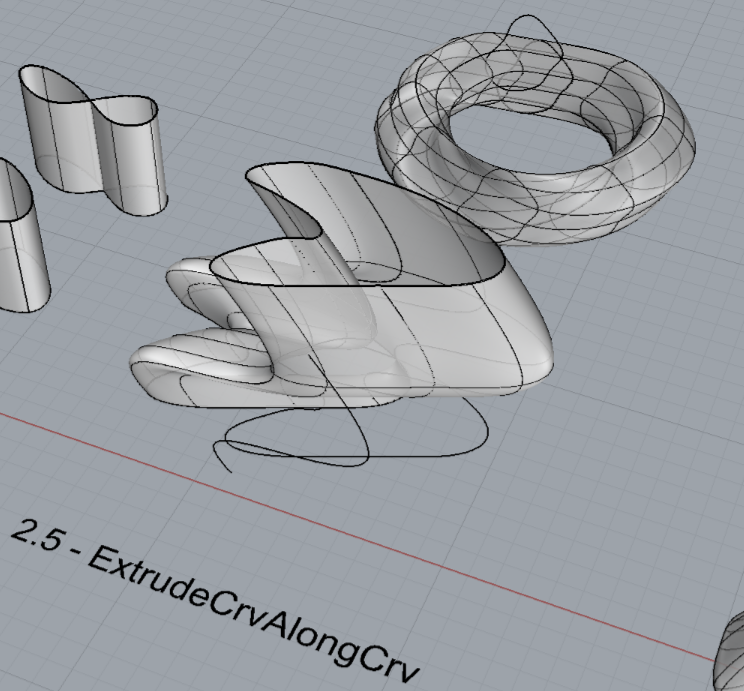
- ExtrudeCrvAlongCrv
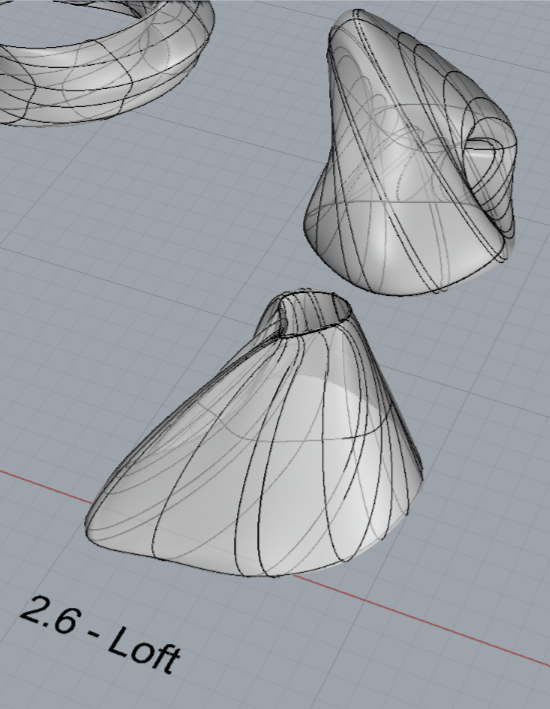
- Loft
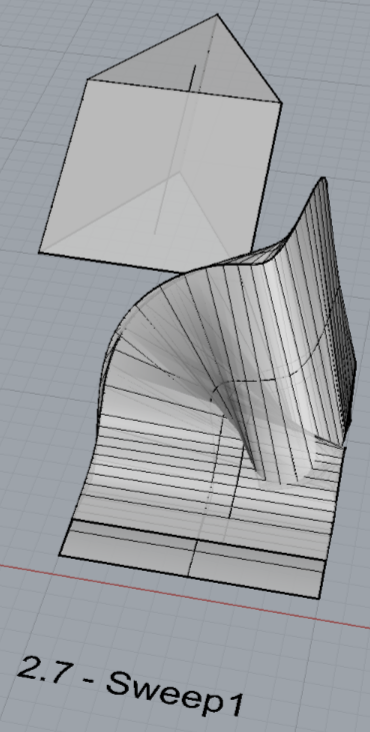
- Sweep1
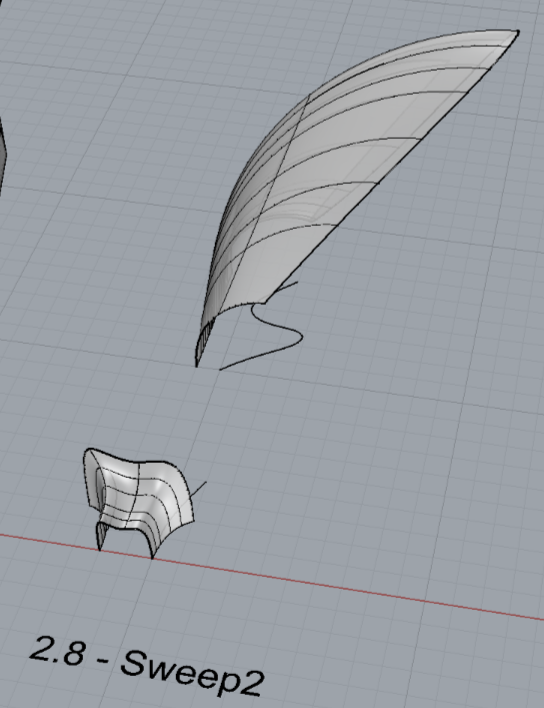
- Sweep2
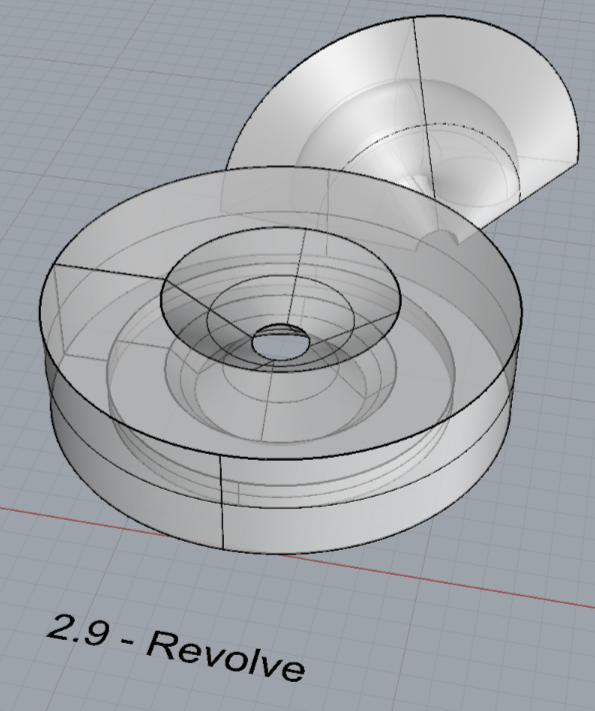
- Revolve
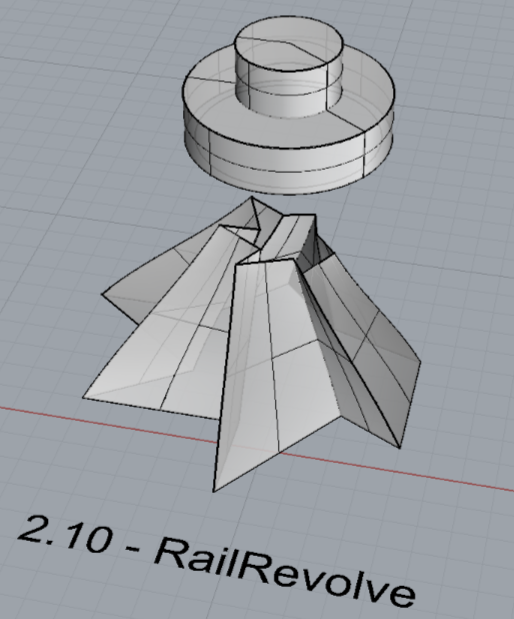
- RailRevolve
- Add a link to your FirstnameLastname_Surfaces file at this point in your post.
Part 3: Solids
Open a new Rhino File and practice the solids commands below by making two different solids for each command. You may want to use some of the curves and surfaces you modeled in Parts 1 and 2. Organize your Rhino file so each step is clear. Use the Text command to label each step and the commands you used.
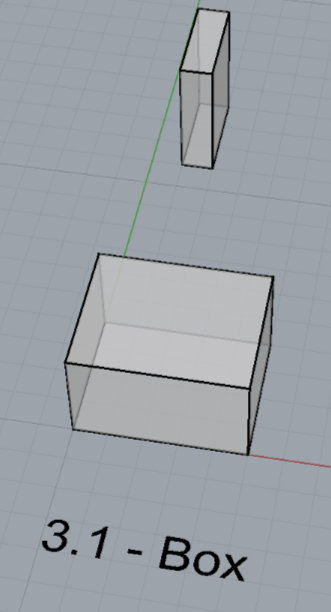
- Box
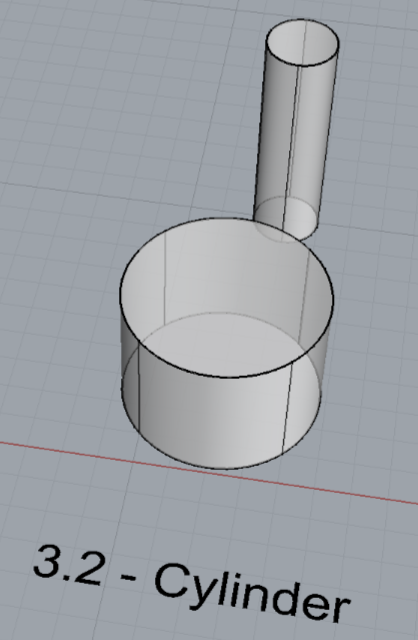
- Cylinder
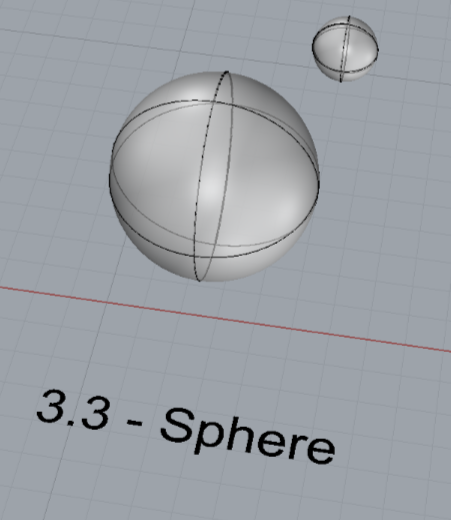
- Sphere
- ExtrudeCrv and Cap

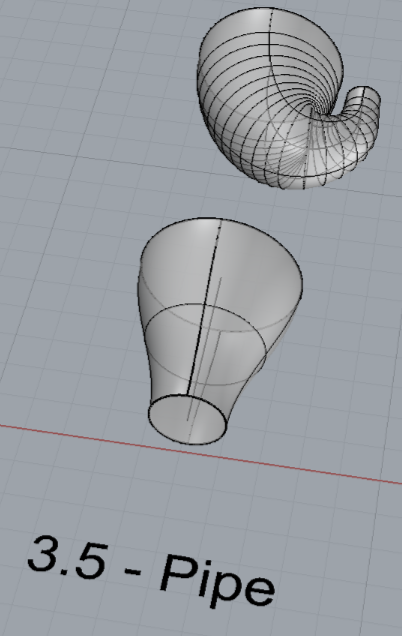
- Pipe
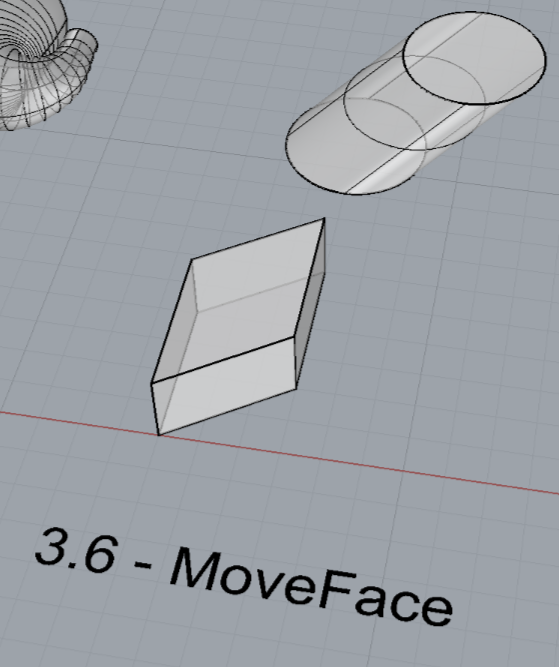
- MoveFace
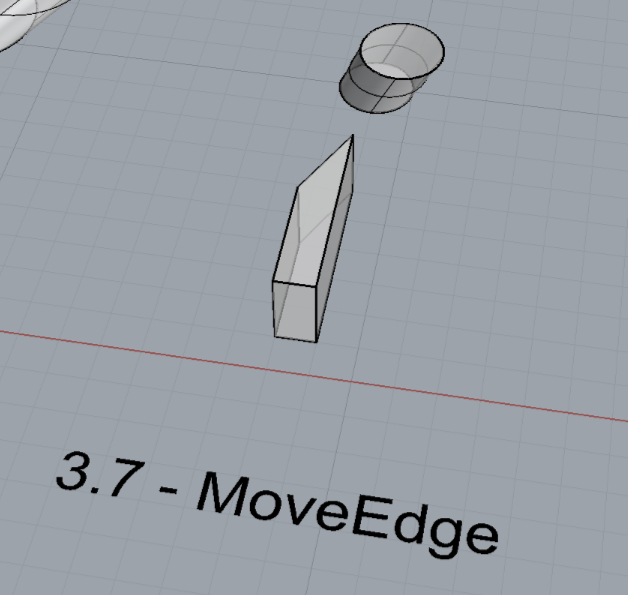
- MoveEdge
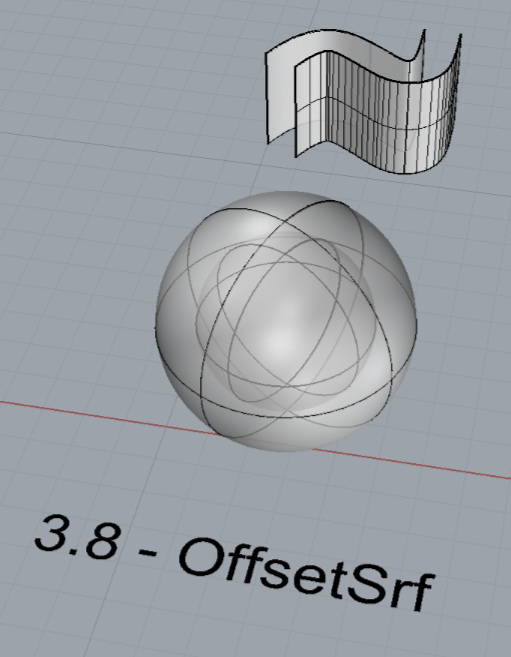
- OffsetSrf
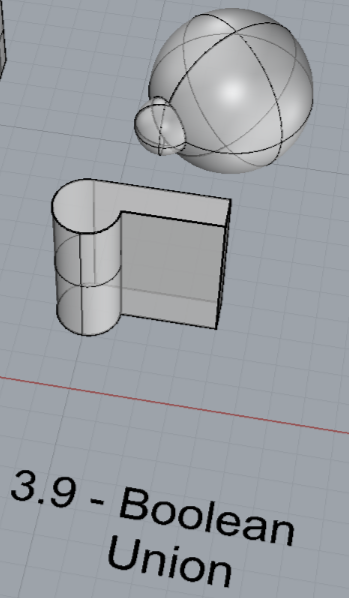
- BooleanUnion
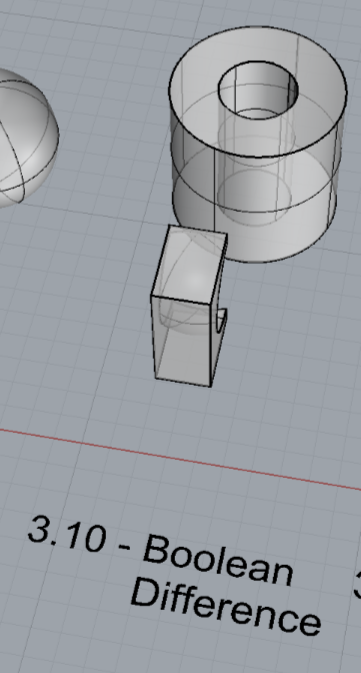
- BooleanDifference

- Boolean Intersection
- BooleanSplit
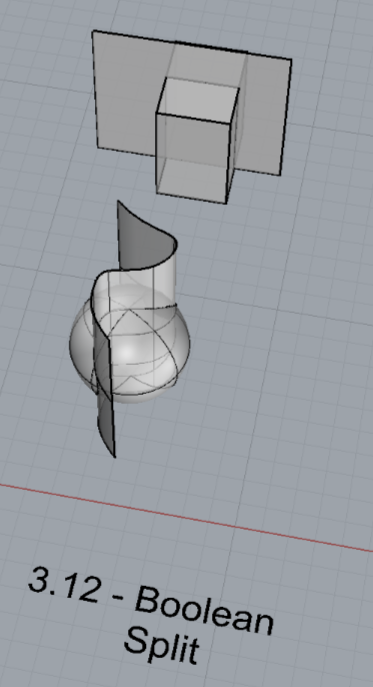
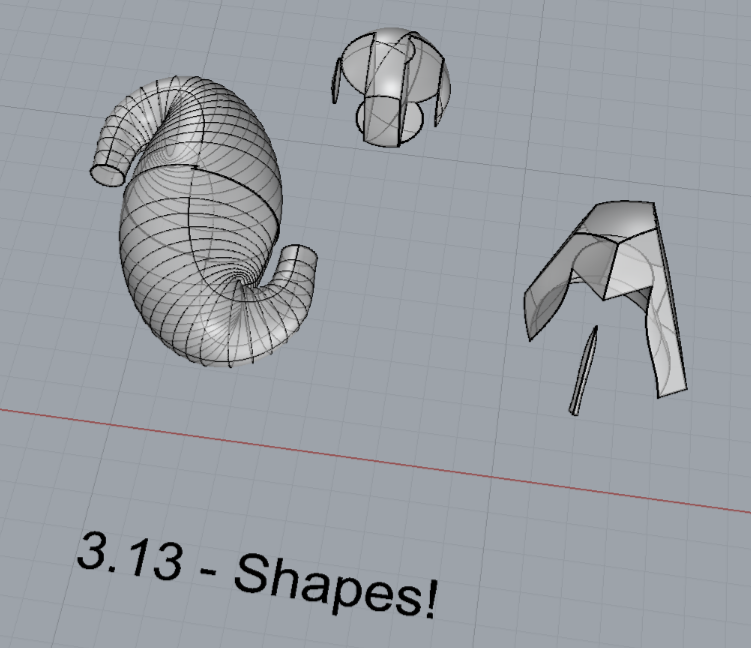
- Using the surfaces and solids you modeled and the Boolean tools, make three solid shapes you find interesting.
- Add a link to your FirstnameLastname_Solids file at this point in your post.
Part 4: 3D Printing
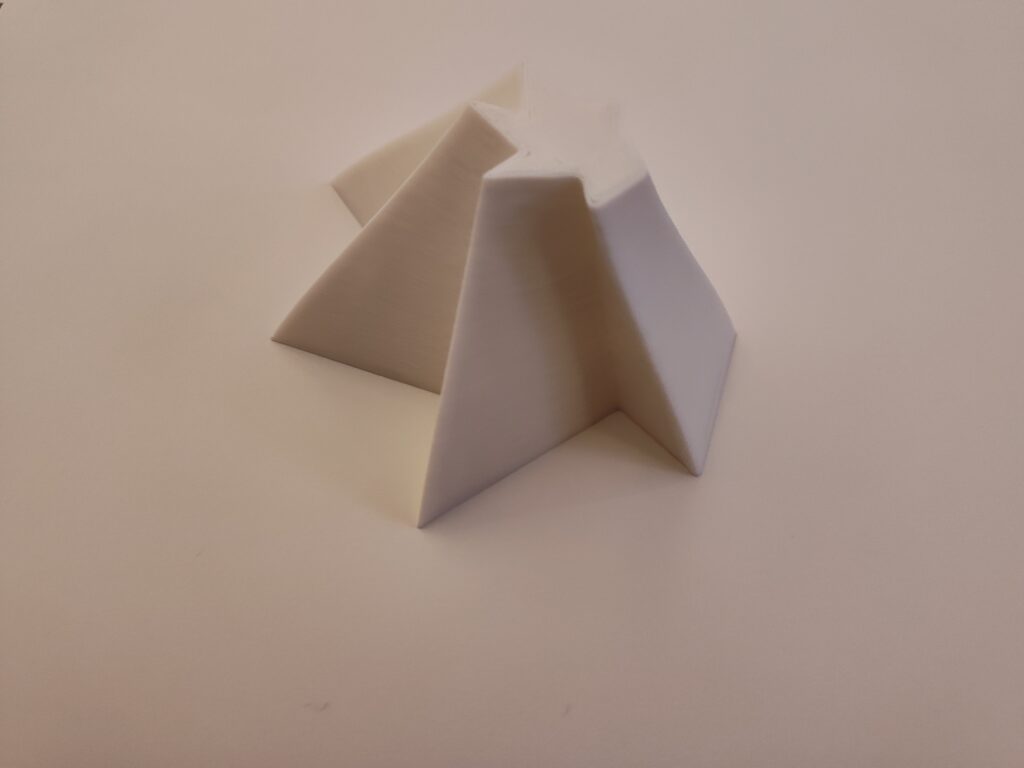
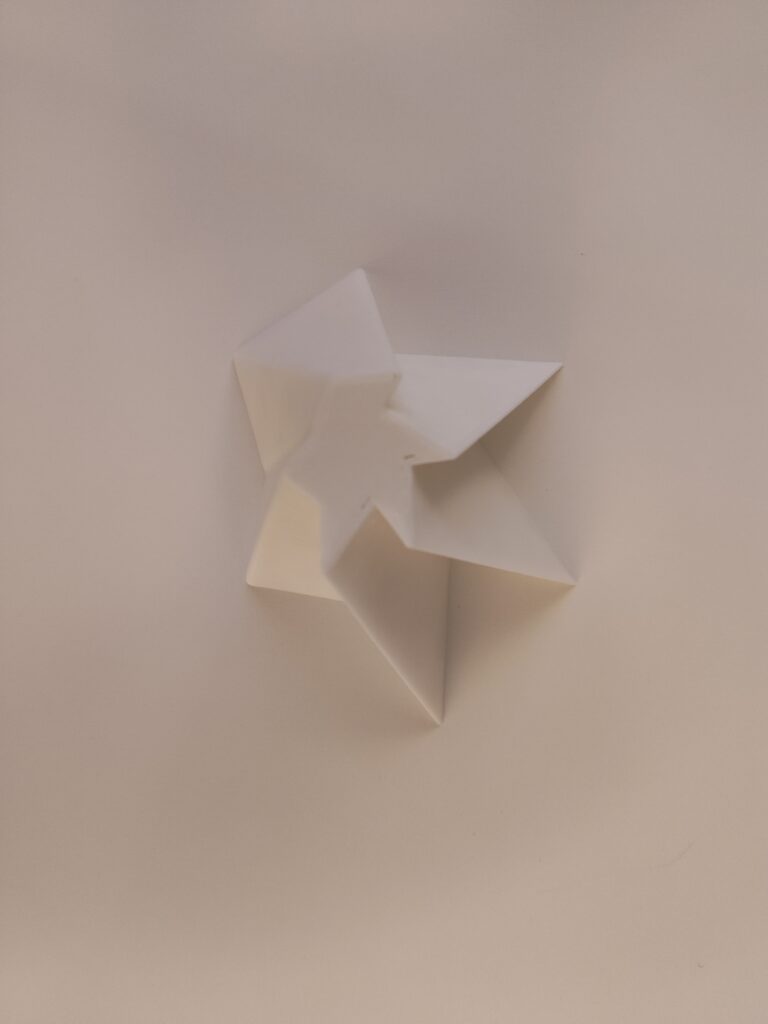
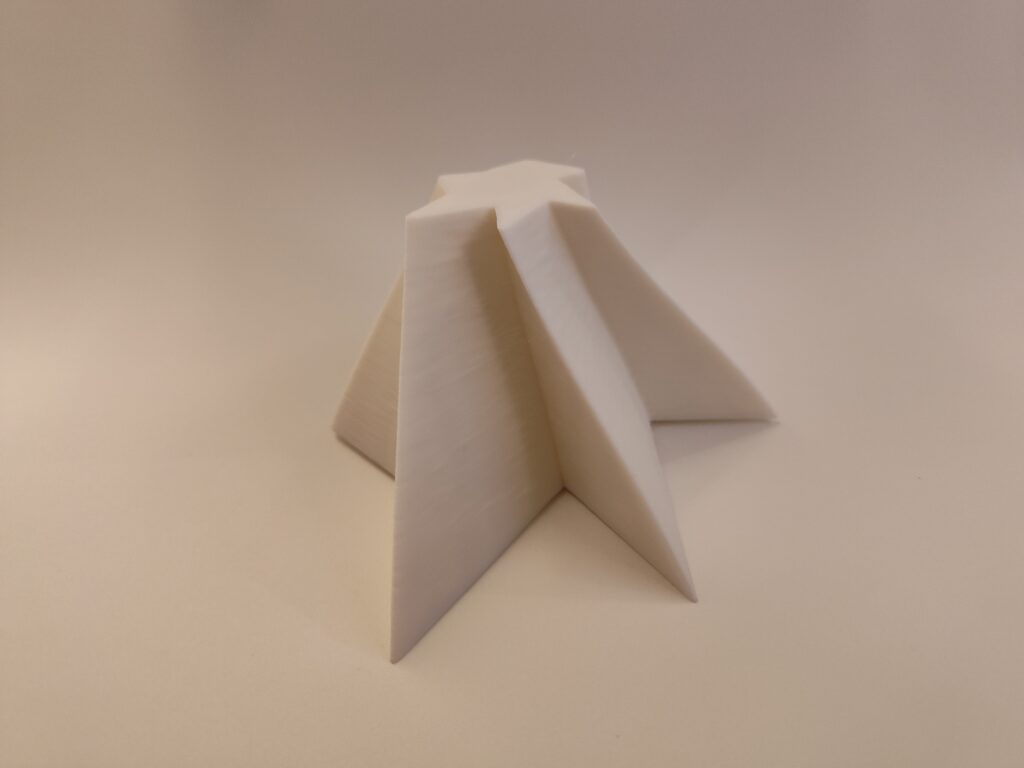
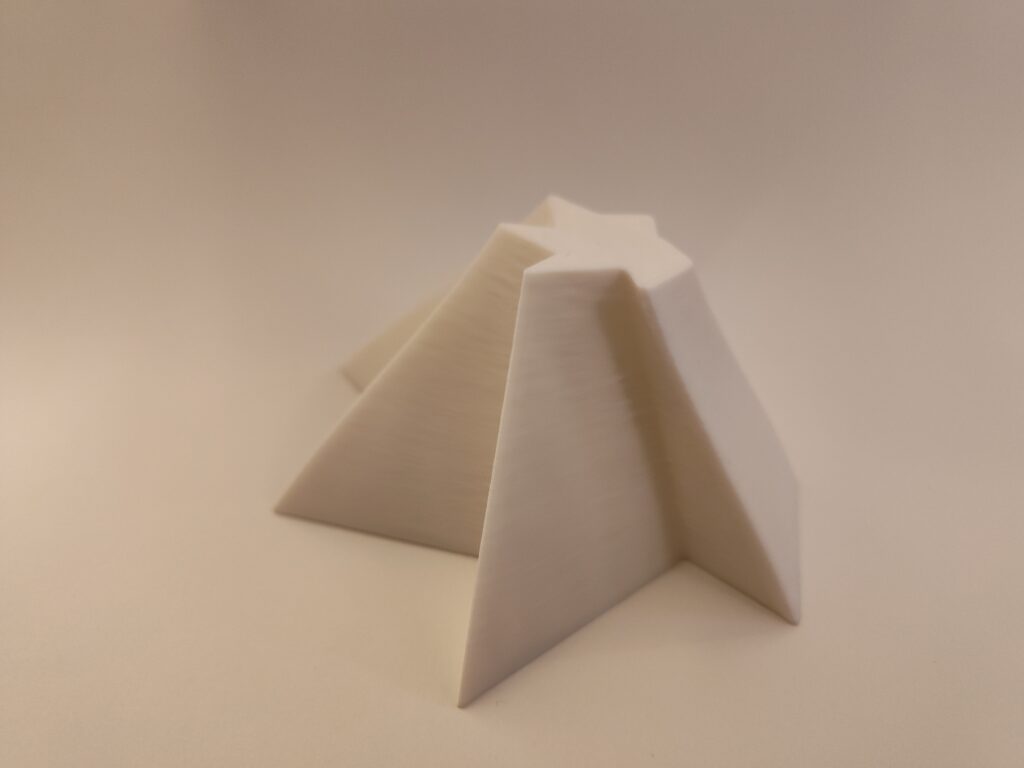
I created my shape using the RailRevolve command in Rhino (see 2.10). To print this shape, I first scaled it to be 105mm x 95.5mm x 47.7mm in Cura. Then, I went through a few rounds of printing out the bottom few layers and diagnosing flaws. To achieve a higher quality print, I increased the printing temperature to 215C, decreased the printing speed, and increased the skin/infill overlap distance.

Hi Louis, your work for the assignment is really nice. I like your model I feel like I would see it out in Albuquerque as a statue. I don’t really know much about 3D printing, how did changing the temperature and speed help with your model?
Your print is very interesting it is like an abstract version of a pyramid and looks more organic that the typical ones. Do you think that the base would have caused any of the issues that occurred with your print? Or was it strictly changing the settings you mentioned above?
*than the typical ones*