Part 1: Curves
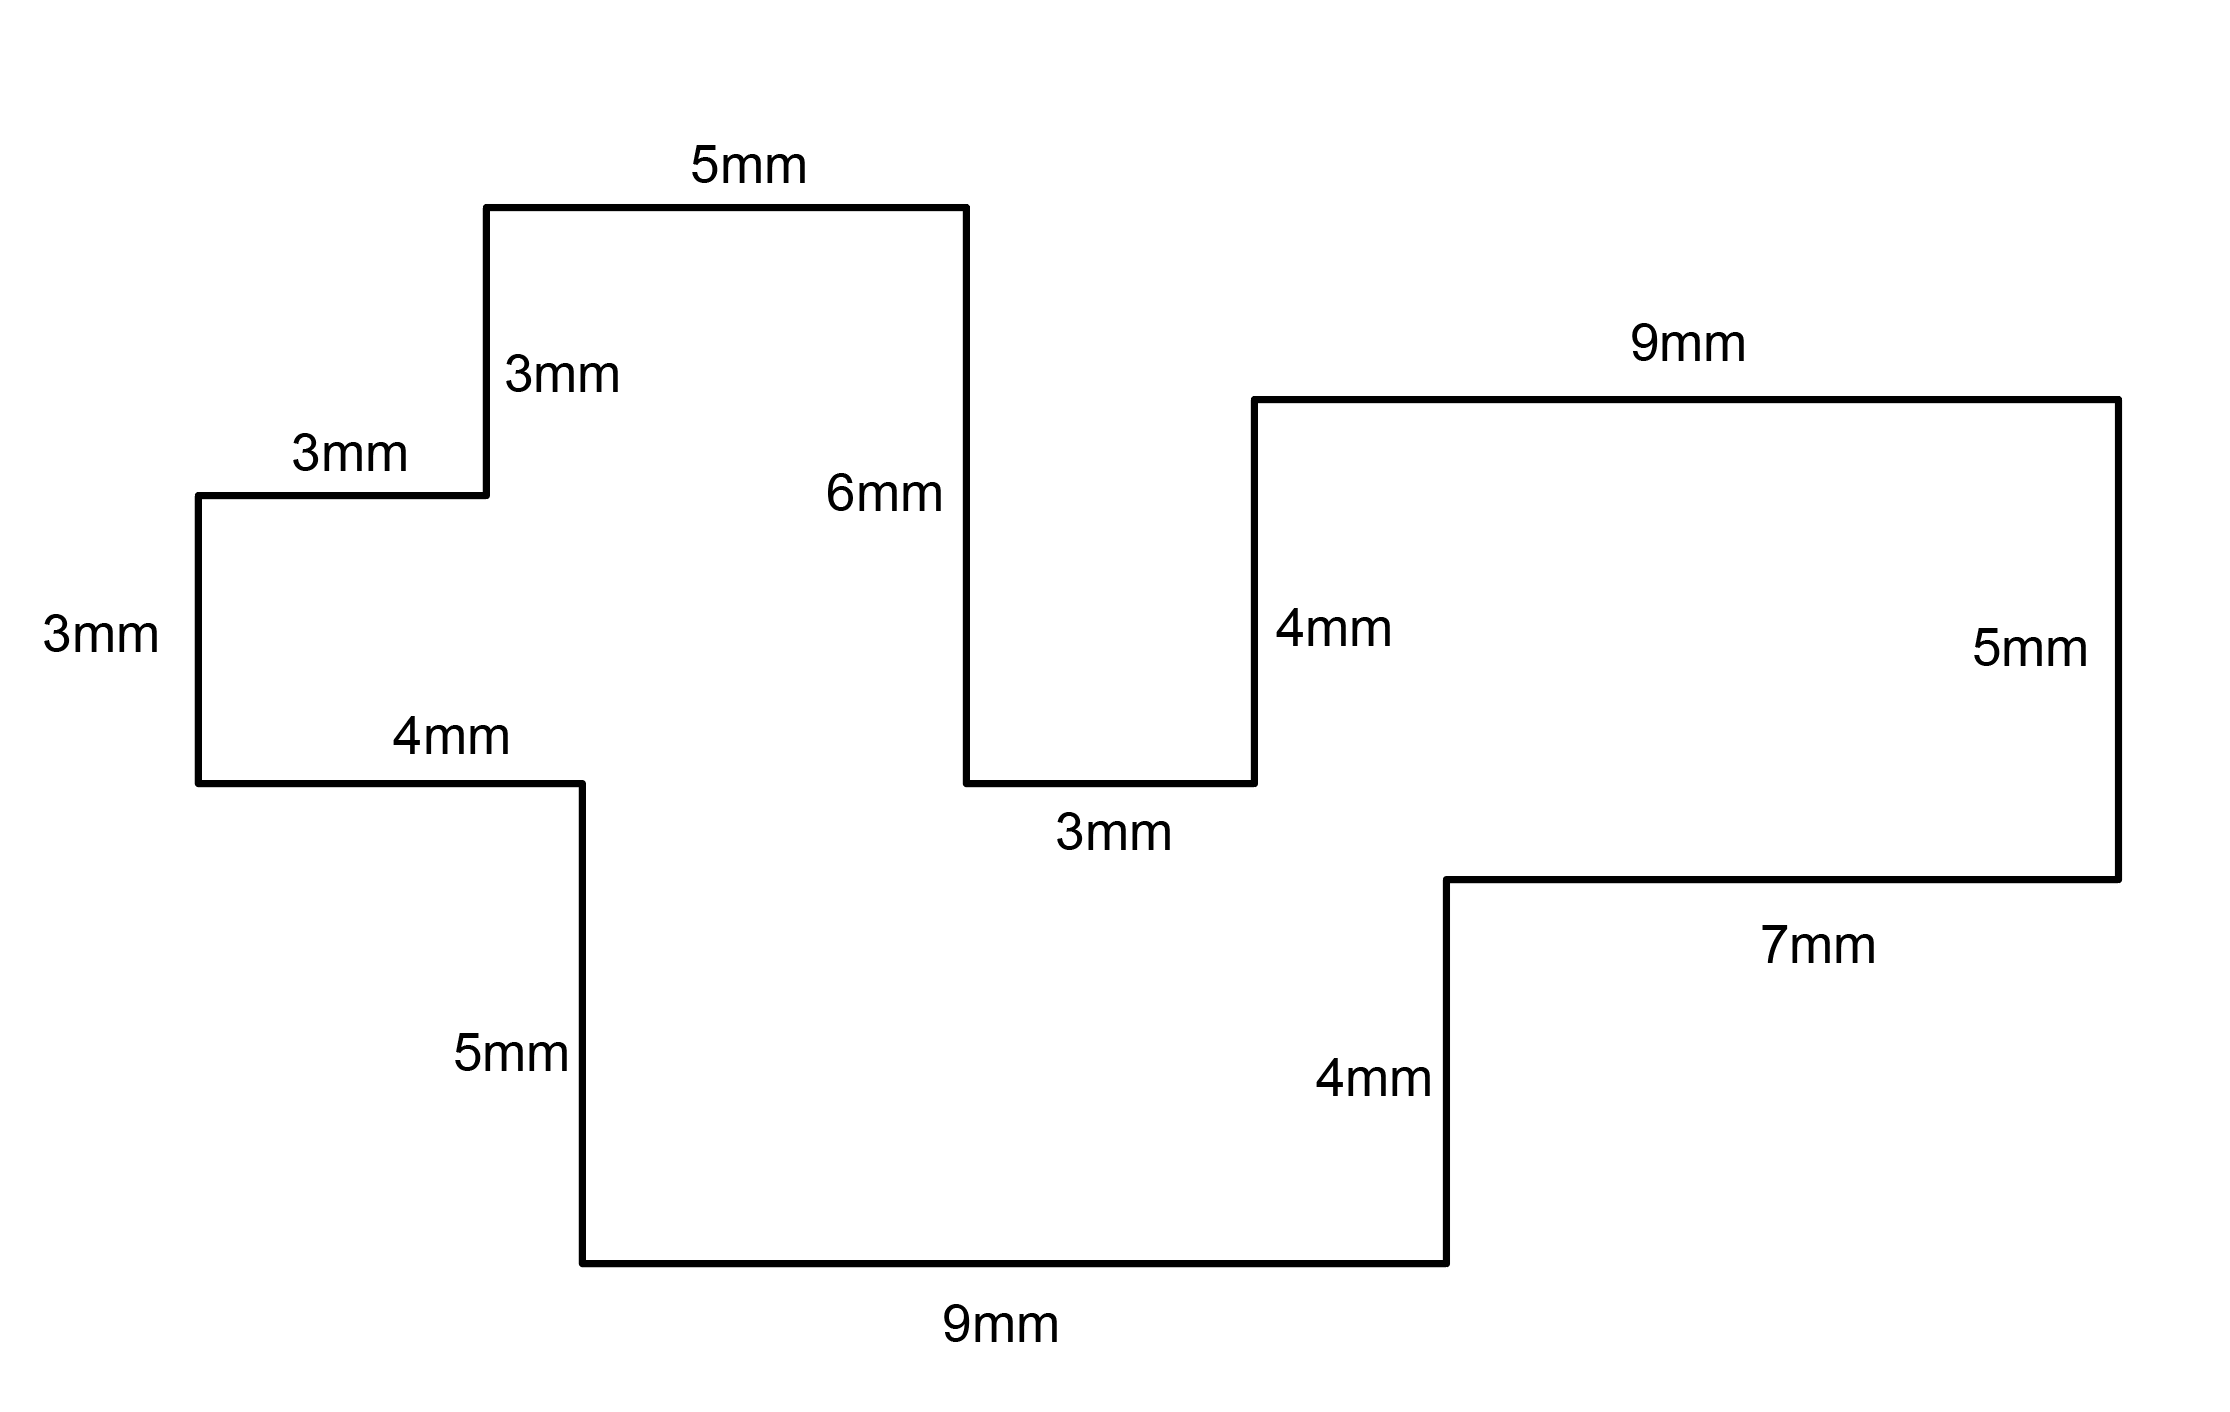
- Make the specific footprint below.
- Commands: Polyline
- Commands: Polyline

2. Make 2 closed rounded curves using the various curve commands.
- Commands: Curve, InterpCurve, HandleCurve

3. Make 2 closed curves using polygon, ellipse, or circle
- Commands: Circle, Ellipse, Polygon

4. Make 2 open curves
- Commands: Curve, InterpCurve, HandleCurve, Sketch

5. Import a picture and trace an image
- Commands: Picture, InterpCurve

6. Pick one open curve, and one closed rounded curve and make three copies of each.
- Commands: Copy
7. Take at least 3 of your closed curves and overlap them to create a new shape
- Commands: Move
8. Use split, delete, and trim to combine these curves into one open curve
- Commands: Split, Delete, Trim, Join, Explode

9. Take at least two curves and use various transformations make a pattern or composition.
- Commands: Move, Copy, Rotate, Mirror, Array, Scale, Offset, Fillet, FilletCorners

10. Organize your Rhino file so each step is clear. Use the Text command to label each step and the commands you used. Add a link to your FirstnameLastname_Curves file at this point in your post.
Part 2: Surfaces
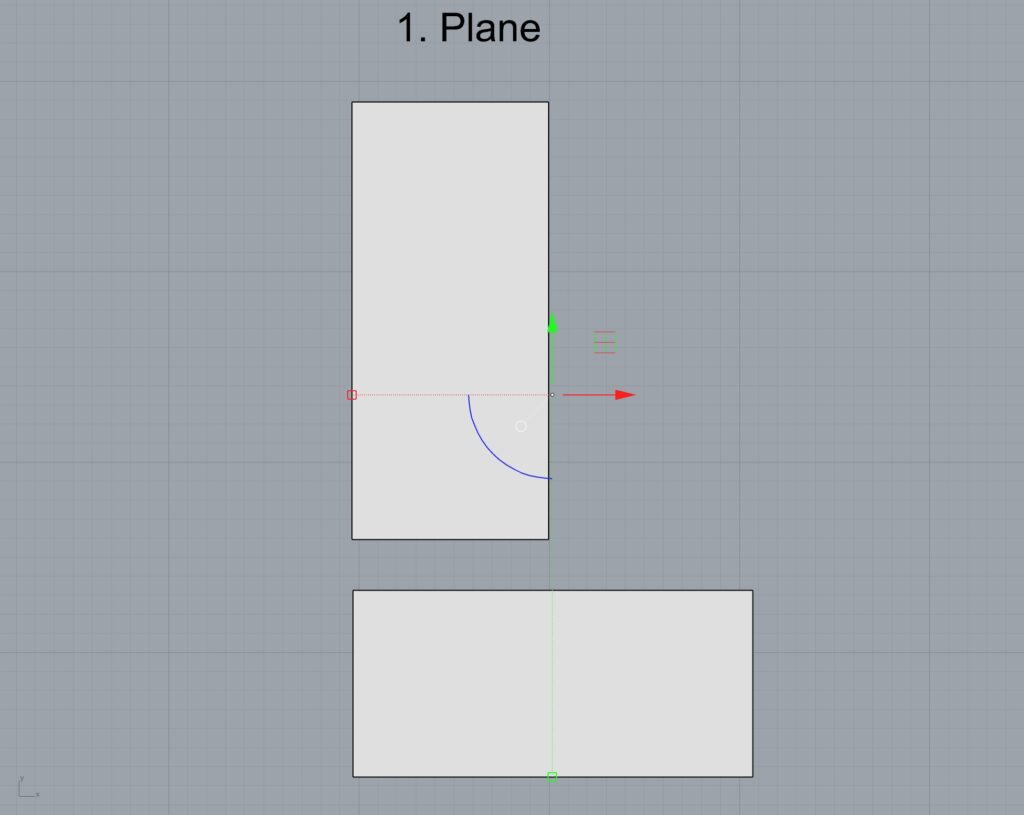
- Plane
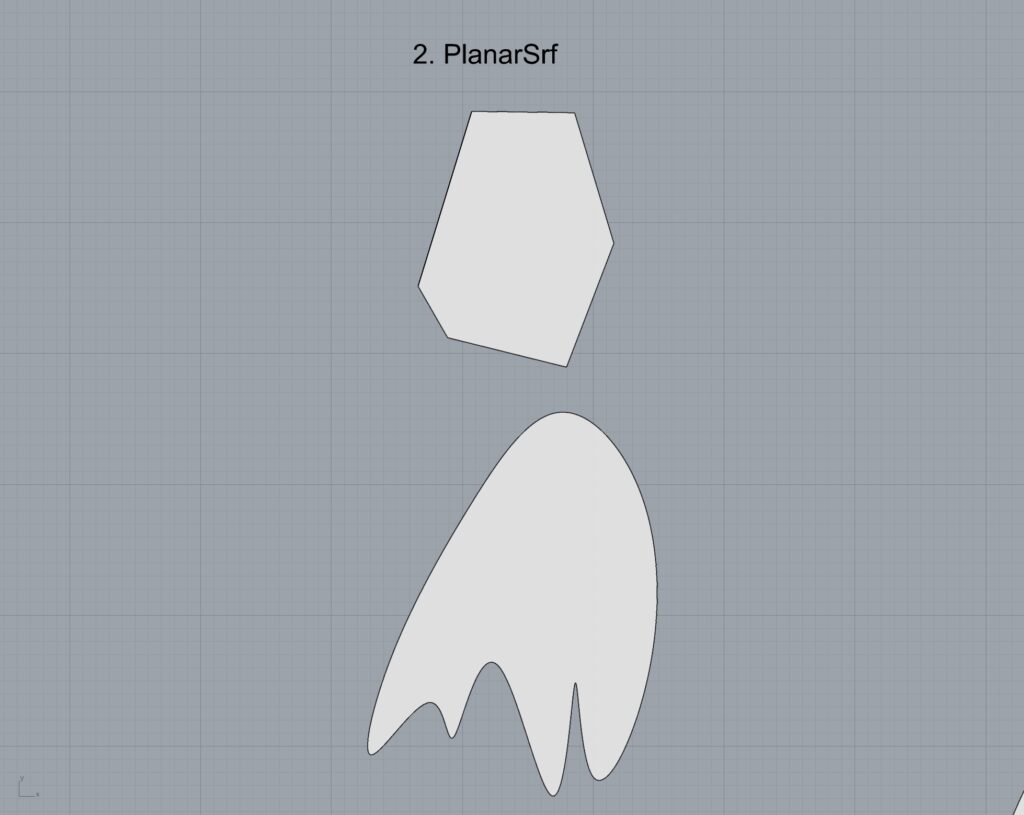
2. PlanarSrf
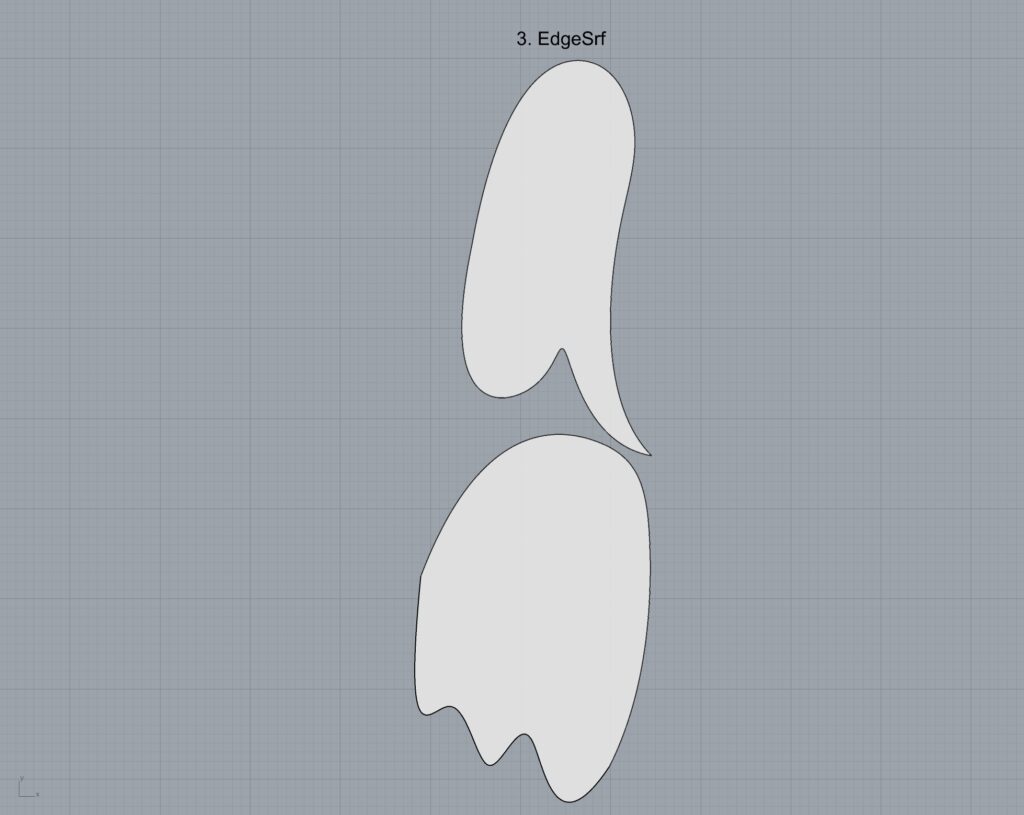
3. EdgeSrf
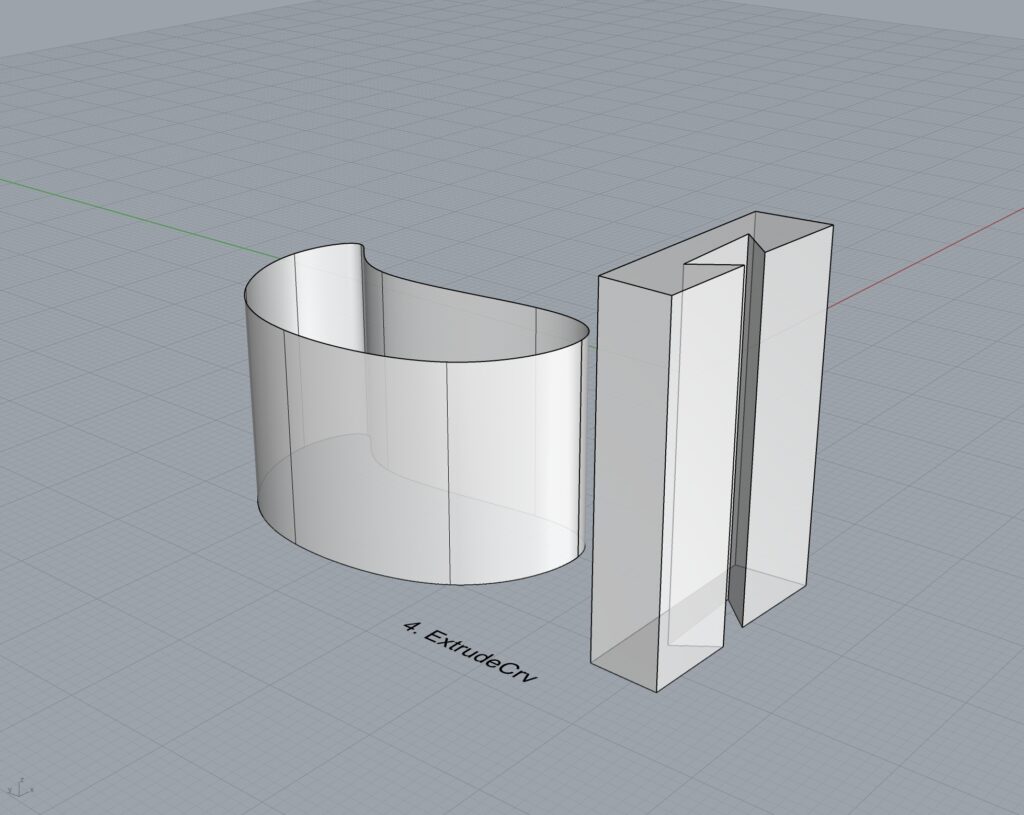
4. ExtrudeCrv
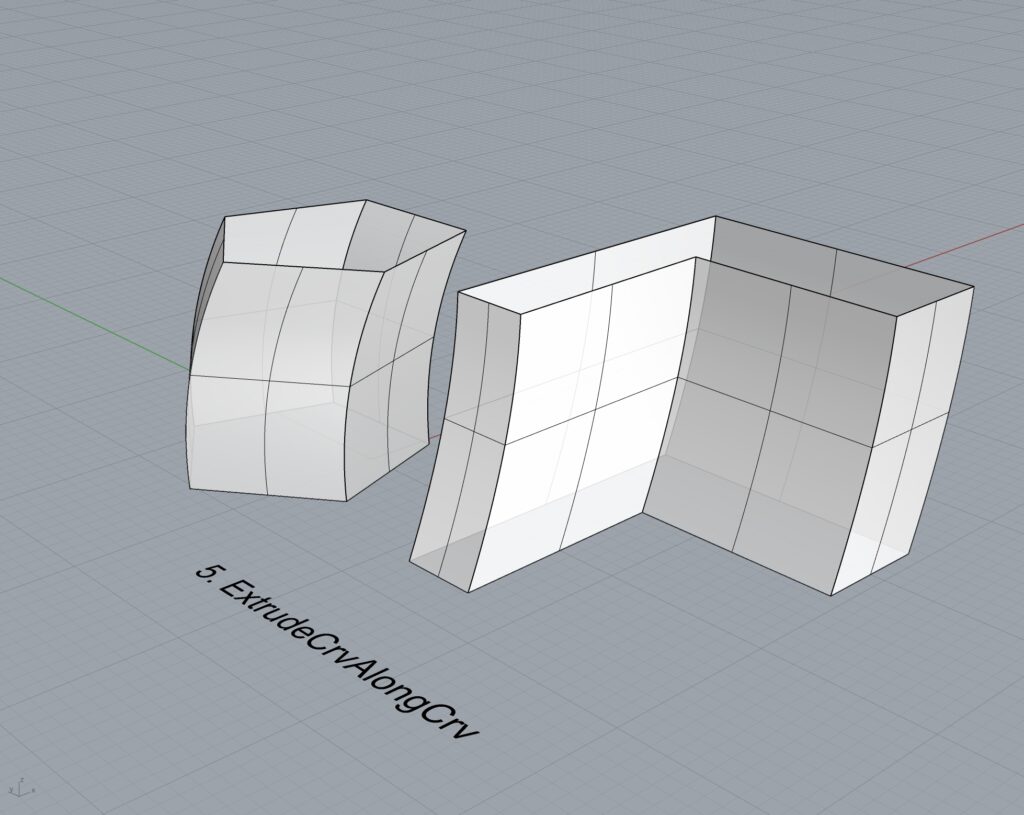
5. ExtrudeCrvAlongCrv
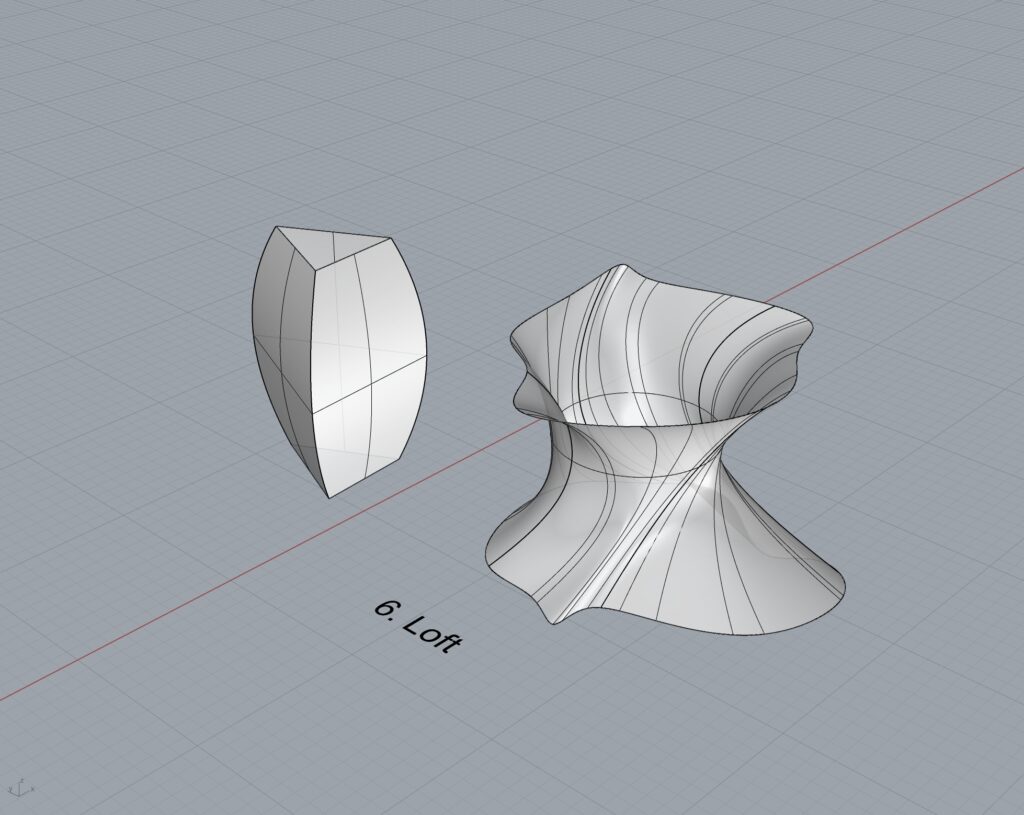
6. Loft
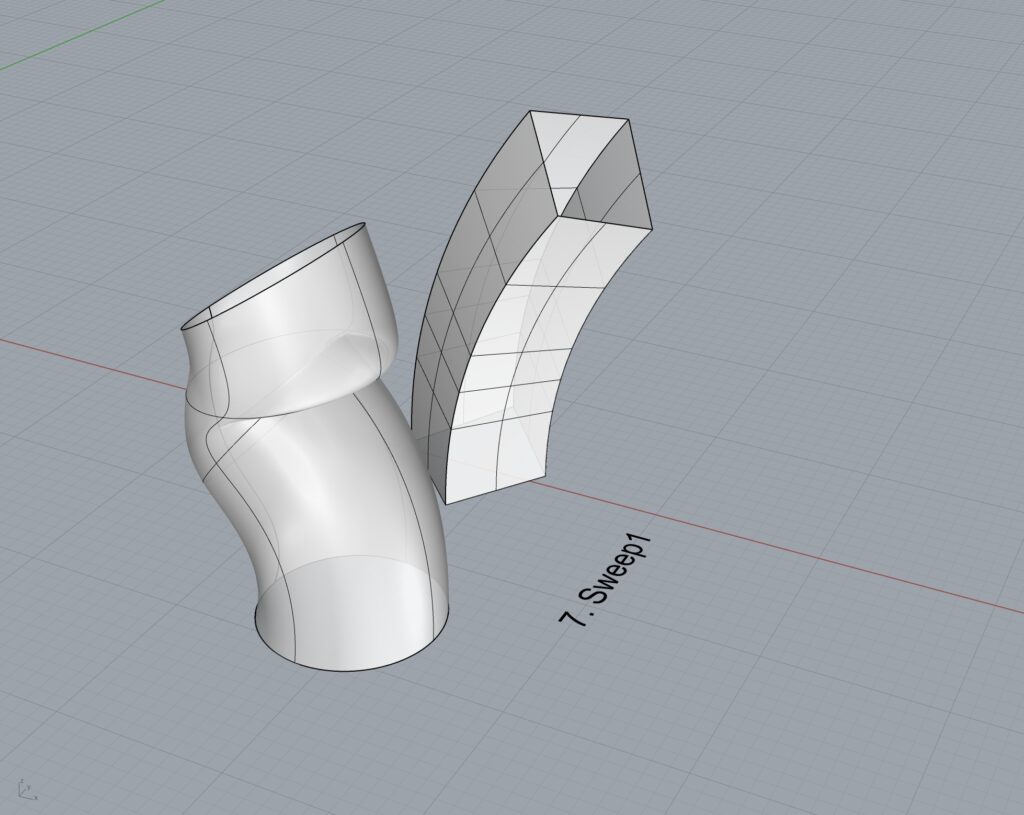
7. Sweep1
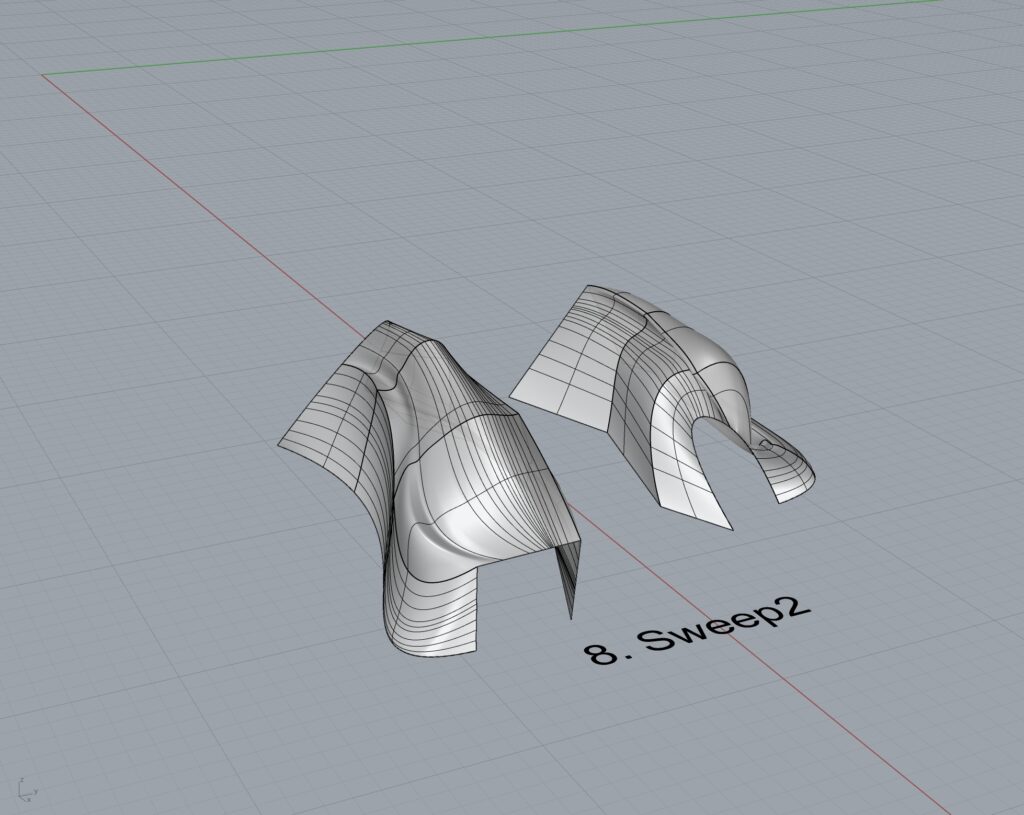
8. Sweep2
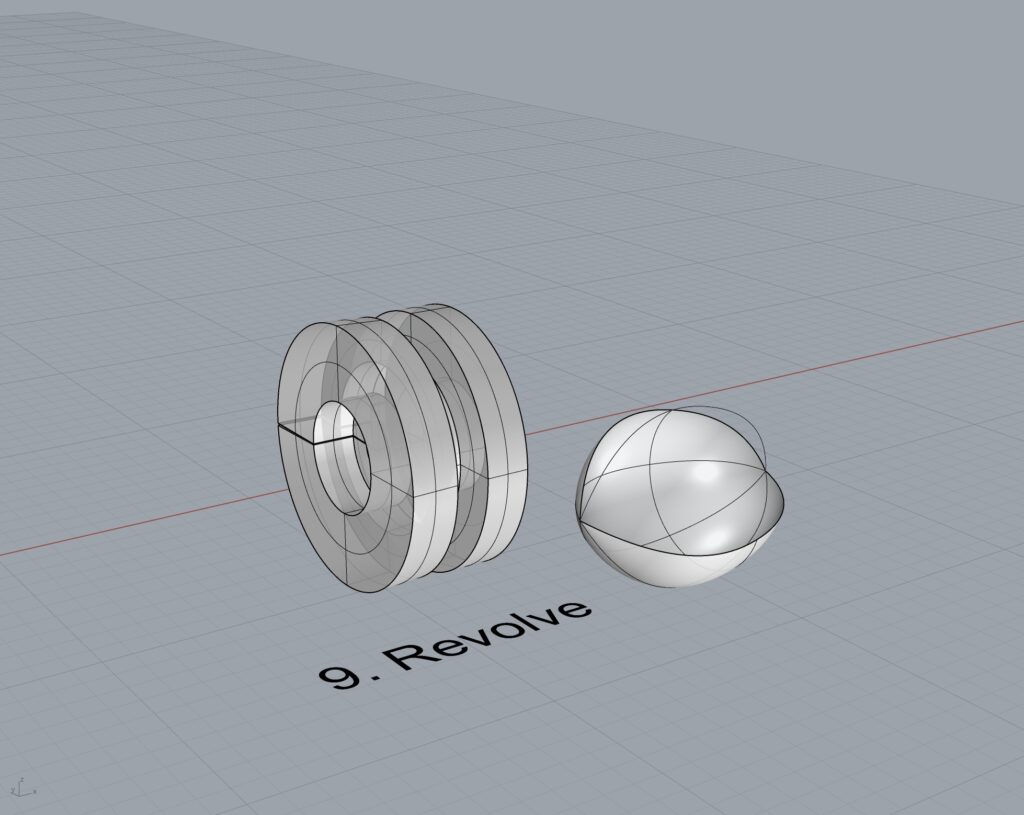
9. Revolve
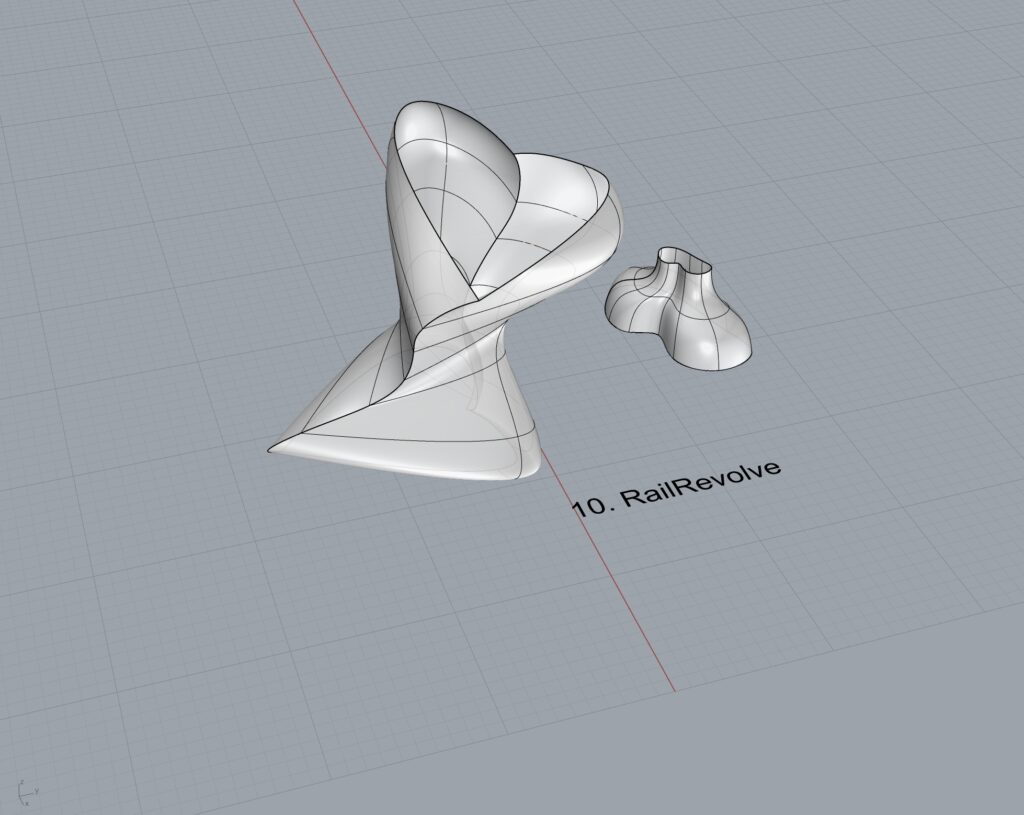
10. RailRevolve
11. Add a link to your FirstnameLastname_Surfaces file at this point in your post.
Part 3: Solids
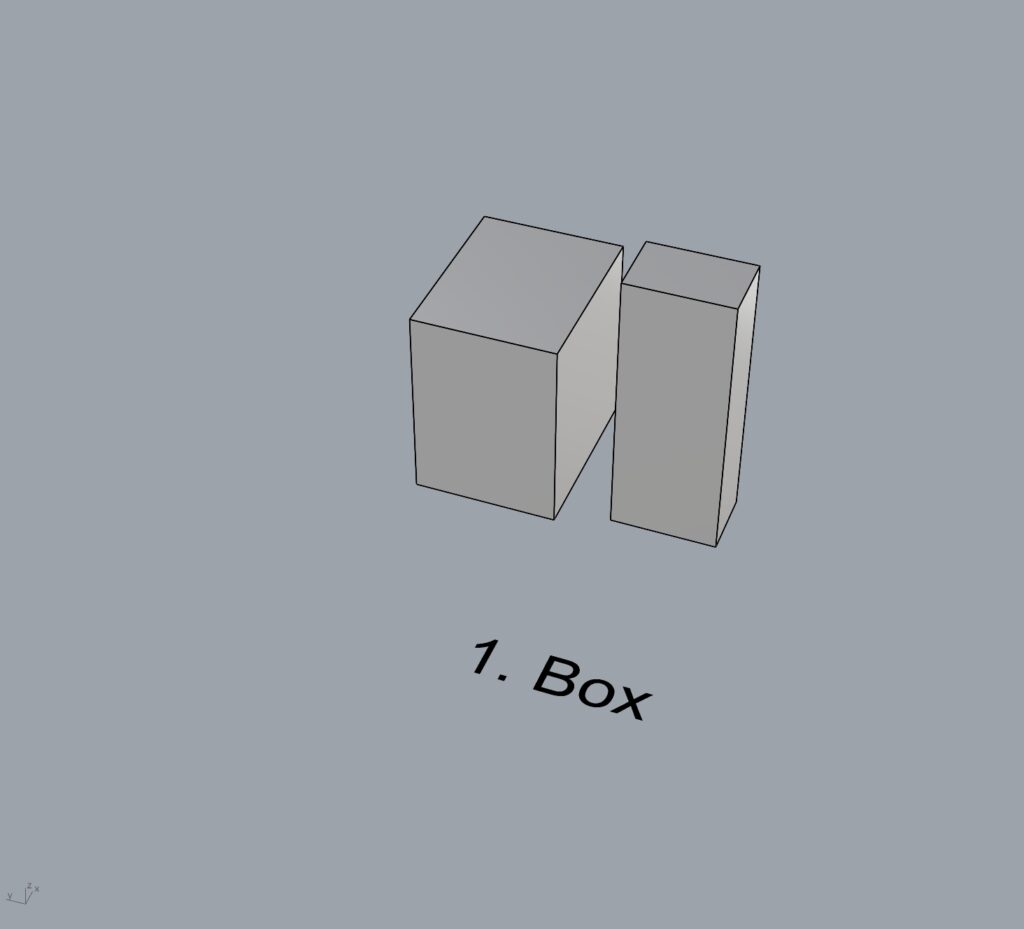
- Box
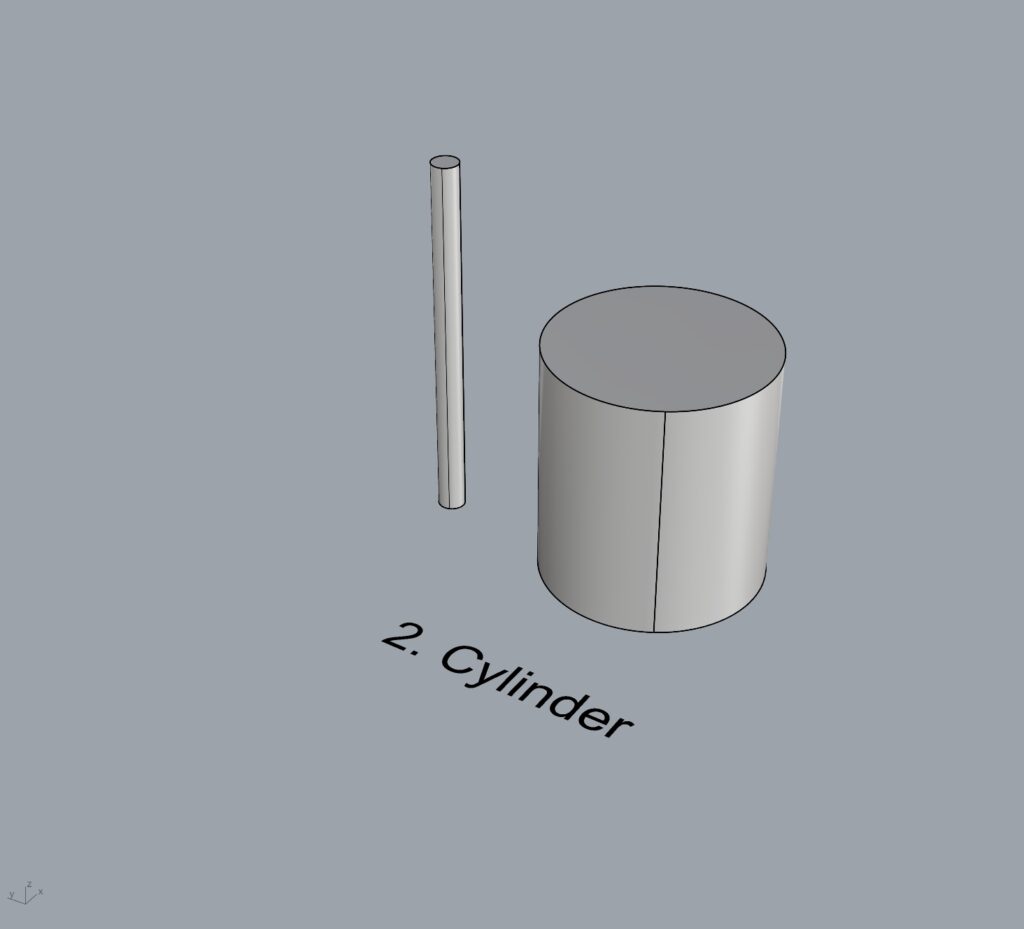
2. Cylinder
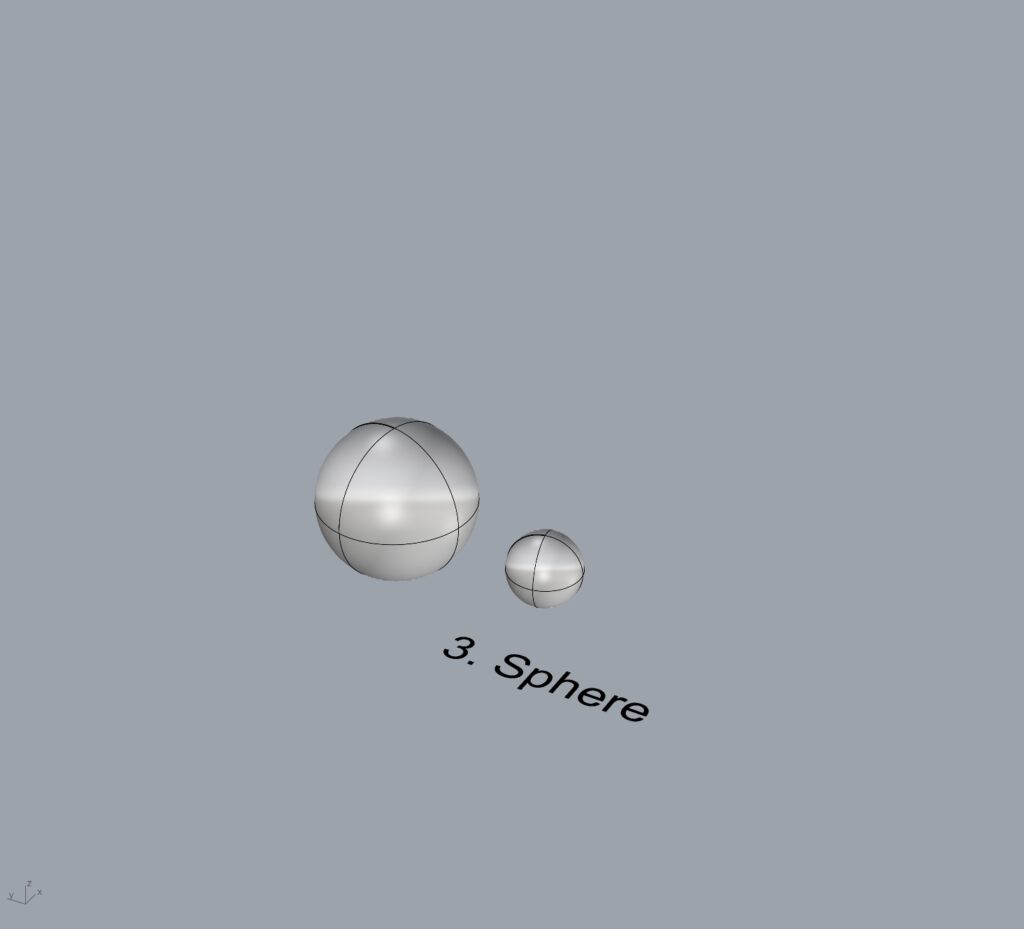
3. Sphere
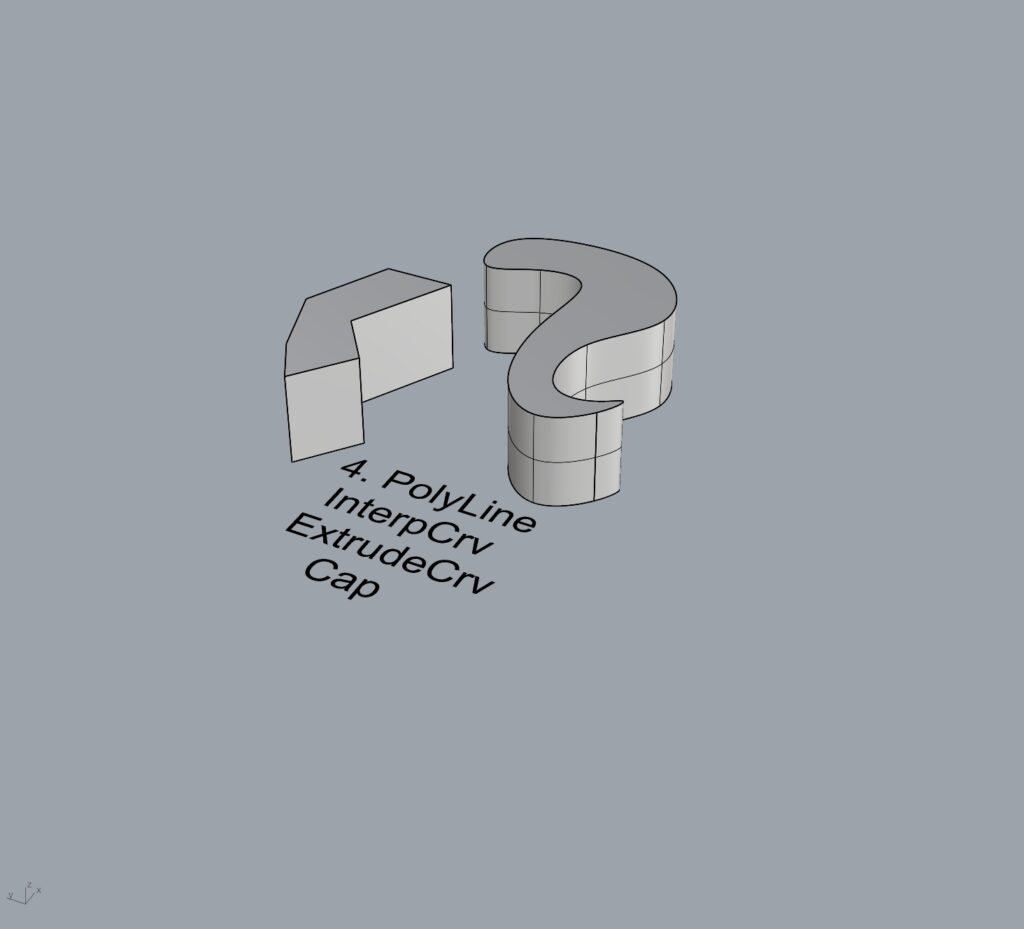
4. ExtrudeCrv and Cap
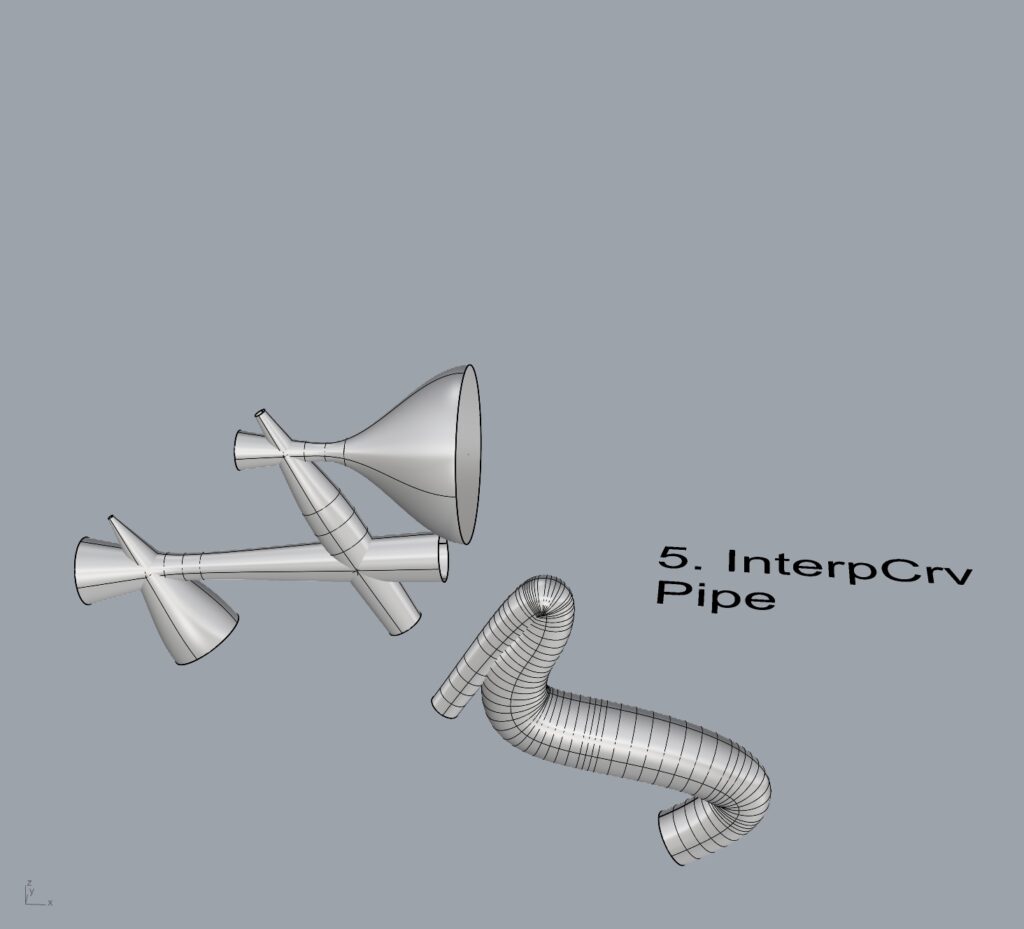
5. Pipe
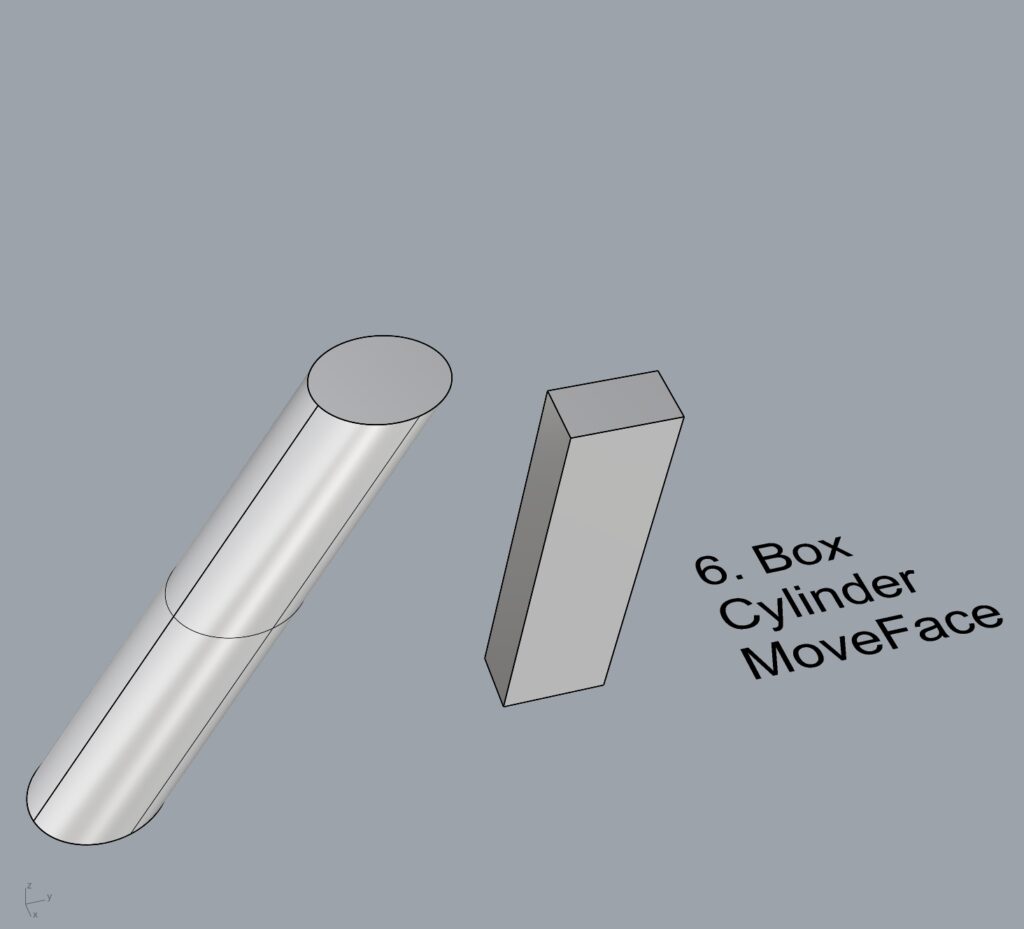
6. MoveFace
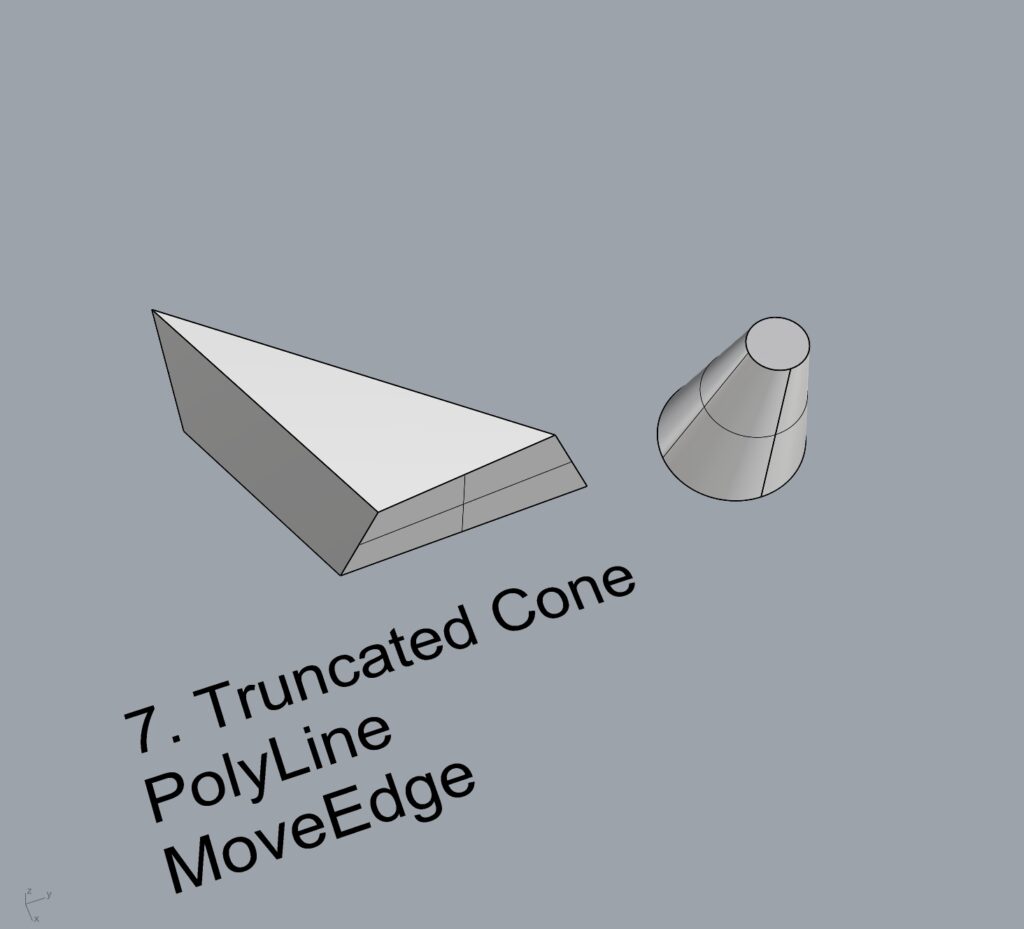
7. MoveEdge
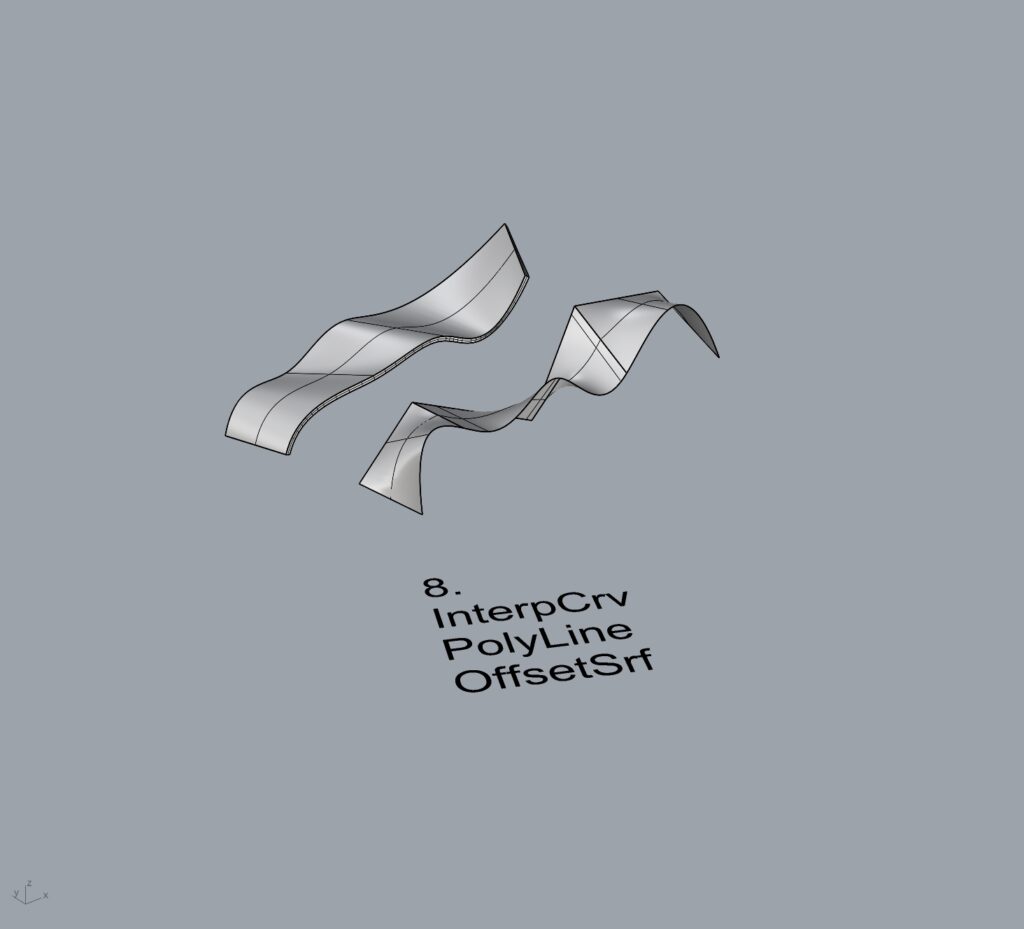
8. OffsetSrf
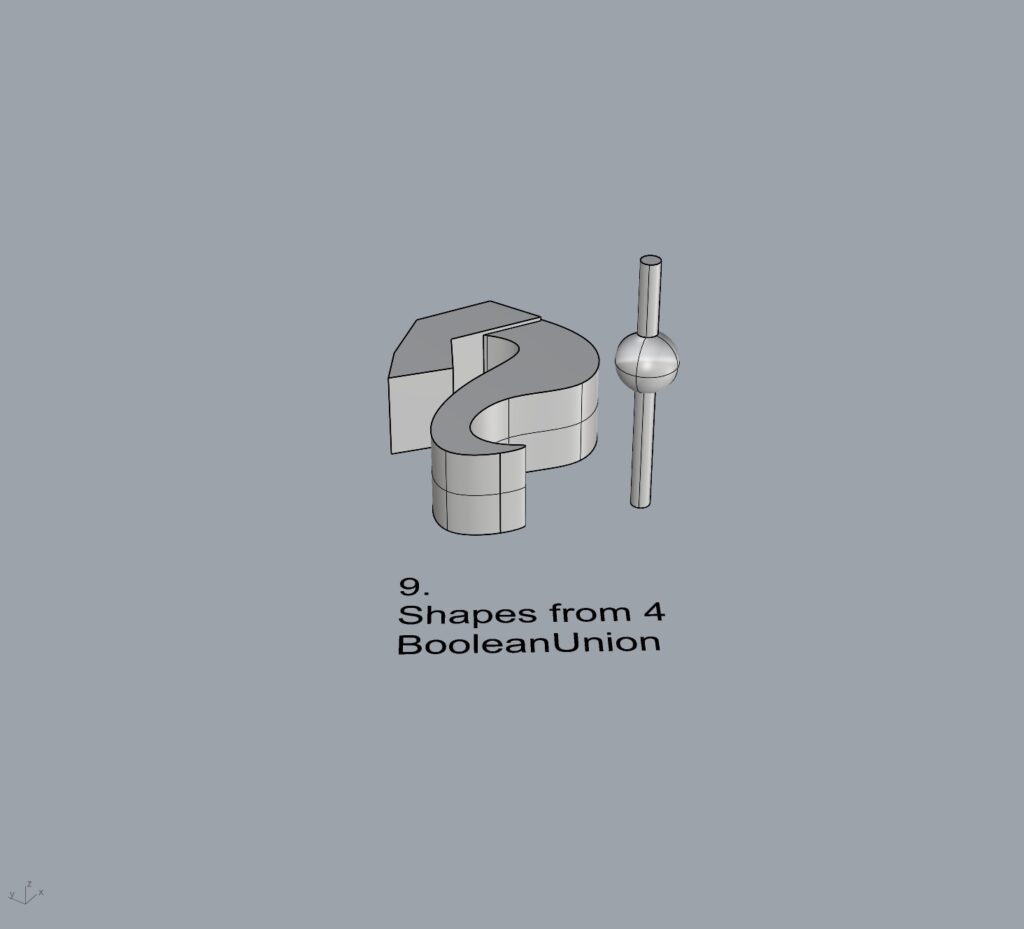
9. BooleanUnion
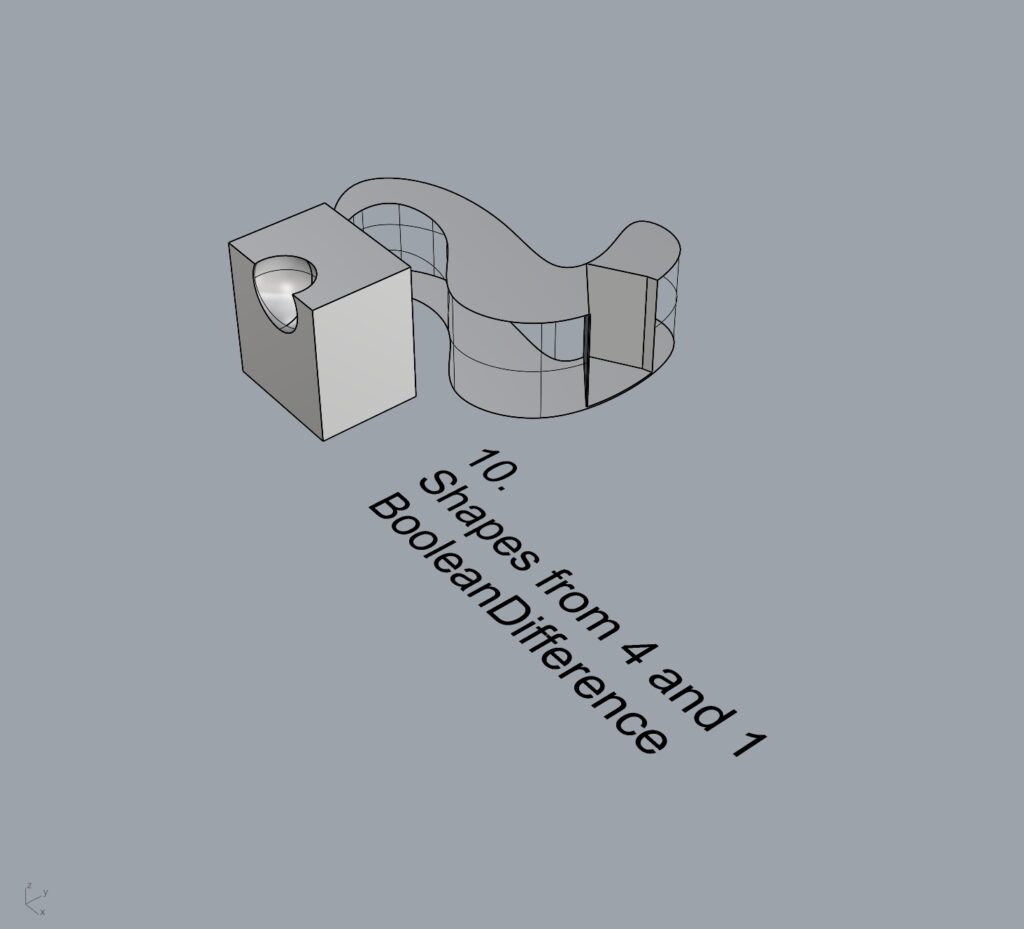
10. BooleanDifference
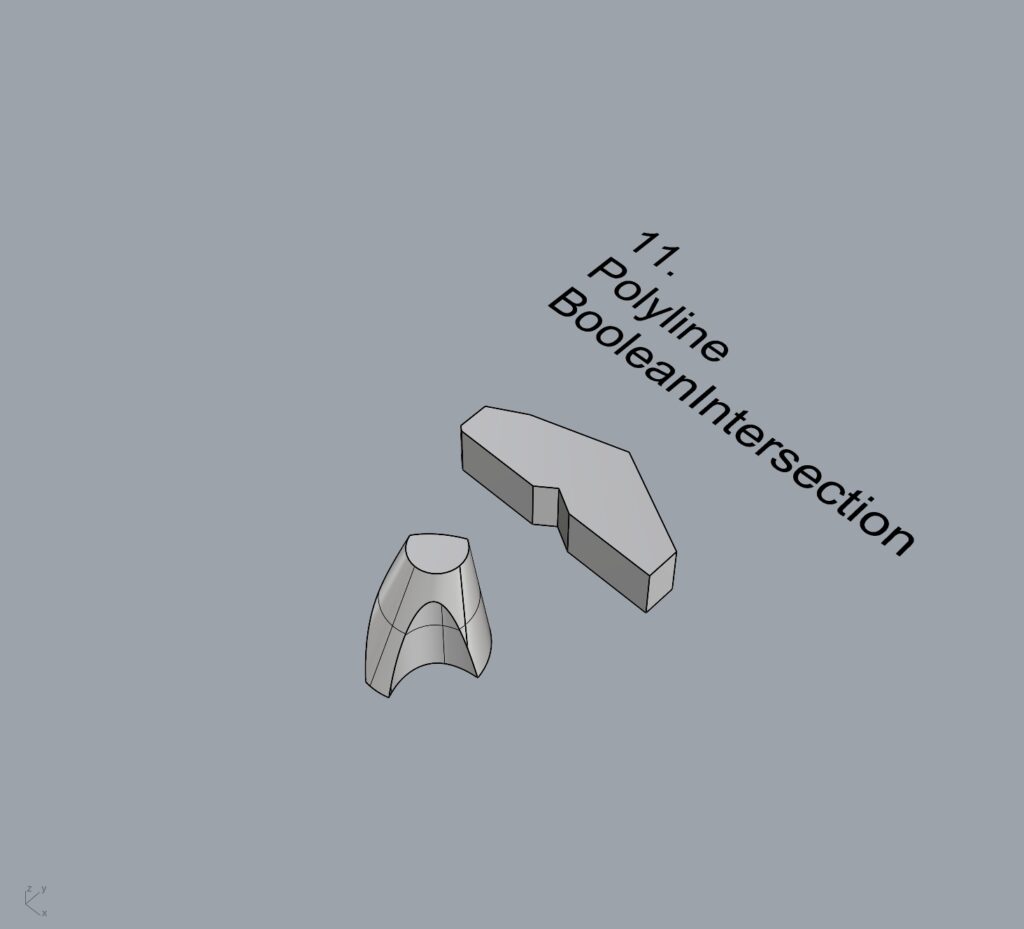
11. Boolean Intersection
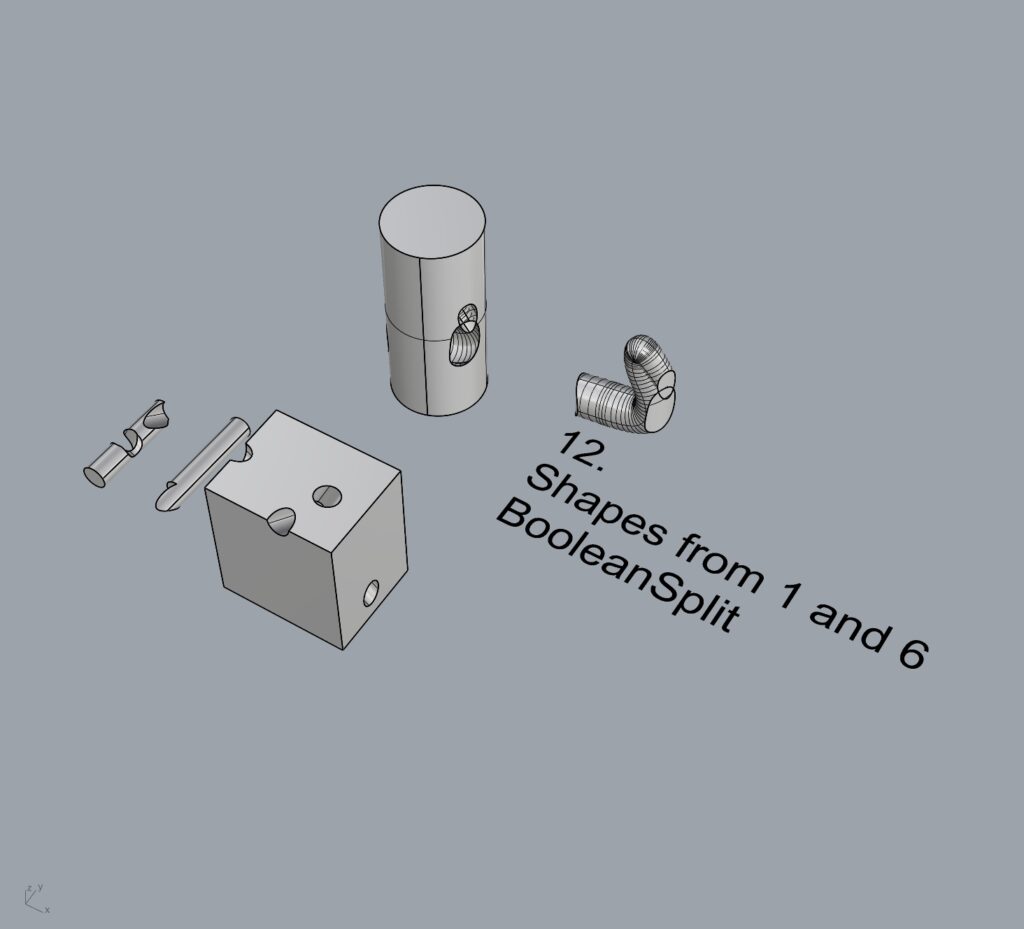
12. BooleanSplit
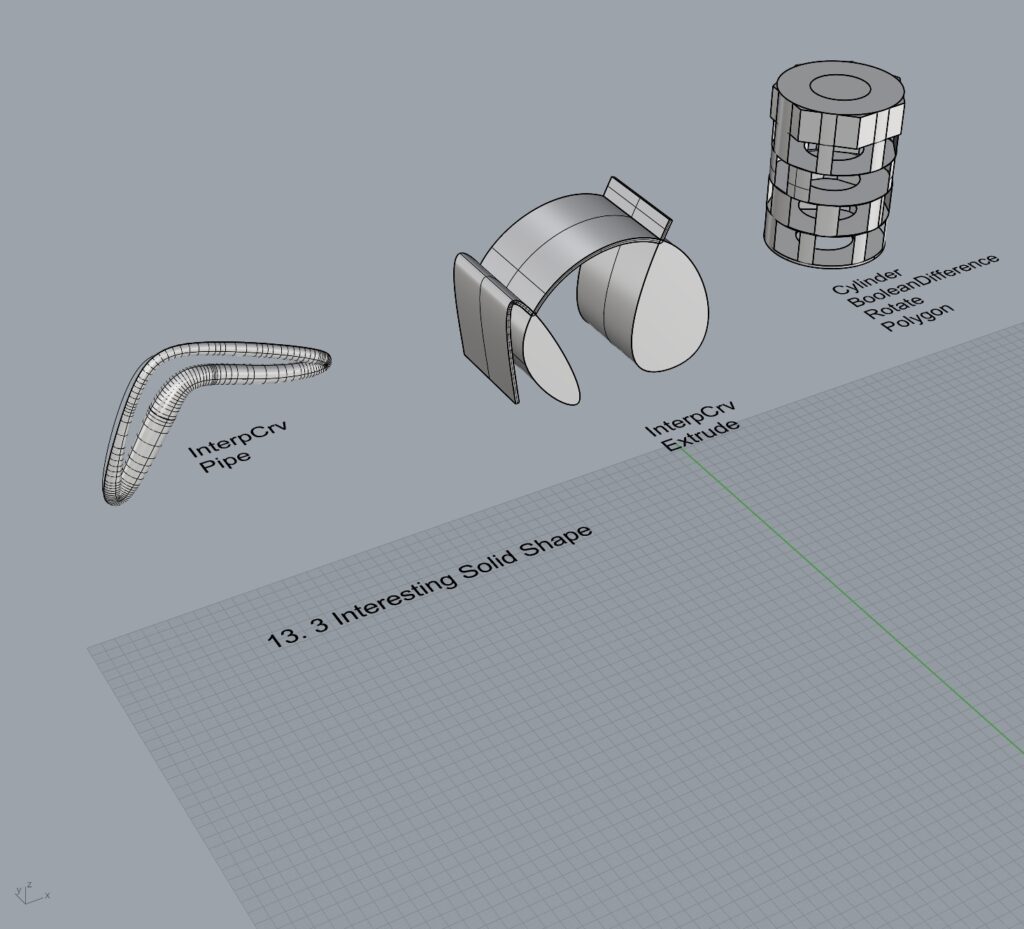
13. Using the surfaces and solids you modeled and the Boolean tools, make three solid shapes you find interesting.
- Add a link to your FirstnameLastname_Solids file at this point in your post.
Part 4: 3D Printing
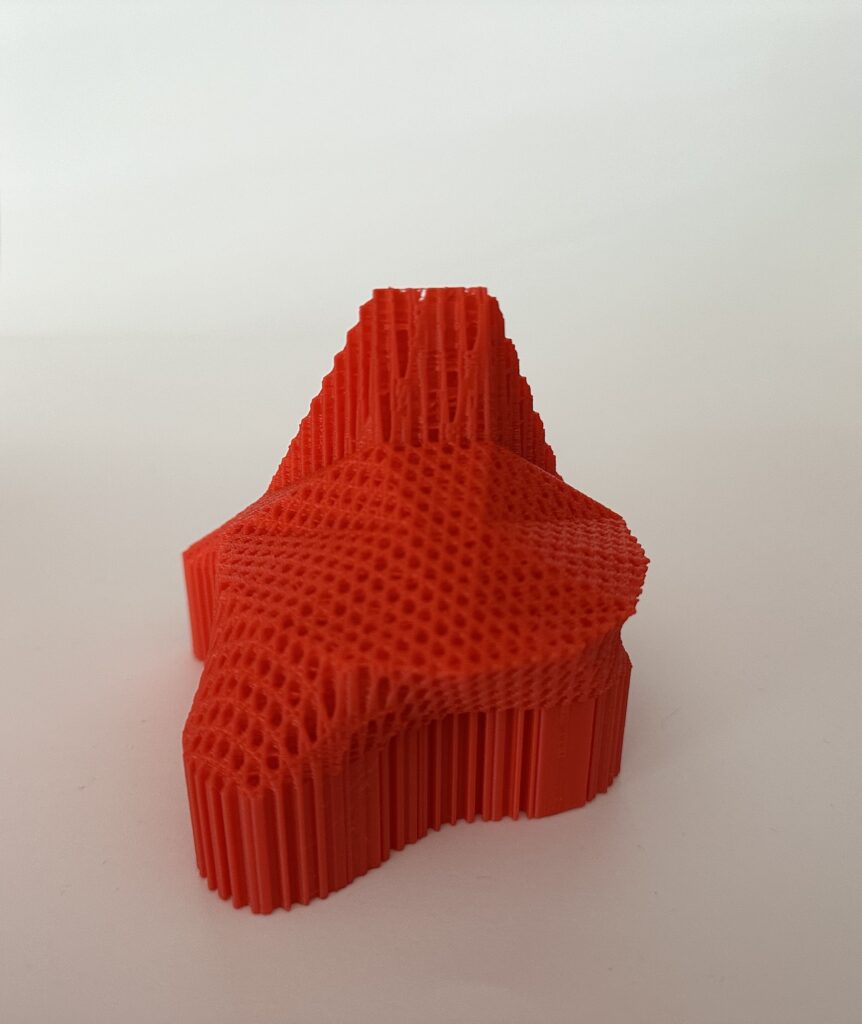
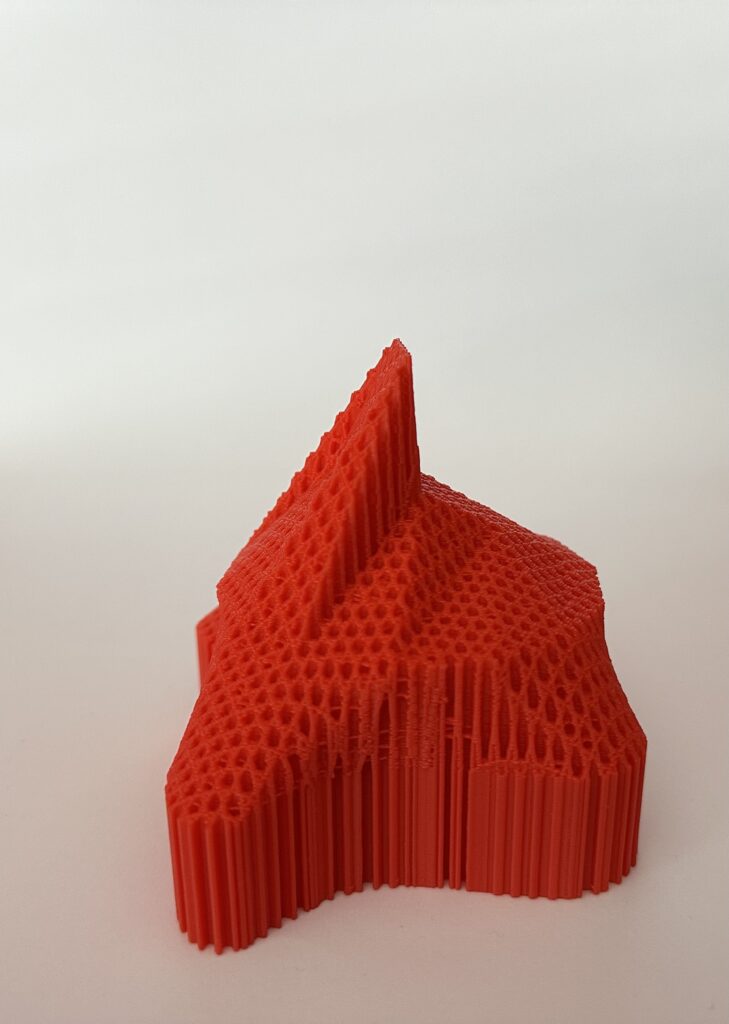
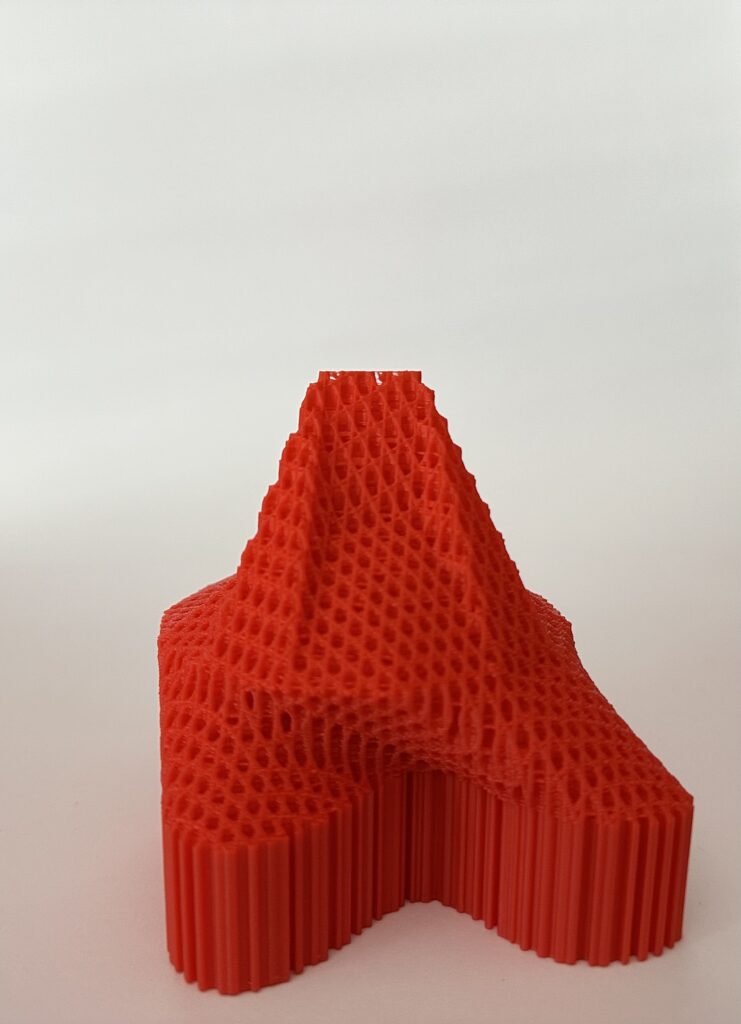
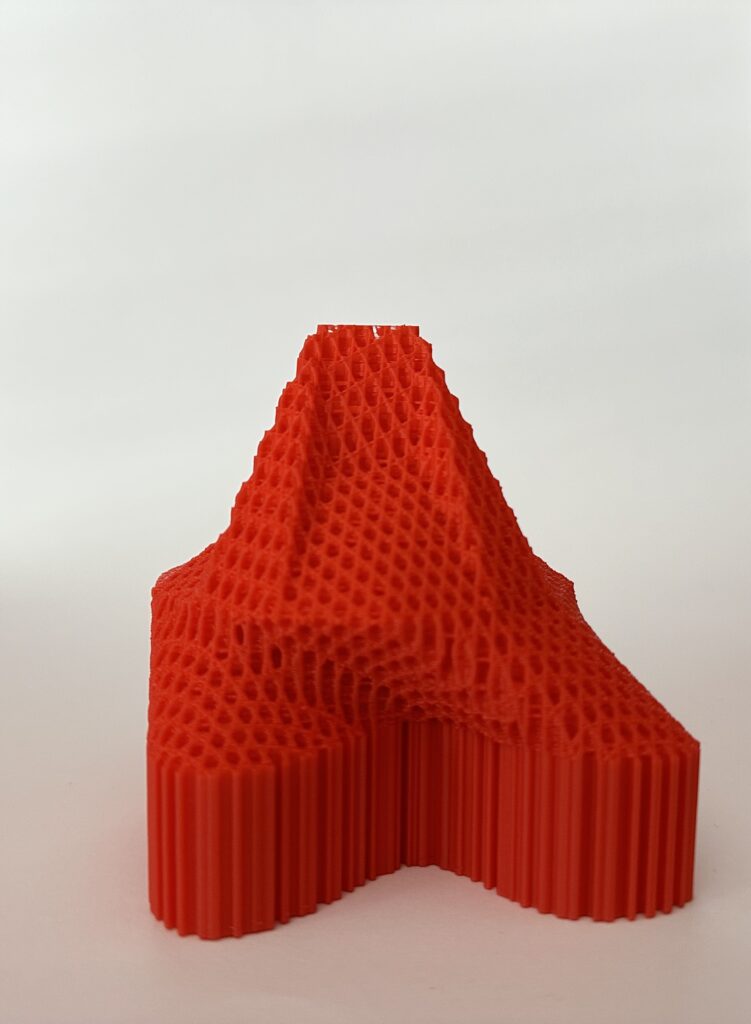
I started by using InterpCrv to create two blob-like shapes and an octagon. Then, I used Loft to generate a smooth surface that visually appears twisted. Next, I used Polyline to sketch the skeleton of the roof. For this step, I manually created different sizes of triangles and joined them together, though I felt there might have been an easier way. Afterward, I combined the lofted shape with the roof and extruded the floor to a higher level.
I’m not sure what went wrong with my model, but this is the result I got. I’m unsure how to create a smooth outer wall, so if anyone has any tips or advice, I’d appreciate it!
Hello, I love the texture of your final piece. Even though it wasn’t what you were going for I think it’s really interesting. Also that hallowed out cylinder is super cool it almost looks like a very fancy spiral roadway and I think all of your design are made very cleanly.
Hi! I really liked your 3d print and think it looks really cool with the mesh-like texture. I am curious if the issue you had has something to do with the print quality level you used or if something went wrong in the rhino design. It seems like Cura didn’t recognize a roof on the object and left the infill exposed. However, despite that I honestly think it turned out great and has a very unique look to it. Cool project!
Hi, I think your print is very visually interesting, it is also somewhat intricate because of all the detailing. I also really like the third solid you created for part 13, it’s kind of derivative of those marble maze puzzles where you have to drop the marble through each floor of the puzzle to get to the end.
Sorry that you’re print didn’t go as expected, I’d be interested to hear the professor weigh in because it looks to me like your print consists entirely of the infill without an outer closed surface, I’m not sure how to that’s even possible, but it’d be interesting to work with on purpose because it created a remarkably intricate design.
Hi Alan,
The print, while not what you were looking for, does look really cool. If you were to do this again (intentionally), it could be interesting to experiment with different infill patterns. On another note, I like the waviness of your second loft object.