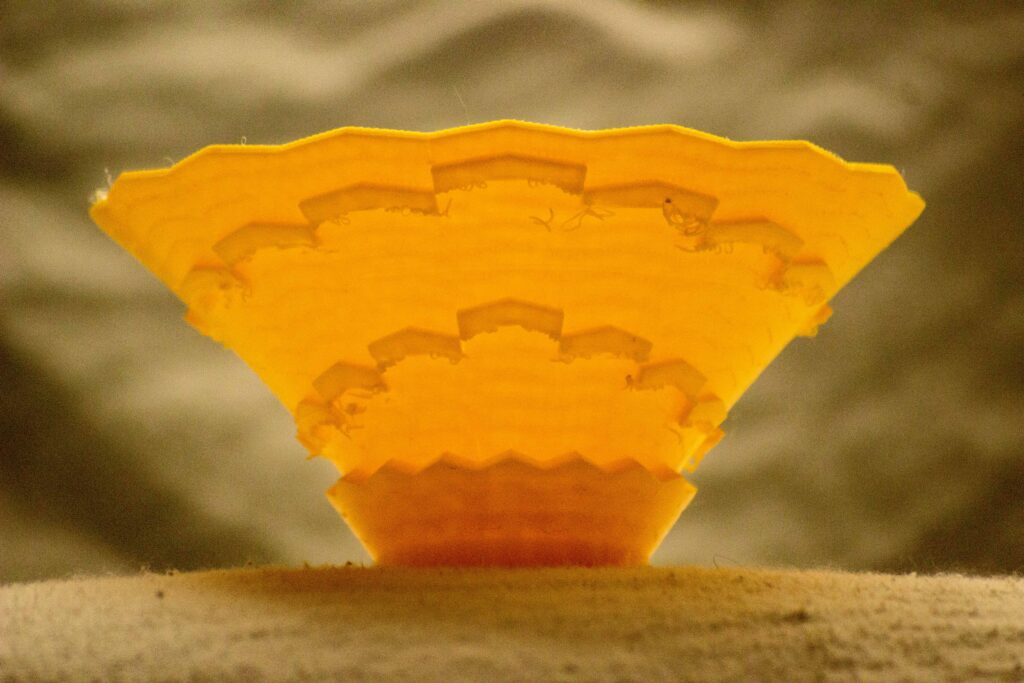
For this project I created a basket inspired by the beautiful designs of indigenous people of the past and more specifically from the American South West. I also drew some inspiration from the wildlife here along the Rio Grande River. When gazing up in the sky during fall and spring you will inevitably see the cranes flying high above in the familiar V shape. With this in mind I made a 3D basket with the crane shape protruding out of the basket. The weave was also incorporated within the basket to enhance the basket weave design I was going for.
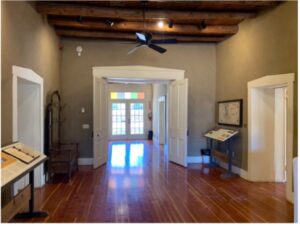
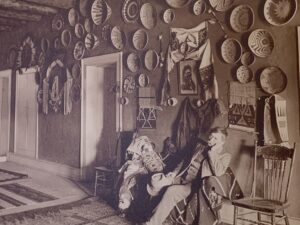
Growing up here in New Mexico I have an intimate relationship with the indigenous people from New Mexico and surrounding areas. Maybe more impressive are the vintage designs and crafts acquired by the museums around New Mexico. I recently visited and installed a project at the Gutierrez Hubbell House in the south valley here in Albuquerque. This is an old home and trading post made entirely of adobe brick, something I’m interested in and researching presently for Architecture. A black and white picture caught my eye as it had baskets hanging up for trade back in the late 1800’s. This gave me the idea of making my own basket with my own design using clay with the 3D printer. I unfortunately did not get far enough to try out the clay printer but I still have time to print it out on my own here in the near future. What I opted for was a 3D printer using PLA material. Knowing that my design was successfully made out of PLA, I would like to try clay and see what type of results I could get.
Process: Programs and coding
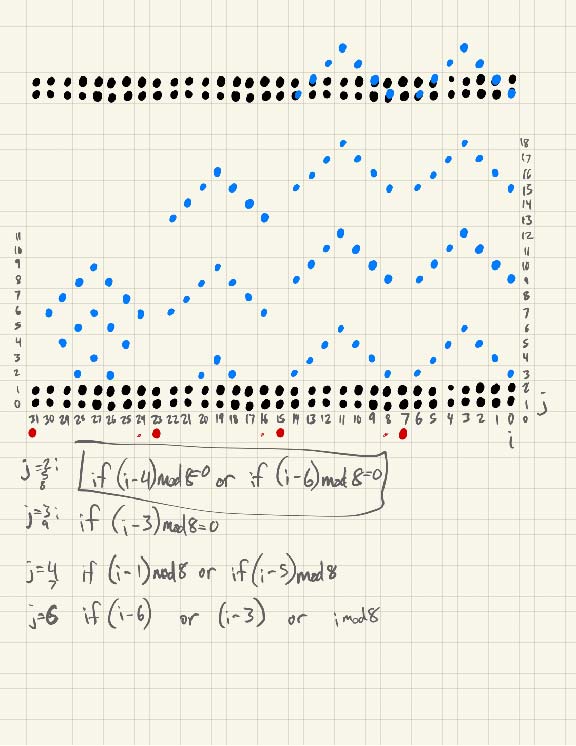
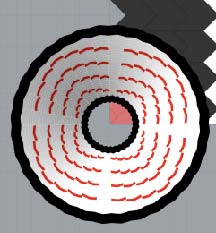
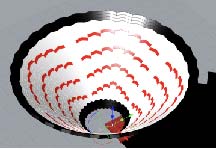
To make my design I took two programs we learned in class and merged them together. The first program came from our assignment, LA2: Vessels. This helped me make the shape of the vessel or in my case the basket I wanted to make. Easily done with number sliders that play with the diameter and z values on the vessel, I made a couple shape ending up with a nice 45 degree basket shape. The second Program came from LA5: Tiling. This program helped me design the outer tiling of the vessel I was making. This includes the size of the entire tiling, the shape of the individual tiles and the z value of each tile which in turn pops the tile shape into a 3D space. Using math and a grid I figured out which tiles would pop out and inserted this information into the code. Adding color to the areas that would be popping out helped me find the results I was looking for.

The two programs were merged and the end result was exactly what I was looking for. One small issue I had with Rhino is when I tried to make the tiling a 32X32 to cover the basket correctly it would put the computer hard at work for hours on end with no results so I had to back the tiling down to a 16X16 to still get the crane design I wanted but in turn there are only 4 crane shapes instead of the 16 seen here.
- I then used the Creality slicer to make the Gcode for the 3D printer. I used the Cura Slicer at first but I had lots of issues starting right at the startup of the print. When I changed to the Creality slicer everything printed perfectly other than some spaghetti strings here and there.
Printing
As mentioned above the printing process went off real well with little to no issues at all. My first test print I made the basket was set in a more vertical angle just to make sure that the printer was running well and able to print the popped pieces. I also started small just in case adjustments were needed early on.
Test 1
- Size: 1.5” Max Diameter
- Material: PLA
- Time: 2.5 hours.
- Results: Good but a little stringing at the popped out portions of the basket.
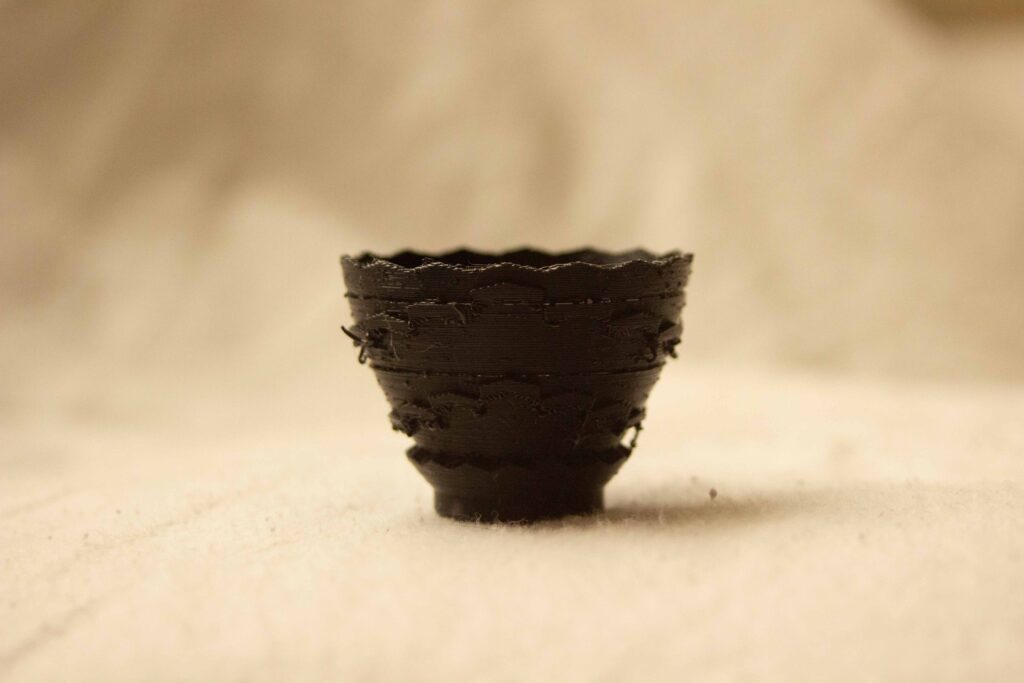
Test 2
- Size: 3” max diameter
- Material: PLA
- Time: 17.75 hours
- Results: Much better but still getting some stringing along the popped shapes. Ease to clean up

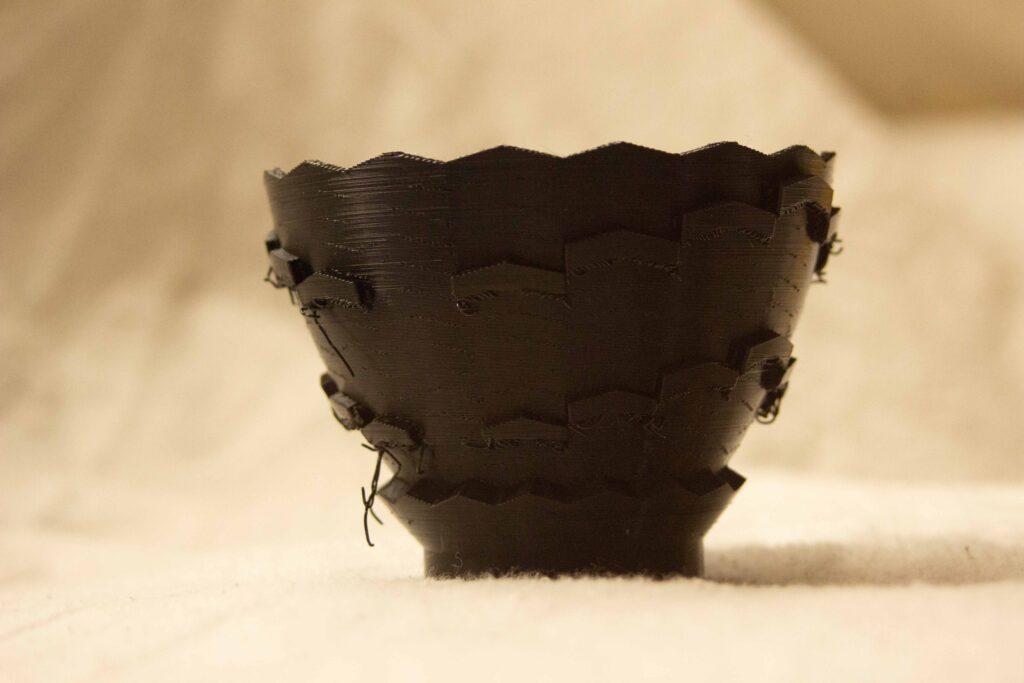
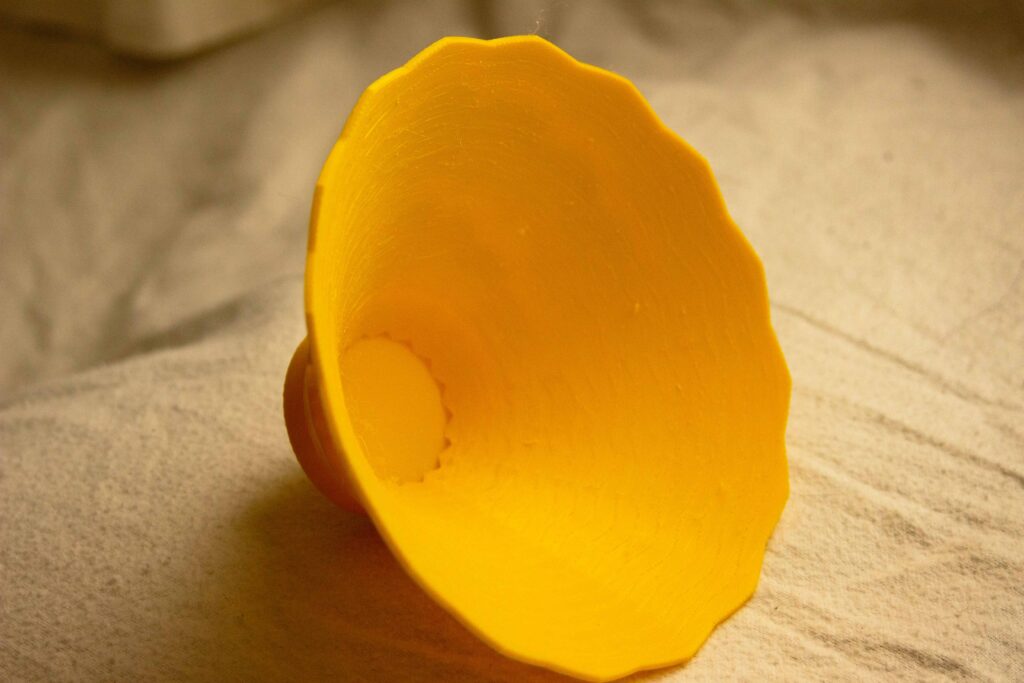
Outcome
- Size: 5” max diameter
- Material: PLA
- Time: 19.5 hours
- Results: I was very happy with the results. There was little cleanup, it printed the first time with no issues and for the most part it was a clean print. The design came out wonderfully on the sides of the basket and the weave can also be seen very well. As mentioned before, now having this success with the print in PLA I think it’s time to experiment with the 3D printed clay. I feel it would come with a few challenges but I feel confident it would produce a wonderful clay basket in the end.
Future Work
Like mentioned above I would love to take this to the 3D clay printer and fire it along with adding some color. I’m interested to know if I would have to change the baskets shape or not to accommodate the clays characteristics. But this project alone can take me into my research within the school of Architecture and Planning at UNM where I’m interested in following the traditional way of building with adobe and merging technology i.e. the 3D clay printers to find better building designs, techniques and materials for everyone to enjoy.
Reflection:
This was a hard project for me spanning back to the LA5 Project, Tiling, using that program as my base for this final project. Not understanding coding as well as others in the class I ended up reaching out for help with several of my classmates and also going into office hours with the professor. With time and some patients along with the help I received I was able to build on my project myself creating the code needed to make my basket. I am grateful for all the help and good advice I was given throughout the process. I was able to complete this project and get exactly what I set out to make. I want to thank my class for all the inspiration as well.