Introduction
We decided to do our project on building a musical instrument since both of us are musicians. Of course, many people have 3D printed instruments before, but we knew we could incorporate some of the computational aspects that we learned throughout this course to create a program that could create unique body shapes and maybe use different materials to test differences in quality. We 3D printed 2 body shapes and completely built one instrument and attempted to print a body from wood PLA which wasn’t successful.
Background:
There are many examples of 3D printed instruments online and the idea of creating all the pieces you need for building an instrument on our 3D printers was what inspired us the most.
Process:
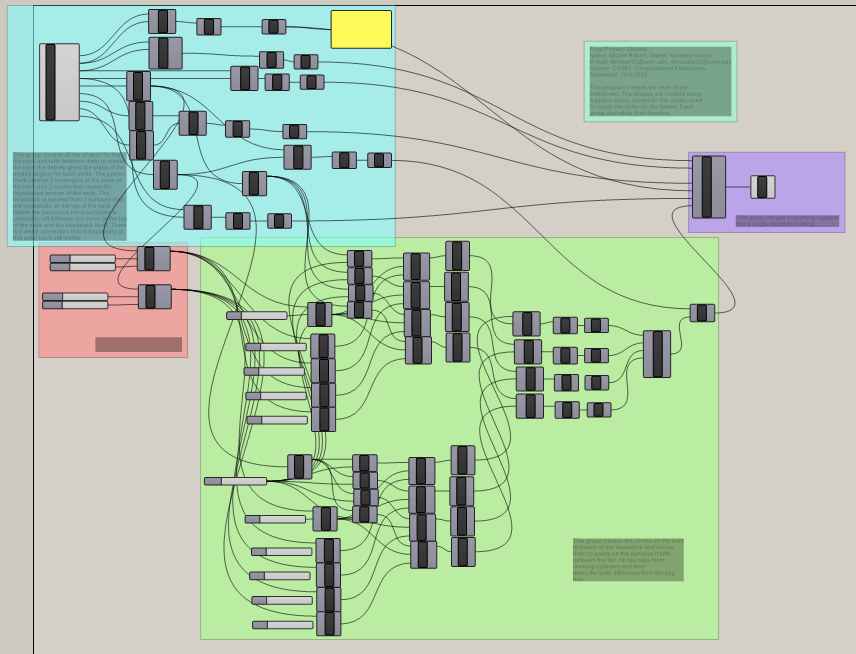
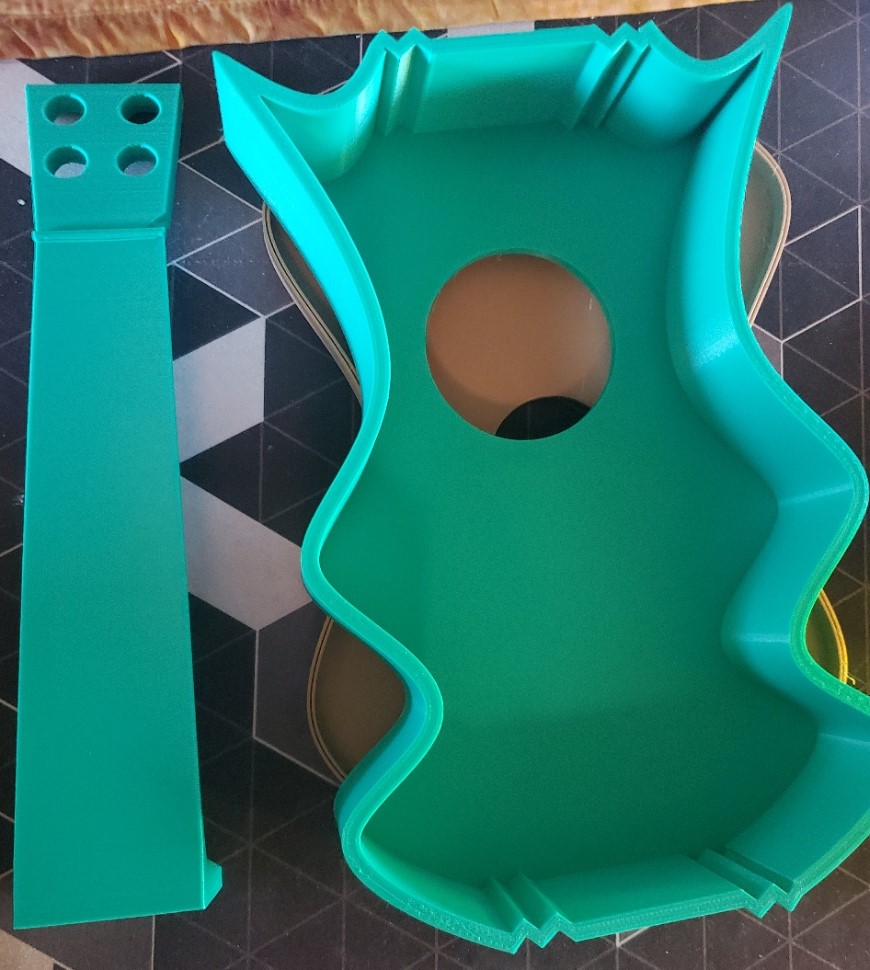
We designed our instrument body and neck in Grasshopper. For the body we used a similar strategy as what we did with the tiling assignment, taking 2 lines, created in rhino, as inputs to a rhino block and scaling them and moving them around to build the shape of the instrument. We attempted to build the shape of the body like we did with the tile as a single curve but ran into issues lofting from curve offsets, so we broke each piece up into its section. There is a middle rectangular section whose height controls the height of the instrument in the Y direction as well as what we were calling the length of this section which is the X direction as well as the width of the instrument which is the Z direction. All three can be controlled via a slider. The side wall curve must start at the origin and end on the Y axis, and it needs to be on the negative side of the axis to avoid collision with the middle two sections. The second curve, which we called the inner curve, starts at the origin and ends on the X axis. The inner curve is scaled and copied 4 times and moved to the 4 corners of the inner rectangular section. The outer curves are connected to the end points of the inner curves. Every section is either extruded or offset to create the thickness of the wall which can be adjusted via sliders. The sound hole is also adjustable; its radius can be changed, and it can be moved along the front of the instrument along the y axis.
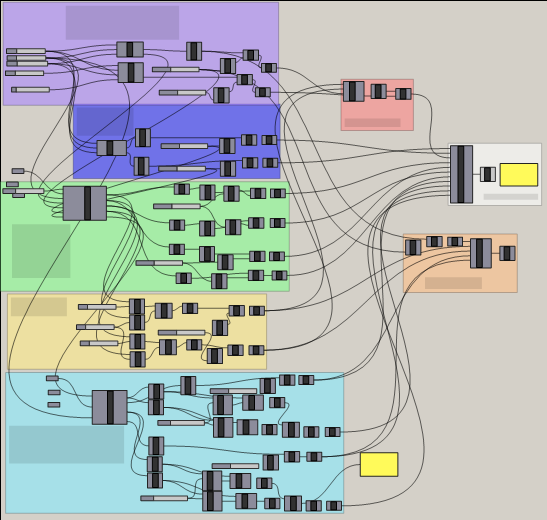
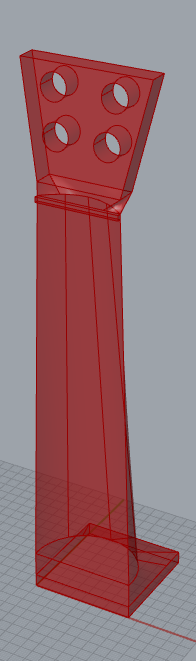
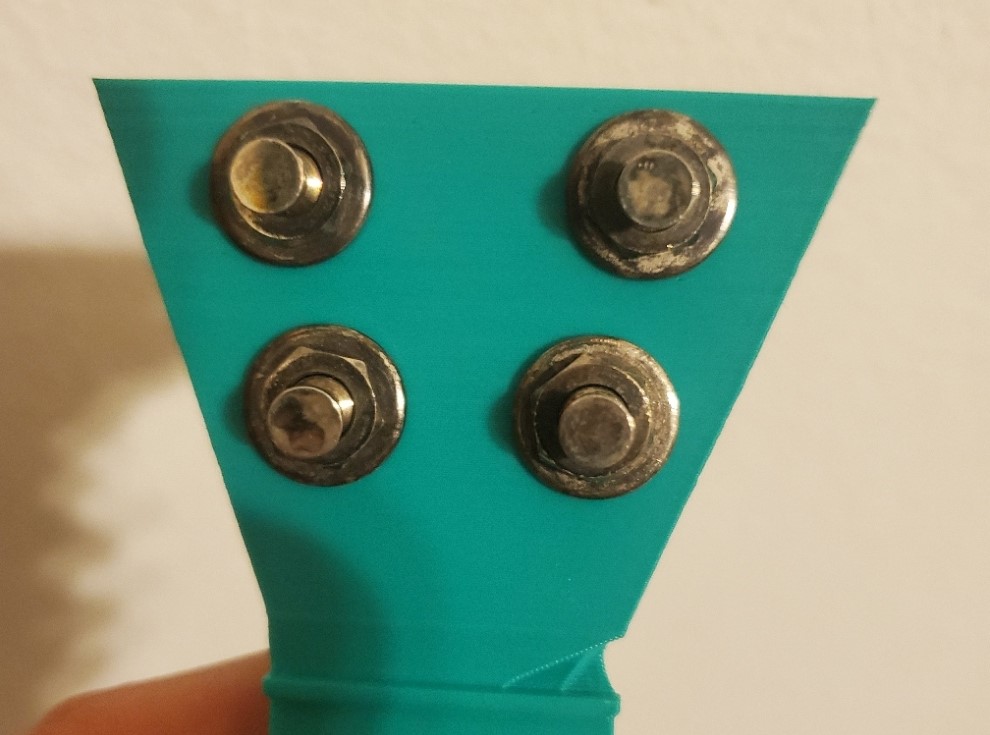
The neck is pretty much just a 3D model designed by creating rectangles and arching curves lofted together to build the necessary shape. The peg box was the most difficult piece of the neck because we wanted it angled backward slightly and since it needed holes all the way through we had to figure out how to tell grasshopper what plane to place the circles on as well as a point where we wanted the holes and we accomplished this by deconstructing the shape and also dividing the surface into a number of points which allowed us to place the circles at any one of the points using move to point from pufferfish. Then it was just a matter of lofting and using solid difference between the cylinders we created and the pegbox.
Fabrication:
We first tried to print our instrument using wood-based PLA our initial print was just the face of the instrument and short walls. It was successful and seemed like it was going to be a nice material to build our instruments out of, but the PLA charred and clogged the hot end of the printer and took a while to fix so we decided to print using the regular PLA to avoid further issues and get an instrument built in time.
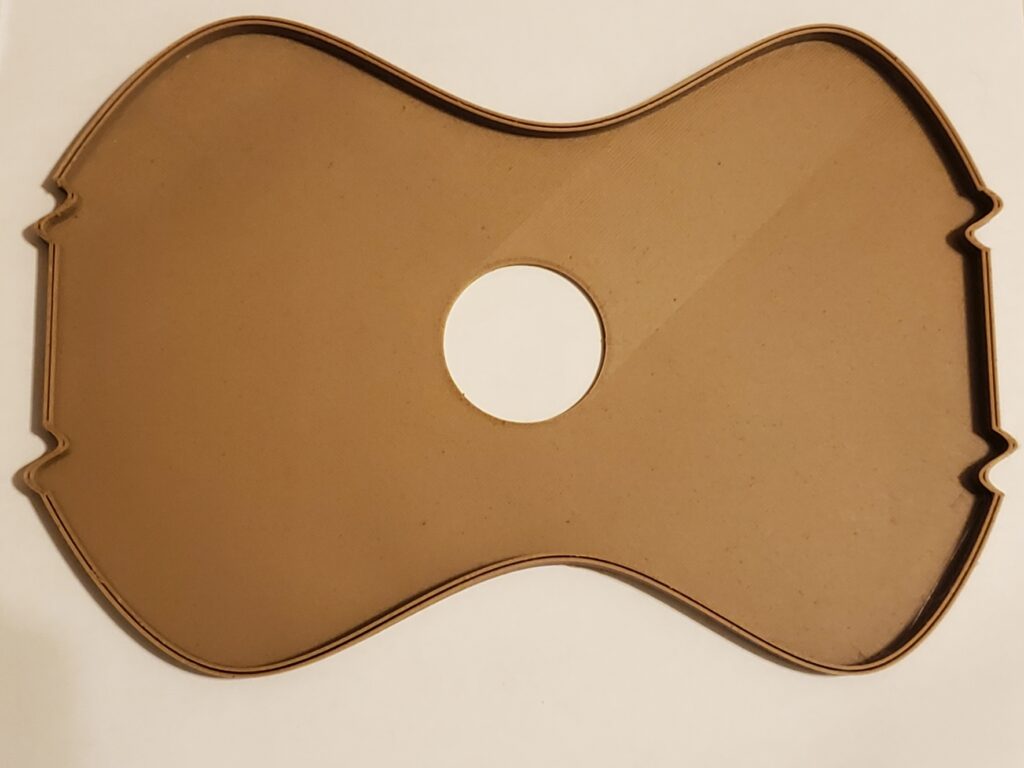
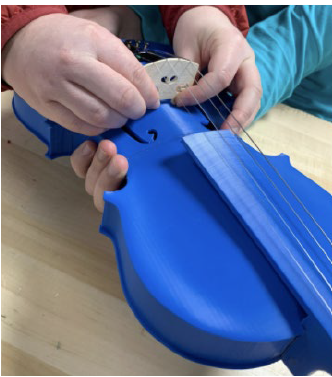
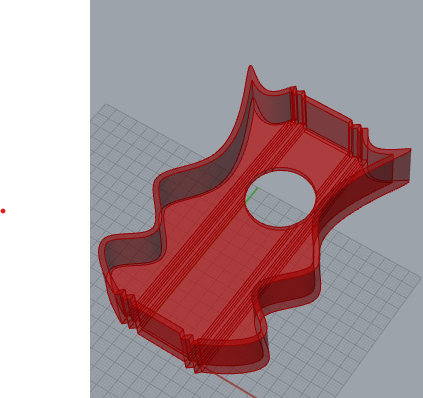
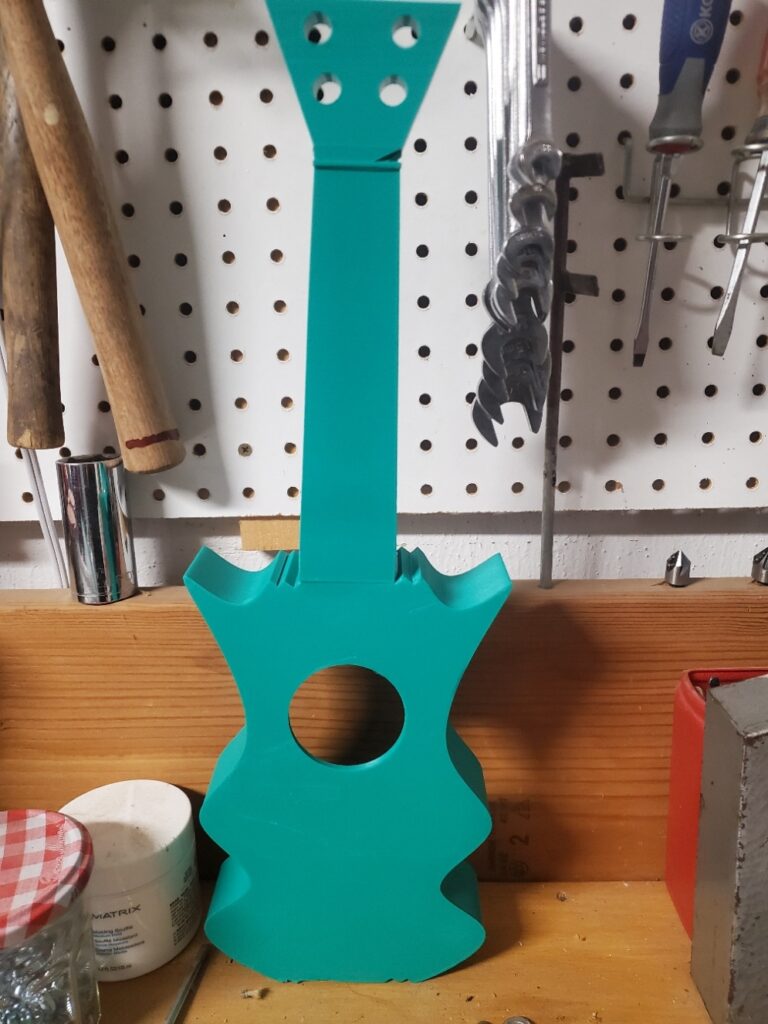
We also printed two different bodies to show how the program could produce different instruments.
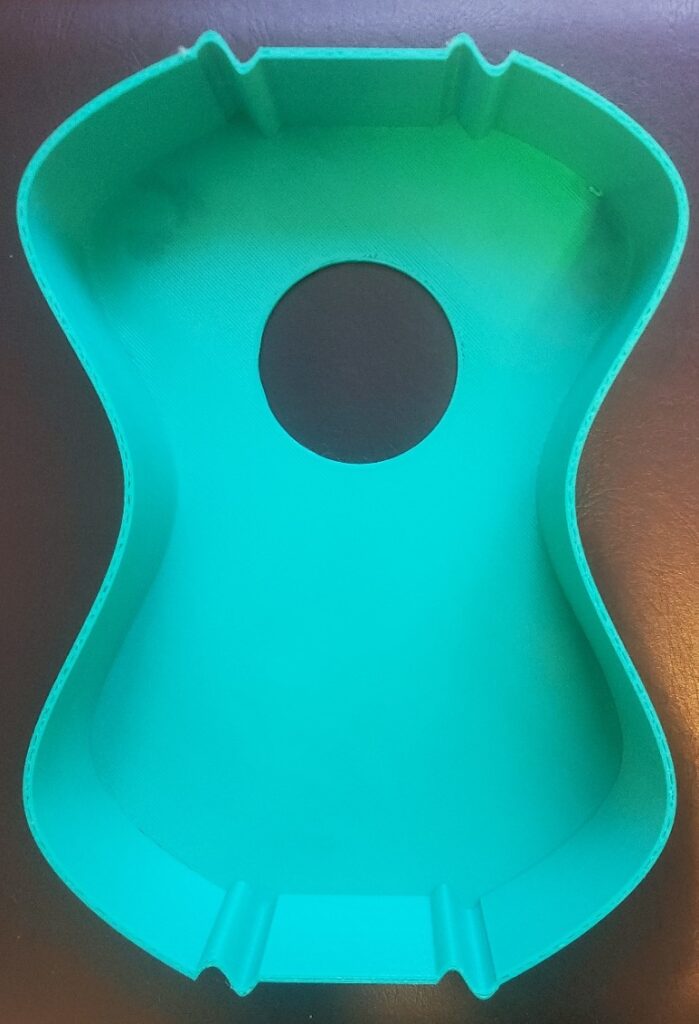
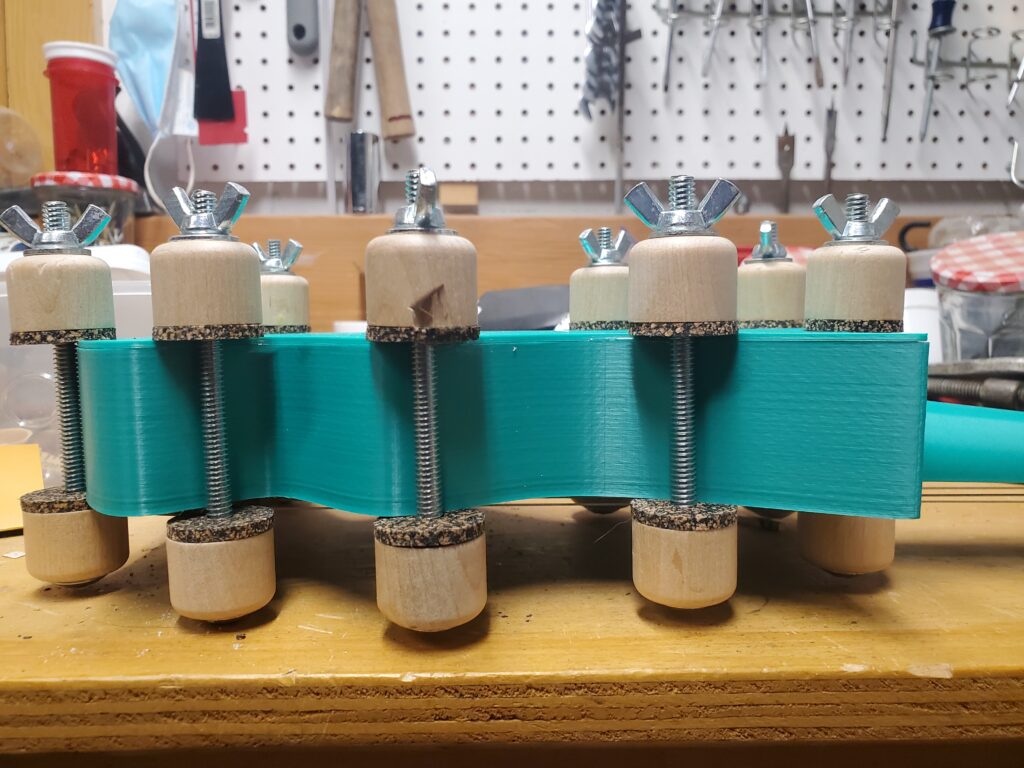
The instrument was printed in 3 pieces, the first was the face of the instrument and the walls. This print took the longest, about 21 hours, the neck which took about 8 hours and the back plate which took about 7 hours to print. We used epoxy glue to connect the pieces together and using a saddle and tuners we bought were able to construct a mostly functional instrument.
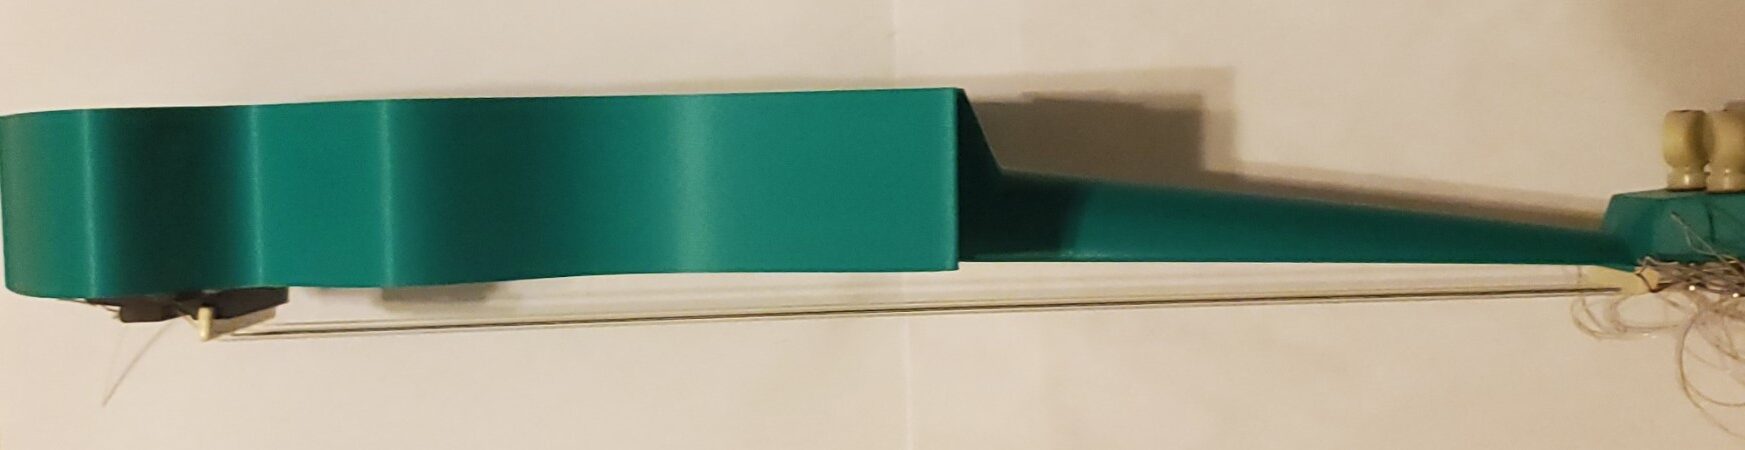
Outcome:
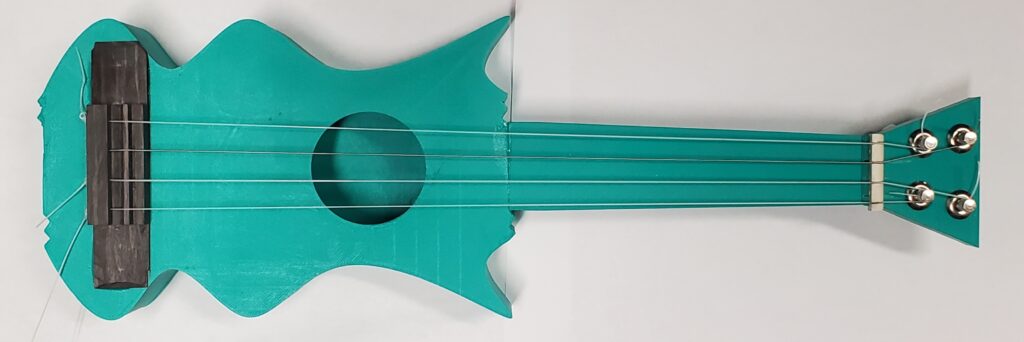
The final outcome was a fully constructed ukulele, completing our goal of integrating computational design into the creation of a musical instrument. Despite facing challenges in material selection and print failures, the project was a success. The ukulele, with its unique body shape generated through computational tiling ,showcased an intersection between computationally fabricated art and a functional physical object. However, the instrument’s playability was somewhat compromised due to an imbalance between the neck and the body, as we didn’t incorporate a truss rod to counter neck bending. This issue aside, the ukulele was a functioning instrument, visually appealing and capable of producing music. Considering this is both of our first attempts at making a ukulele, we are very content with the results..
Future Work:
We were quite happy with how the body of the instrument turned out and now that there isn’t a time constraint would like to attempt to print with the wood PLA again to see how it compares to the regular PLA. The neck proved to be difficult to design without much 3D modeling experience. We would like to add frets to the neck and have the head stock be customizable as well.
Reflection:
Future Work:
The main thing we would like to try still is printing one of the ukuleles in the wood PLA to see if it sounds any better than its PLA counterpart. This project has significantly deepened our understanding of the intricacies involved in string instruments, which resonates with our personal experiences as multi-instrument musicians. The complexity and precision required in designing a physical object through computational methods have become more apparent to us. In future projects, we aim to apply these insights to other areas of interest.
Reflection:
Working on this project provided us with insights into the meticulous attention to detail required in instrument making and computational design. We learned that even the slightest miscalculation in design or assembly can significantly impact the instrument’s functionality. The experience highlighted the intricate balance between aesthetic design, material properties, and functionality in computational fabrication. It was enlightening to see how computational methods could add layers off complexity and artistic expression to a traditional object like a ukulele. This project not only enhanced our technical skills in design and fabrication, but also deepened our appreciation for the art of instrument making and the potential of computational methods in expanding its boundaries.
Thanks for a fun semester!
Code:
Zip file of our two grasshopper programs: https://handandmachine.org/classes/computational_fabrication/wp-content/uploads/2023/12/FinalProject_Michel_Daniel.zip