Project Overveiw
My goal for this project was to print with glass using the affordable and accessible desktop Eazao clay printer. I developed a recipe for a paste made out of glass frit that could be easily printed with the Eazao. I then figured out a kiln schedule that would fire the printed pieces so the glass would sinter and stay together and also look like glass. I began by printing cylinders and using these to dial in both my paste recipe and my firing schedule. I learned that the hotter I fired the cylinders, the glossier they were, but they also slumped more. I originally thought that I could use this property for the computation side of my project. I was going to try to use some physics plugins for Grasshopper to predict the amount and shape of slumping given a geometry and temperature. I struggled with getting any of the cylinders to shrink uniformly without slumping and abandoned my original thought for printing more complex hollow geometry. I also pivoted away from trying to model the slumping.
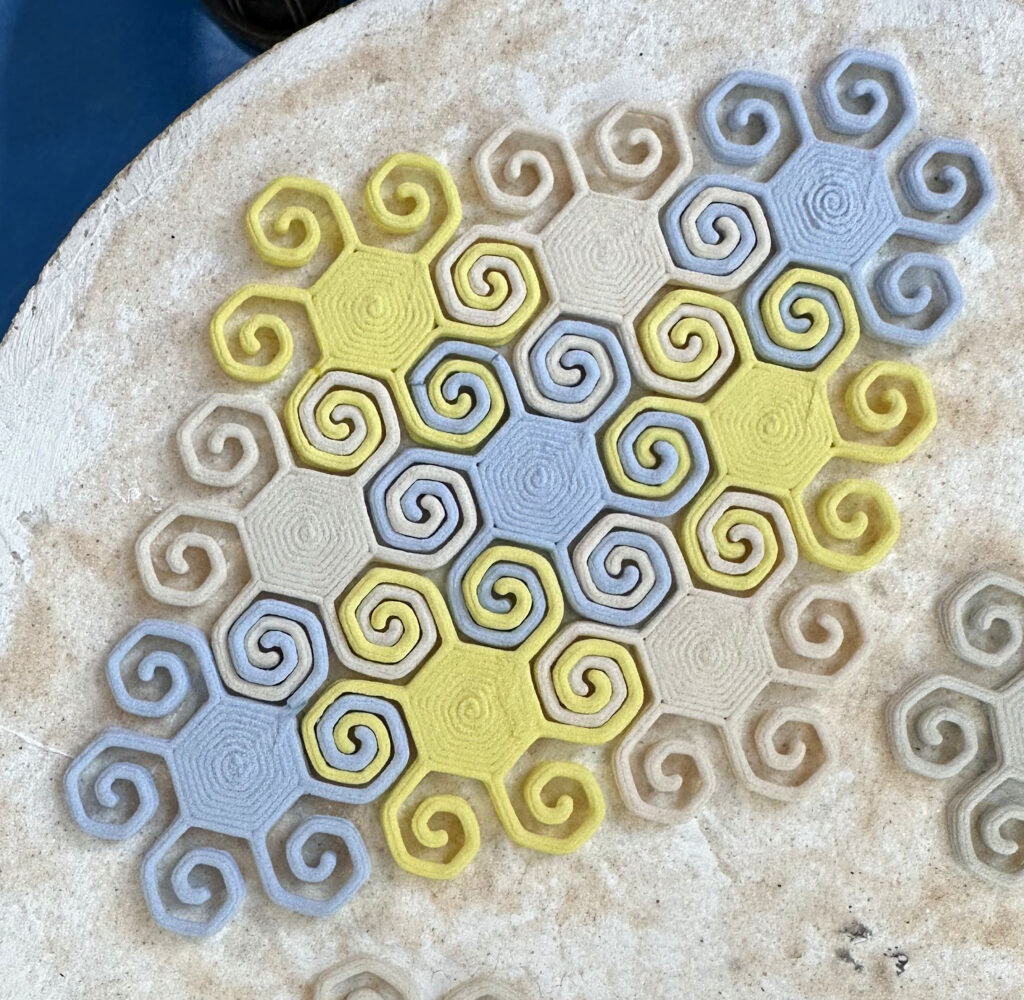
I decided to pivot to printing objects that were mostly flat or solid instead of hollow vessels. I started by writing some code that drew parametric 2D curves and turned them into gcode. I made a lot of earrings this way. I also used the tiling project to print a series of tessellating tiles in different colors that I could tessellate and fire to melt them together. Finally I tried printing some small solid 3D objects. I hoped that the solid nature of them would prevent the slumping I was seeing with cylinders.
Background Research
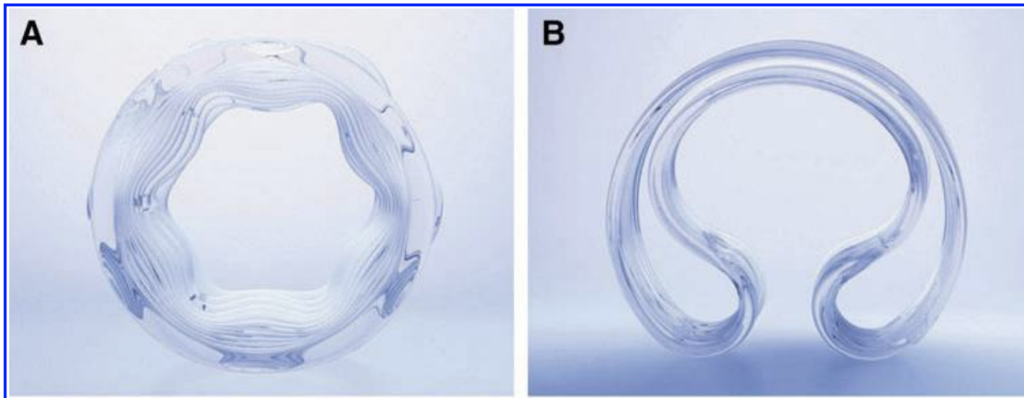
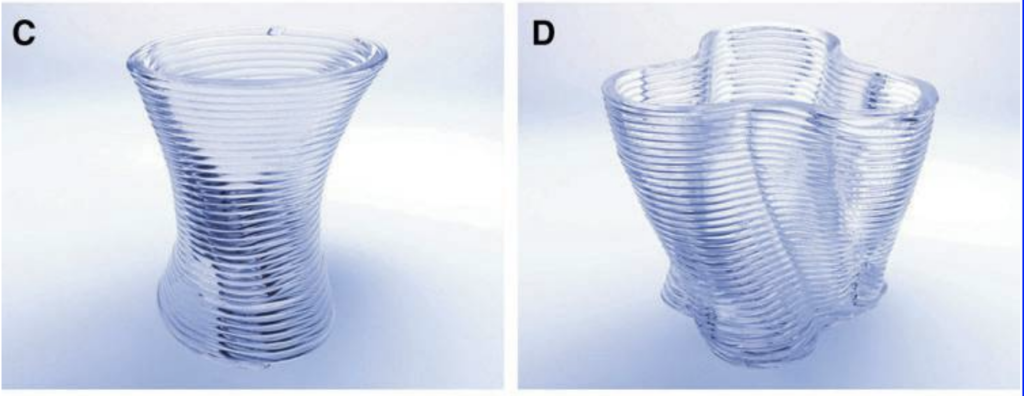
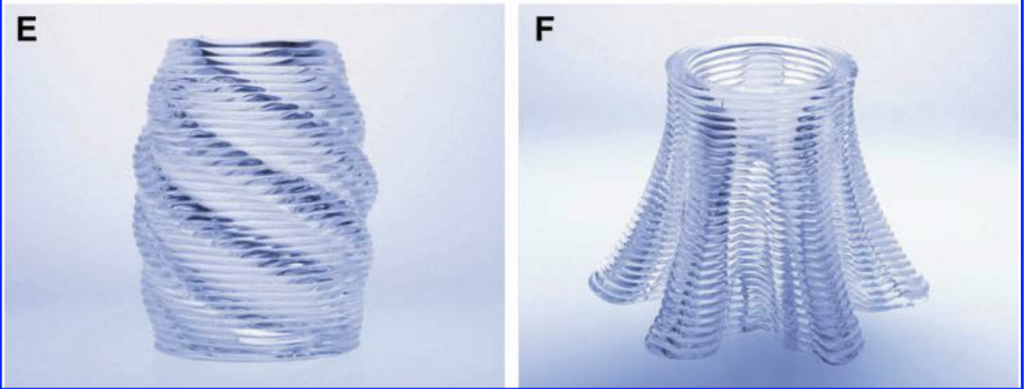
Below are a few papers and documentation I found interesting and helpful. The first is by John Klein, Michael Stern, and Giorgia Franchin from Neri Oxman’s Mediated Matter group at the MIT Media Lab. They built a glass 3D printer that prints molten glass. I am hoping to be able to 3D print glass in a much more affordable and accessible way, but I thought it was a cool project to research and highlight. The next paper investigates making transparent silica glass through powder sintering. The third is about making glass-like sintered material from metallurgical waste. The last is technical documentation of heat and glass from Bullseye Glass, which is where we get our glass frit.
- https://oxman.com/files/85c33ef4-ca38-4a13-919a-4ca1df71bf25/Additive-Manufacturing-of-Optically-Transparent-Glass-(2015).pdf
- https://iopscience.iop.org/article/10.1016/S1468-6996(02)00030-X/pdf
- https://www.ncbi.nlm.nih.gov/pmc/articles/PMC8123903/pdf/materials-14-02263.pdf
- https://www.bullseyeglass.com/wp-content/uploads/2023/02/technotes_04.pdf
Process
Paste Recipe and Kiln Schedule
To build the paste recipe, I started with some other unusual material recipes that are used in the lab, like Dr. Buechley’s metal clay recipe. I started with about twice as much Xanthan Gum and methylcellulose, but the paste did not print well. I then used too little of those binders, and the paste would sieze up and get clogged in the printer. It took me a while to figure out that the paste needed to be quite wet to be able to print. I landed on the recipe below, and had a frosting-like consistency. It printed really well, and for the taller objects it helped to use a heater while printing. To find the kiln schedule, I looked at some glass companies (Bullseye Glass and American Glass Supply) recommended firing schedules for fusing glass and adapted them to our materials and kilns. Below are the recipe and firing schedules. The fast schedule is for smaller objects, and the slow is for larger ones. Note, the degrees are all in Fereinheit.
Recipe for Printable Paste
- Glass Frit Powder—–97.5%
- Xanthan Gum———2%
- Methylcellulose——-0.5%
+ Water———50% of dry weight
*Target Temp 1325°-1375°
Kiln Schedule Fast
- 400°/hr to 1000°— hold 10 min
- 9999°/hr to Target Temp*—hold 10 min
- 9999°/hr to 900°–hold 15 min
Kiln Schedule Slow
- 400°/hr to 1000°— hold 10 min
- 9999°/hr to Target Temp*—hold 10 min
- 9999°/hr to 900°–hold 20 min
- 150°/hr to 800°–hold 2 min
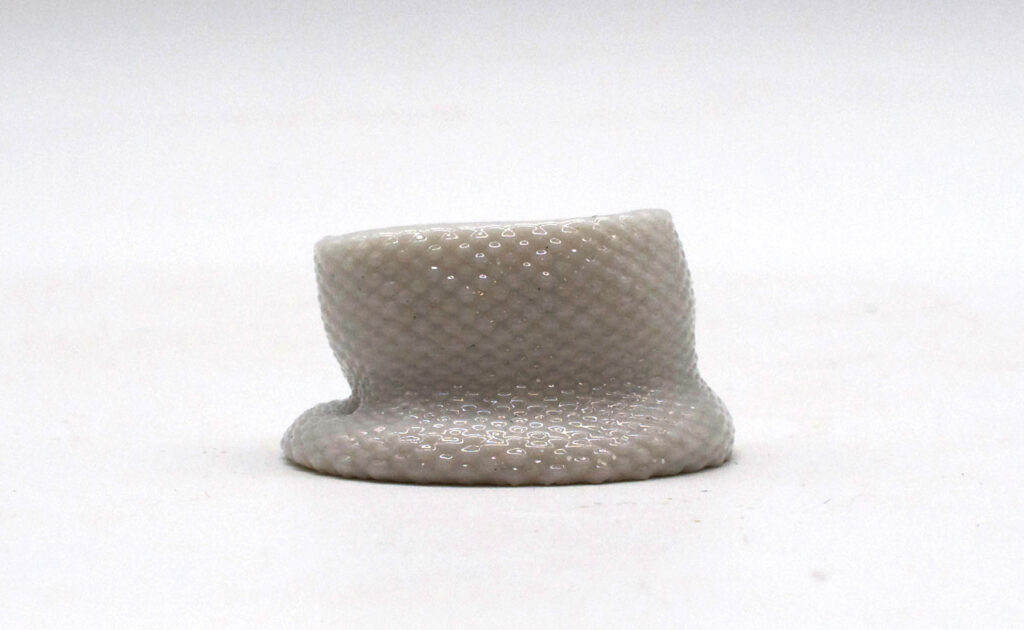
Challenges
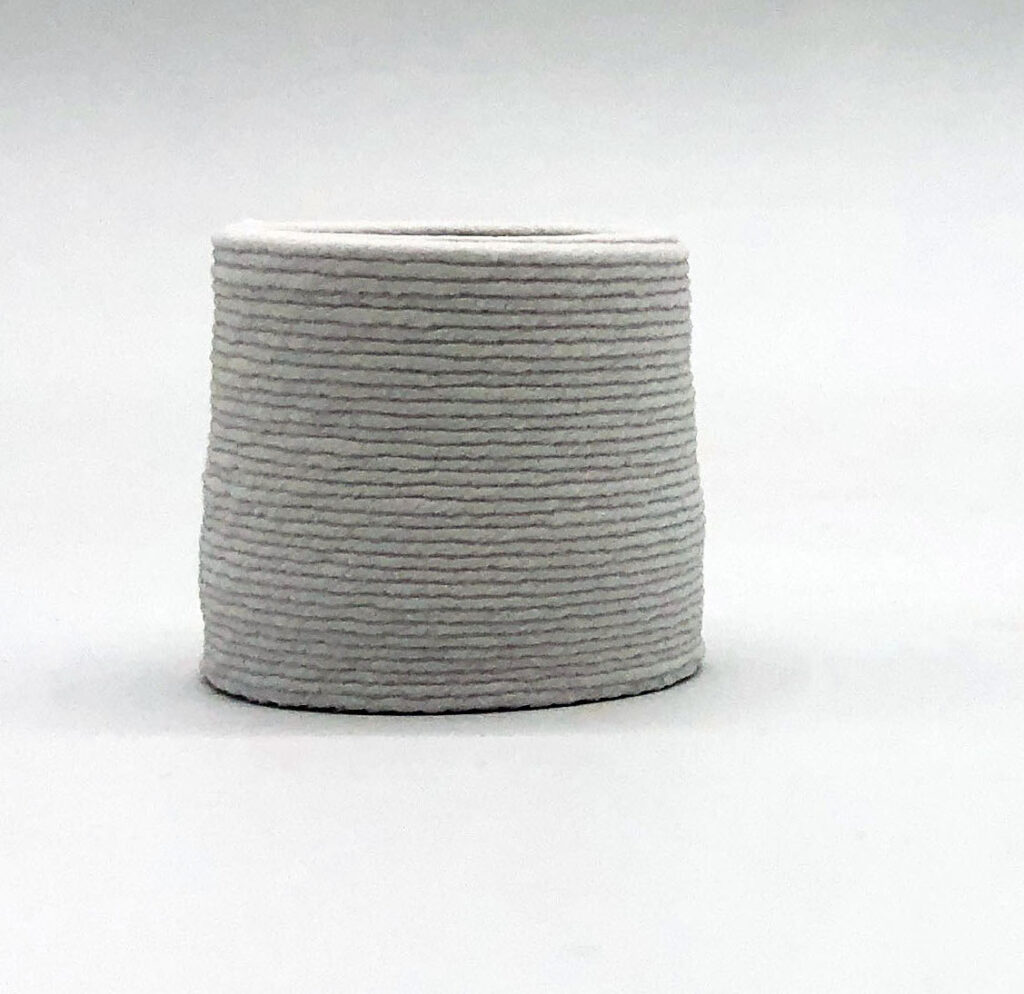
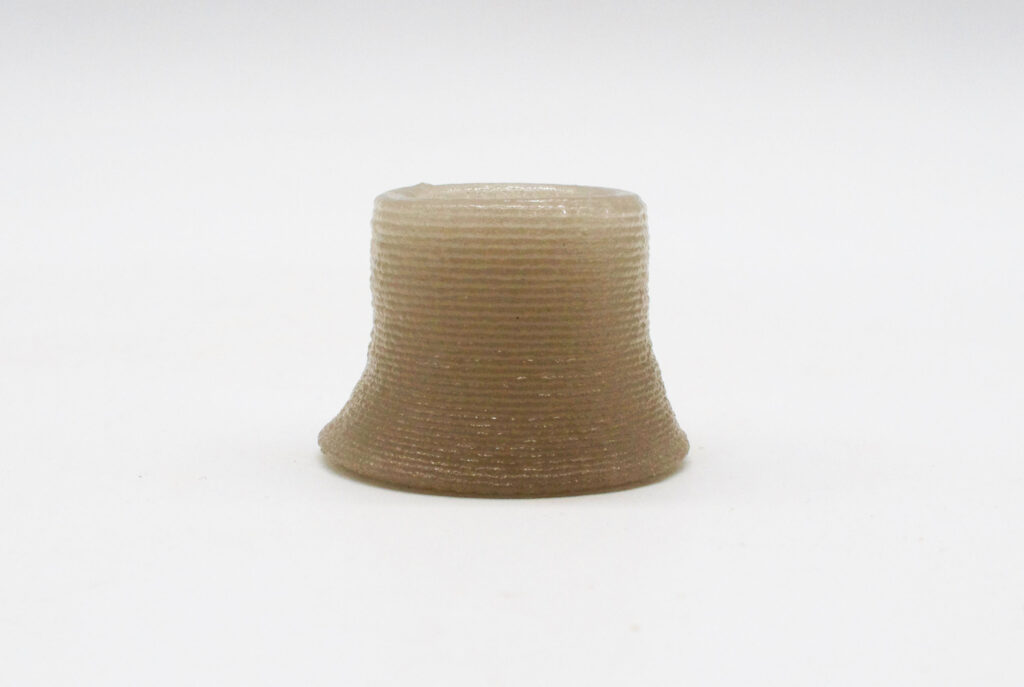
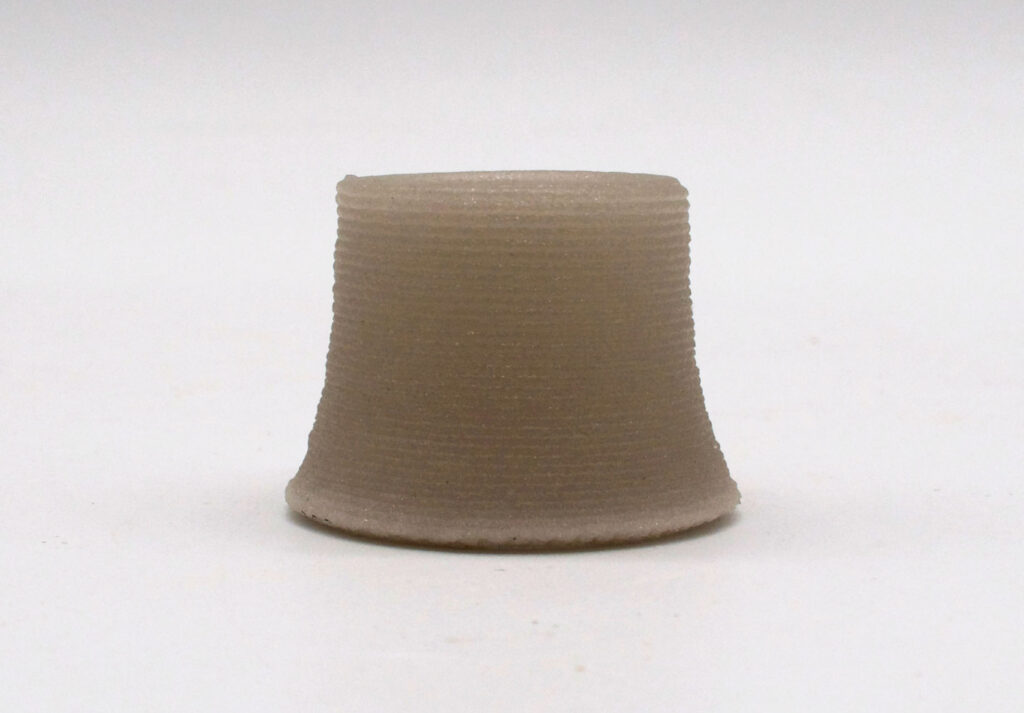
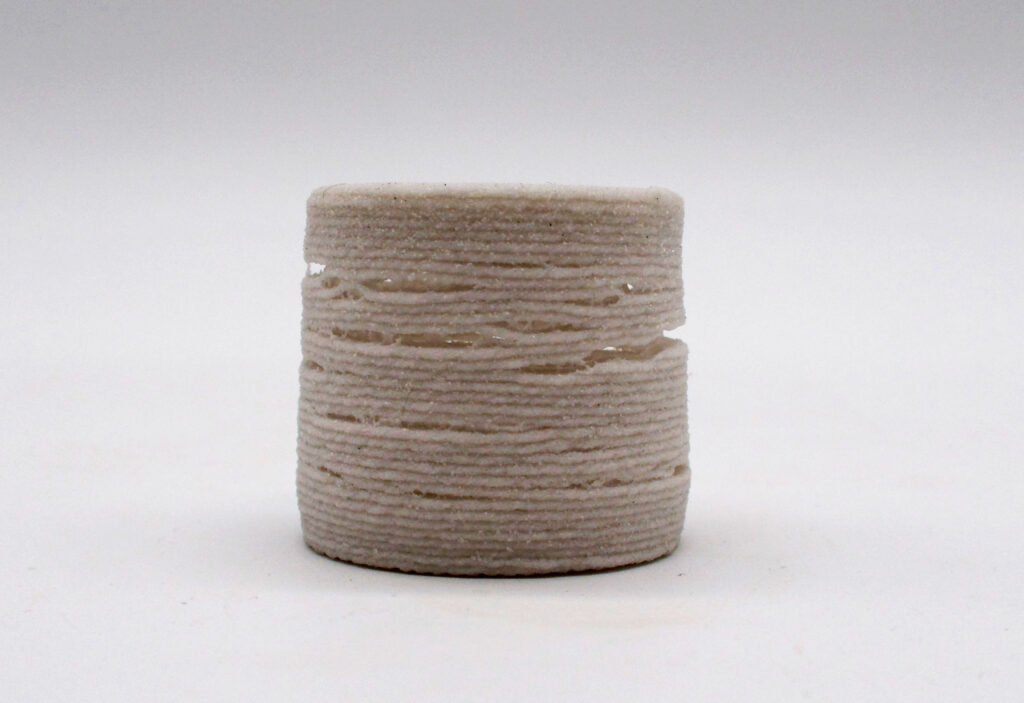
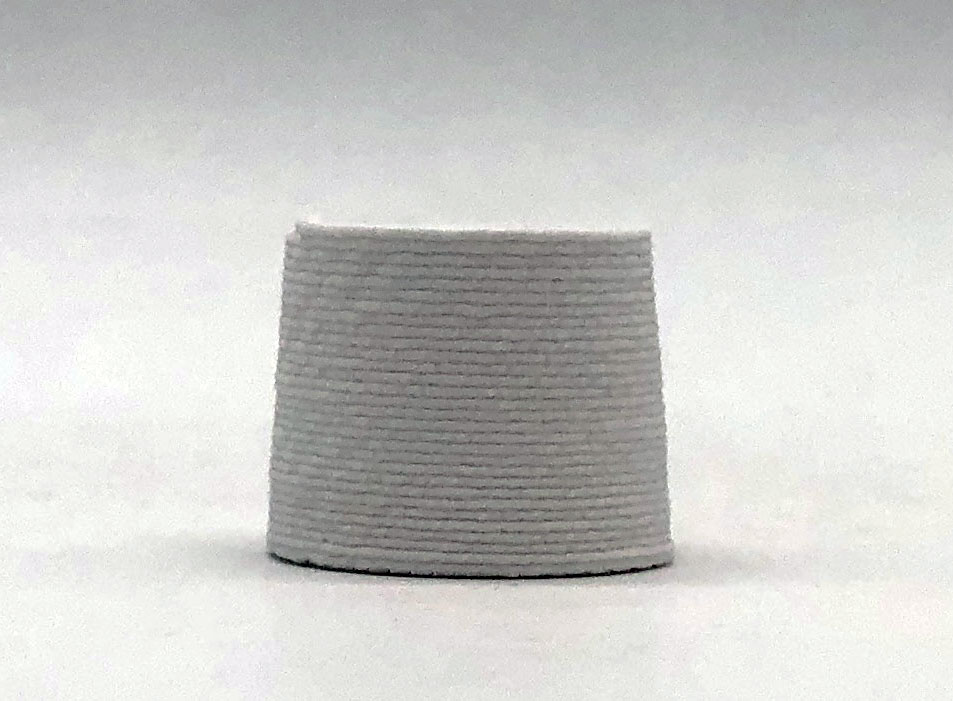
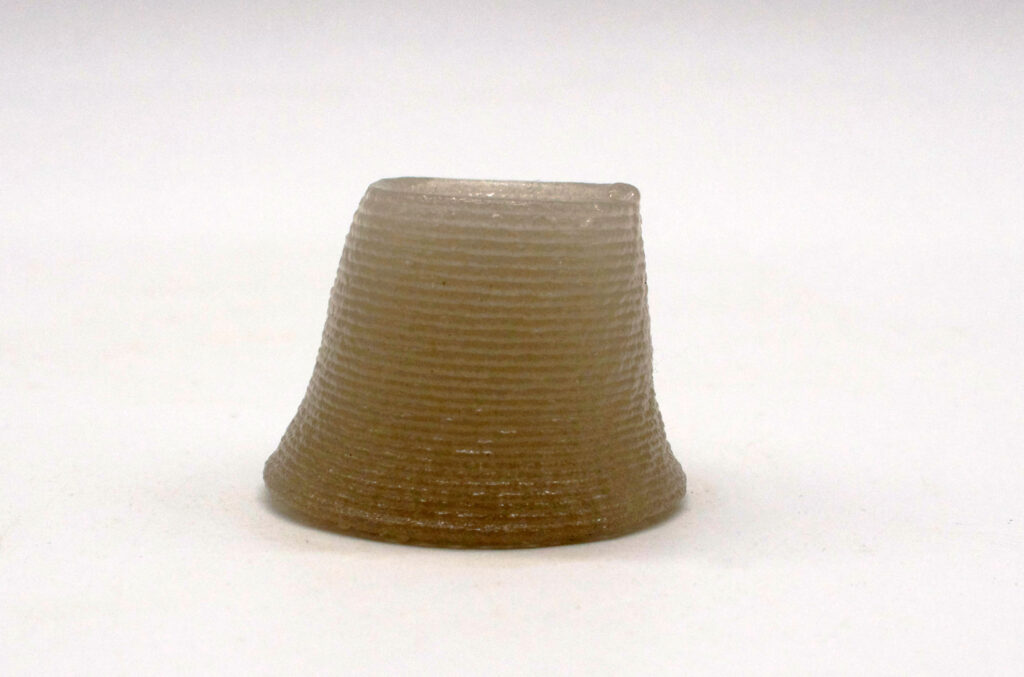
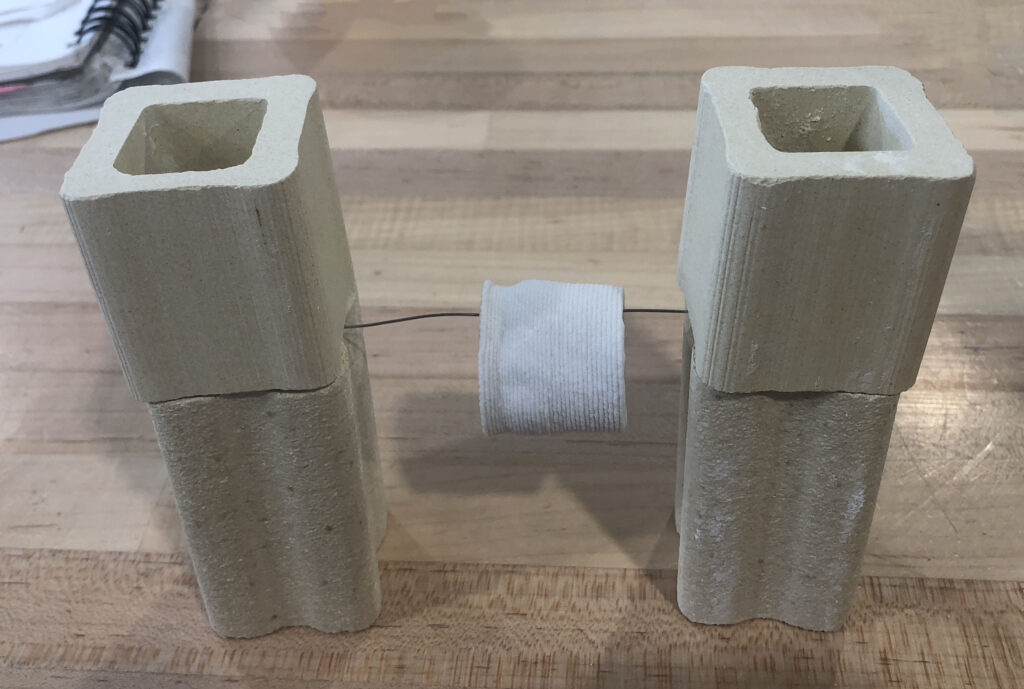
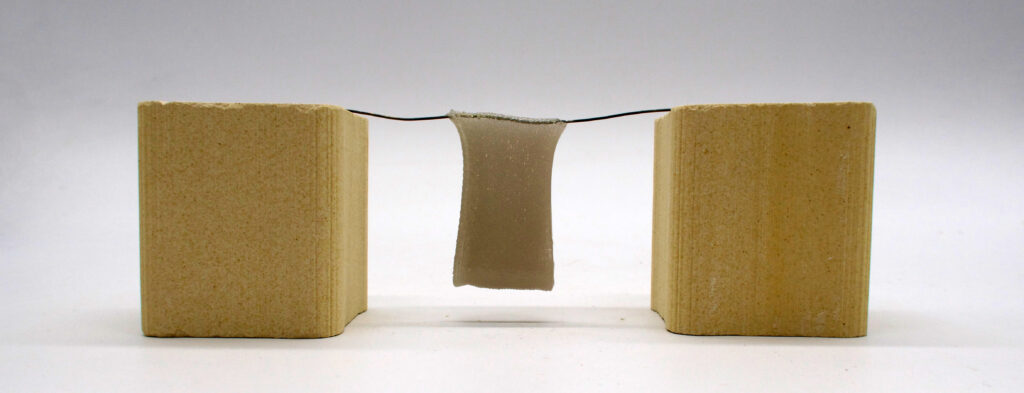
Once I dialed in the paste recipe, I decided to start with simple 35mm x 30mm cylinders. The printing went really well, but I really struggled with getting them to maintain their shape when fired. If fired too hot, the cylinders would slump entirely. When I fired them to a lower temperature, they did not slump as much, but they still flared out at the bottom. They also looked opaque and frosty at lower temperatures. I tried firing the cylinders on little slabs of glass, in sand, and hanging on a wire. All of them deformed significantly. I became frustrated with these results and decided to pivot toward more two dimensional and solid three dimensional objects.
2D Objects
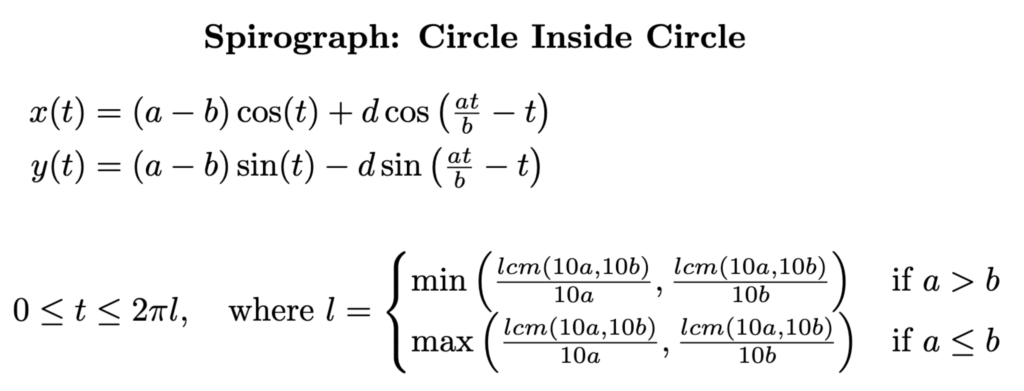
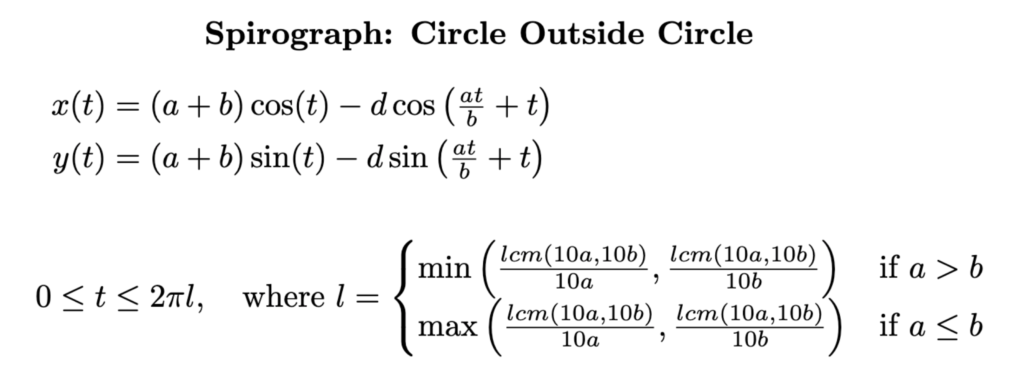
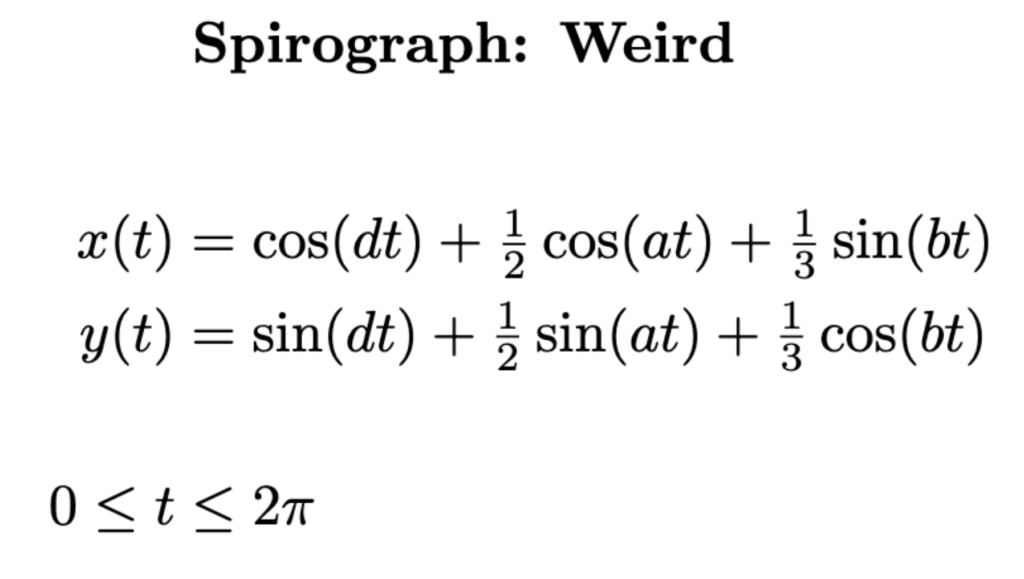
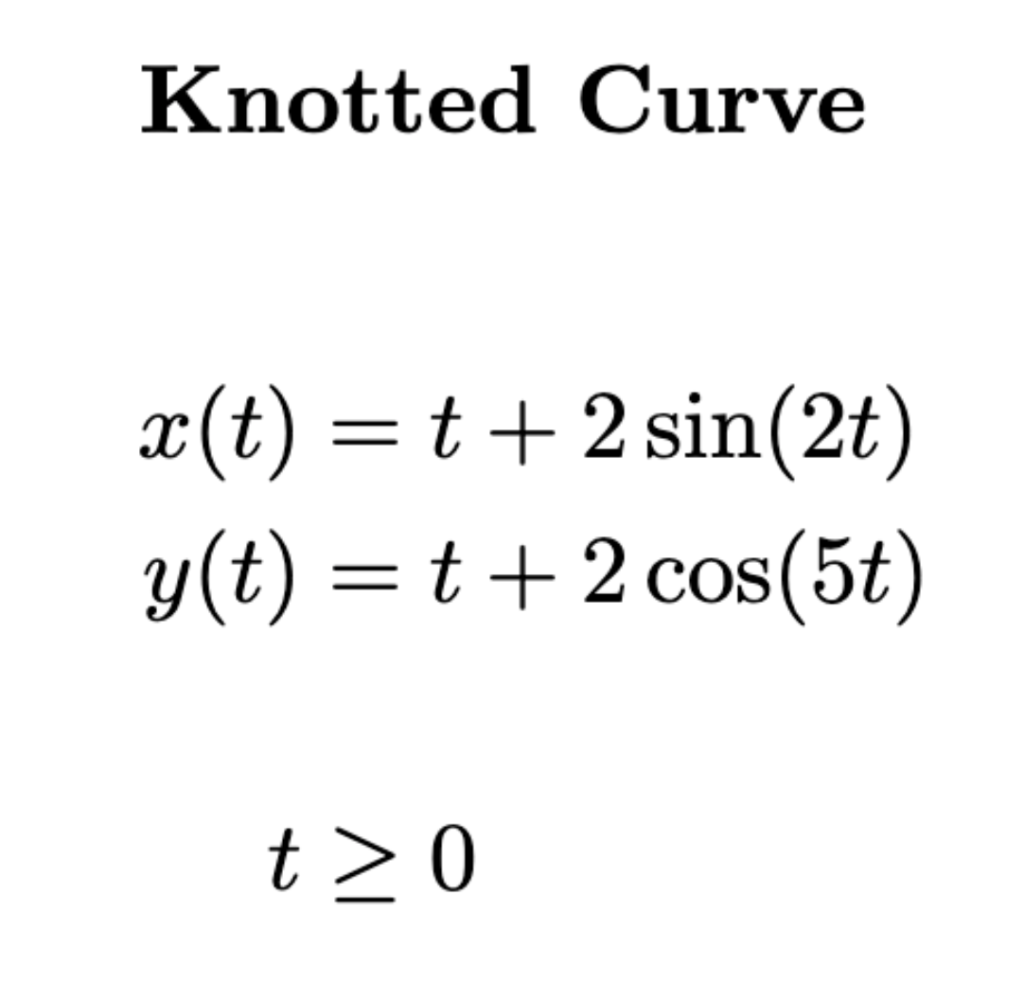
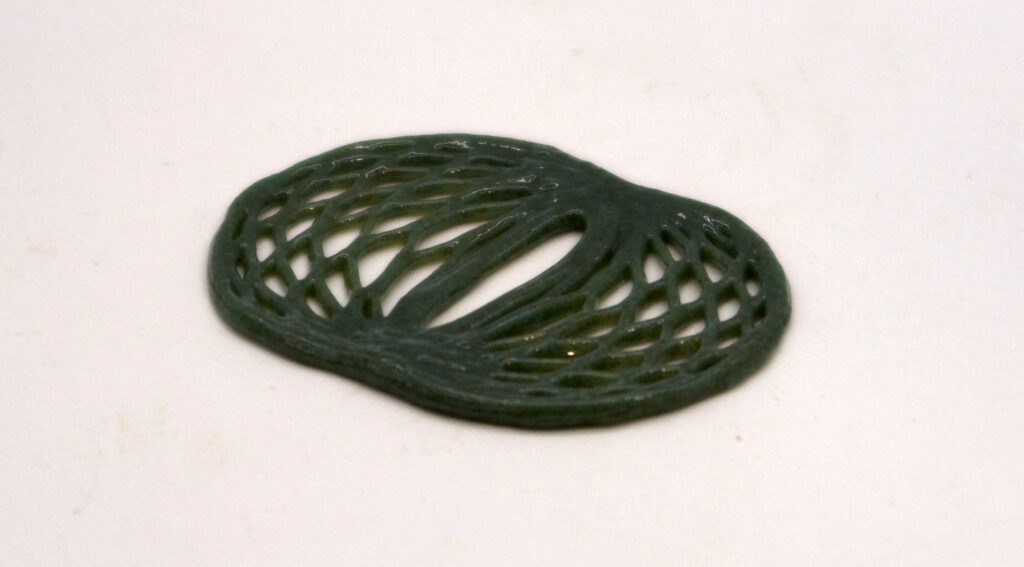
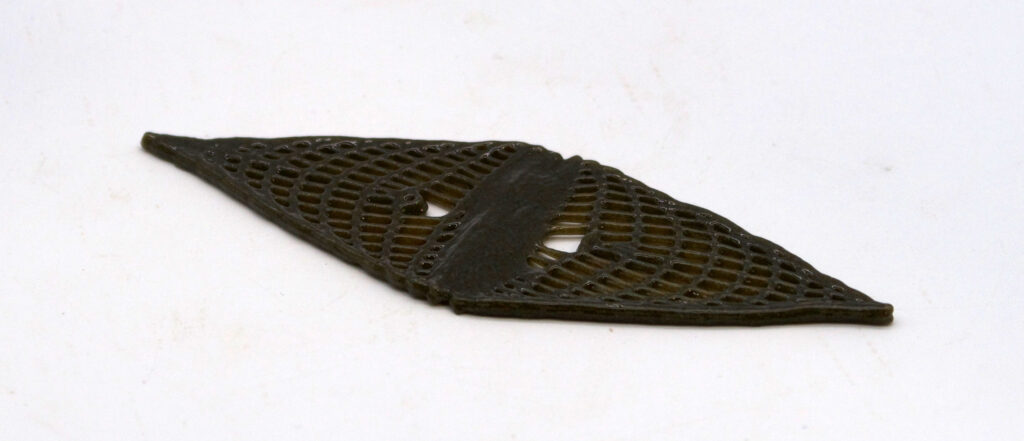
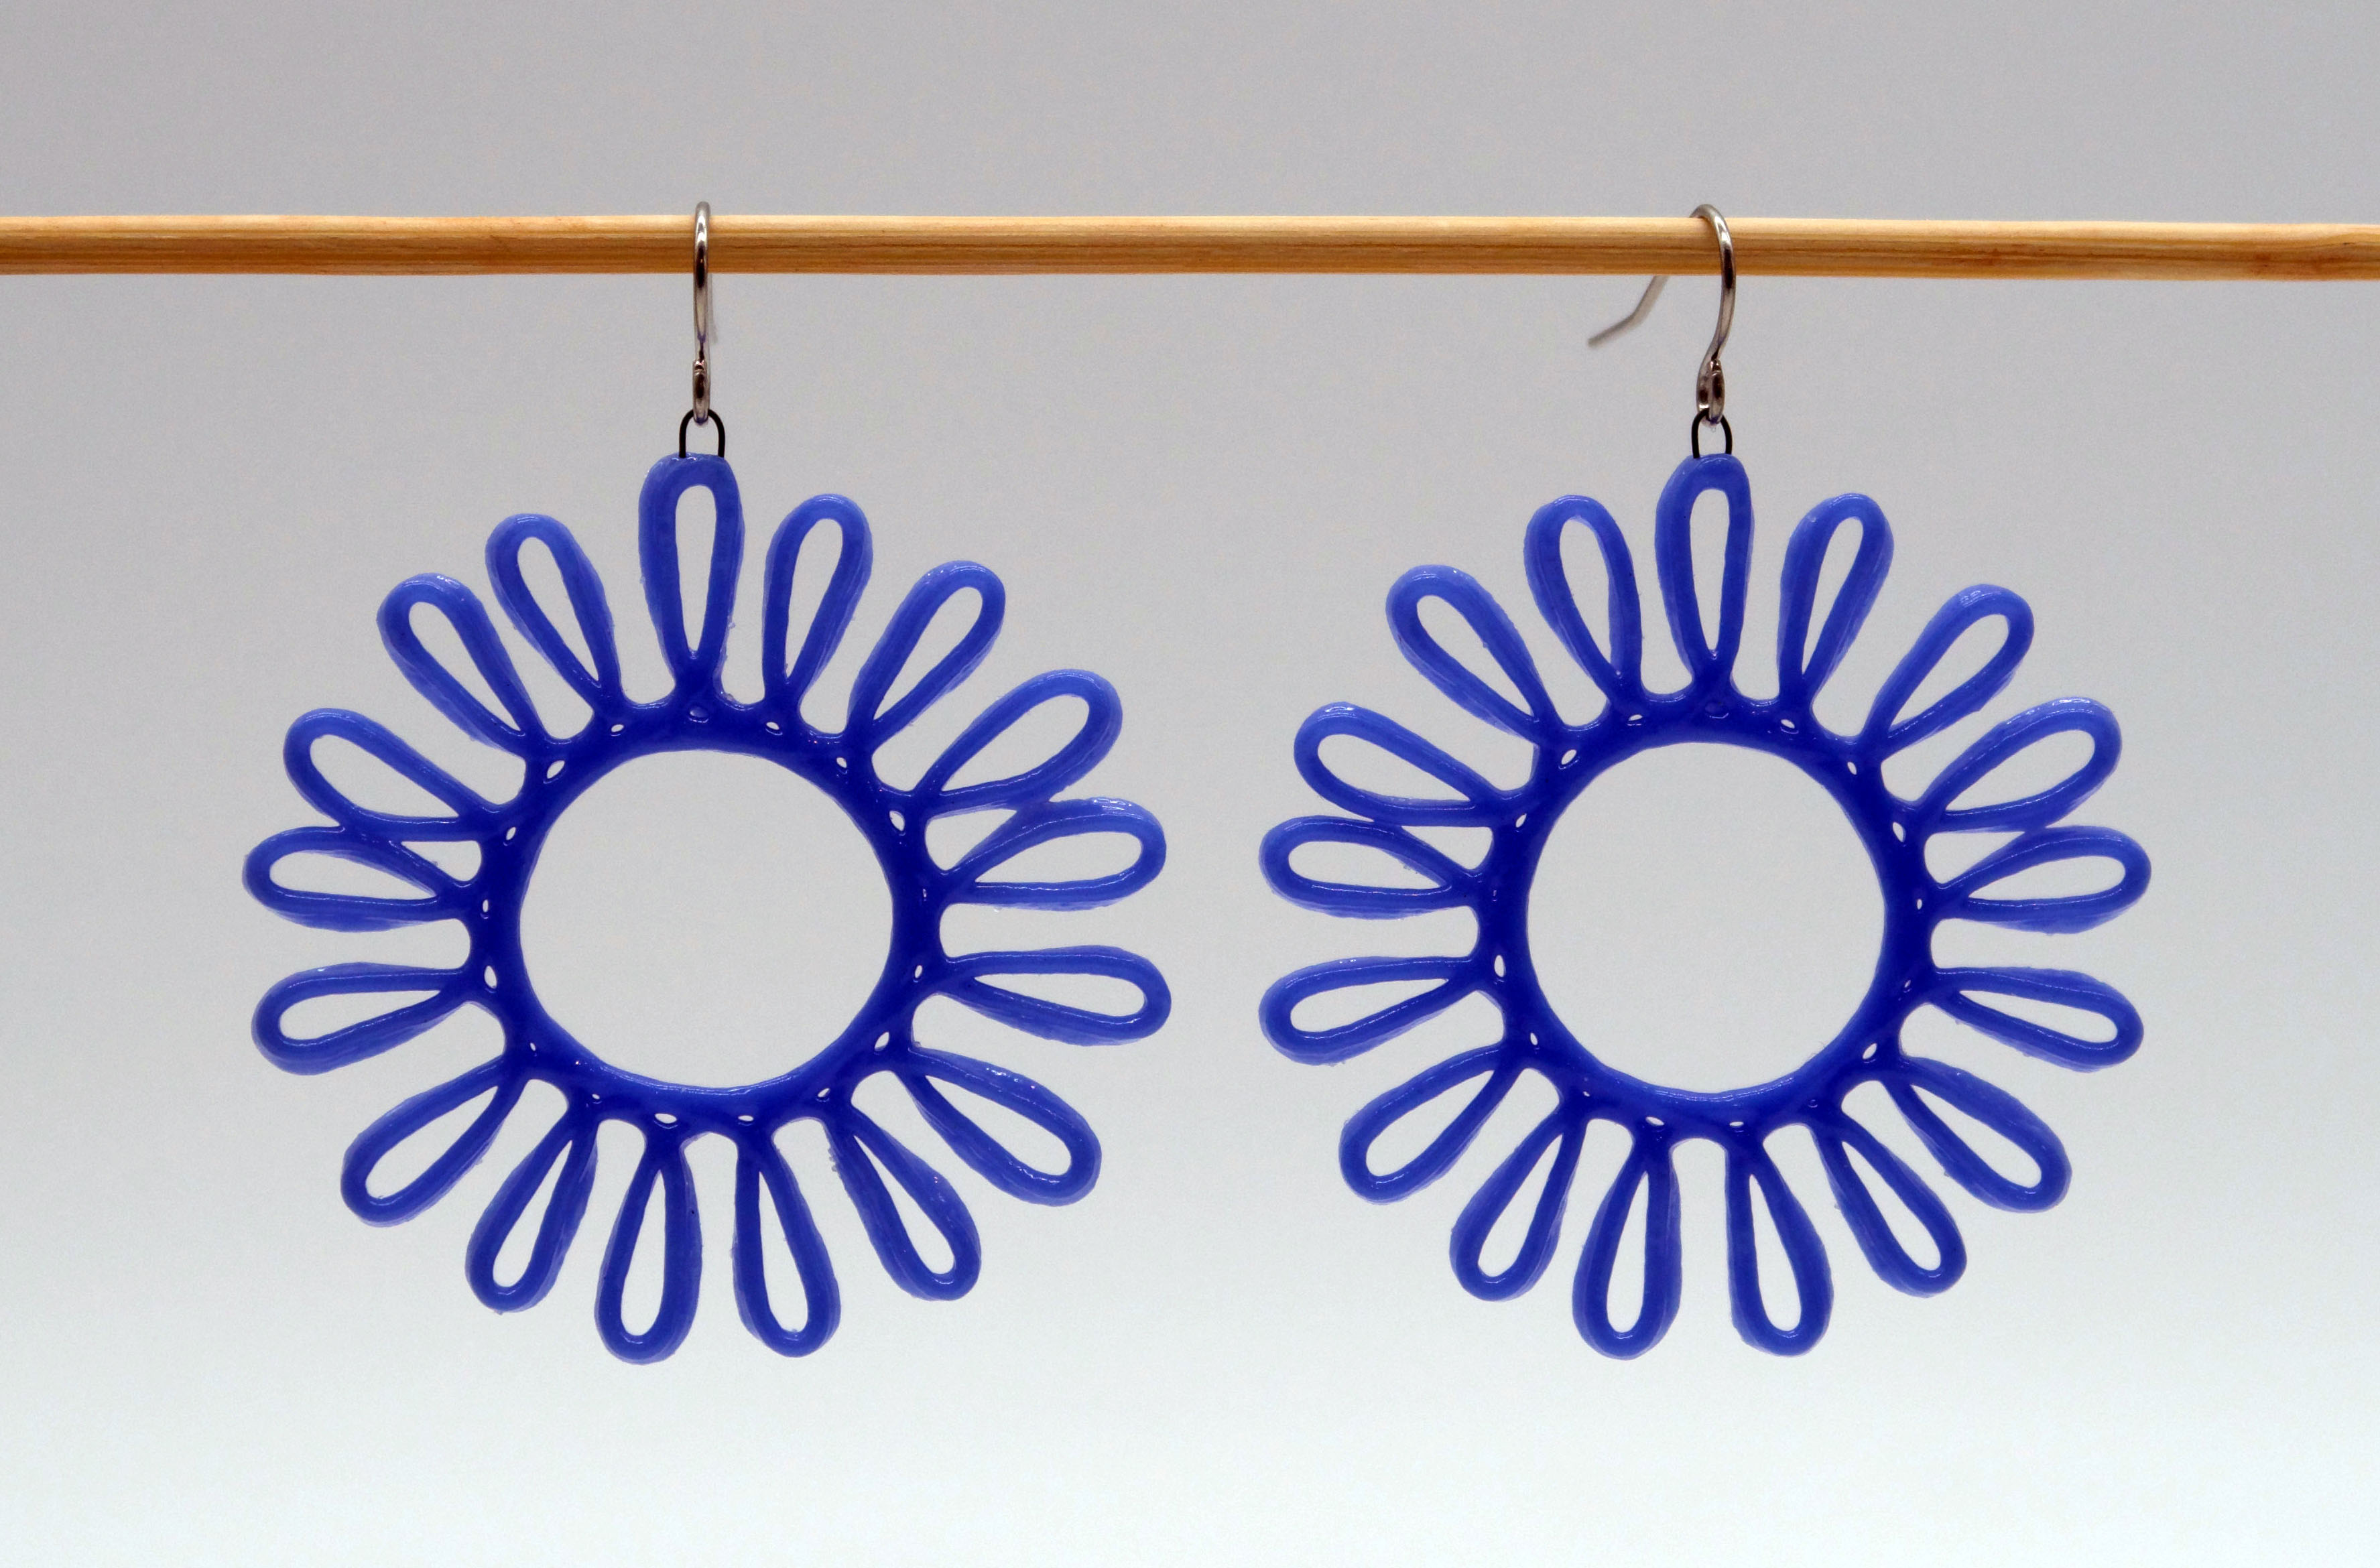
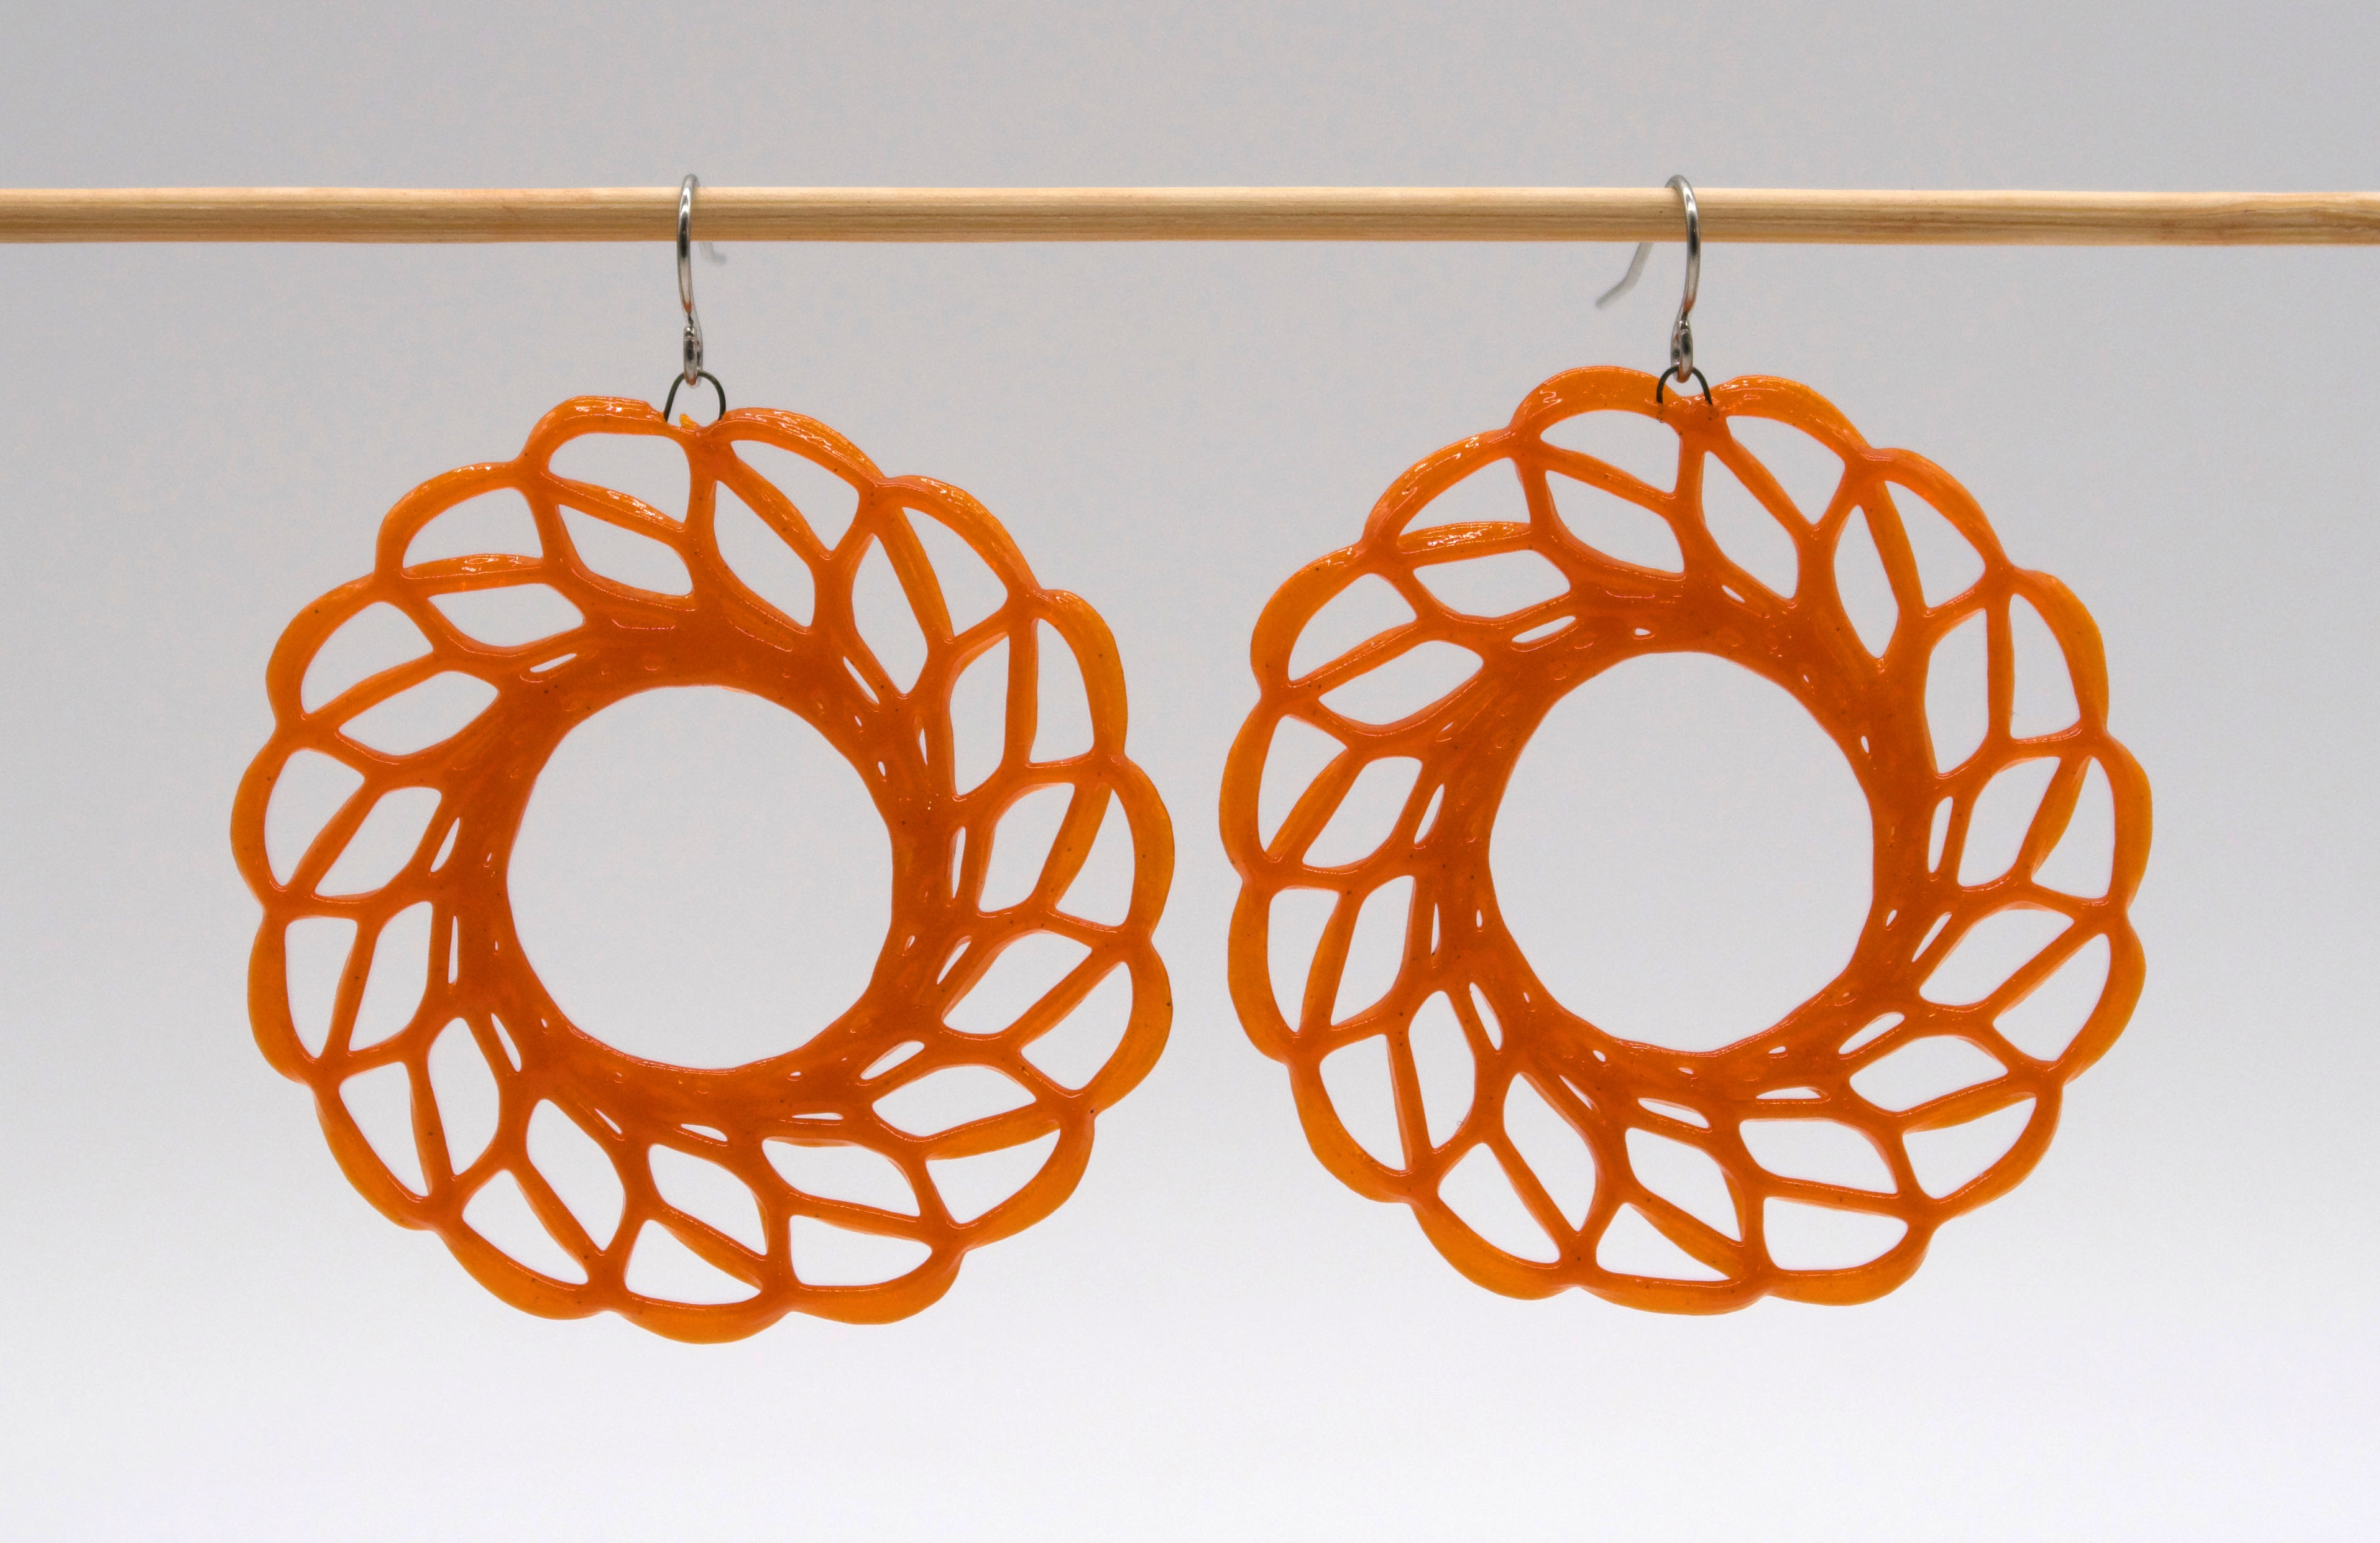
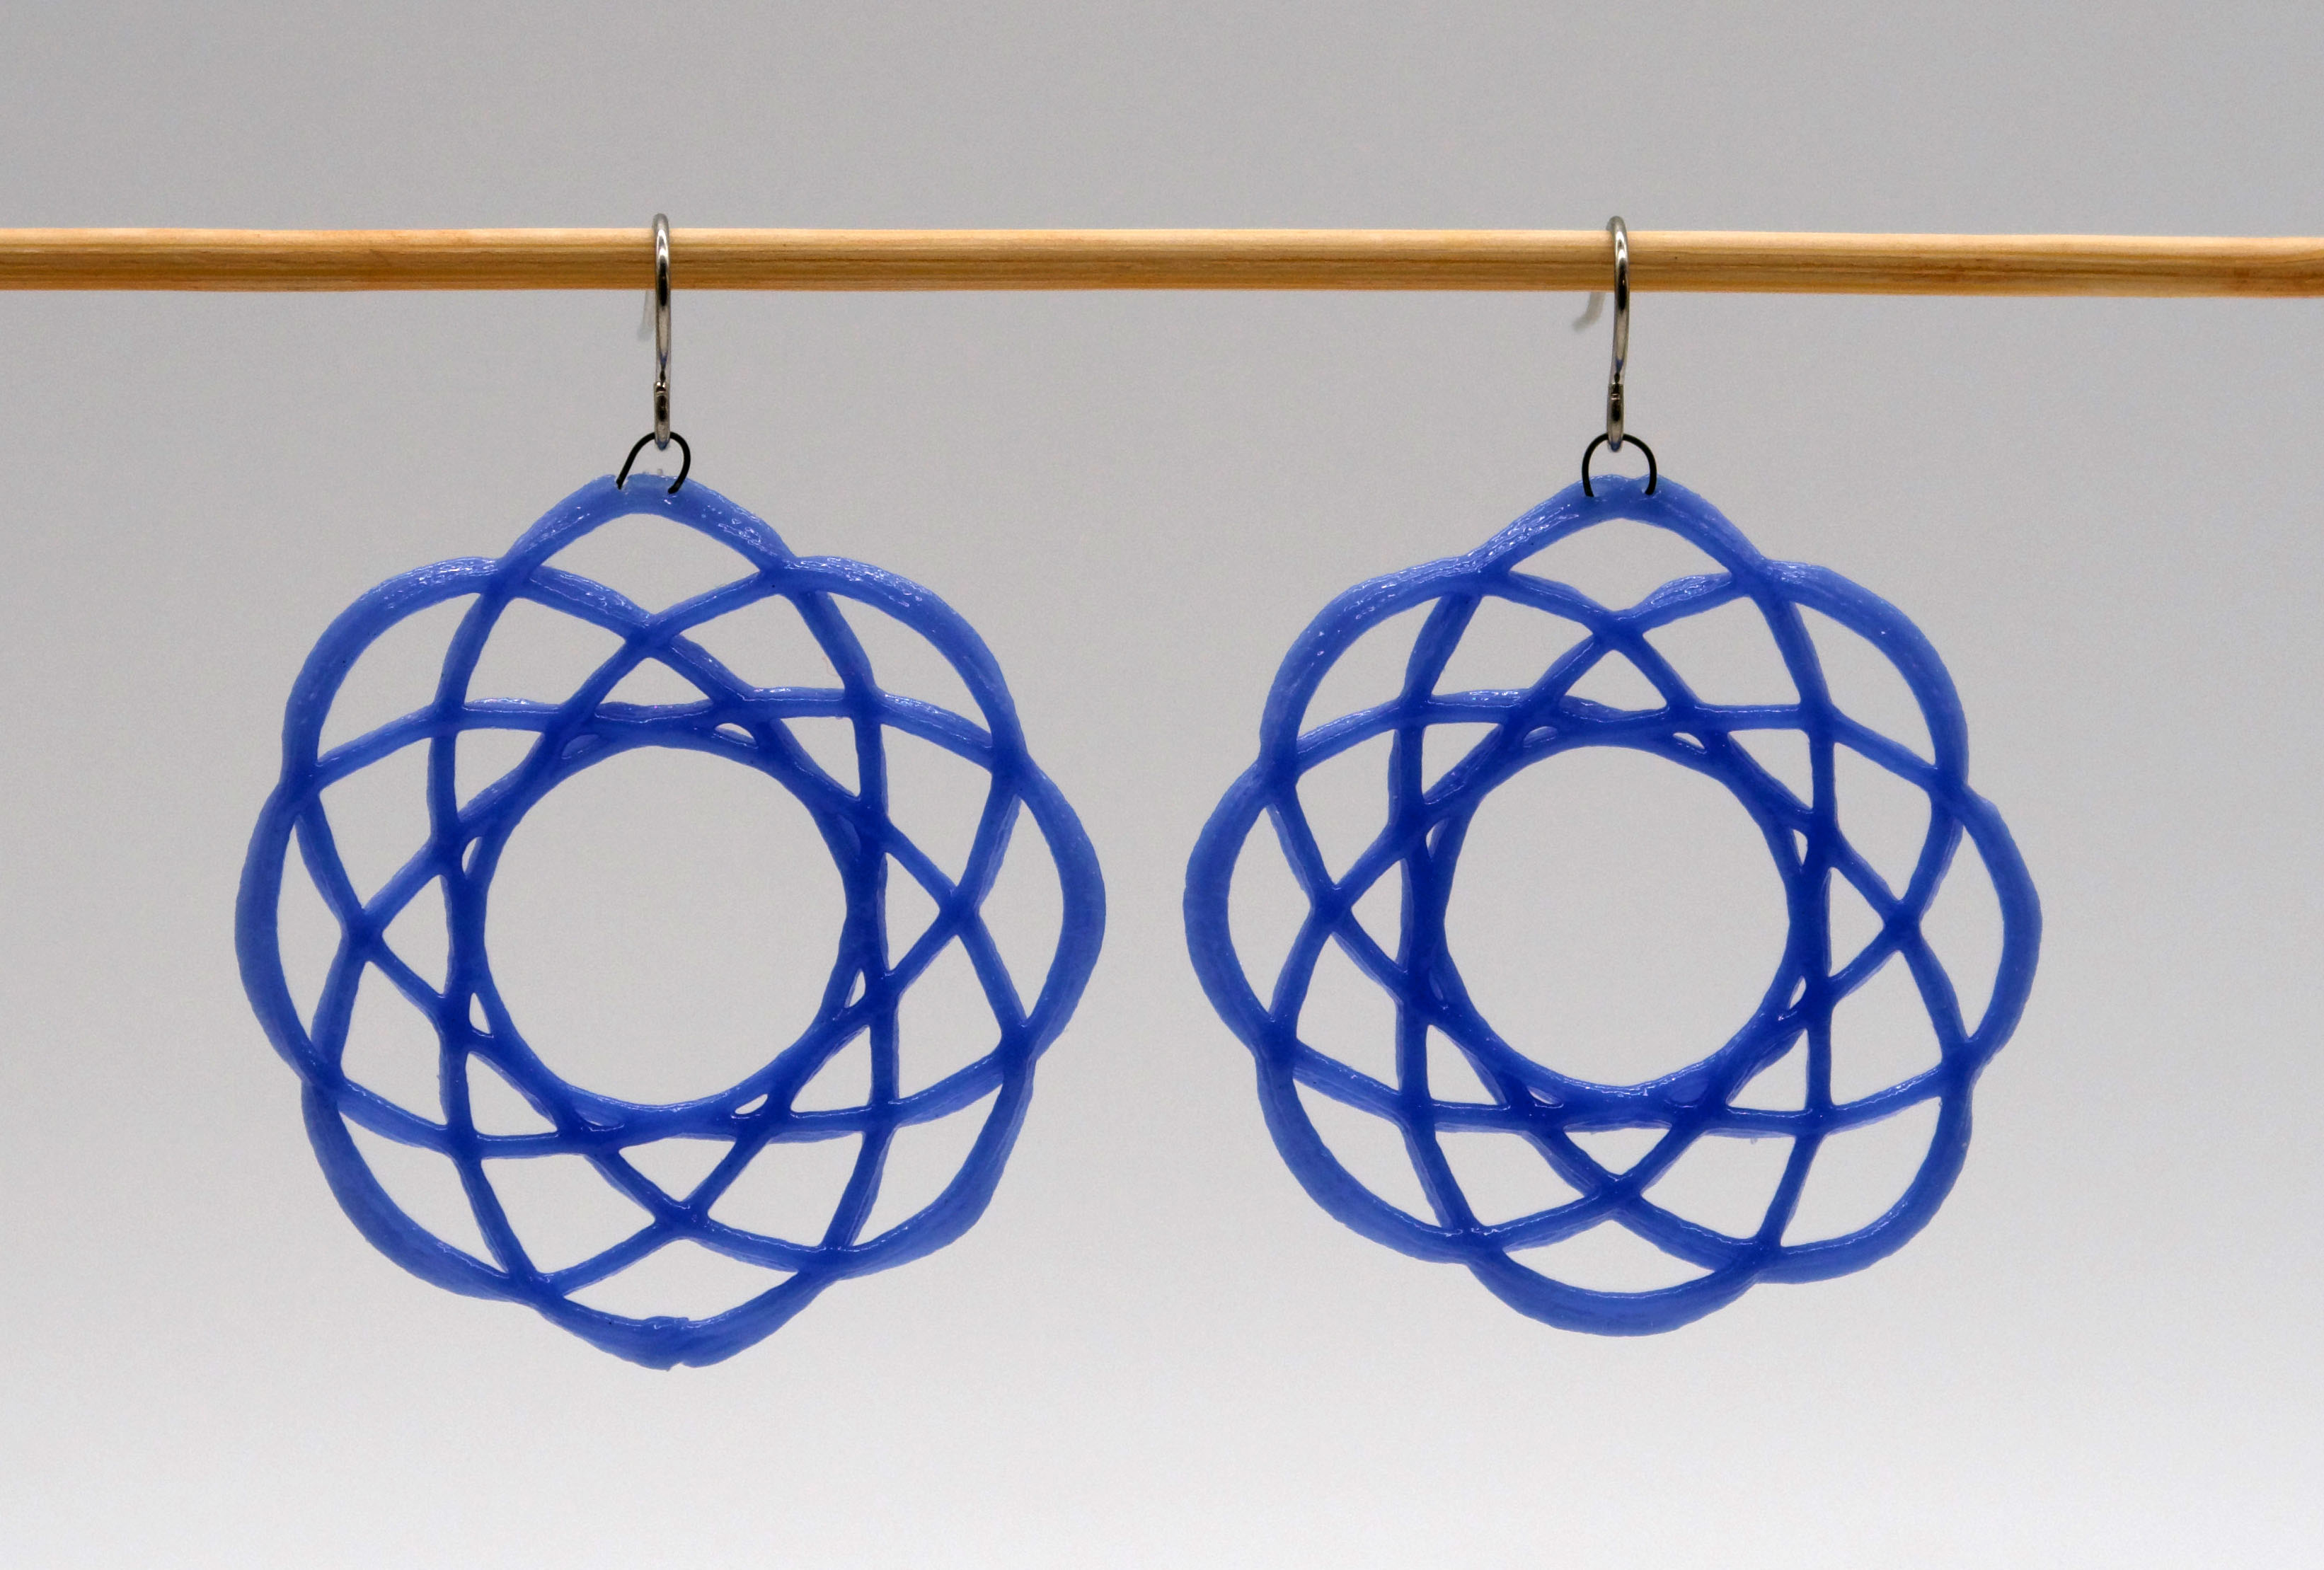
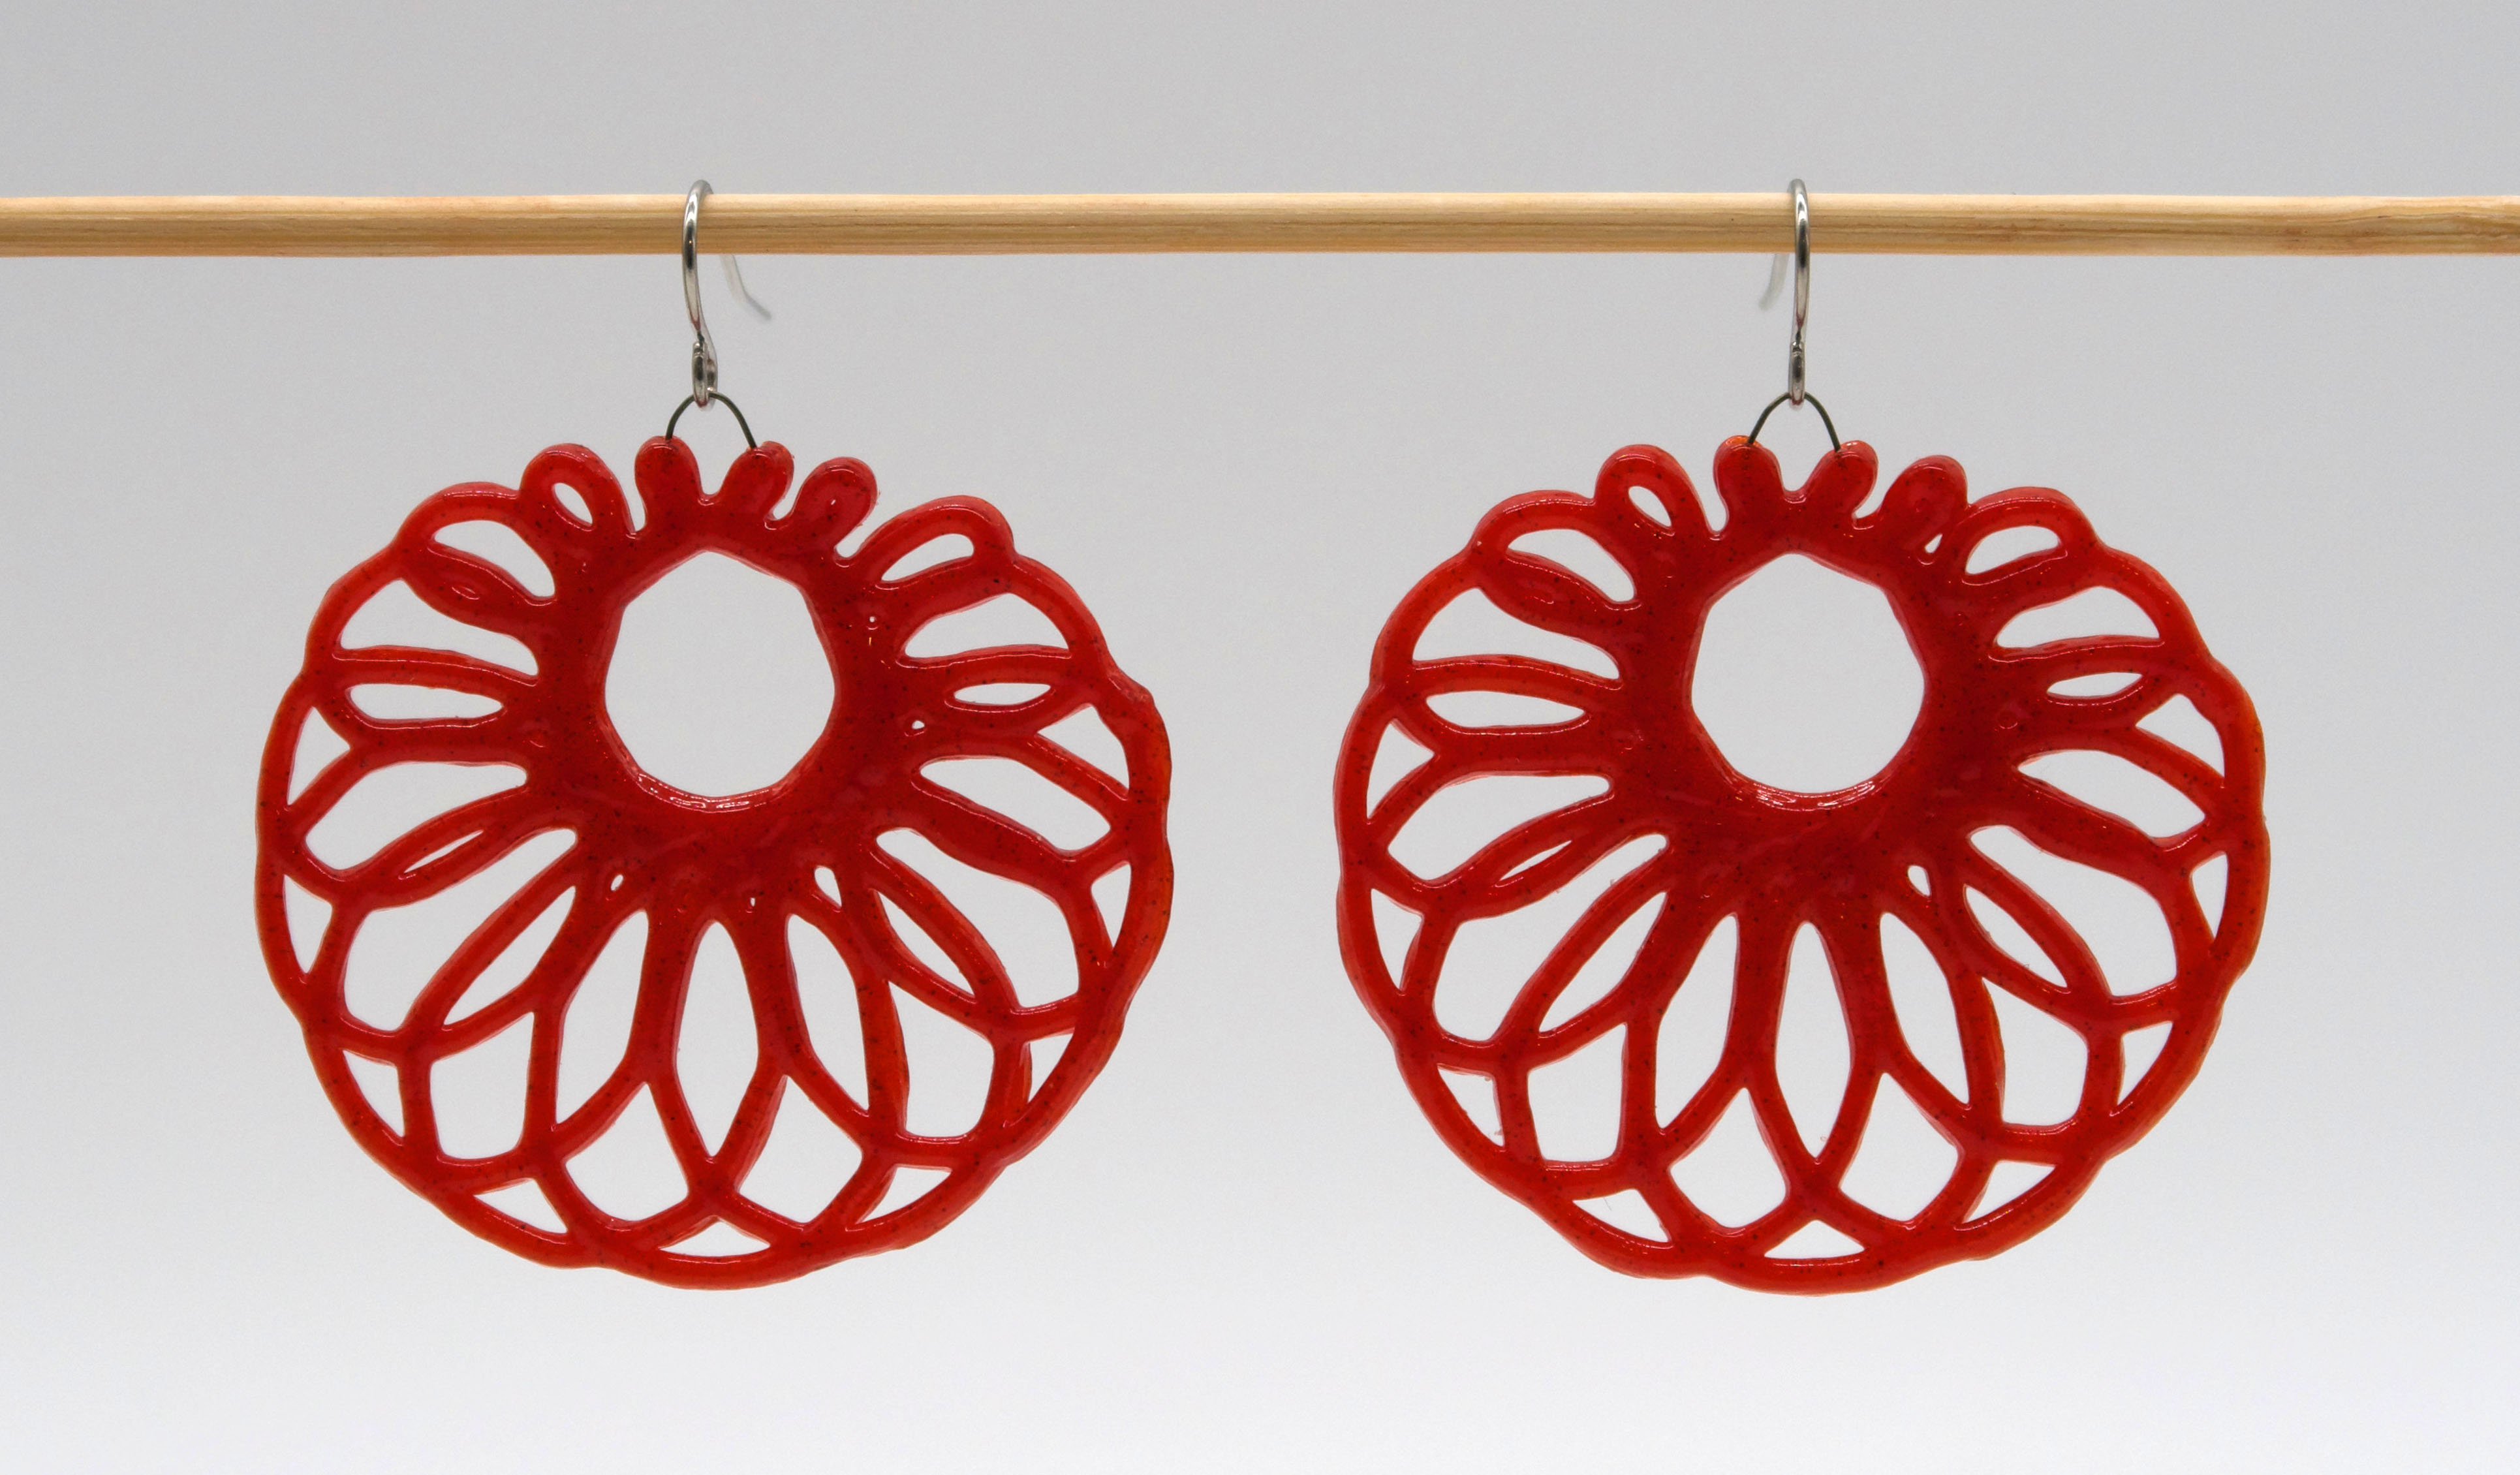
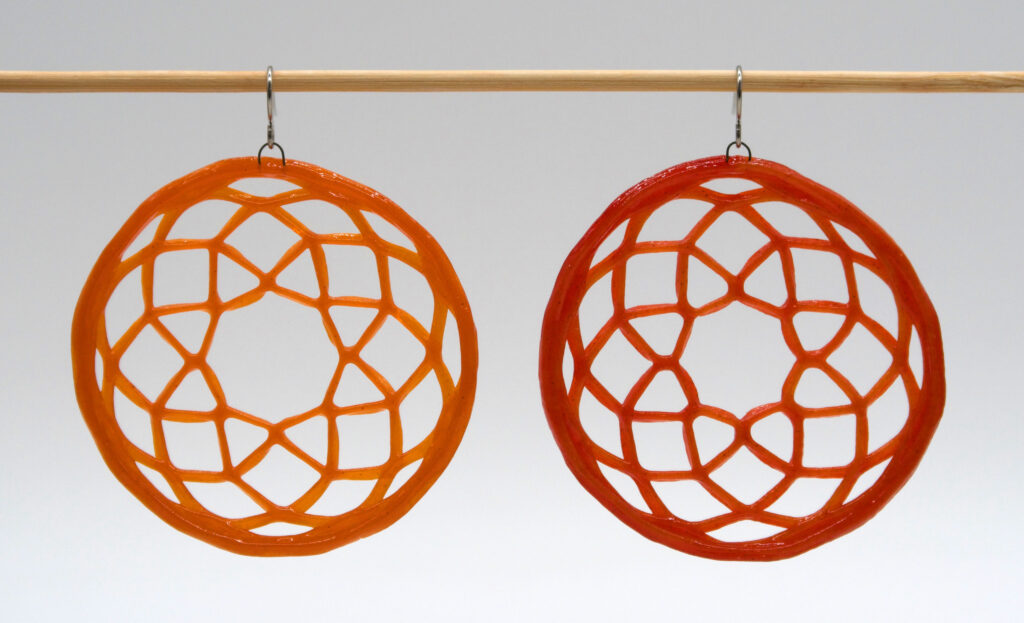
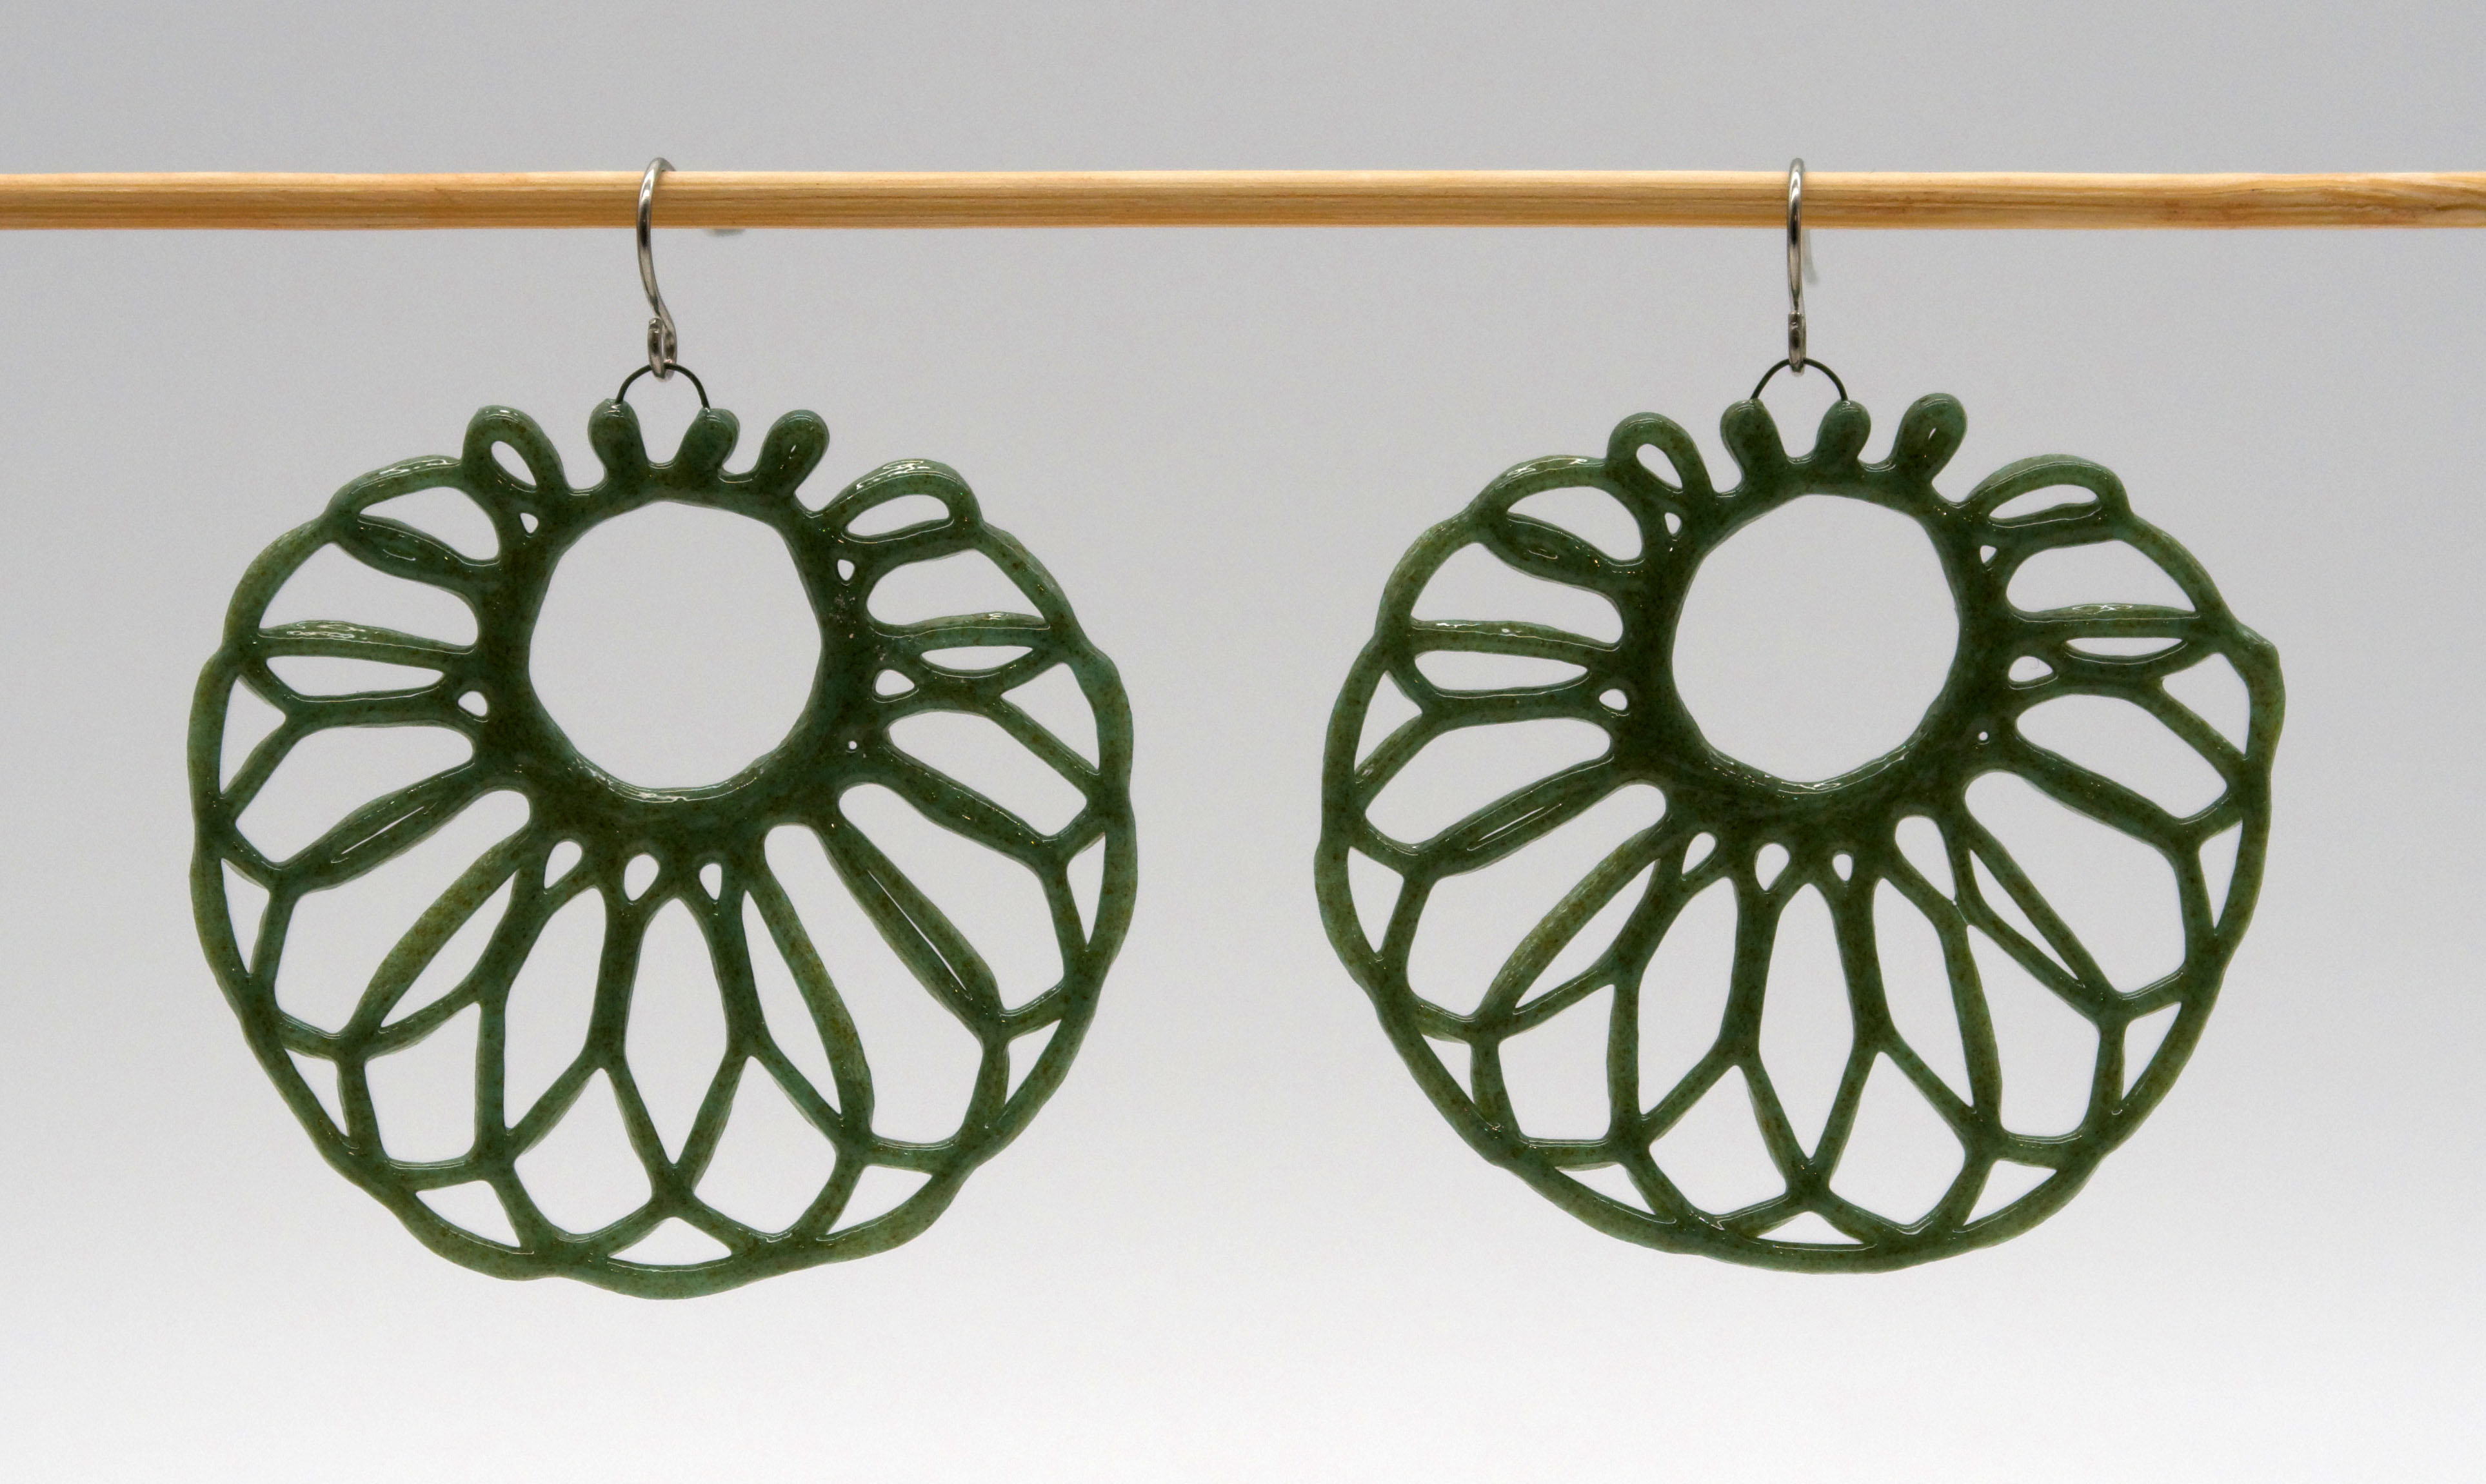
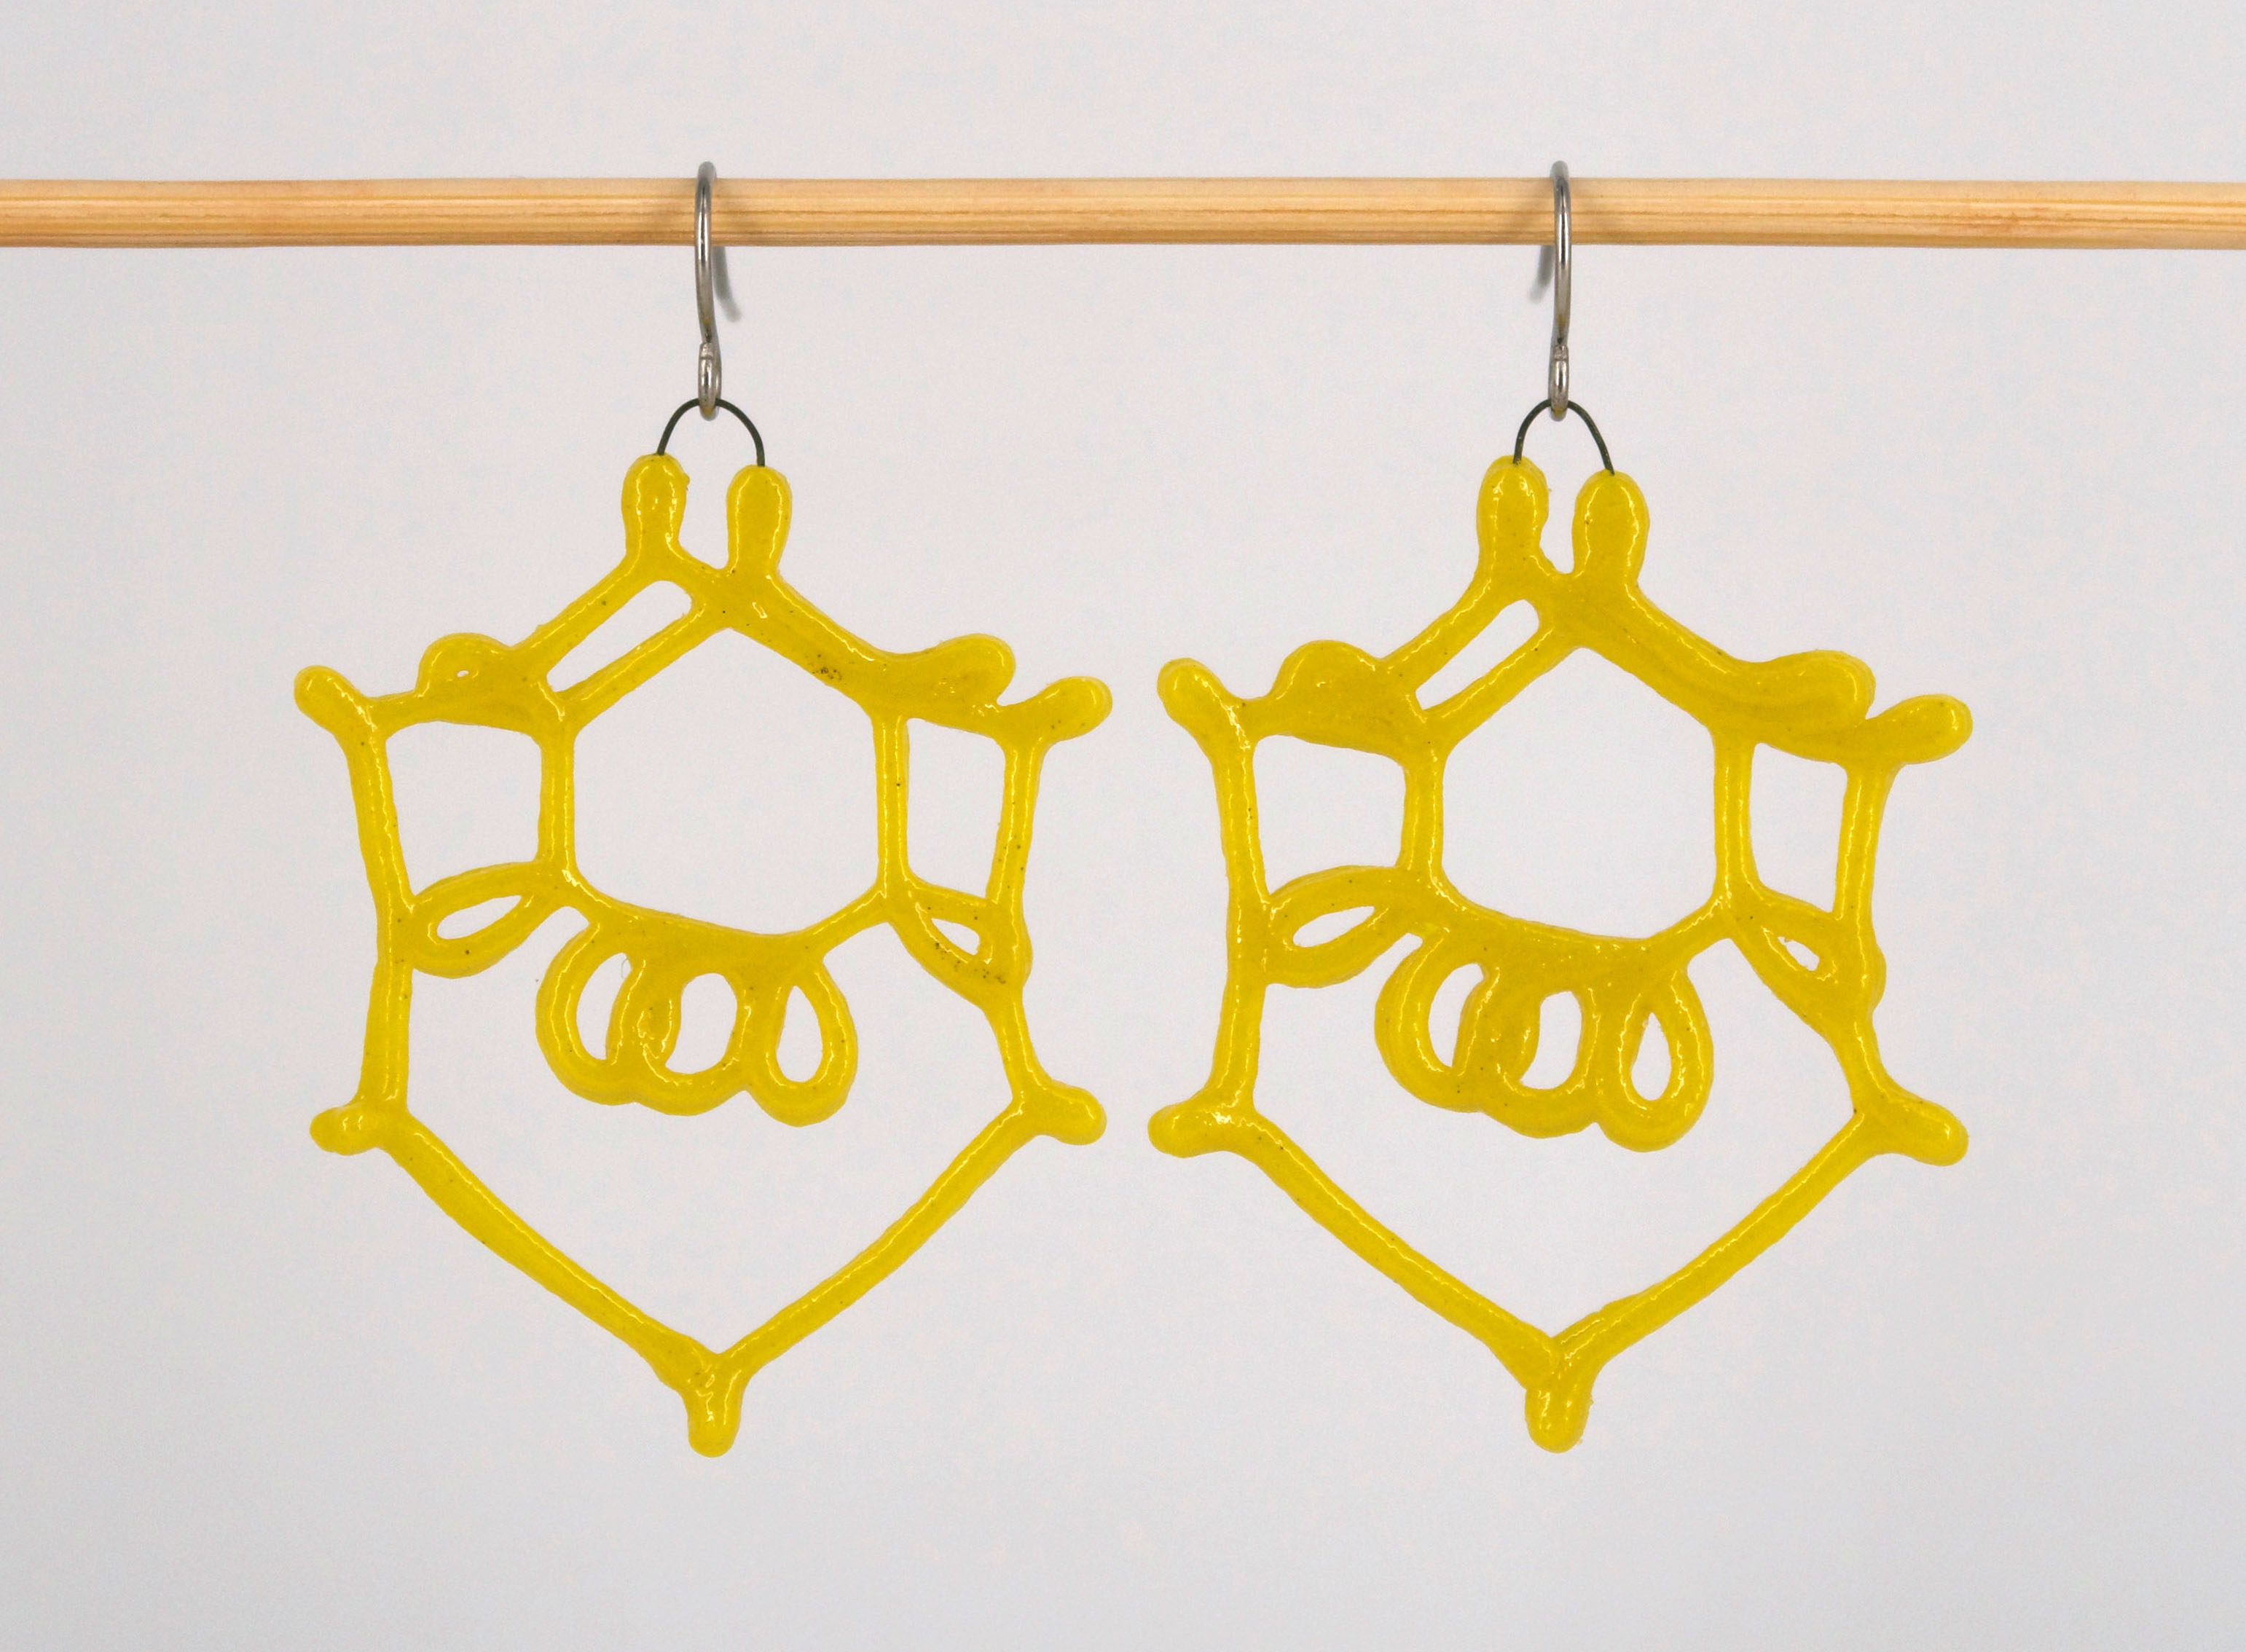
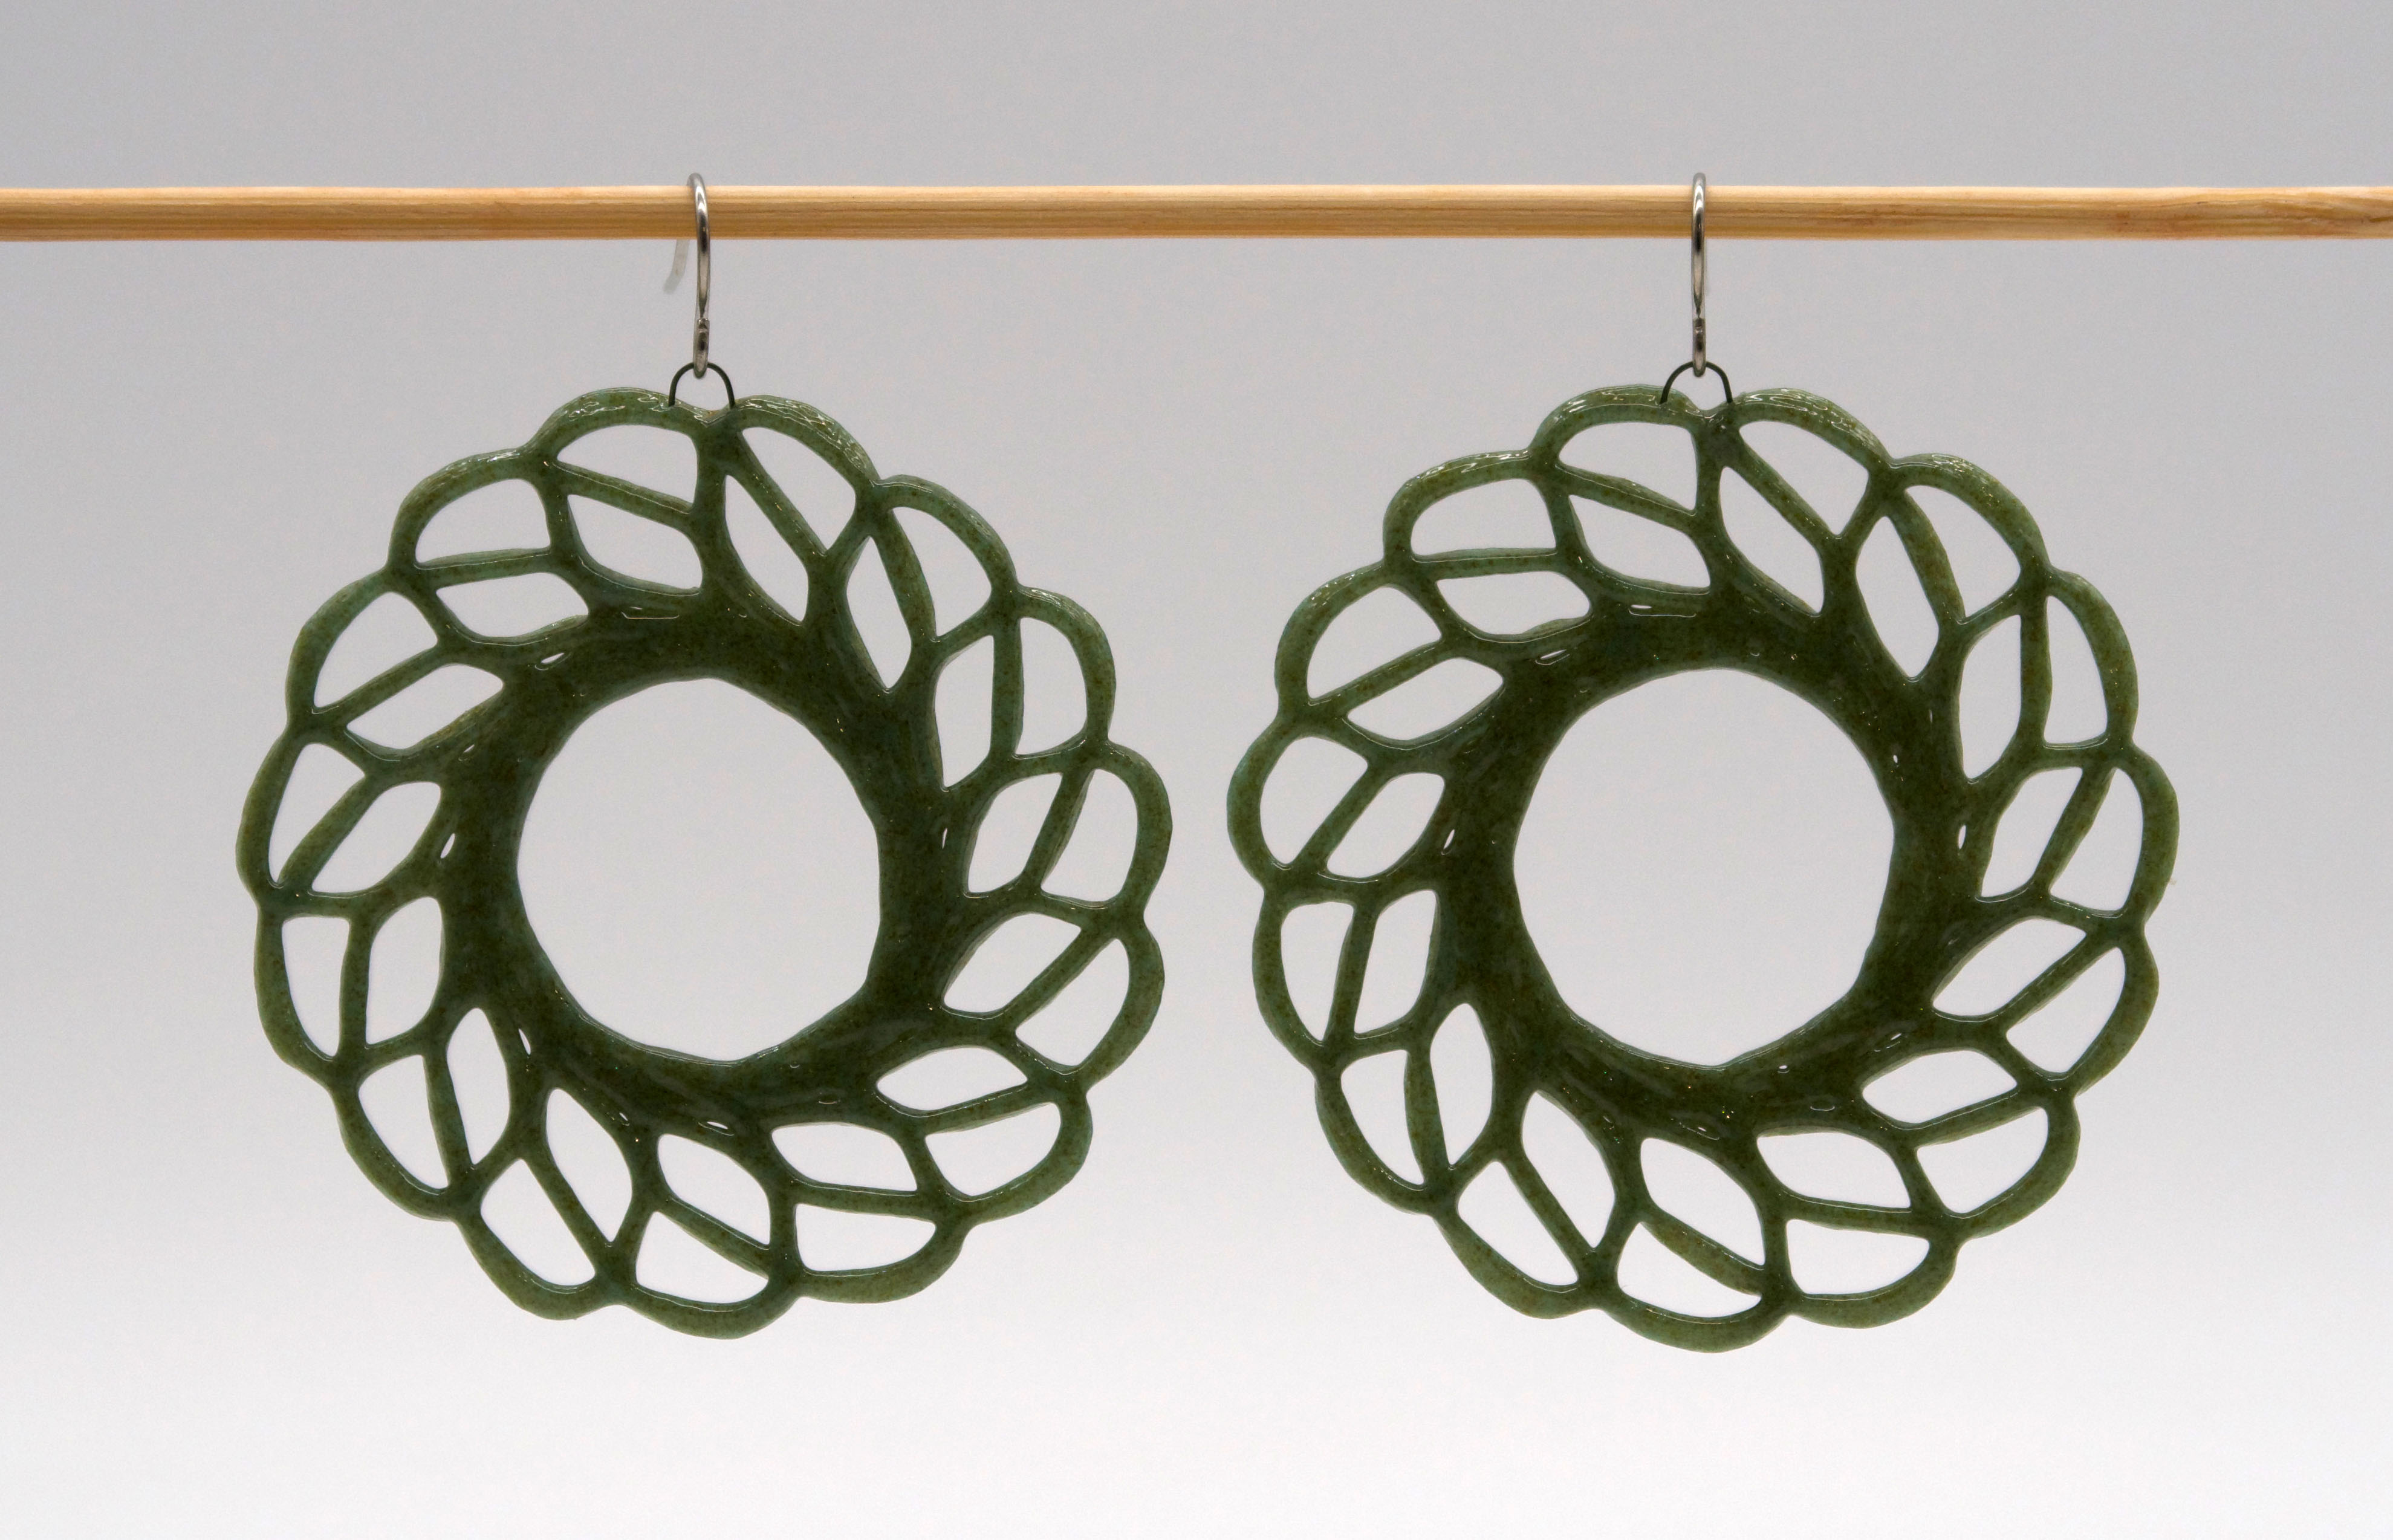
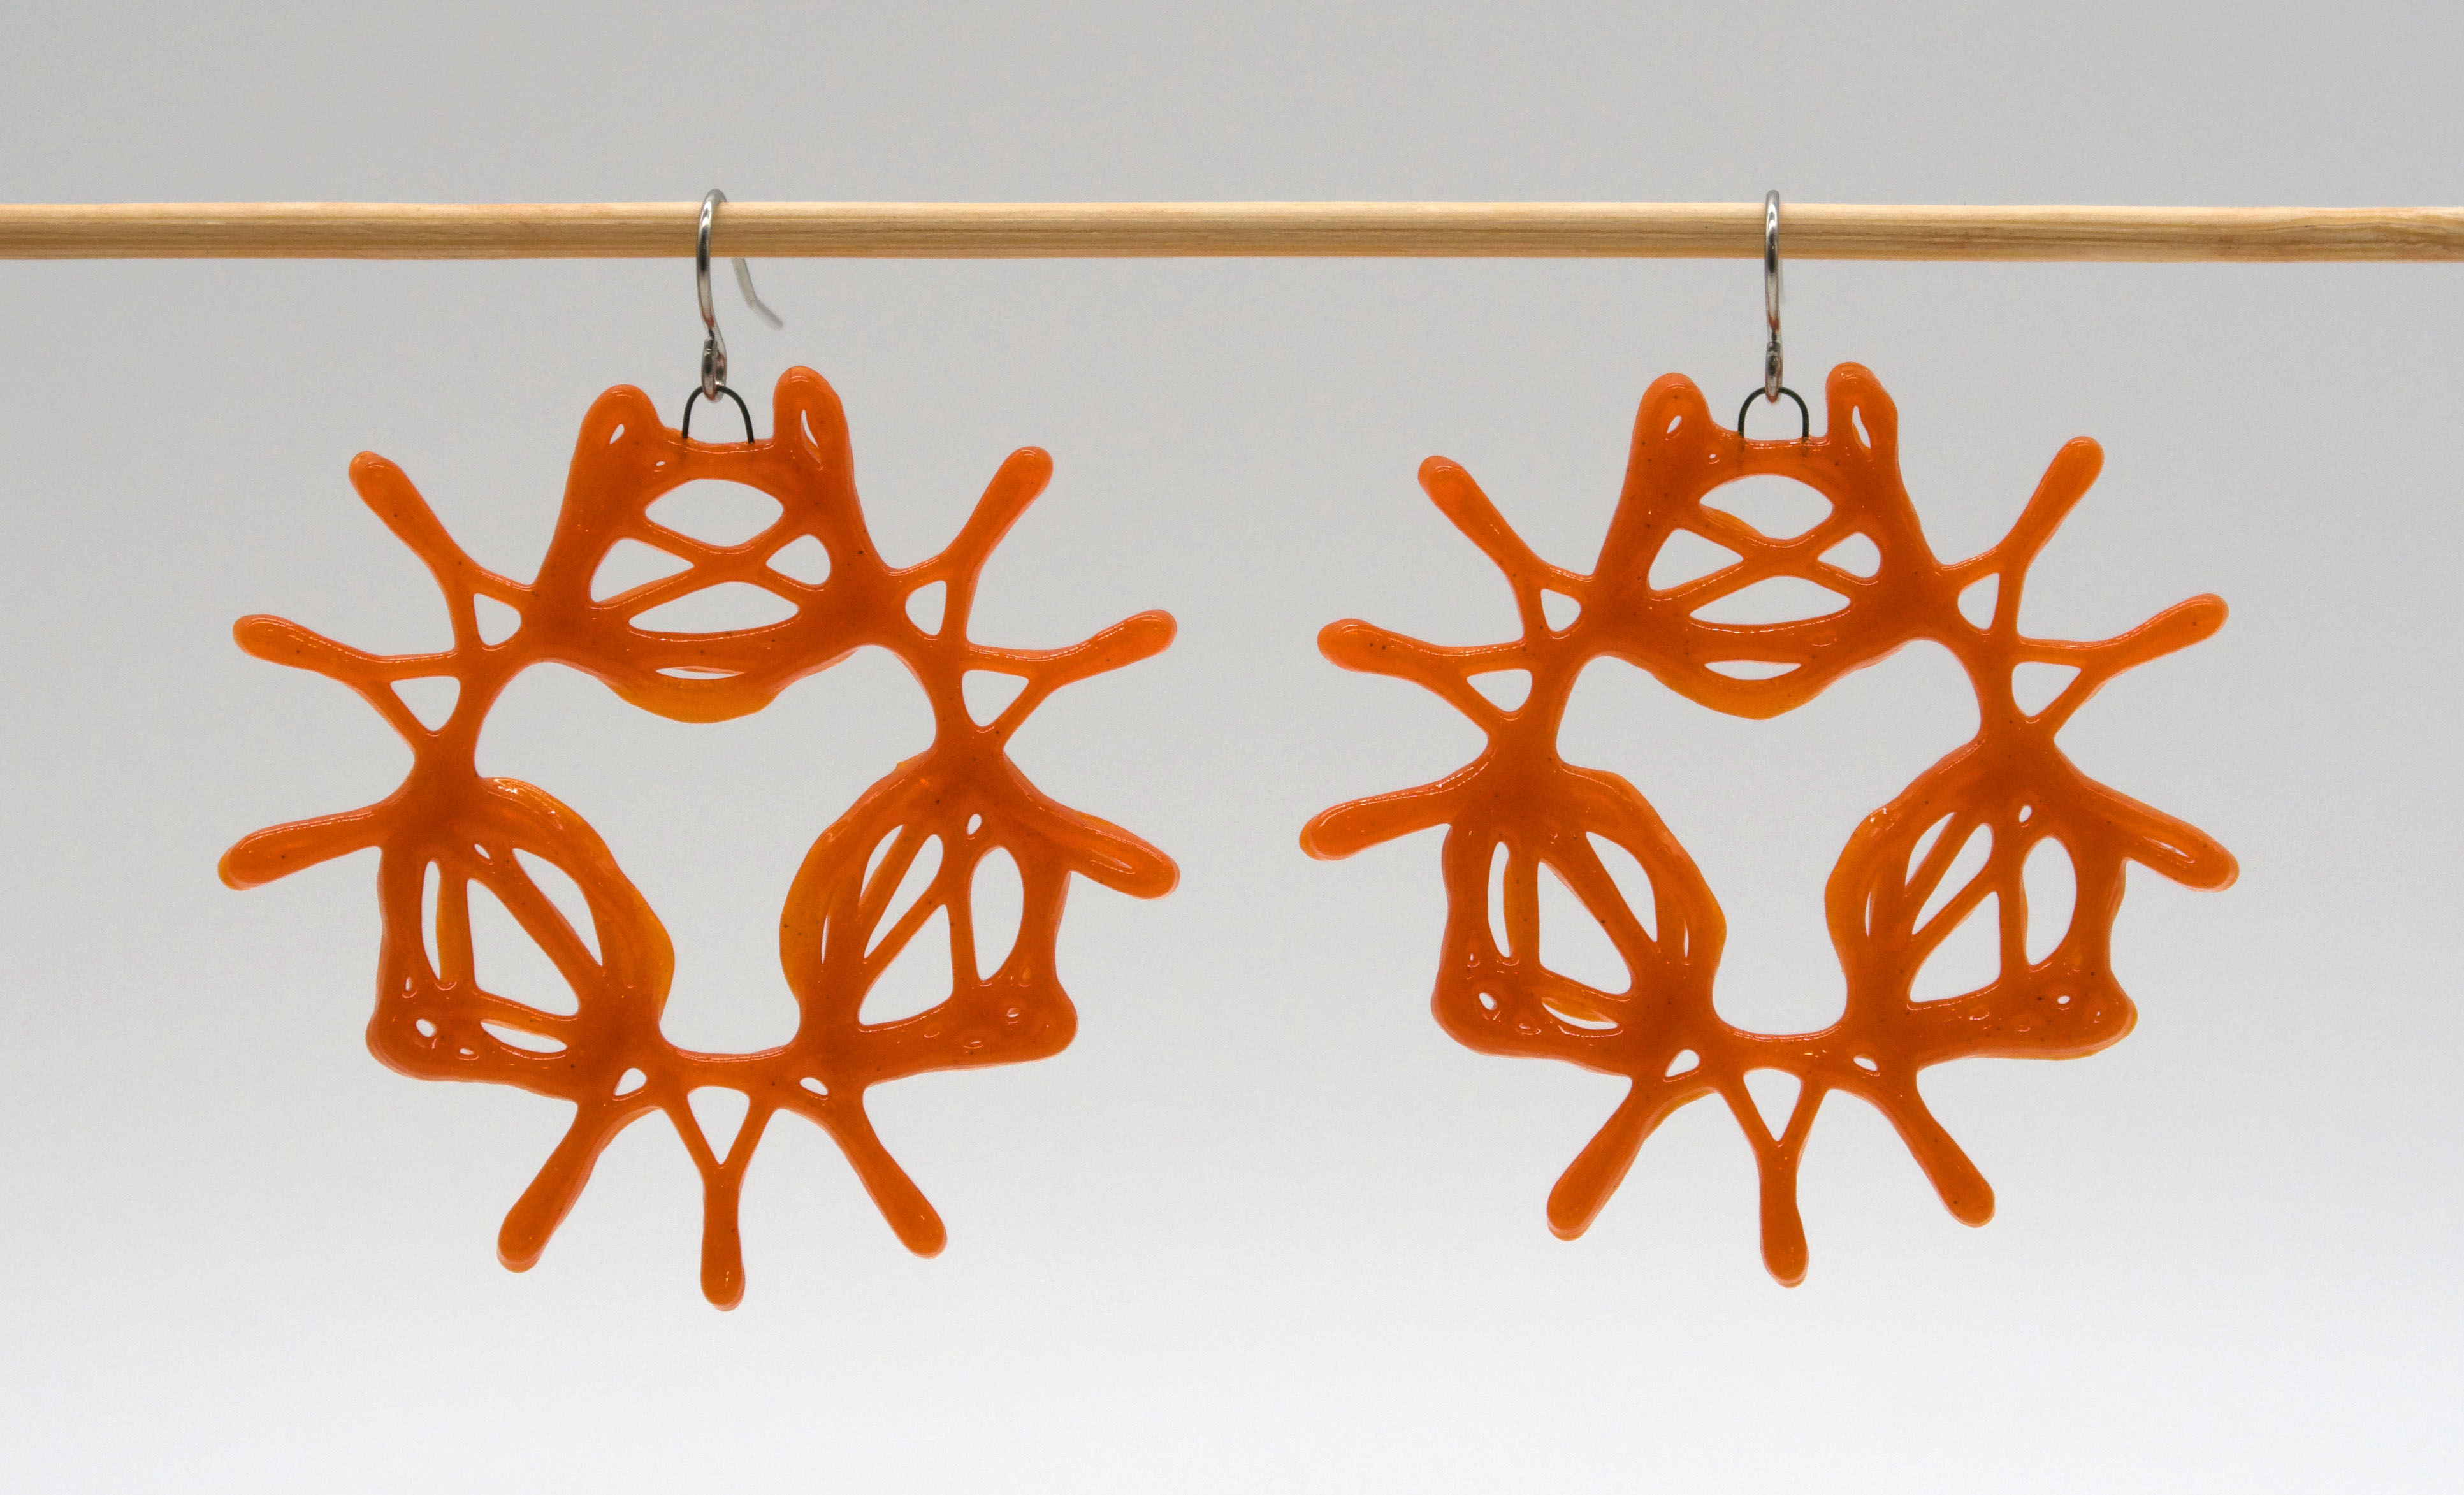
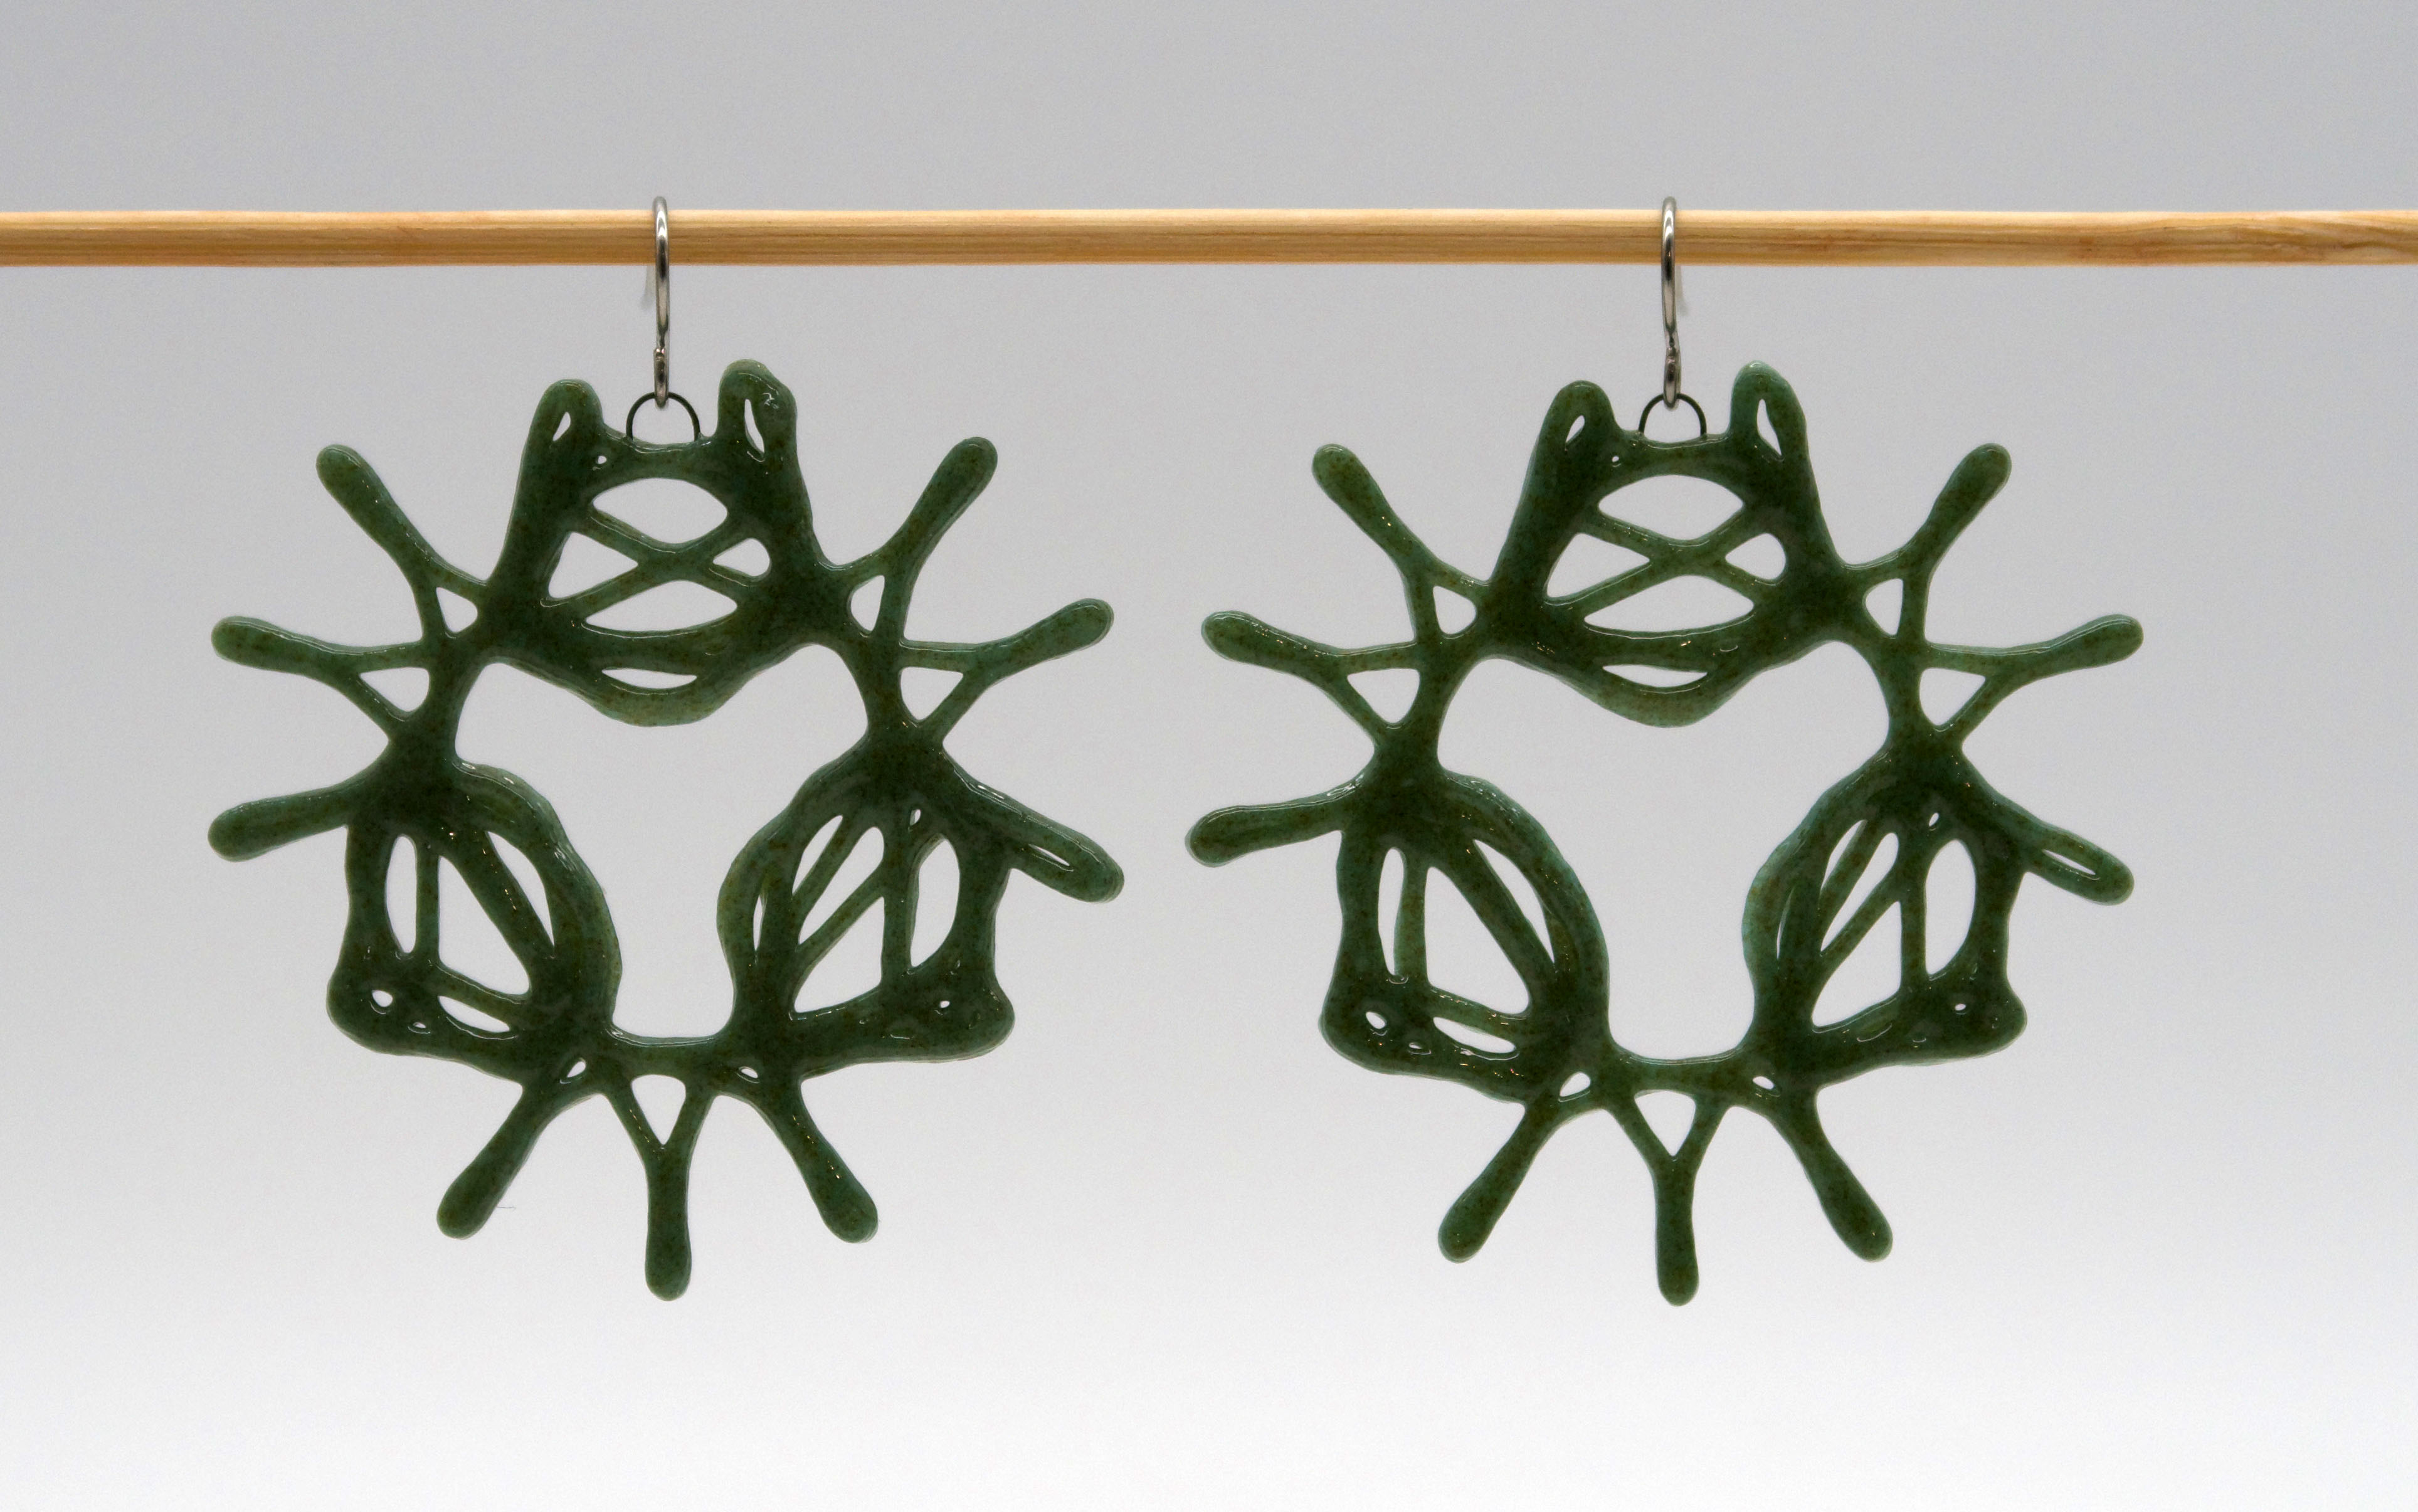
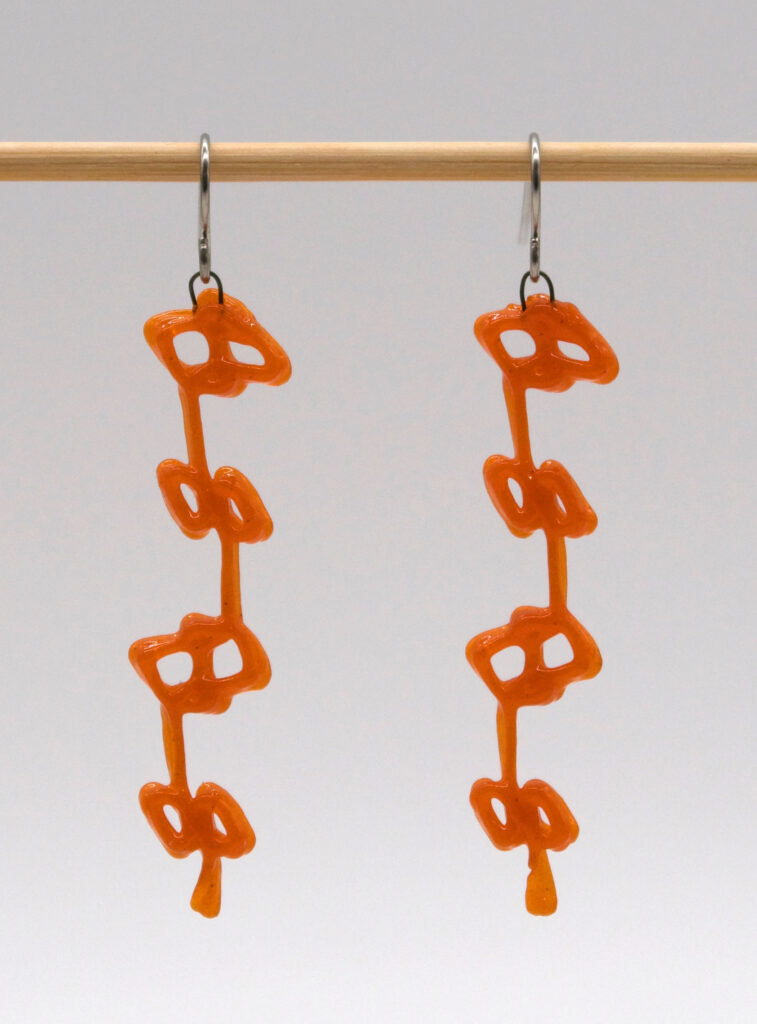
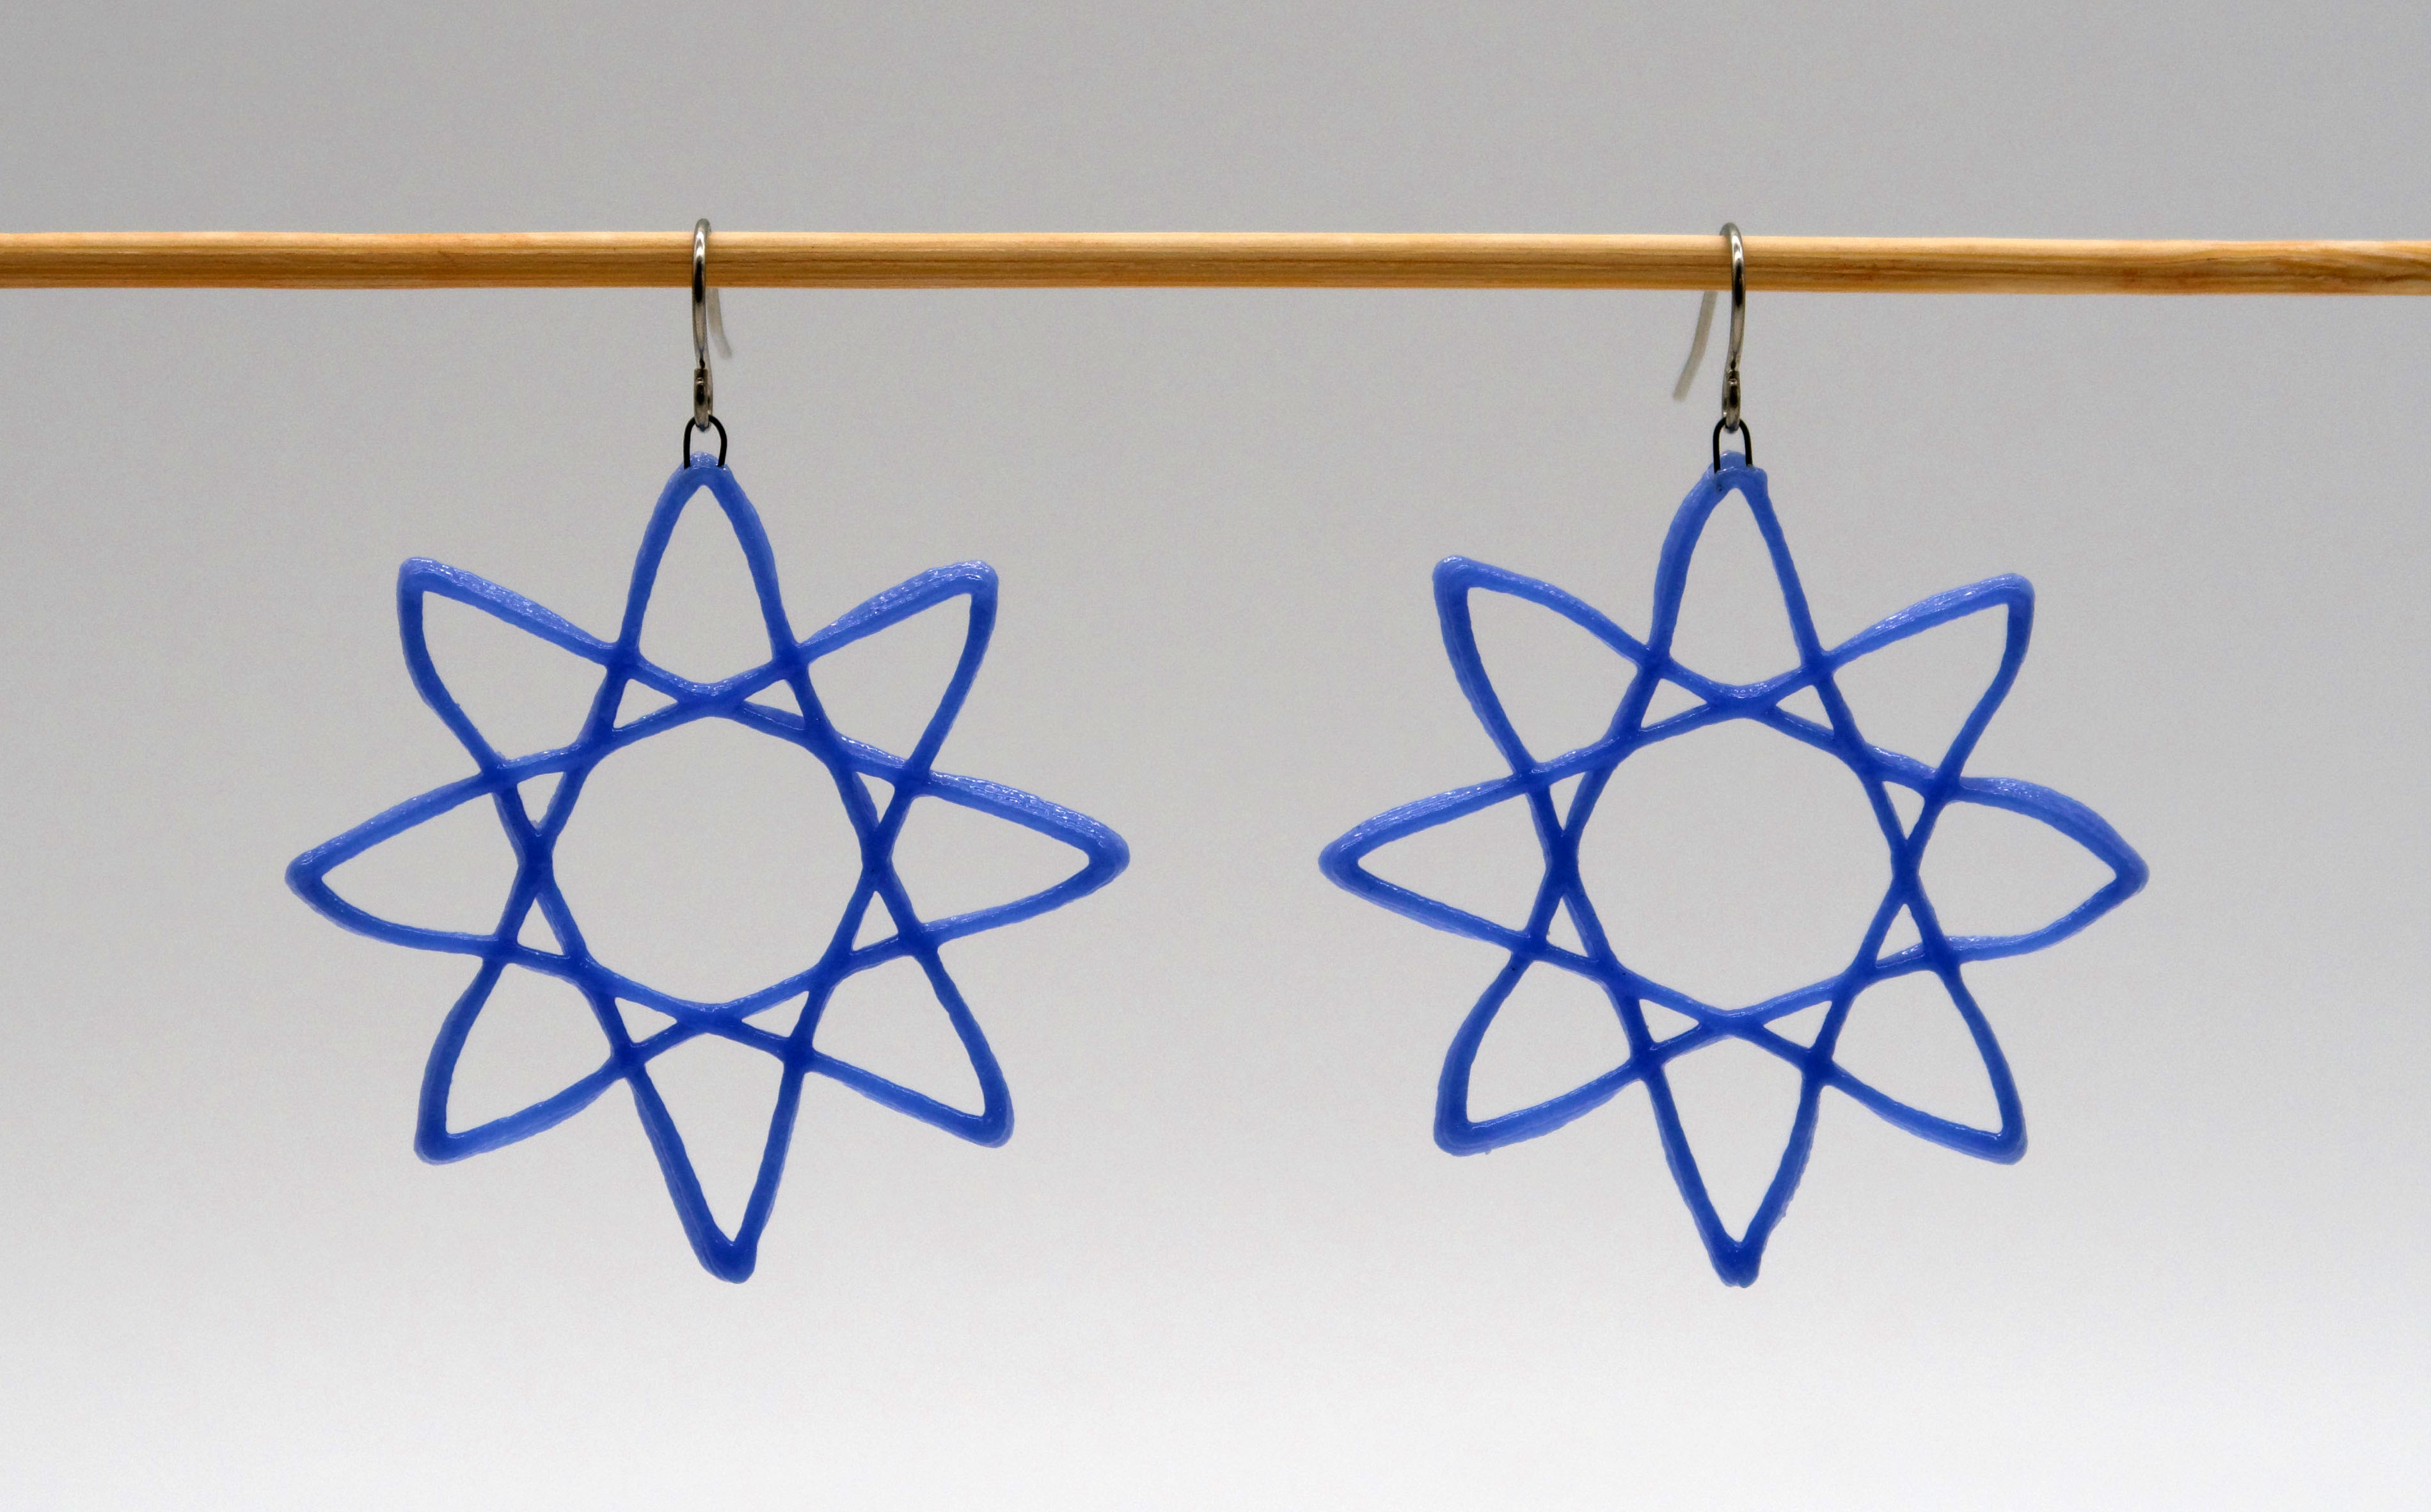
I decided to focus on two dimensional objects and make earrings out of colored glass. I wrote some code that drew the toolpaths for various parametric curves and generated the gcode to print them. I made a couple of one off parametric curves that I liked, and then had three other systems to generate the curves. For all the curves I had a slider for the number of layers and one for the size of the curve. For the three systems, I had three other parameters that determined the curves. A couple of my curves were not closed curves, so I made my gcode so that it would traverse every other layer in the reverse direction so there were not travel paths. Below are the equations and shapes of the curves

Here is my Grasshopper code
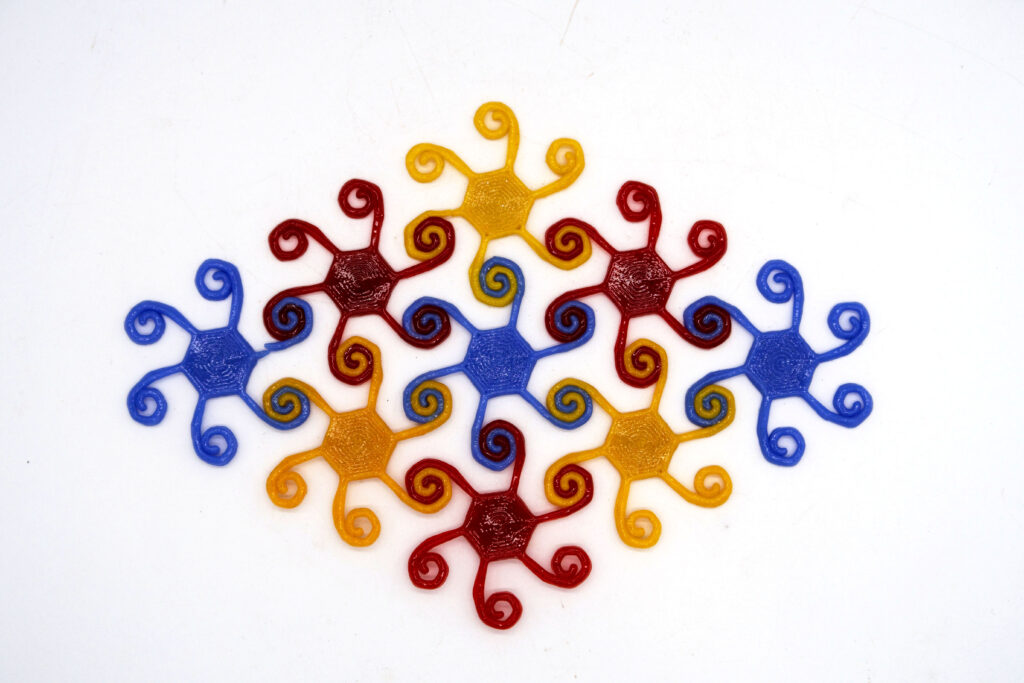
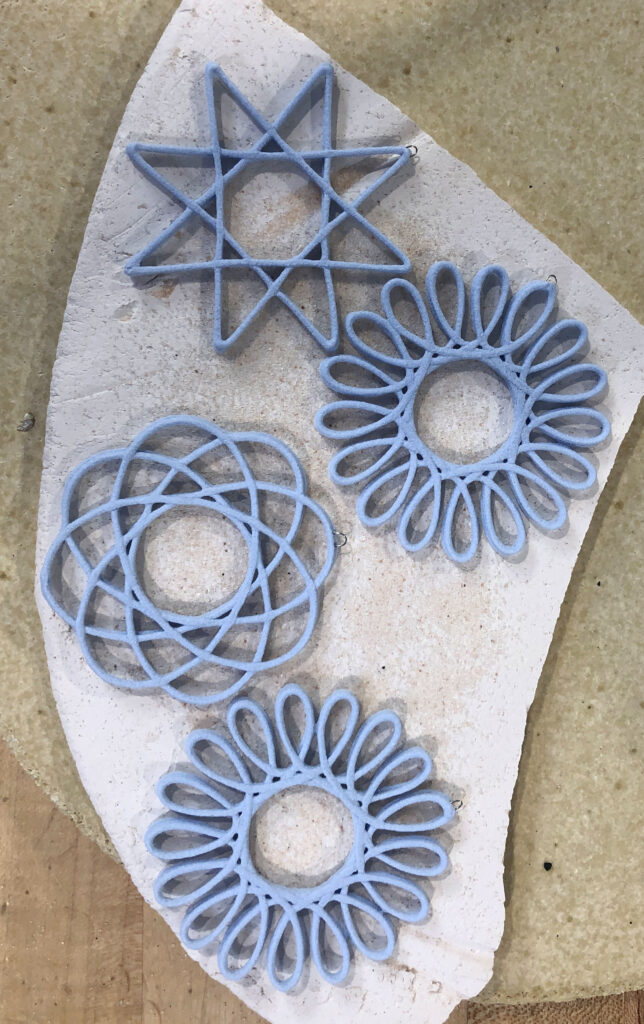
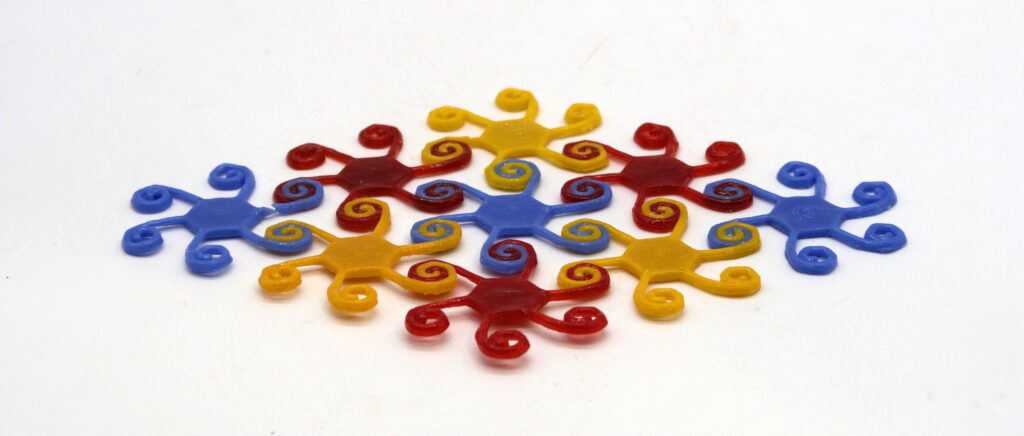
I also used my code from the tiling project and printed a tessellating tile out of glass. My idea was to print it in three different colors and melt the tiles together in the kiln. All the 2D objects printed and fired really well. The earrings turned out very glossy and the tiles shrunk away from each other to produce a different tessellation that was defined by the material.
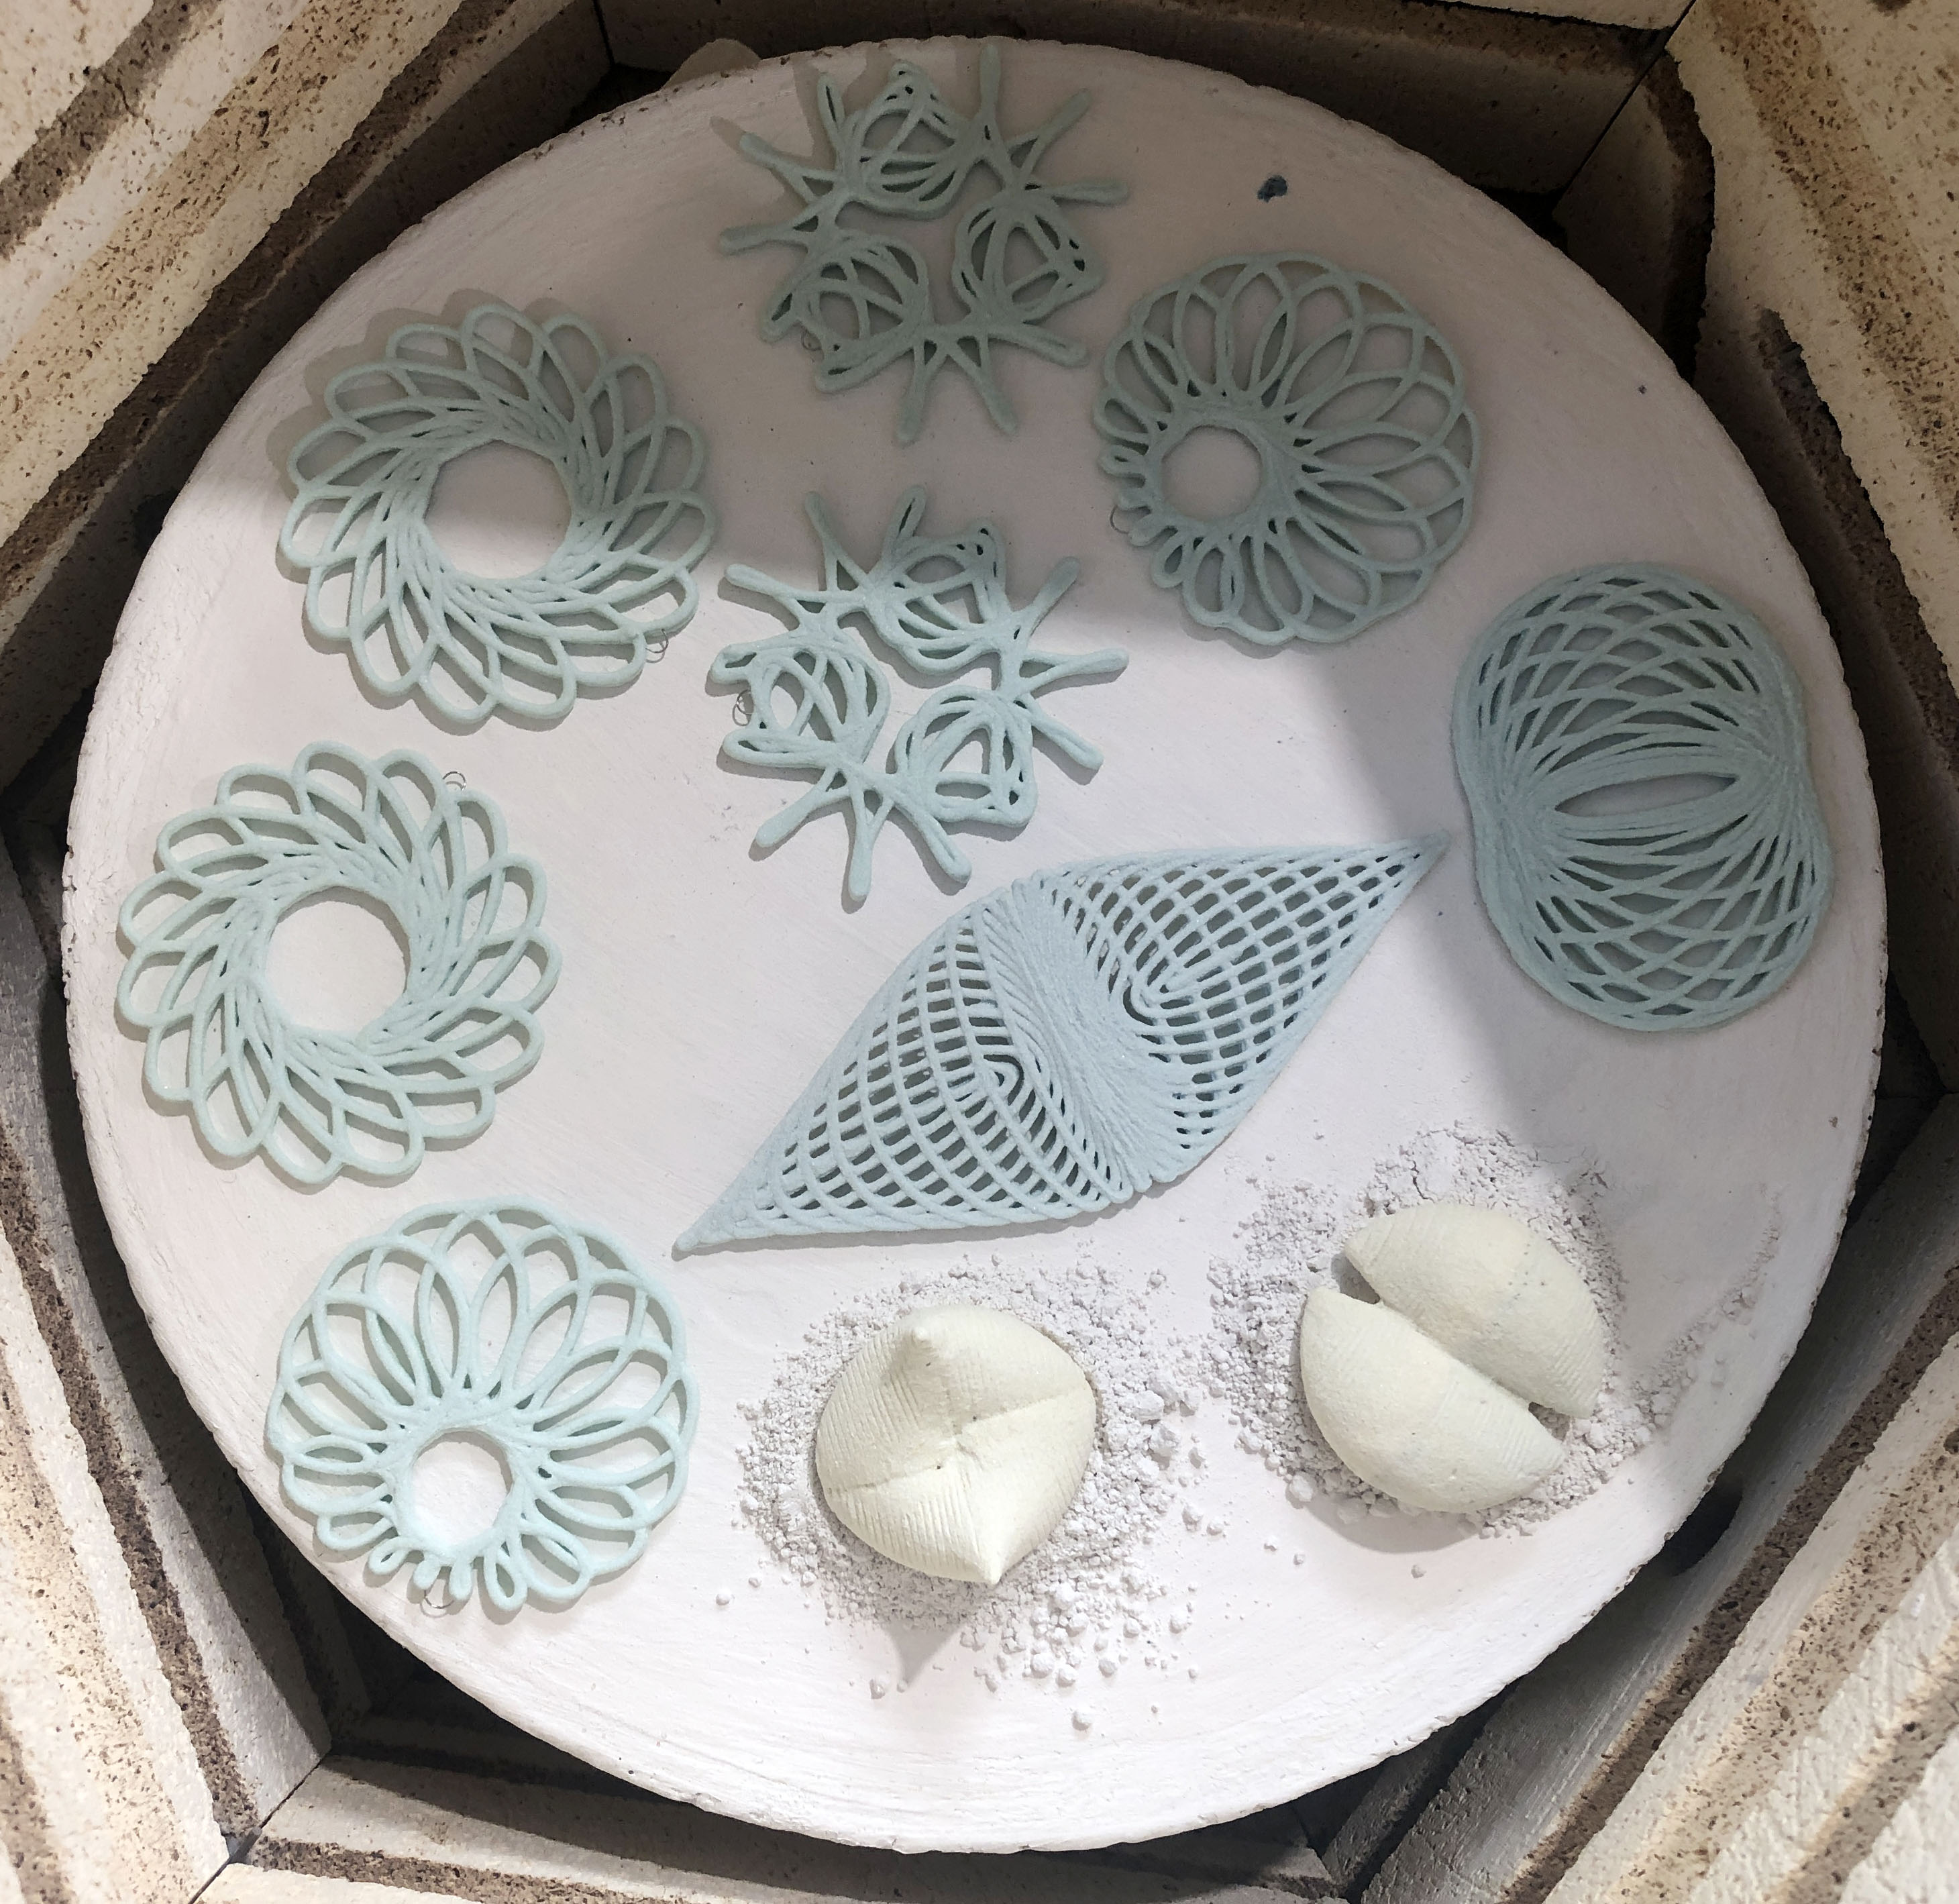


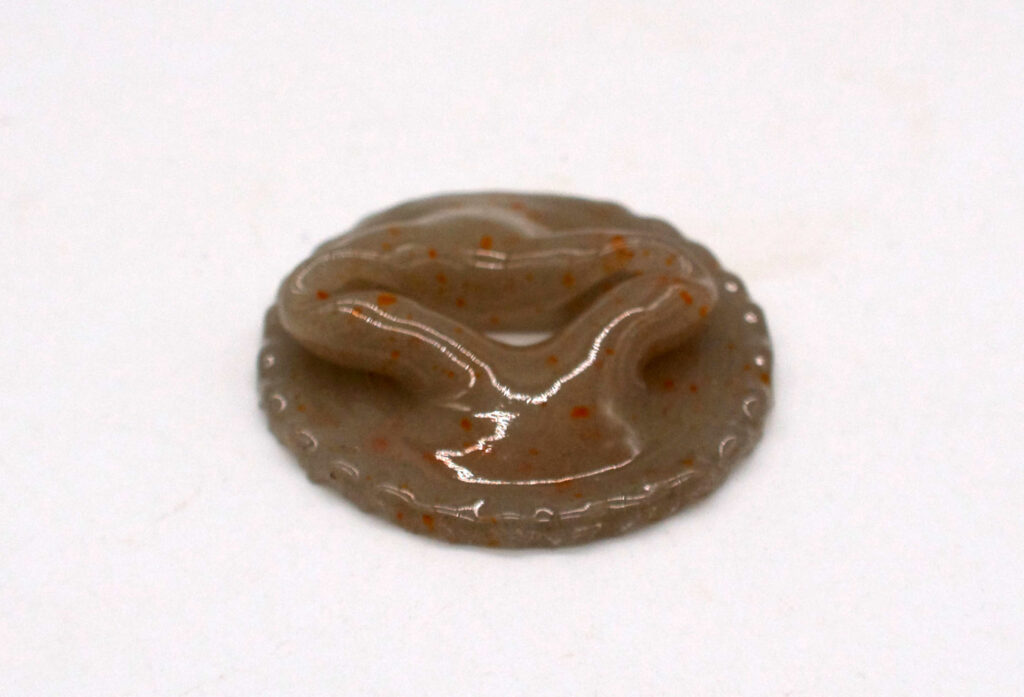
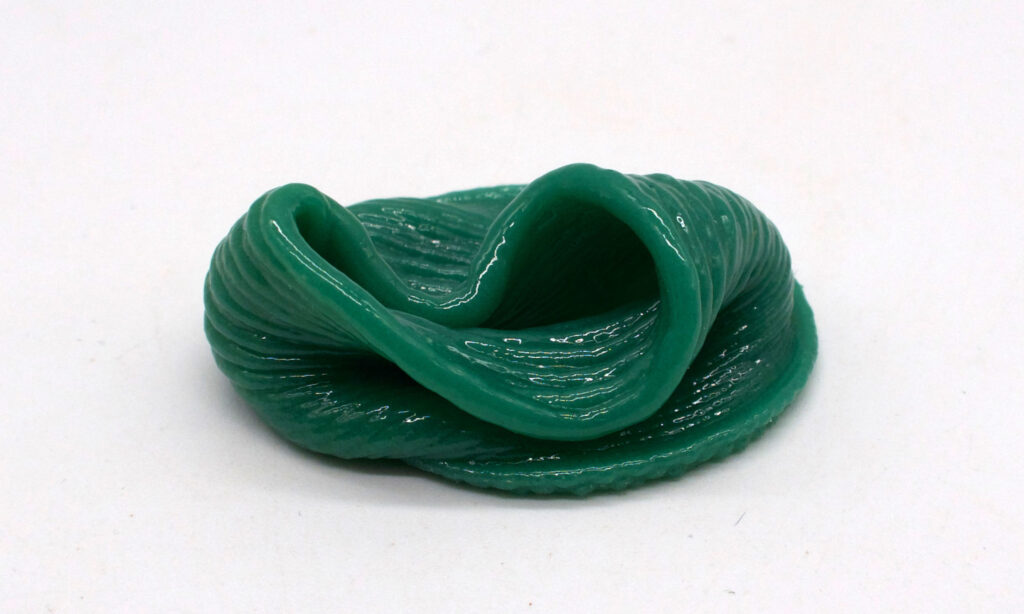
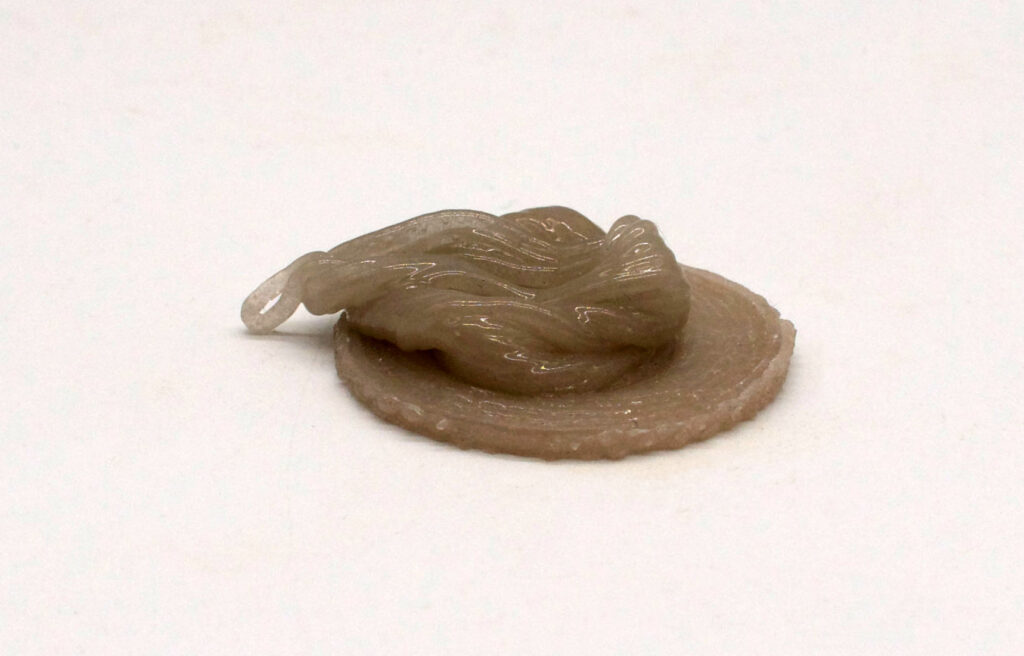
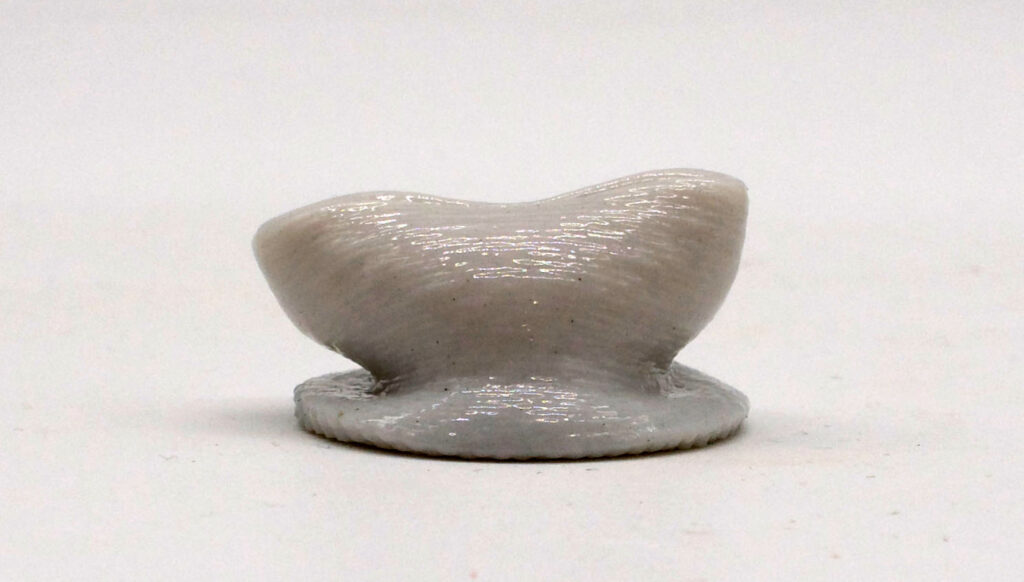
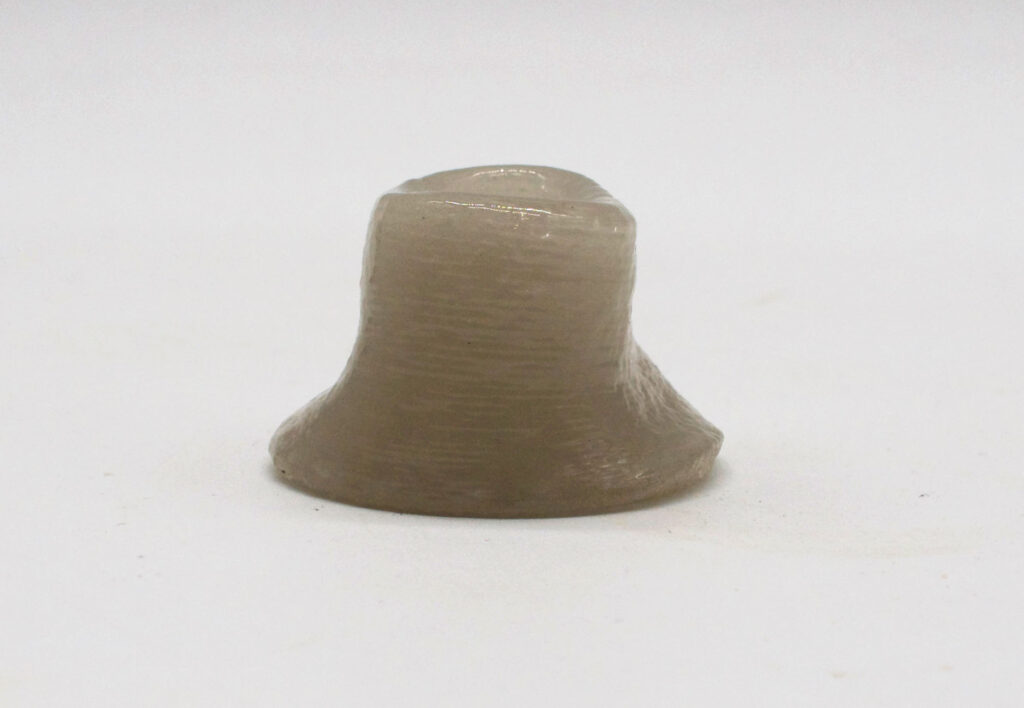
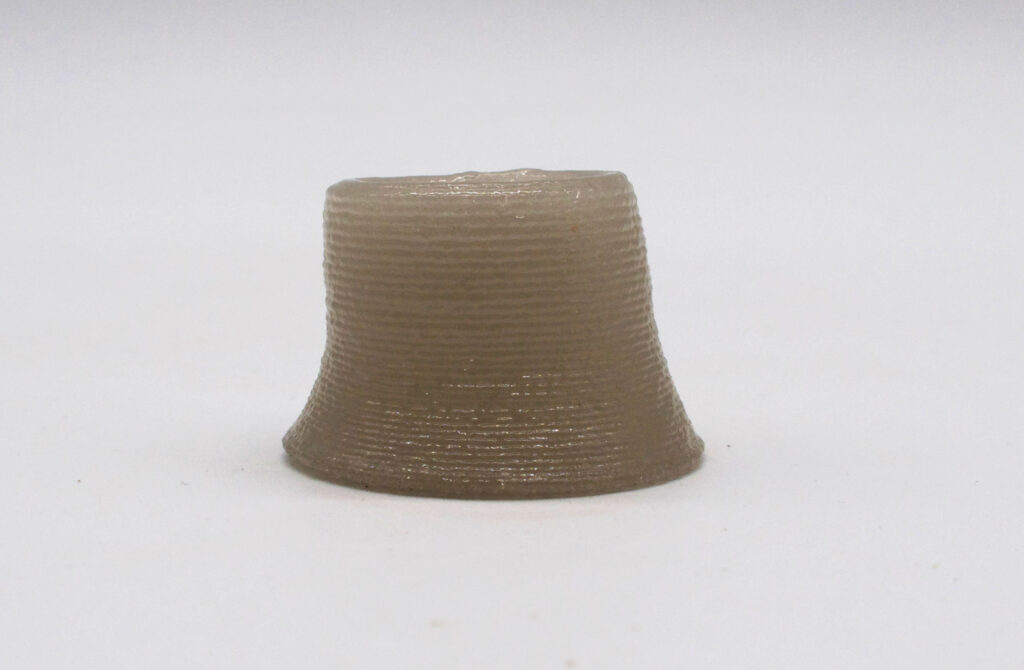
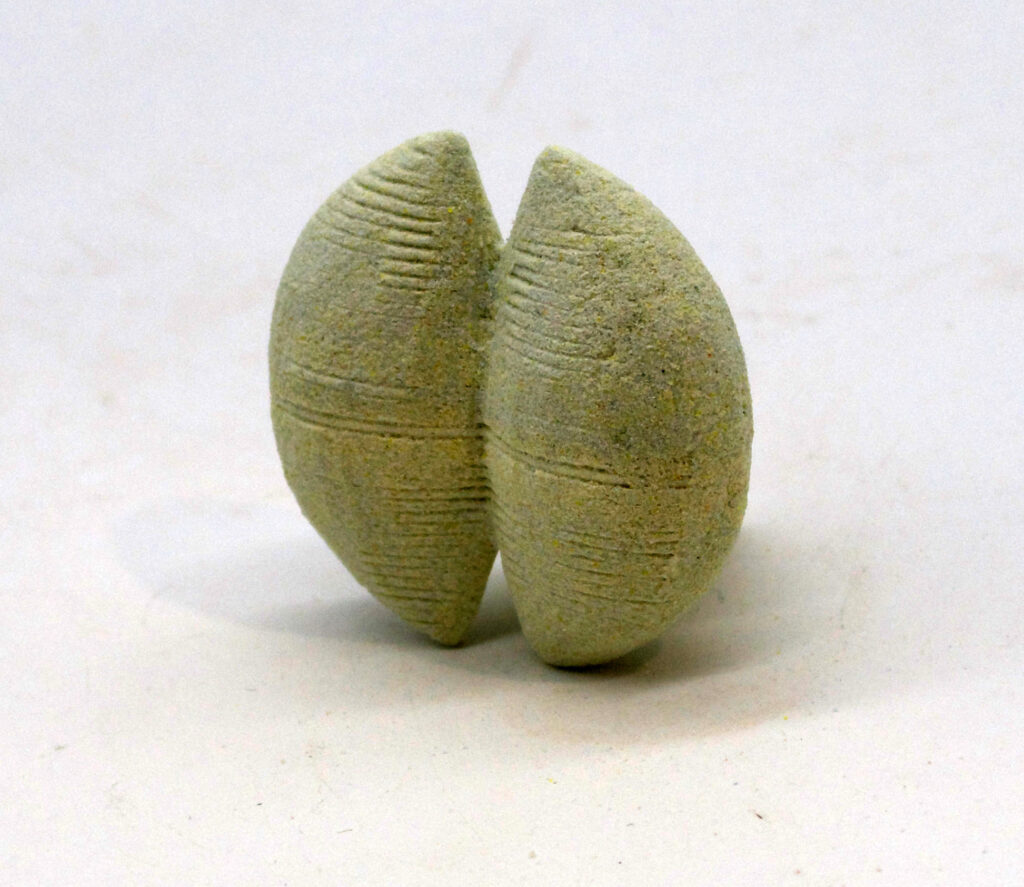
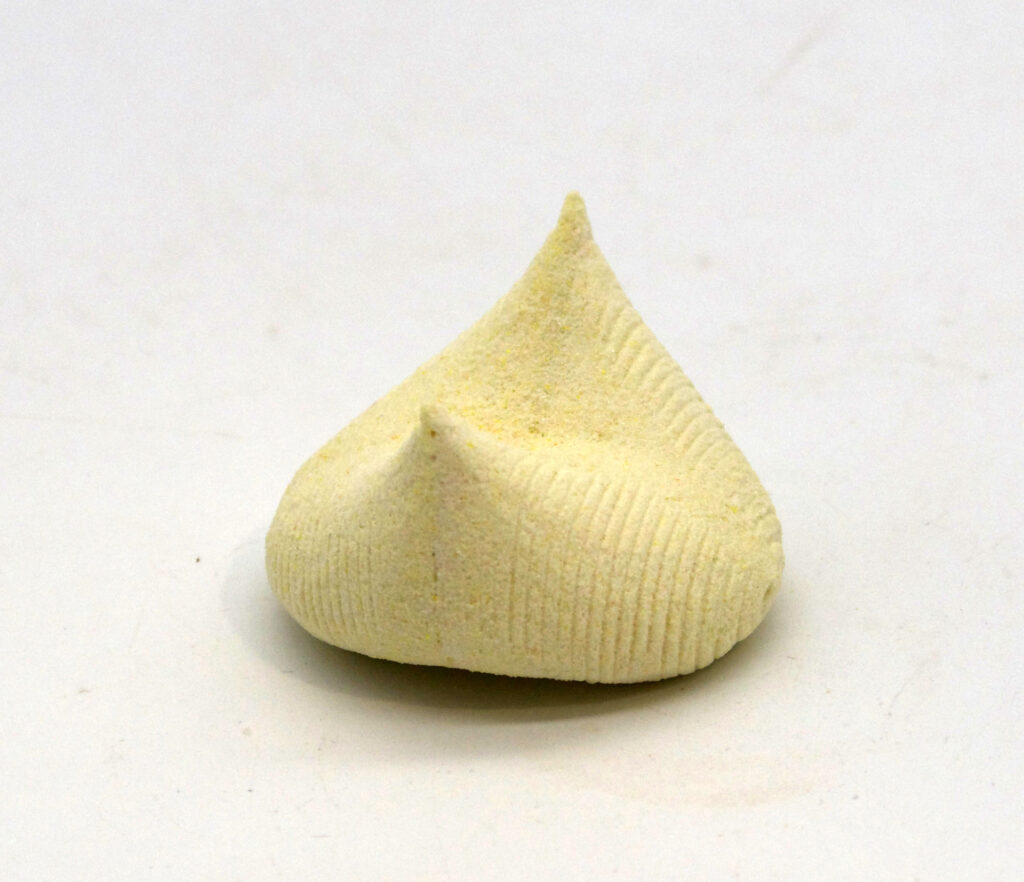
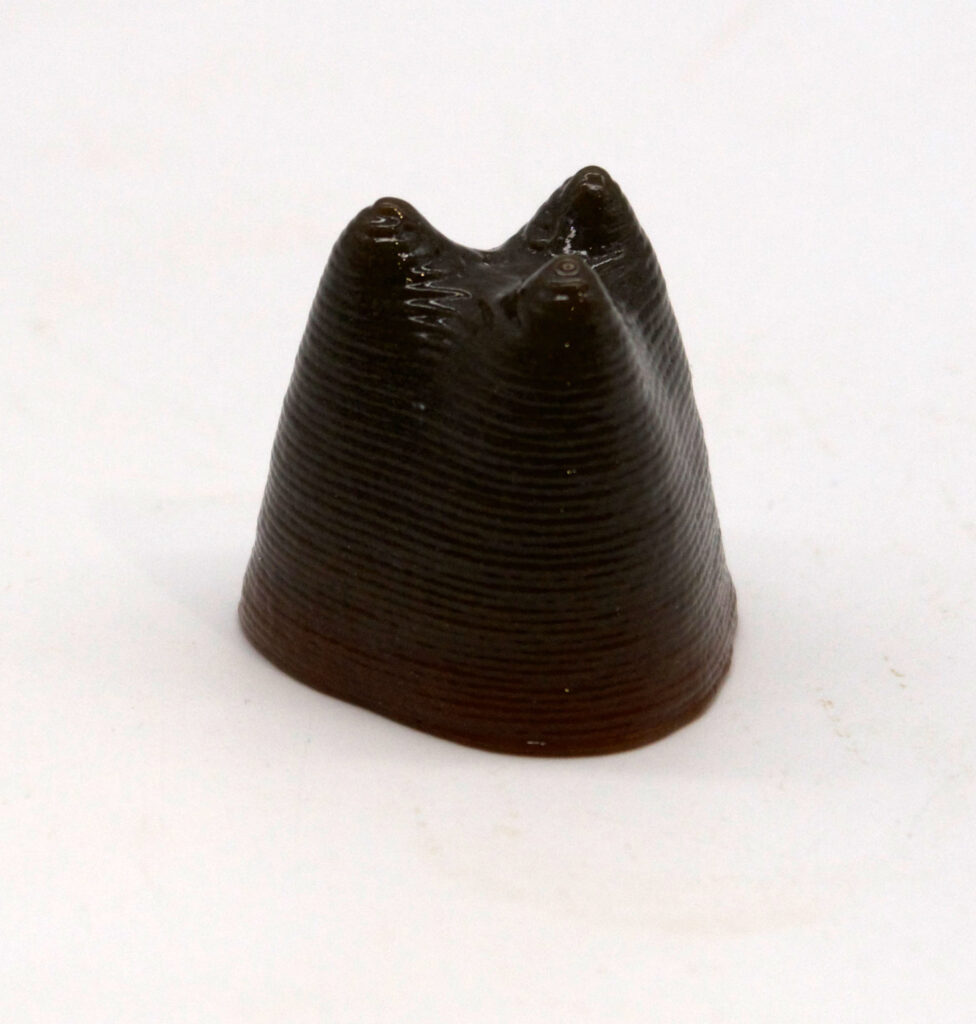
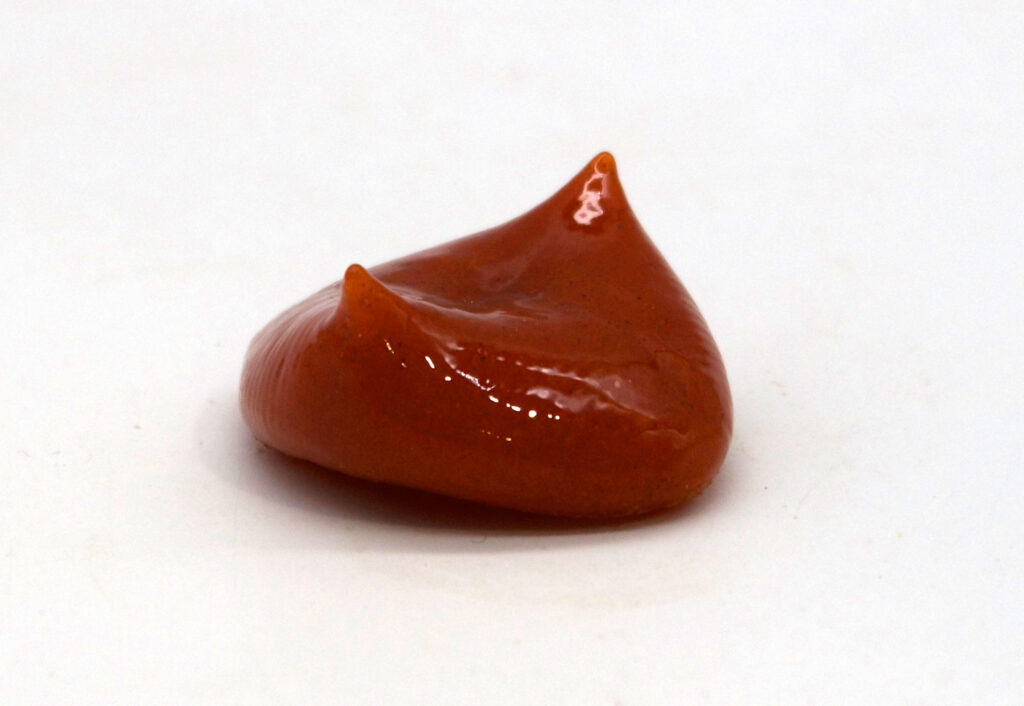
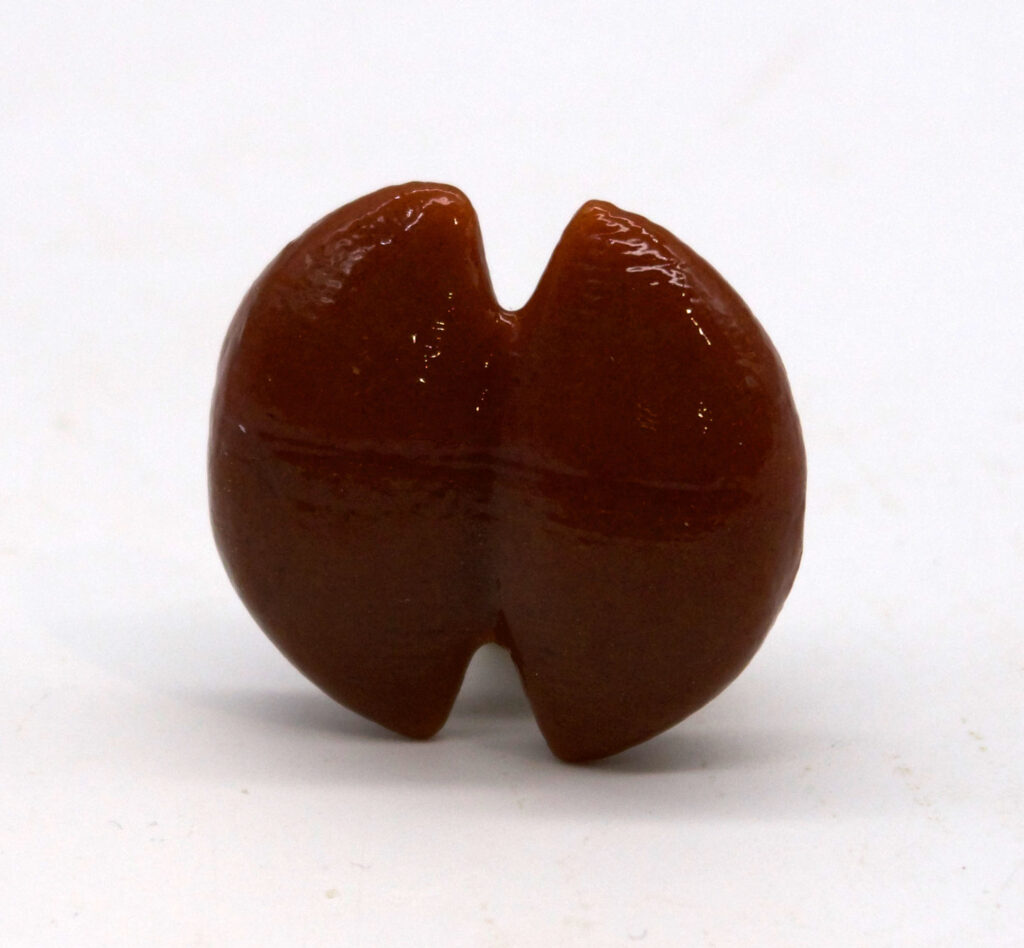
Solid 3D Objects
I also wanted to print some 3D objects, so I tried printing some forms I have made in clay out of glass at a very small scale. Each piece started at about 4cm in their largest dimension. I used Jaime’s slicing algorithm to slice the forms.
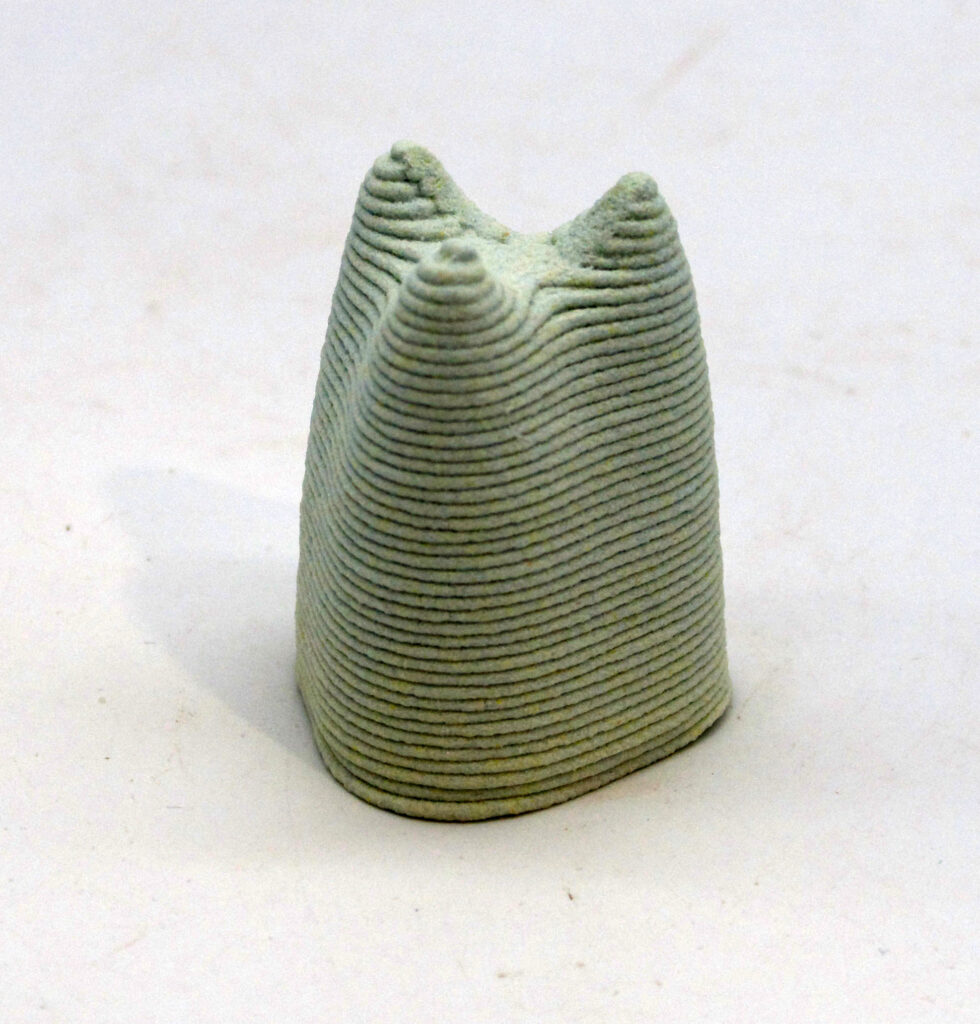
Final Outcome
Despite my challenges, I was really pleased with my final outcome. The fired glass was beautiful, and it was really fun working with all the colors. I was also very pleased with the solid forms. They held their shape wonderfully and looked beautiful.

Future Work and Reflection
I really enjoyed working with the glass. I felt like my background in ceramics helped me to a certain extent, but I also learned a lot. I am excited to keep working with this material and trying to understand what it can do and what we can make with it. I want to revisit the hollow forms. I have some ideas, like printing a solid bottom, to help them fire better. I also would like to continue to play with the tesselating tiles and try different patterns and colors. I want to try firing on a slab of glass to see how that differs from just firing the objects directly on the kiln shelves. I also think we could explore more 3D solid objects.