I have spent most of my time figuring out the recipe and firing schedule for the glass. I went through a lot of iterations of the recipe where I tweaked the ratio of glass to binder. I settled on the following recipe. It also required a lot more water than I thought to get it to extrude through the 3D printer. The final consistency is a frosting like paste
Recipe by weight
- 97.5% — Bullseye Powder Glass Frit
- 0.5% — methylcellulose
- 2% — Xanthan Gum
- + 45% of dry weight Water
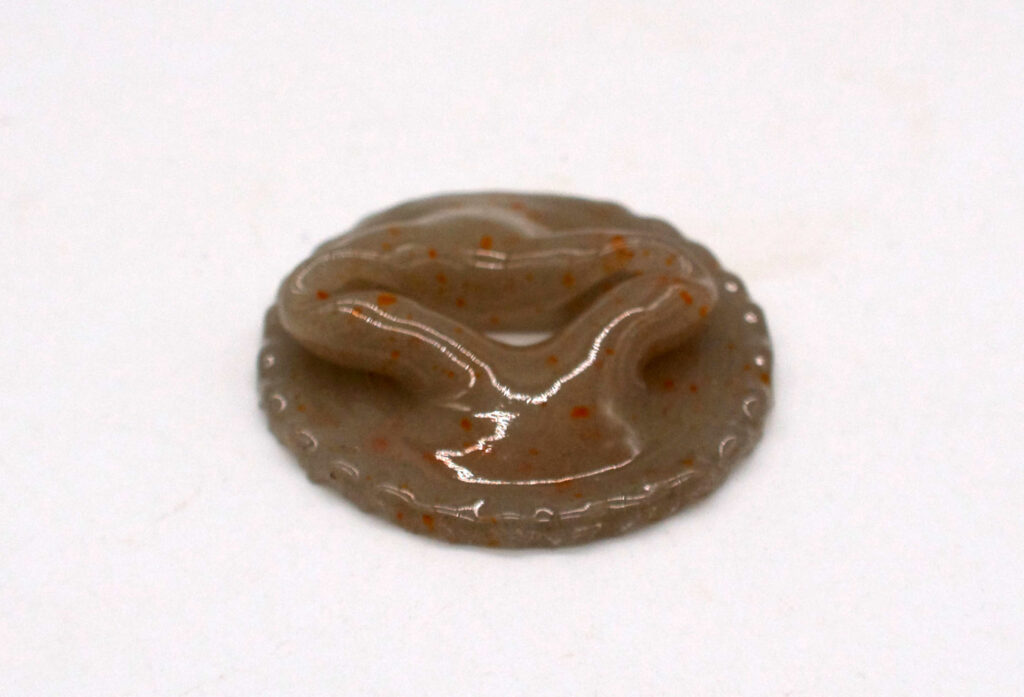
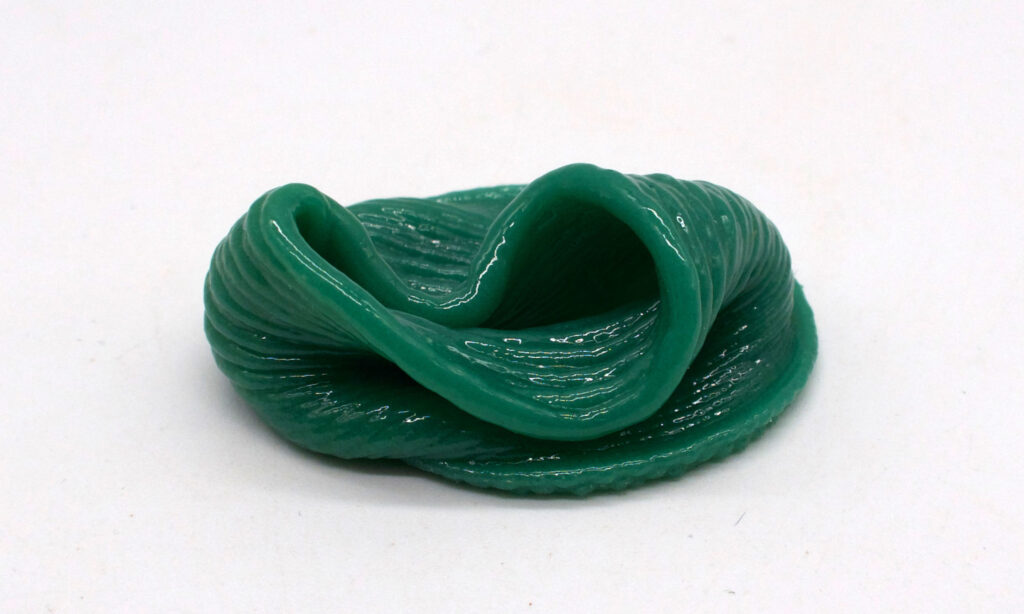
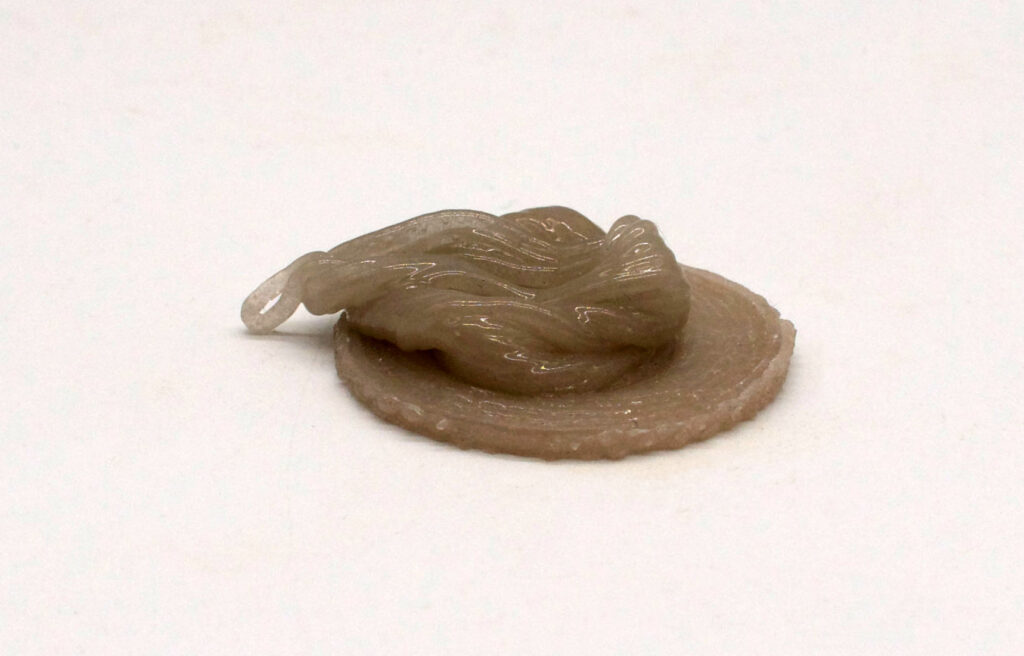
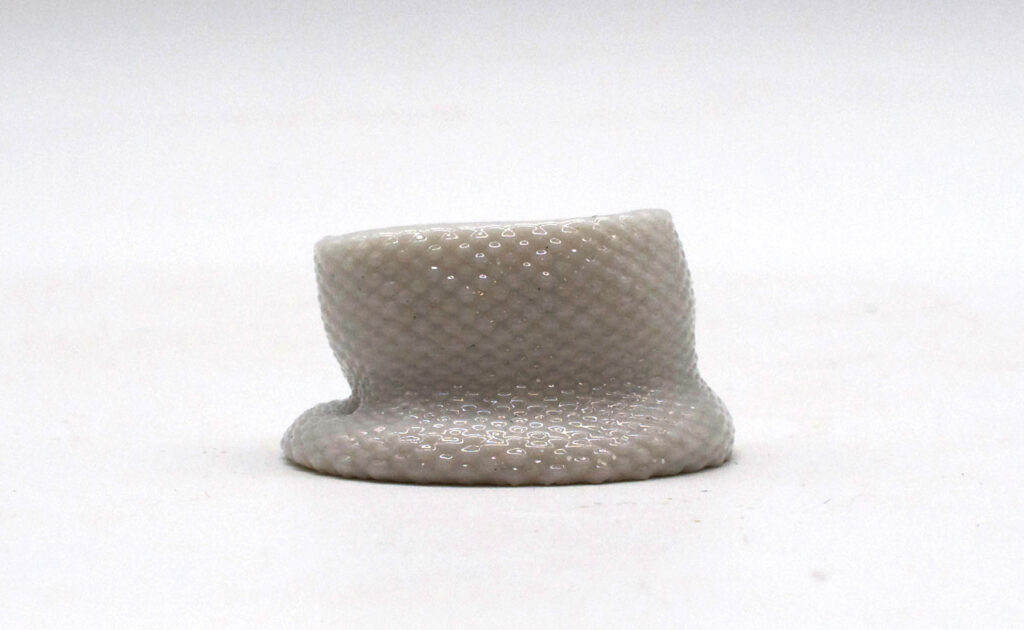
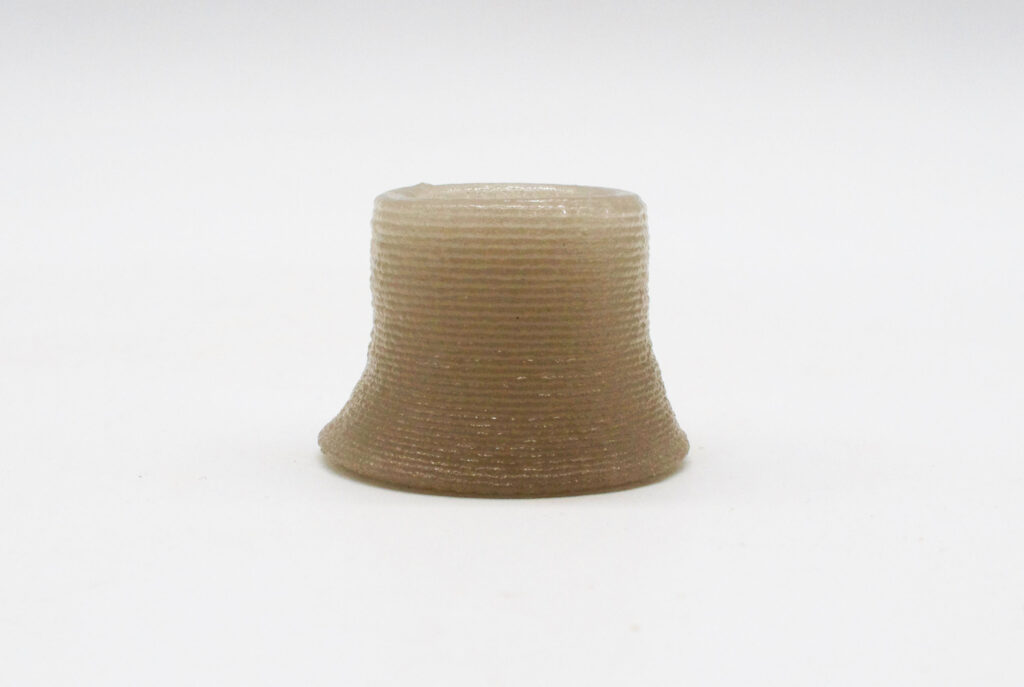
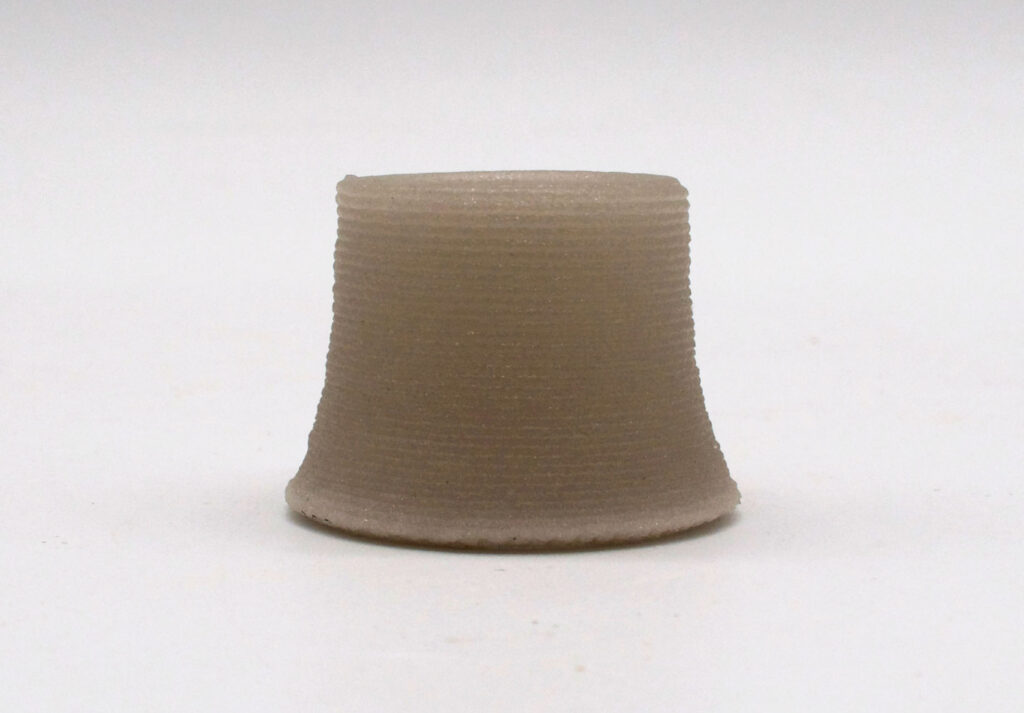
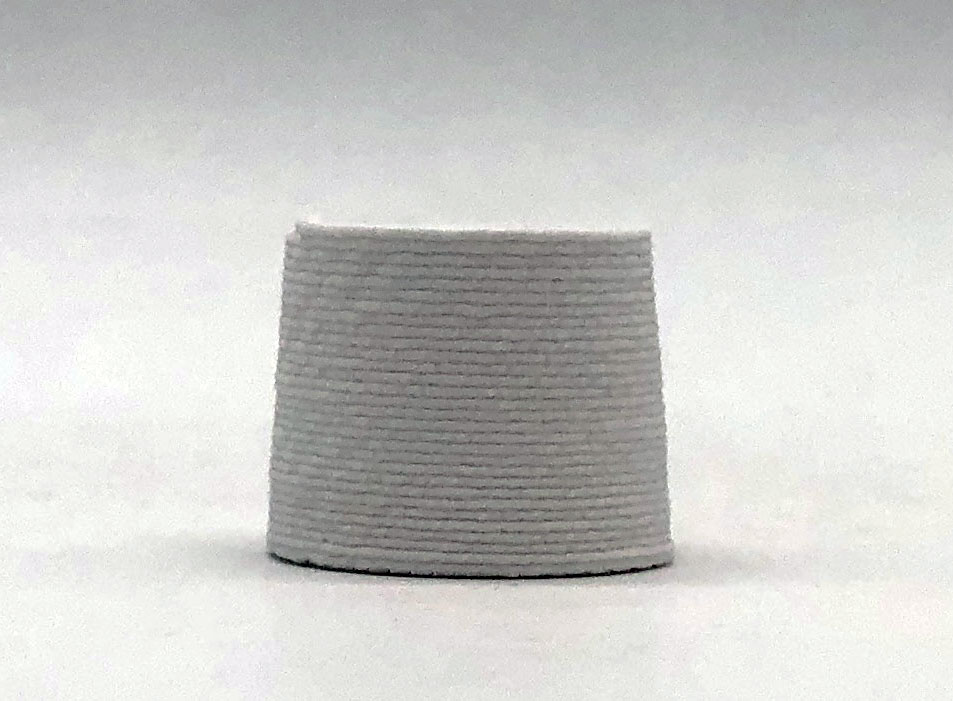
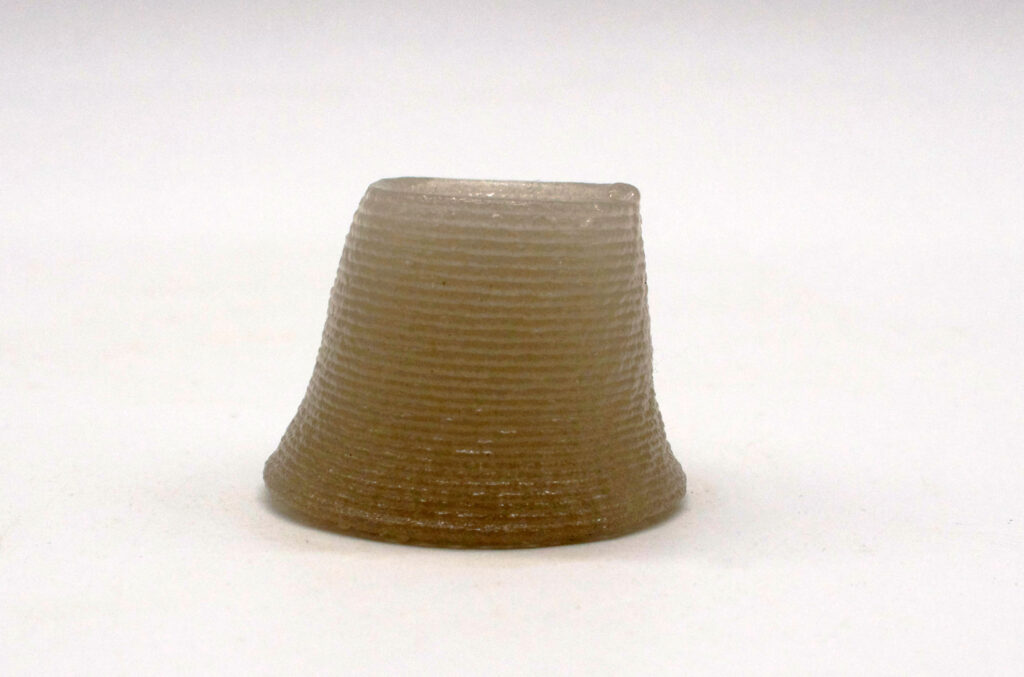
Progress so Far
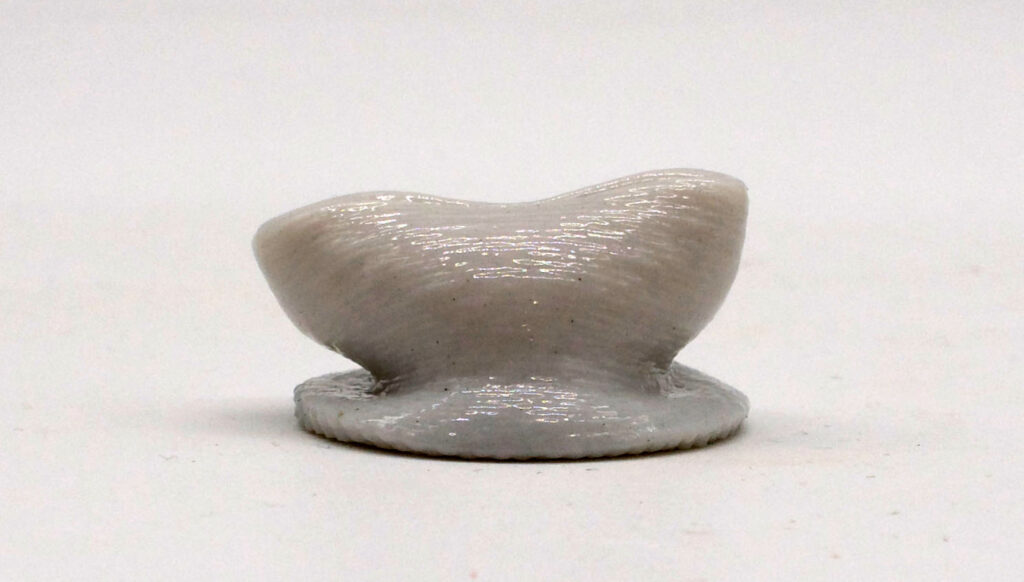
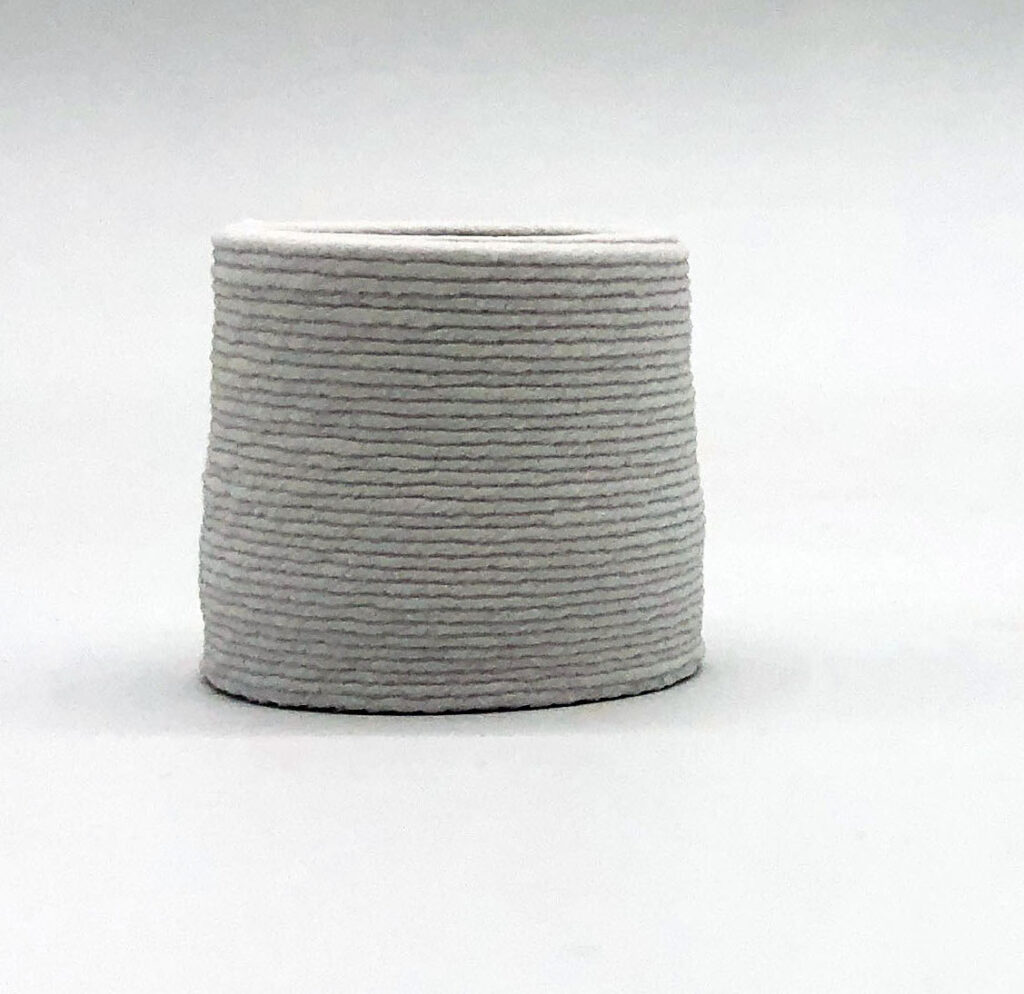
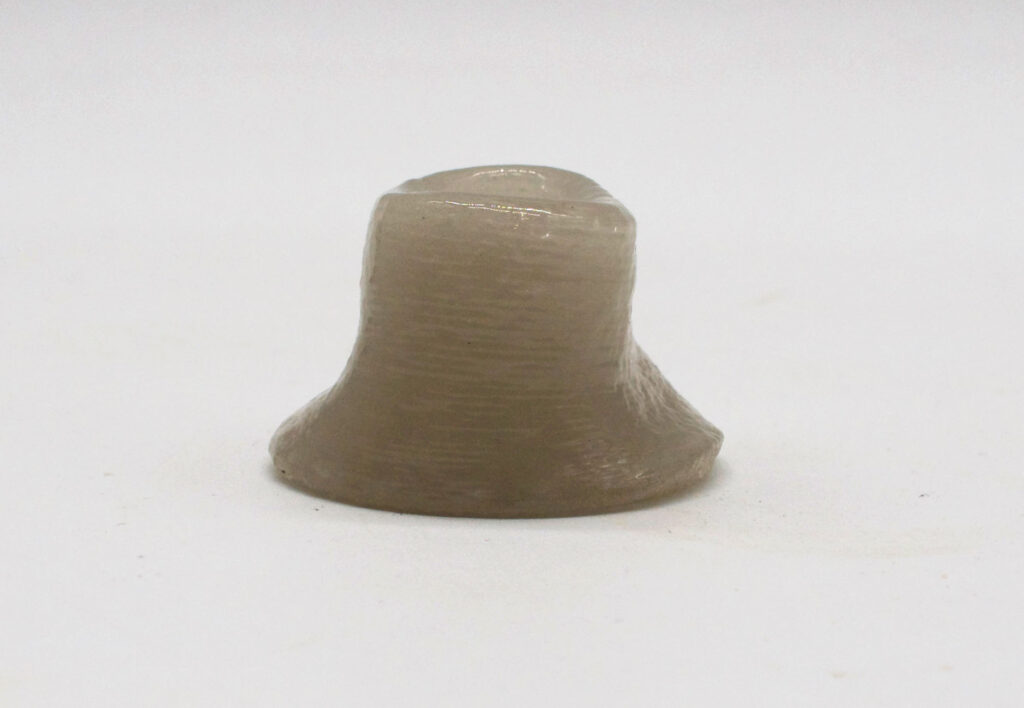
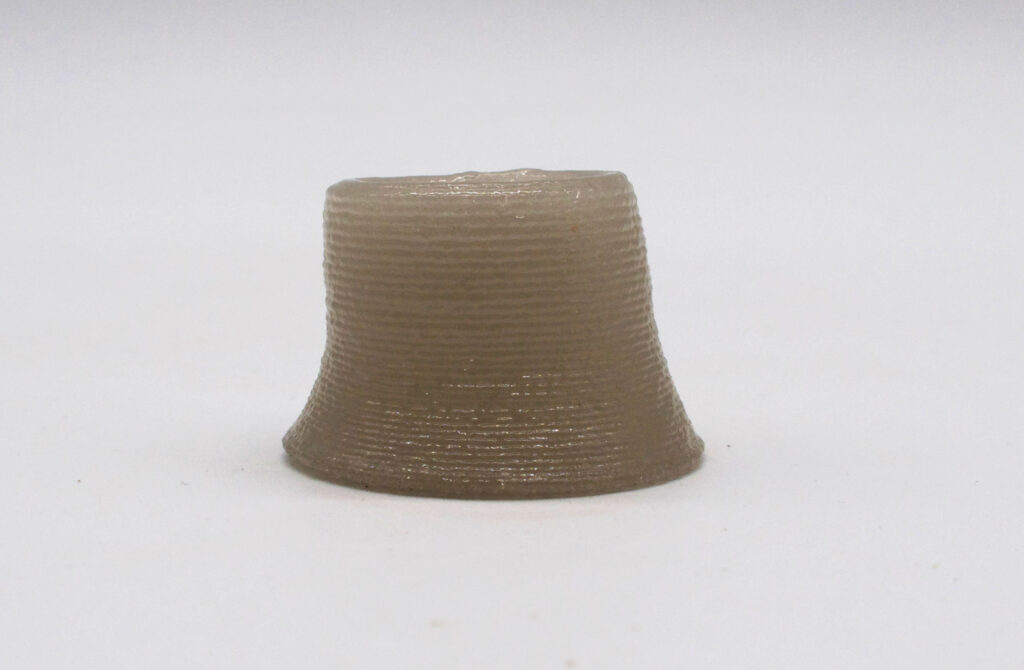
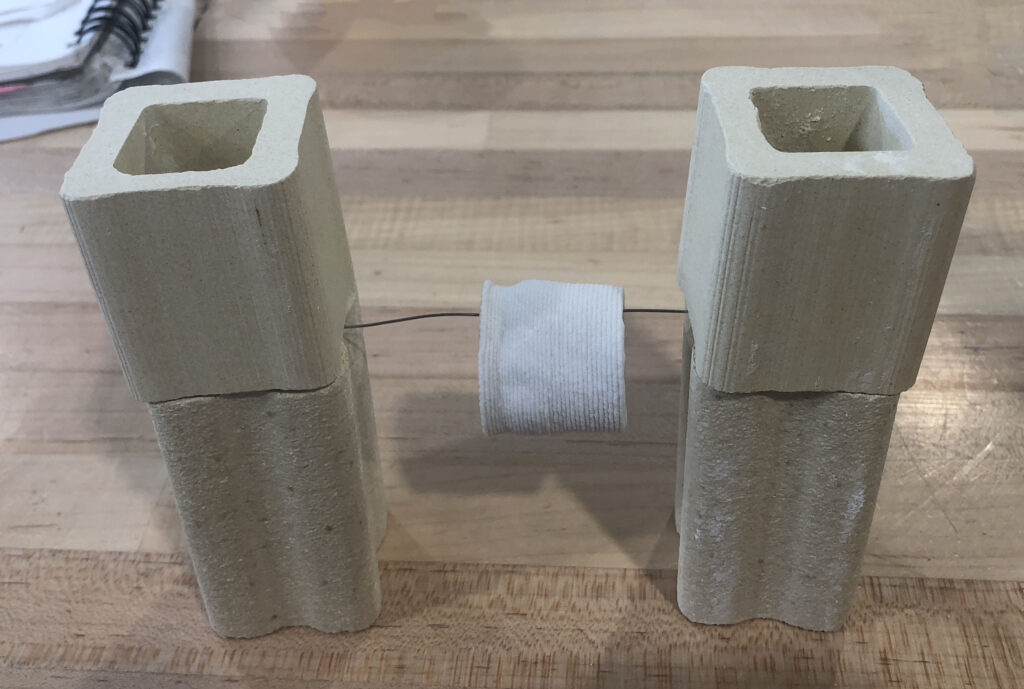
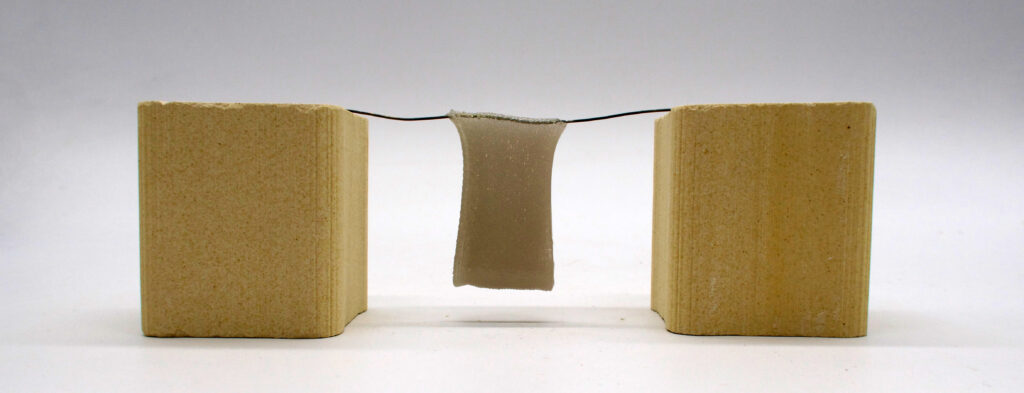
Here are some pictures of the pieces I have made so far.

Updated Timeline
- Dec 1: Dial in a kiln program that will sinter the cylinders into glass without slumping.
- Dec 6 : Print larger and more complex geometries and figure out how to fire them without slumping.
- Dec 8: Finish writing my grasshopper and Kangaroo code
- Dec 12: Make lots of objects!
Updated Deliverables
- A reliable recipe for a paste made from glass frit that can be printed with the Eazao clay 3D printer.
- A kiln program(s) that works with the recipe above to fire the 3D printed objects into glass.
- A range of possible sizes and types of forms that work with this process.
- Five to ten objects 3D printed and made out of glass.
- Grasshopper scripts that generate the gcode for the type of 3D prints that will work with this method.
- A grasshopper definition that takes in a form, the nozzle size that was used to print it in glass, and the firing temperature and uses the Kangaroo plug-in to predict the shrinkage and slumping that will occur in the final shape.
Hi Camila! WOw I love how these are turning out. I actually really love the a lot of the slumping characterstics. I think it will also be incredible when they print without slumping, but I think it could be fascinating to experiment with the…slumpature? I can’t wait to feel these in person also. I touched the first glass prints of the little cubes in the lab and the texture is awesome. Maybe would be a cool material to make jewelry from as well. So cool that you’re working on this!! I’m also so impressed by the difference between the look of the material before vs after firing. The colors are awesome too!
This is so cool Camila and such a good idea. You can turn these into so many different playful things. Jewelry, game pieces, perhaps making a glass candy for Christmas and ornaments for that matter…. my gosh the list goes on. And here we go with another material, glass. I had no idea you could do glass pieces. The pieces that have melted look particularly wonderful in their own way, and another way to manipulate materials. Great work and I can’t wait to see the end results.