The current progress we’ve made is creating the grasshopper code for the body of our instrument. We haven’t had a chance to try and print anything yet because we changed the way we designed the body. At first we were going to do body made from a single polygon but realized after trying to build it in grasshopper that it would be really difficult to attach a neck to the body for certain shapes.
We changed to an design using lines drawn in rhino to help build the body of the instrument kind of like what we did with the tiles. So, the body can be many different shapes. The line ending on the Y-axis must be on the negative side of the axis to not overlap the inner part of the body. The body is built out of 5 sections using 2 lines to create a section on either side of a rectangular mid section to give us a solid point to attach the neck to the body. We plan to print the body in two pieces and try to glue the back onto the rest of the body so we don’t have to deal with supports.
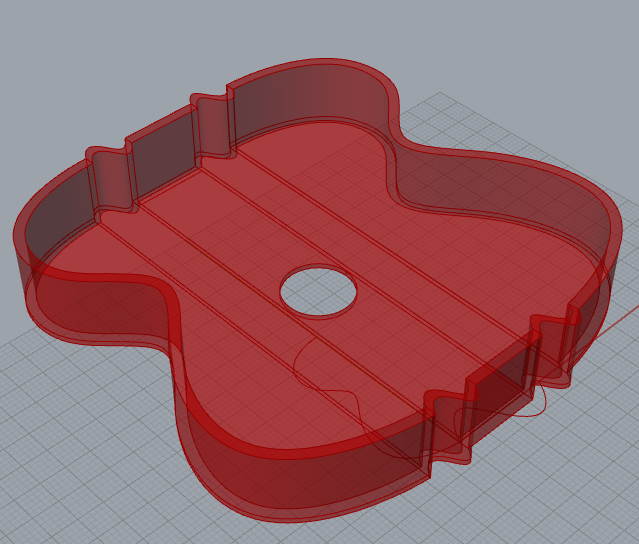
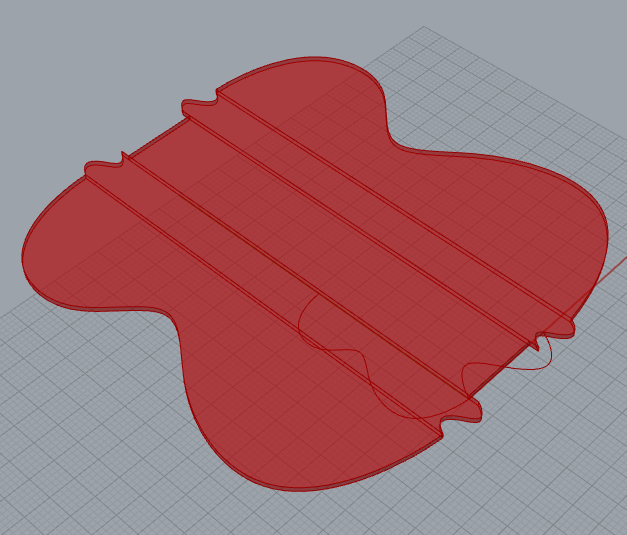
The height and length of the middle rectangle piece can be adjusted as well as the radius of the sound hole. the width of the whole instrument can also be adjusted as well as the length of the inner curves.
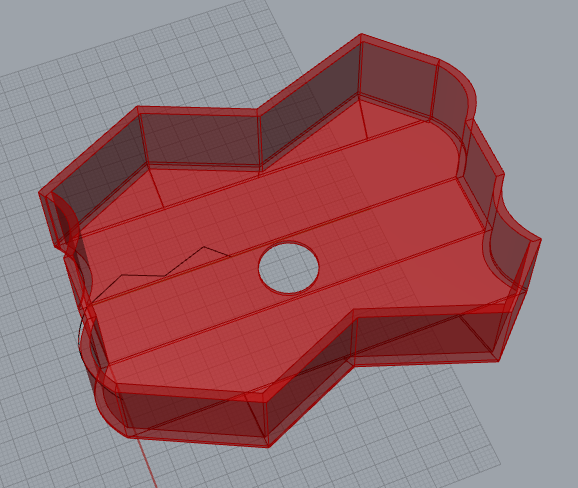
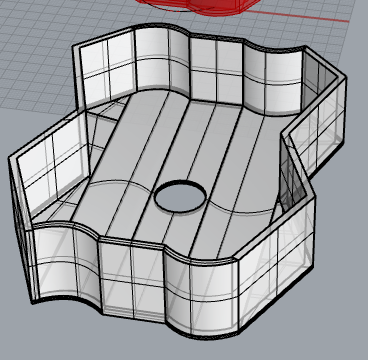
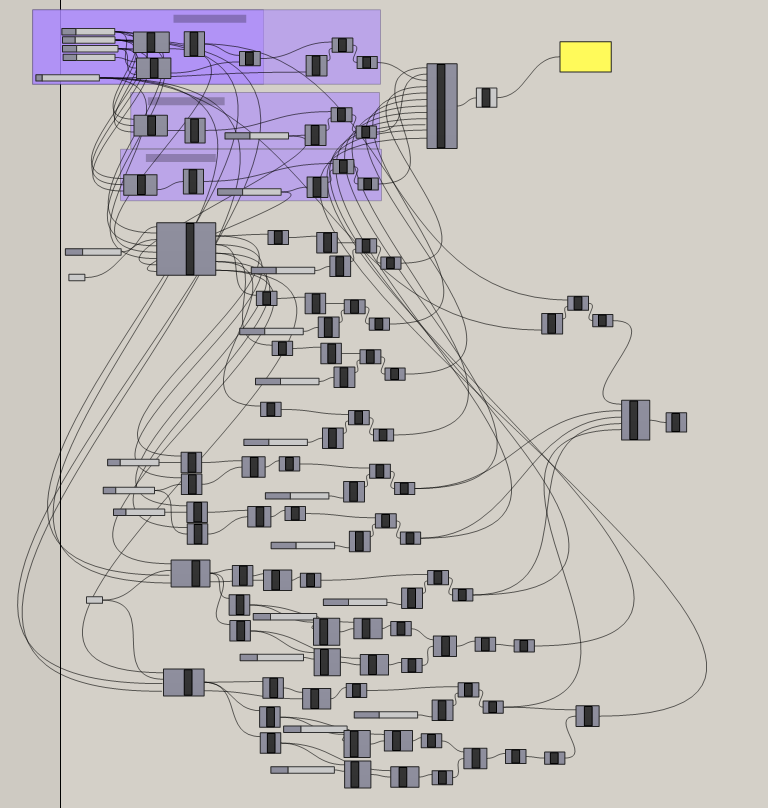
The grasshopper is a bit crazy 7 python blocks to create surfaces and the rest is creating the thickness in each surface and then connecting them together into one closed surface.
Our timeline has certainly changed:
November 26: We have completed the design of the body of our instrument
December 1: We will have a print of the body pieces to try and glue together.
December 4: We will have a design for the neck of the instrument
December 8: Have all pieces printed and assembled and test for sound quality.
Oh, wow!!! That looks so amazing! Looks like a great progress! Good luck on finishing your project. I bet it will be so incredible.
This looks great! The code looks like you guys have but a lot of time into it. I am excited to see and hear your project.