Part 1 2D Tiles:
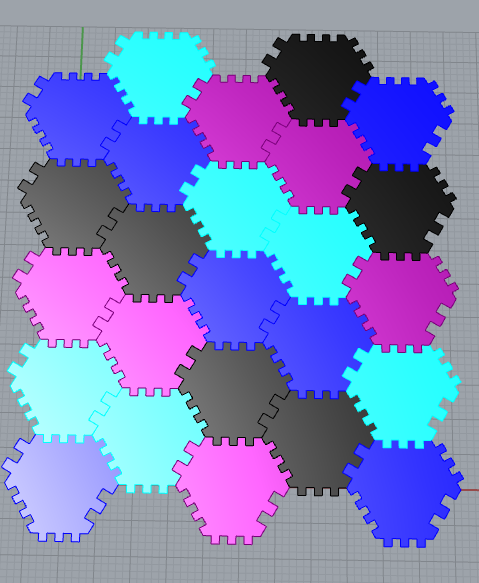
For my 2d tiles I chose to go with hexagonal tiling. It took me a while to figure out the best way to tile with the hexagon since it cant be broken into 2 pieces like the example we did in class and the vectors would have to be different as well. After looking through the slides again it made sense to use the center of the hexagons as the points for the vectors. I ended up drawing the whole hexagon and then copying the lines and moving it using 3 vector points. The first point was for the even positions in a row(0,2,4…) and this just moved the x value by 1.5 side length if the number in the row was odd (1,3,5…) the y value had to be changed as well as the x the change in y here is the distance from the center to the edge of the hexagon or the height of the equilateral triangle (sqrt(3)*side length)/2. For incrementing the column it is 2 *(sqrt(3)*side length)/2 or just (sqrt(3)*side length).

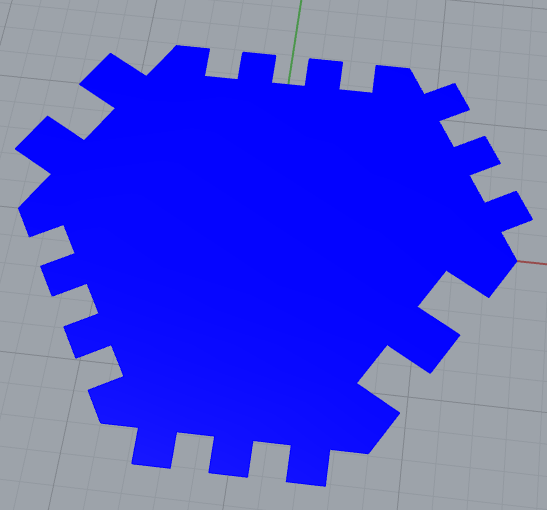
I spent quite a while turning my hexagon into an Escher tile I was stumped for a while because I had my scaling inside a for loop making it smaller every time for some of my curves and not others but once I figured out what was happening i was able to figure it out. I made 3 polylines in rhino one ending on the y axis and 2 ending on the x axis and then rotating them to match which side they were on. Making a copy of each gave me the 6 sides for the hexagon. Its found it quite fun playing around with different lines making different tiles. I liked this fairly simple design I made with cog looking curves.
Part 2 3D Tiles:
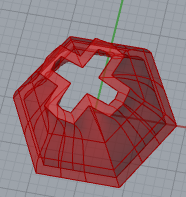
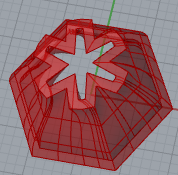
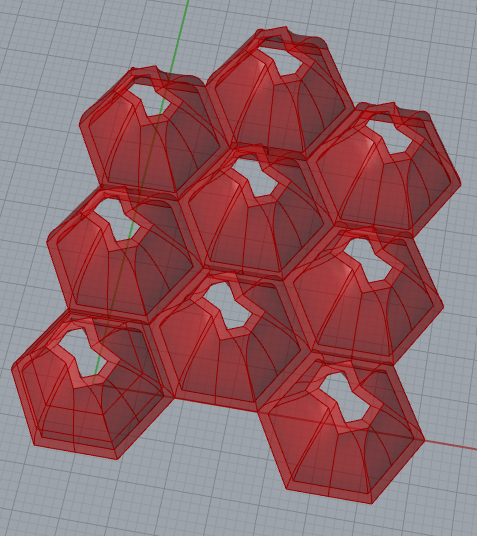
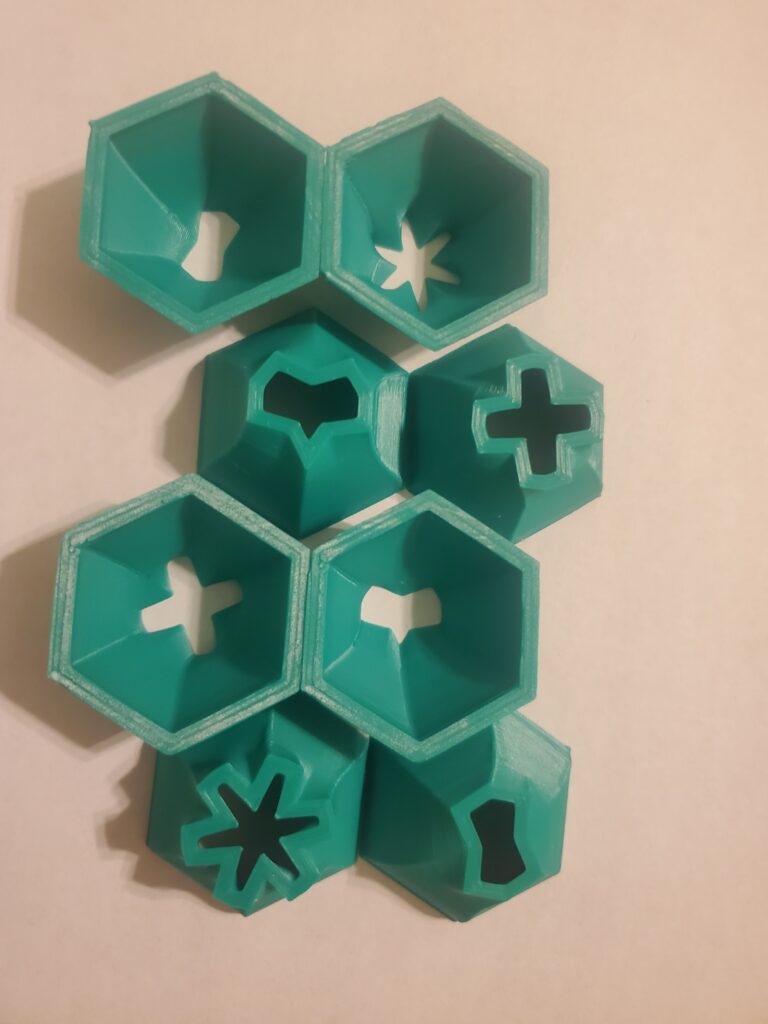
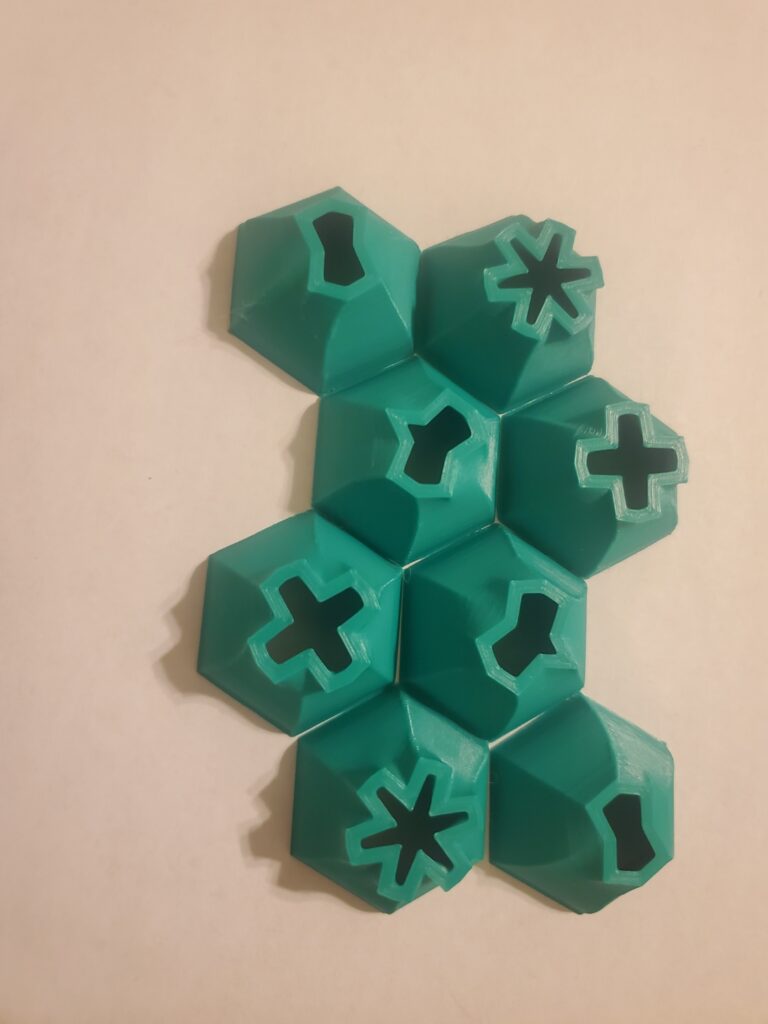
For my 3D tile i chose to use my regular hexagonal tiling as a base I built little dome vessels with different shapes at the the top. I reused my shape for the cog from the vessels assignment and changed the number of facets to make 4 interesting shapes and I printed 2 of each. They didn’t come out as interesting as I was hoping. They kind of look like they could be some board game pieces.
Part 3 Surface Morph:
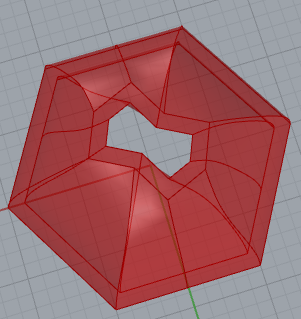
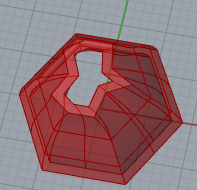
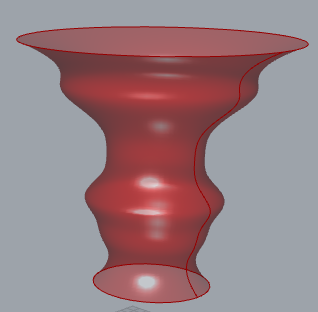
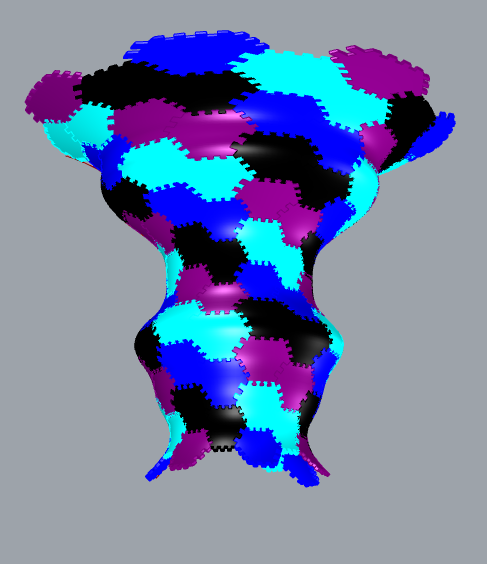
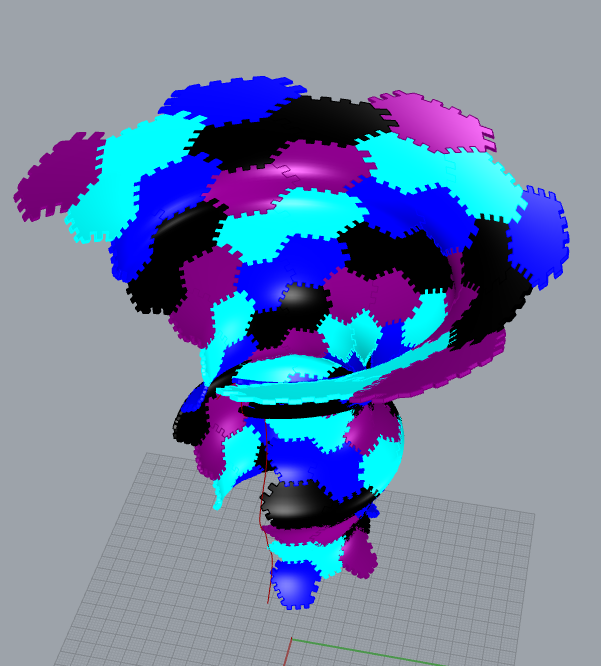
I wanted to use one of my vessels from the vessels project to morph my tiles onto but the output of those programs were “closed breps” and the surface morph wouldn’t accept them as a surface and I couldn’t find a way to convert them to a surface. So I ended up using one of my data vessels as my surface. For some reason though it didn’t tile the whole surface. When I created a basic surface like we did for the example in class it covered it completely but here it left a gap on one side of the surface. It morphed nicely to the rest of the surface and the puzzle piece tiles make it look interesting so I left.
Link to my code: https://handandmachine.org/classes/computational_fabrication/wp-content/uploads/2023/11/MichelRobertTiling.zip
Hi Michel, great job on your project! I like your Esher tile and it was interesting to hear your problem solving process for getting the Esher curves to match up with tessellation. I struggled with this also and decided to draw my curves so that their ends were not at the origin, but I like your solution. Your tessellation reminds me of those interlocking foam mats that cover kids playrooms. I also really like your printed tiles. They are clean and graphic and, I agree, look like game pieces.
Hello Michel,
I like your gear shape design. Put them into a frame would be a lovely wall decoration.
Jingbo
Hi Micheal,
Your tiles do look like game pieces! I thought at first it was a tick tac toe game.Your 2D tile reminds me of a mat that we had growing up. I really enjoyed taking that mat apart and reassembling it. Overall your thought process behind each design was very interesting; many of your solutions I would have not thought of on my own. Great job!