Part 1: 2D Tiles
For this assignment, I encountered significant challenges in working with the tiles, particularly the 3D aspect. Due to time constraints, I was unable to develop or draw inspiration from unique ideas. However, I discovered some cool patterns by experimenting with my sliders and adjusting the curves at the edges. As for the 2D tiles, I explored interpolating points to form a curve and followed the class code to create the lattice.
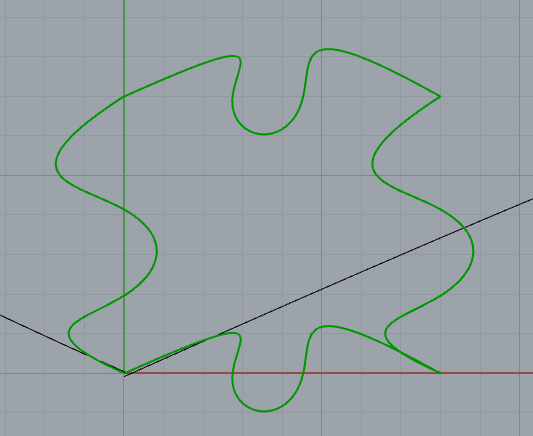
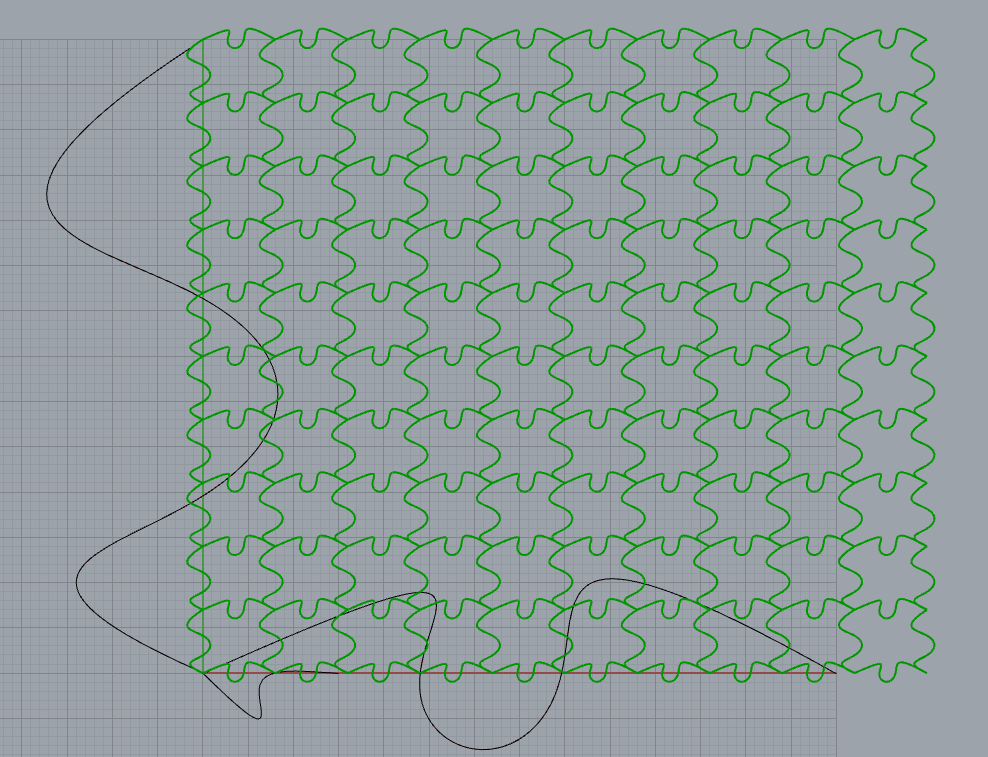
I designed puzzle pieces, which I found cool to create, given that I was just messing with curves. With more time, I would have spent more tim on this concept to create a symmetrical design. This would allow each piece to connect seamlessly along any edge, regardless of its orientation.

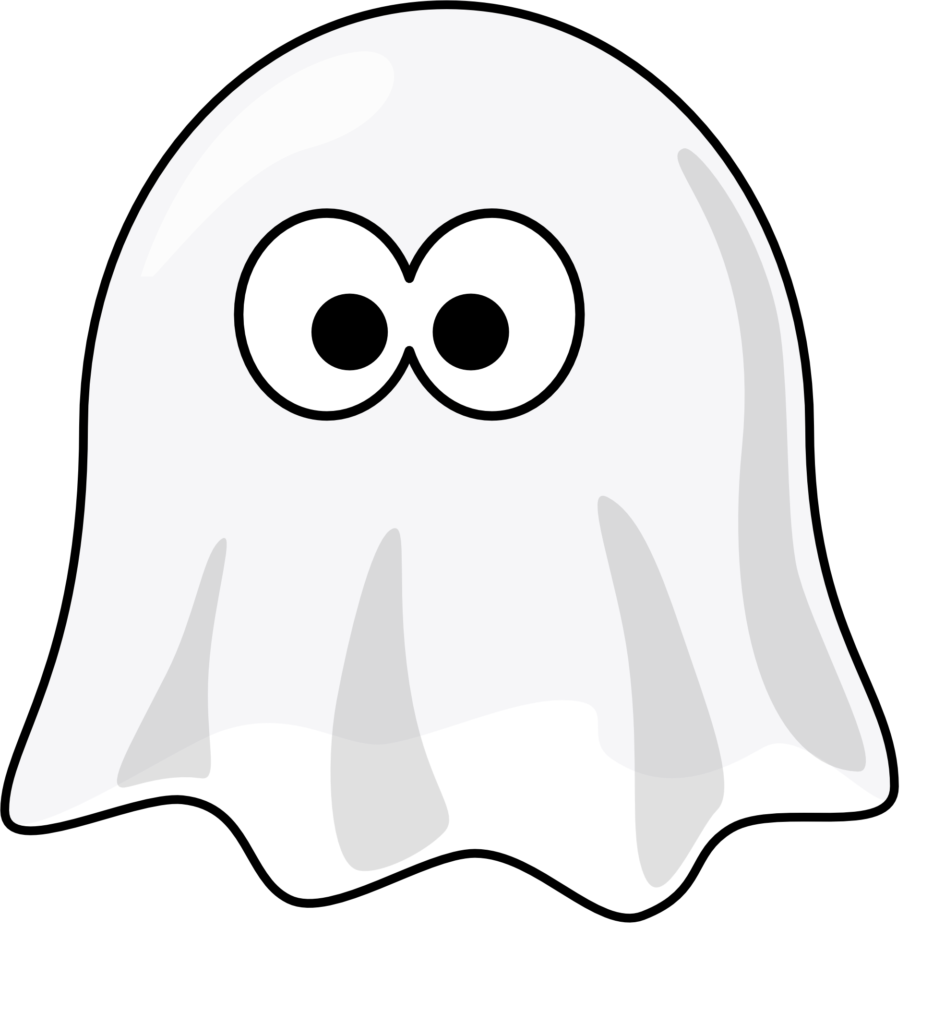
At first glance, the design looks just like random curves, but looking closer, I started to see the image of a cartoon ghost waving a hand. This cool shape immediately caught my attention, and I decided to keep it. If I also had more time for this assignment, my plan would have been to 3D print these tiles and add details, like painting eyes on them.
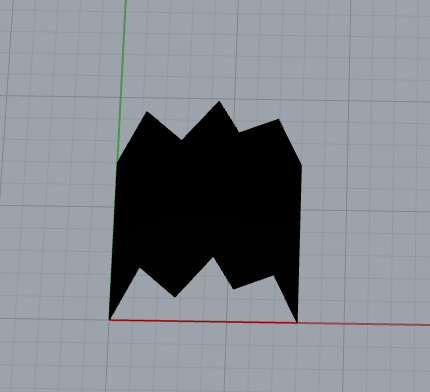
For the next set of 2D tiles, I experimented with hexagons and thought that was too hard for me so I tried triangles. Part 1b was really tough. I struggled to get the shape right, and my code was all over the place. I wasn’t sure if I’d manage to complete the tile. Fortunately, someone gave me a great idea, and it made me think, ‘Why didn’t I think of that before?”
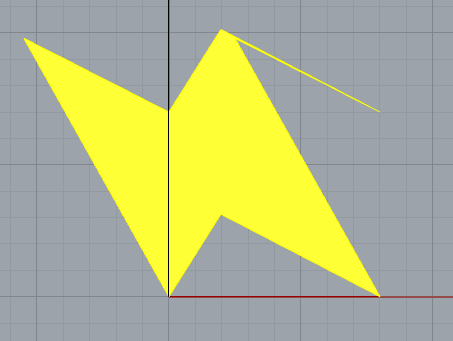
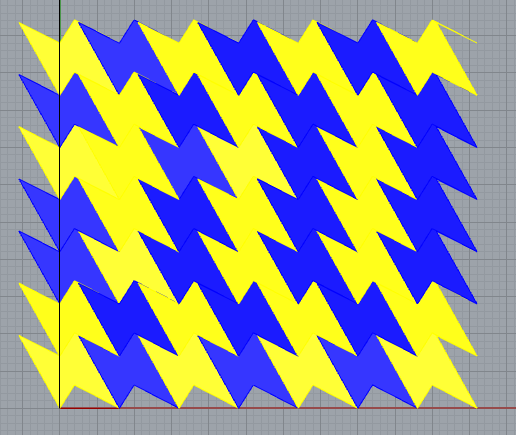
Although this does have a random line at the top right, when I made multiple of them, You can see a bigger much cooler lighting bolt.
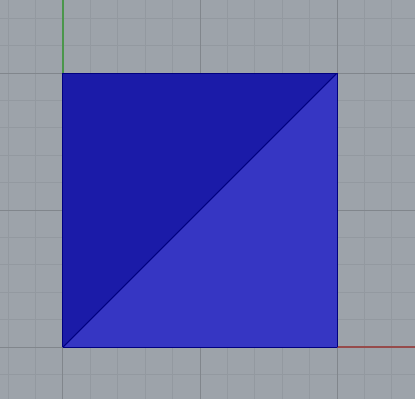
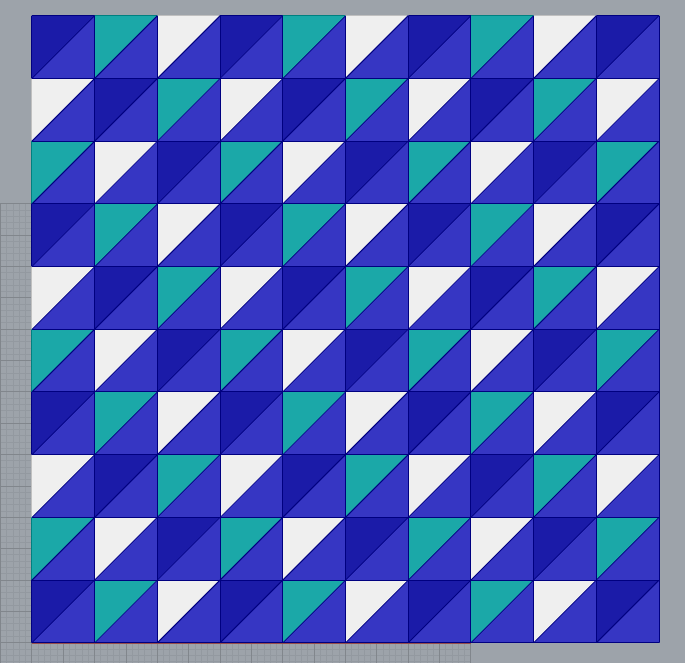
The idea for coding this triangle involves starting with our basic square and simply adding another diagonal line. This forms two triangles, which we can then duplicate to create our tiles. I experimented with various color schemes for the triangles and found that these three colors complement each other nicely.
# Navy Blue
colors.append(“0,0,128”)
elif (i + j) % 3 == 1:
# Teal
colors.append(“0,128,128”)
else:
# Silver
colors.append(“192,192,192”)
Part 2: 3D Printed Tiles
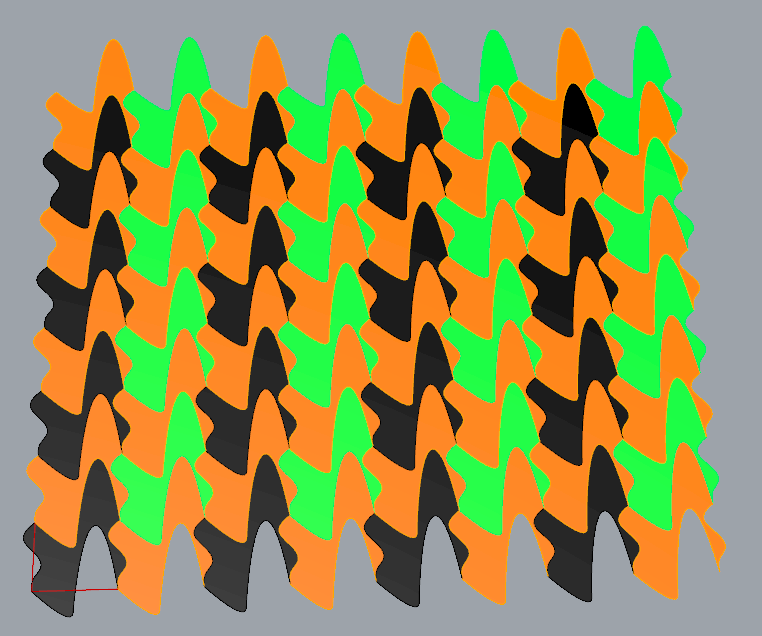
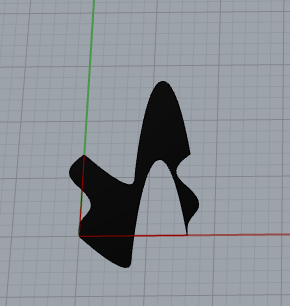
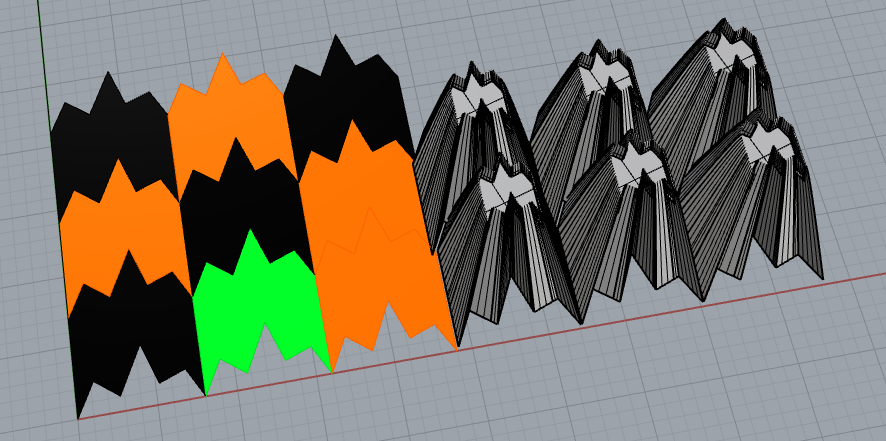
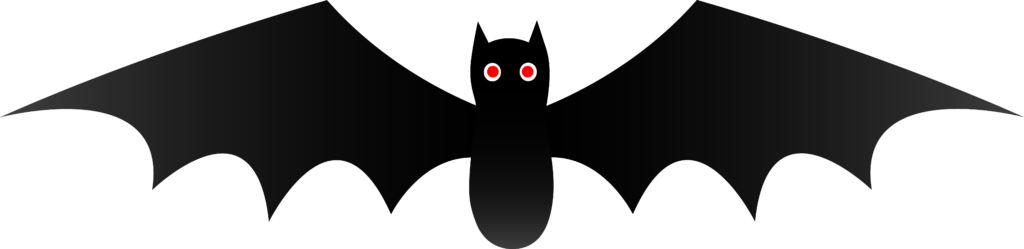
I thought that 3D printing these tiles would be as simple as adjusting the z-axis extrusion, but the assignment required more complexity. That’s why I decided to apply some of the Grasshopper code from our vessel project. The process involved taking the curve of my tile, replicating it, and then altering the z-coordinate to create multiple layers. These could be twisted, or scaled up or down. Unexpectedly, I ended up with a design that resembled a bat to me, although it could also be seen as a rather oddly shaped bird. So, by playing with some sliders, I created an almost pyramid-like structure with a peak that mimics a bat symbol.
I did try and attempt to 3d print my ghosts, but some of the edges were too sharp and my print did not want to stick to the bed for some reason.

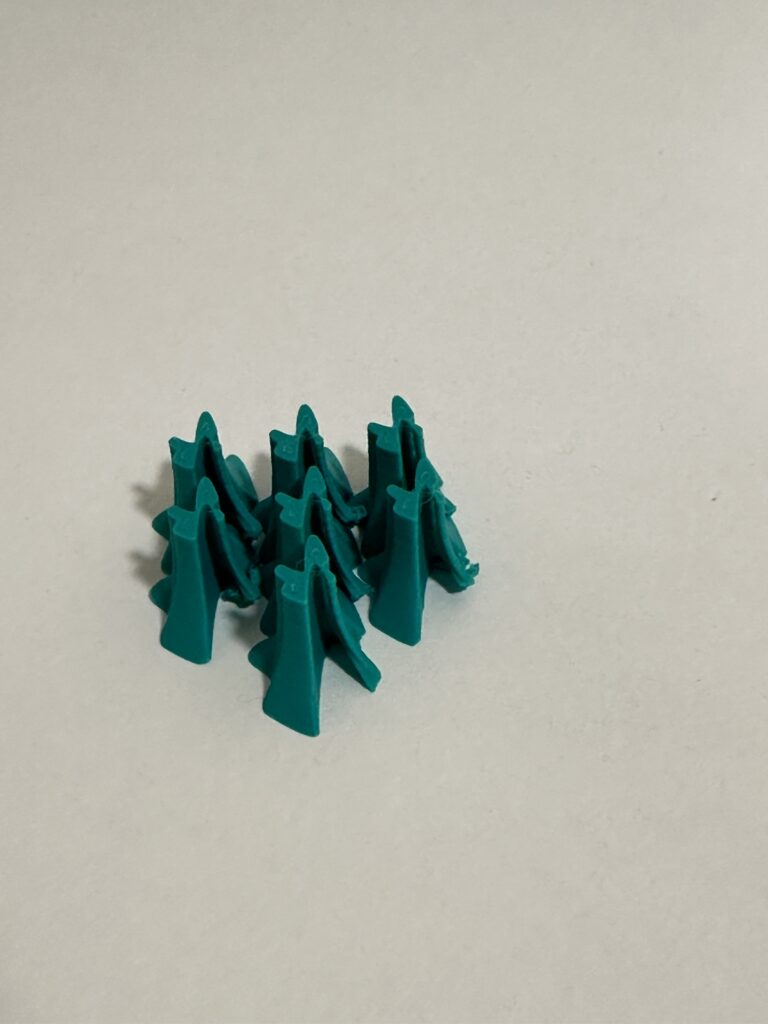
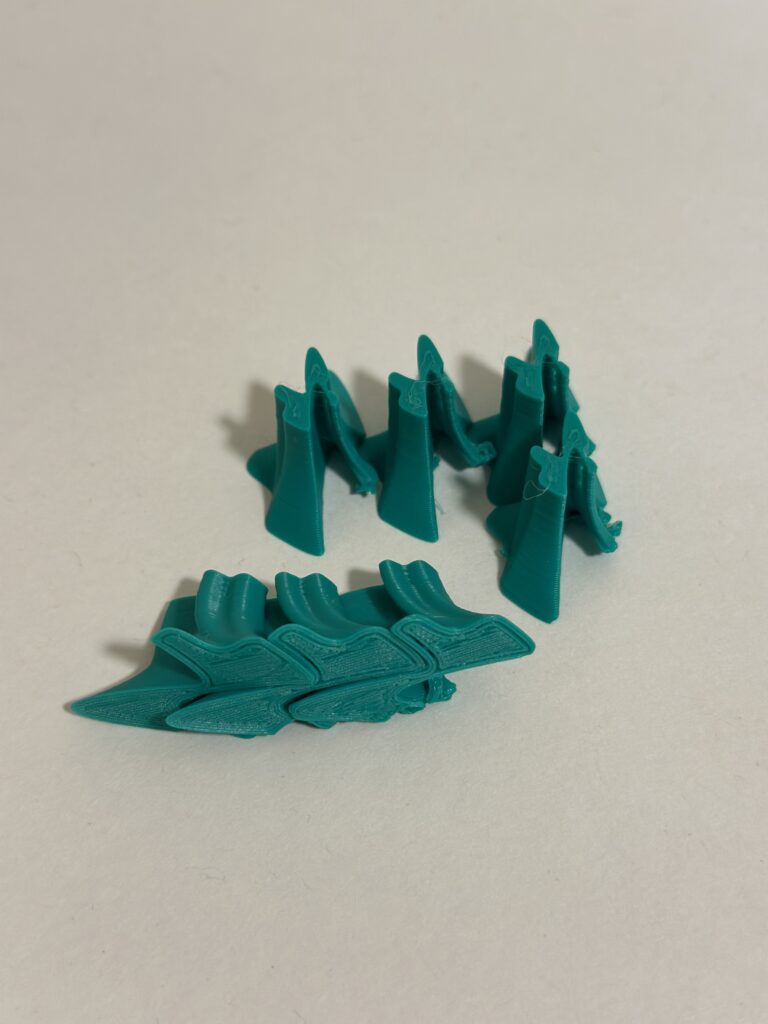
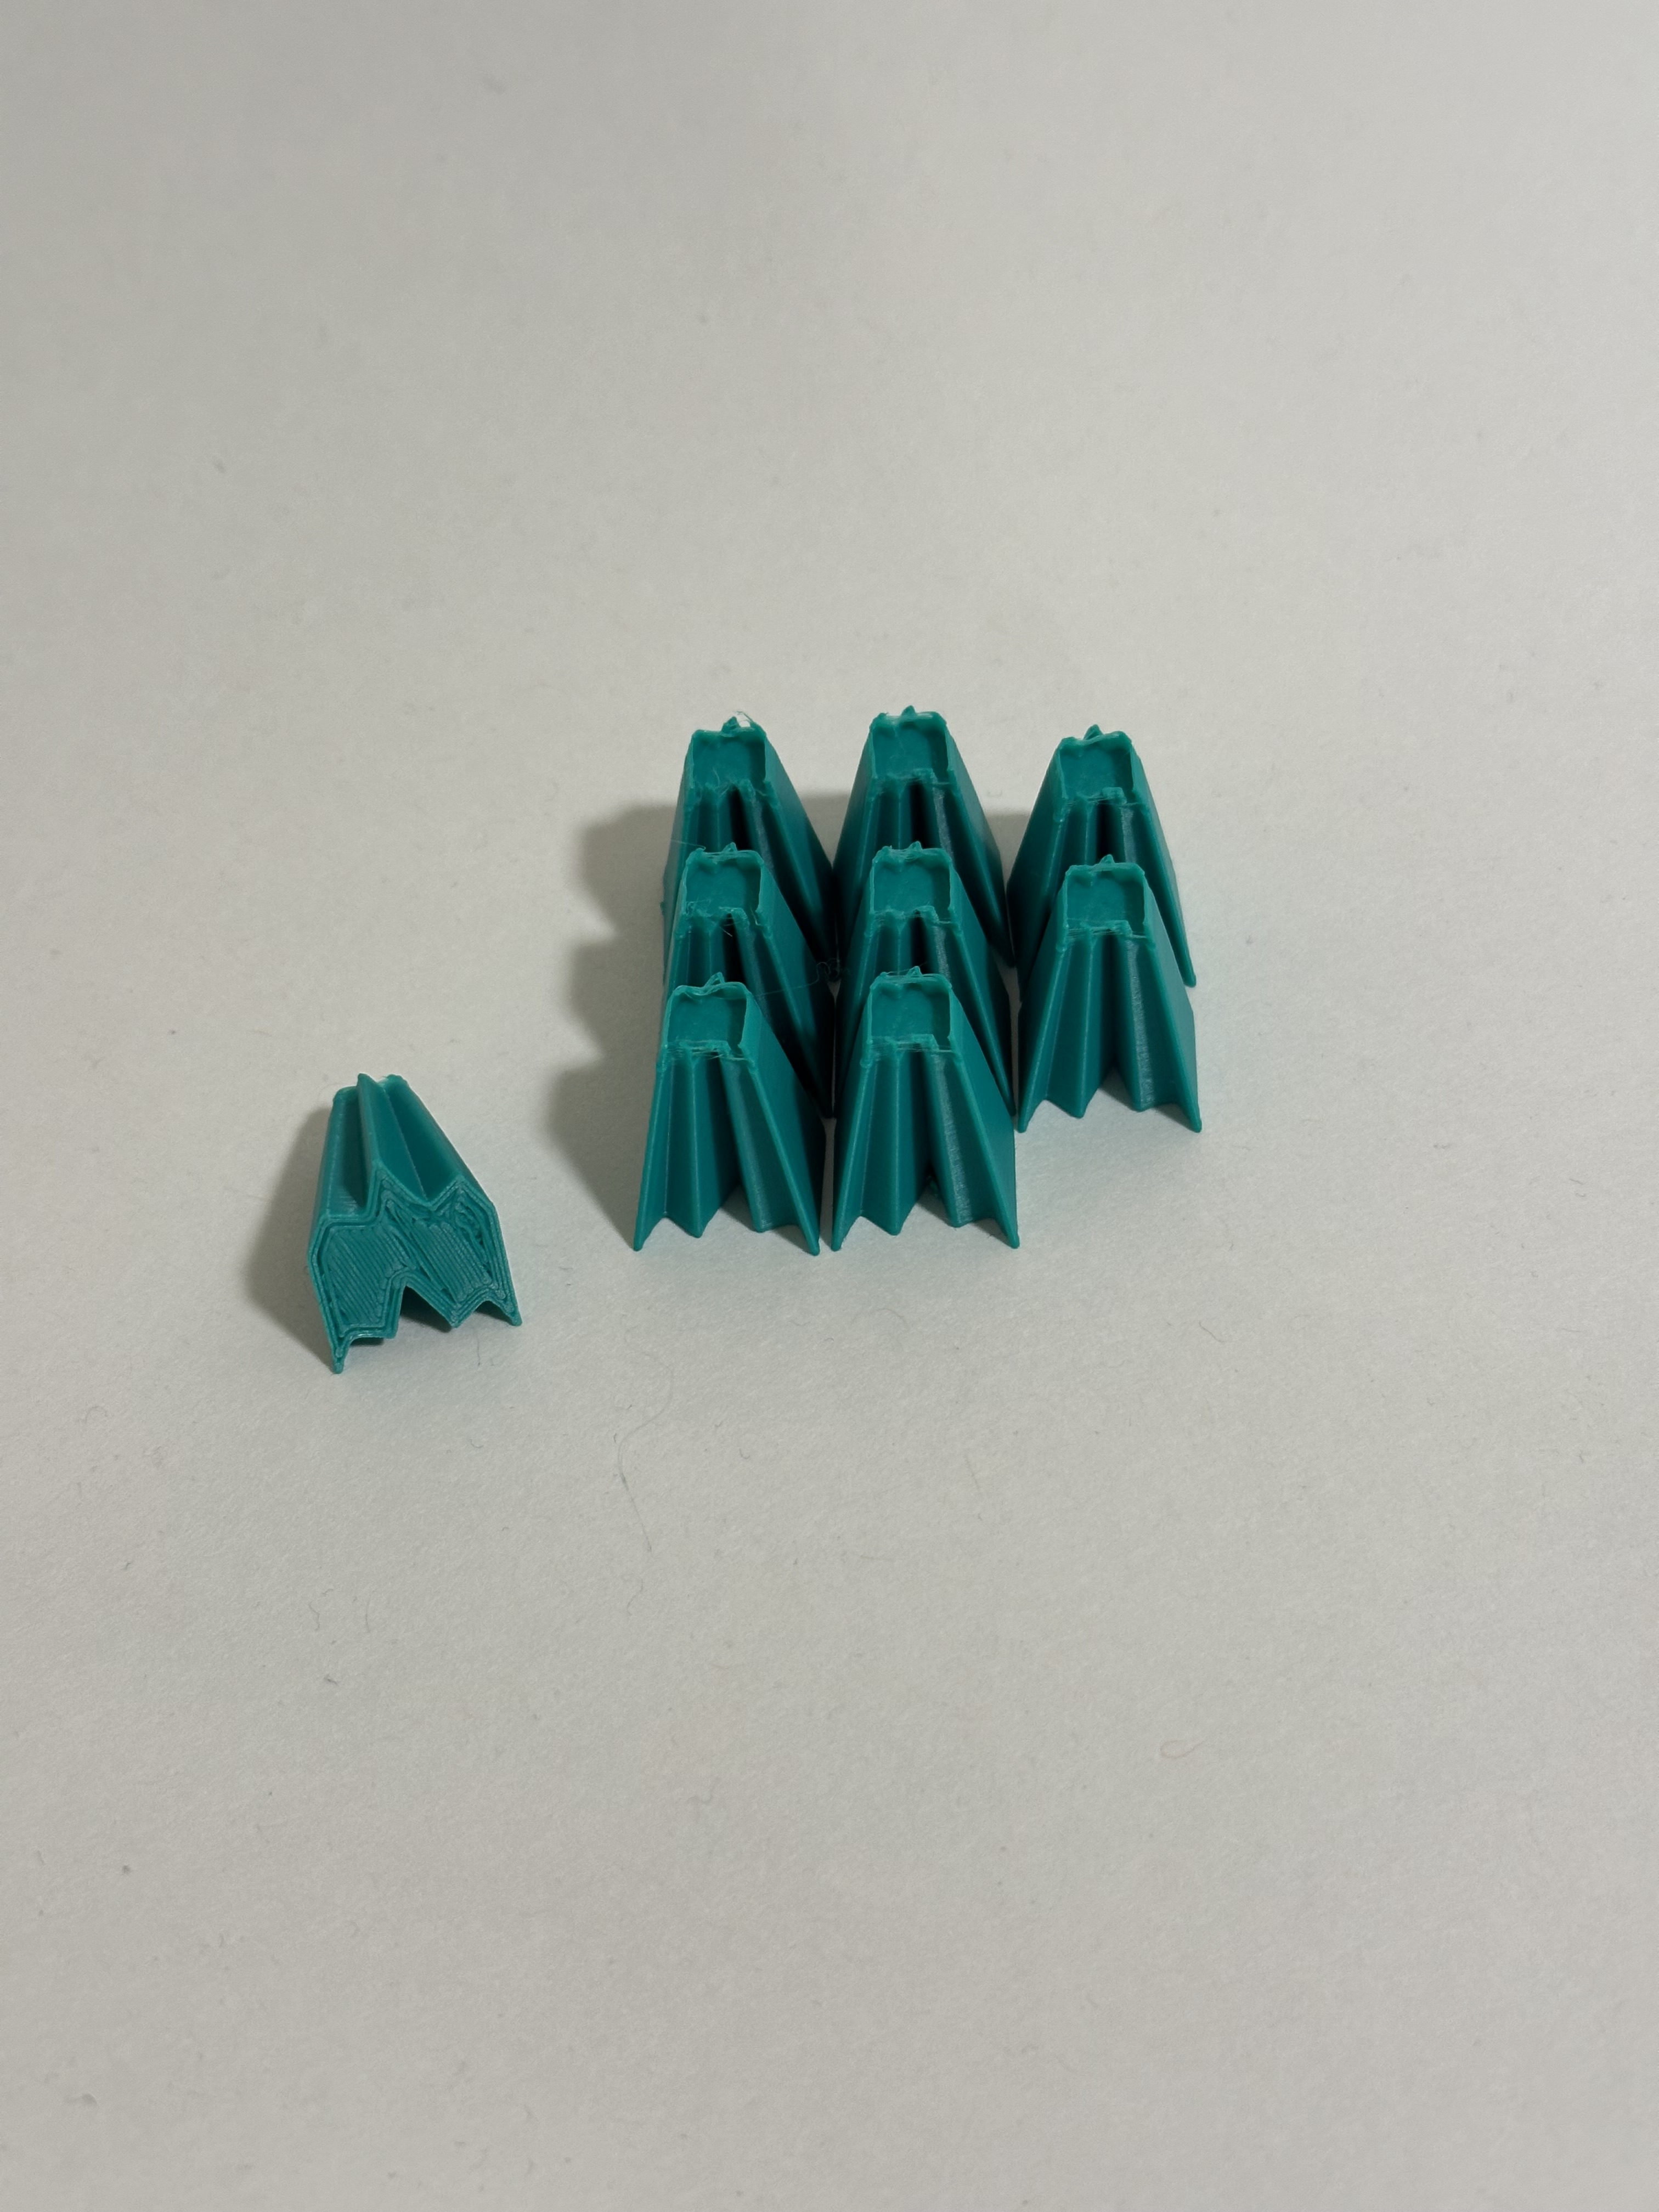
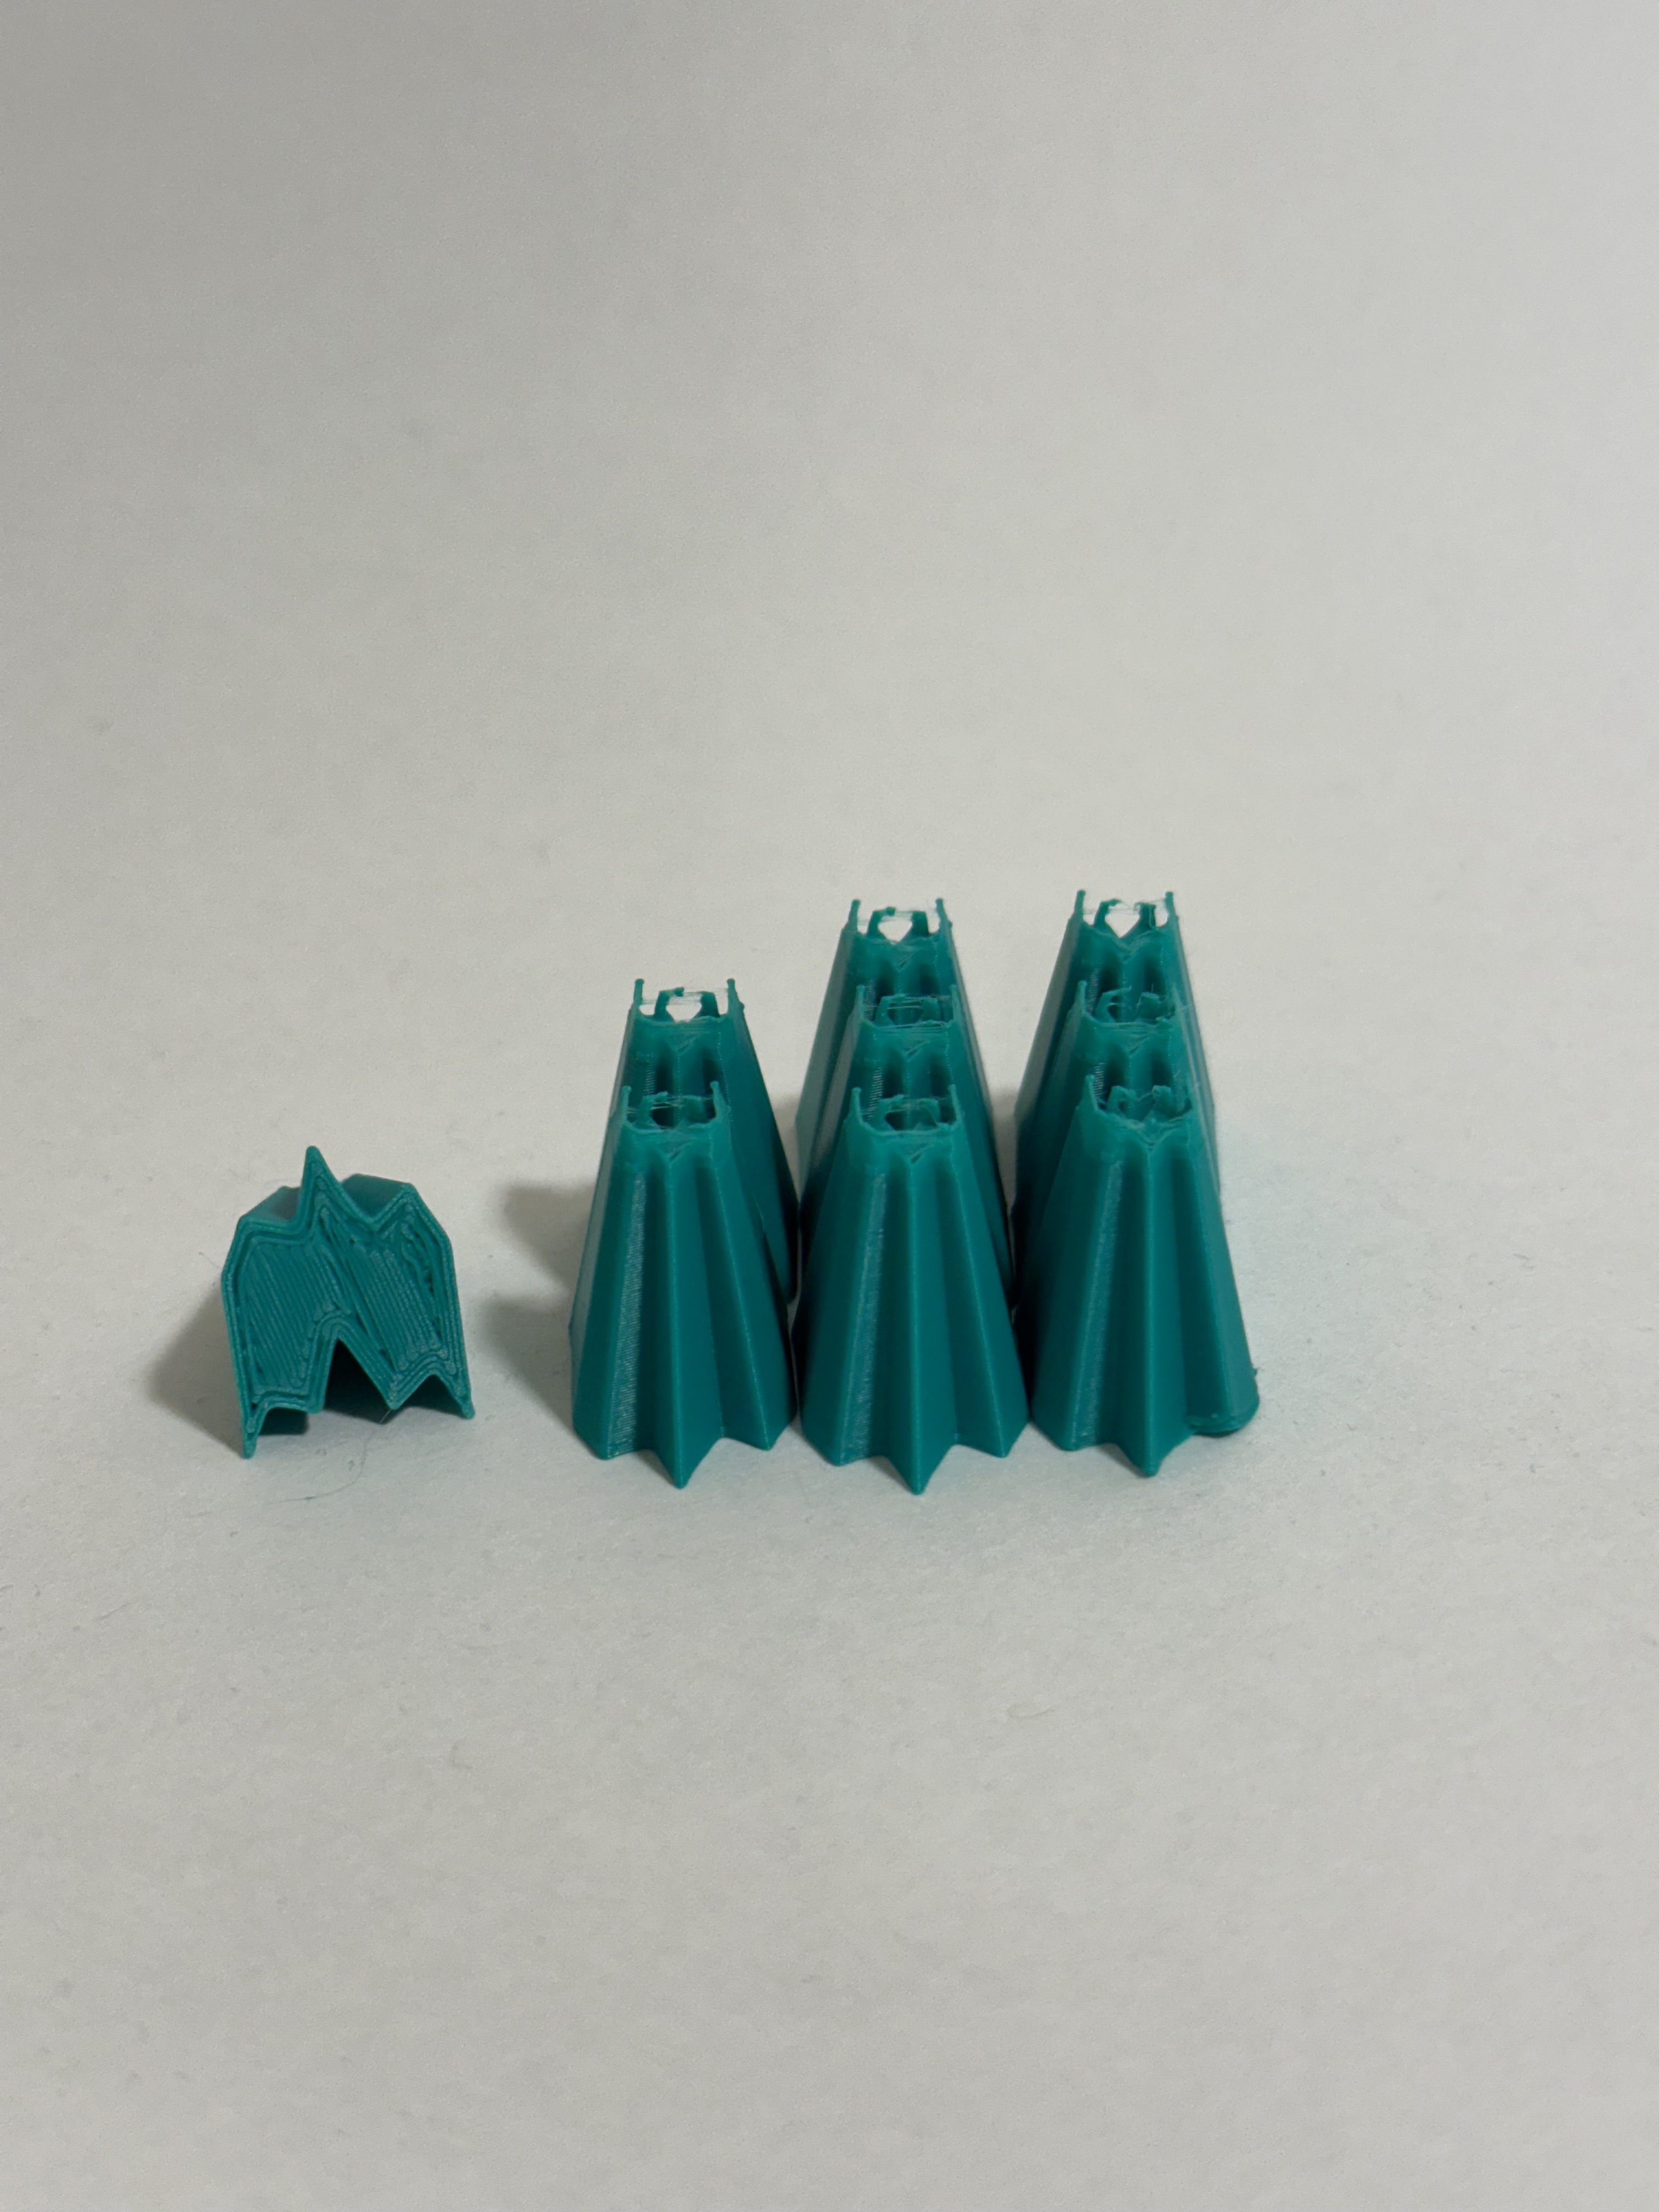
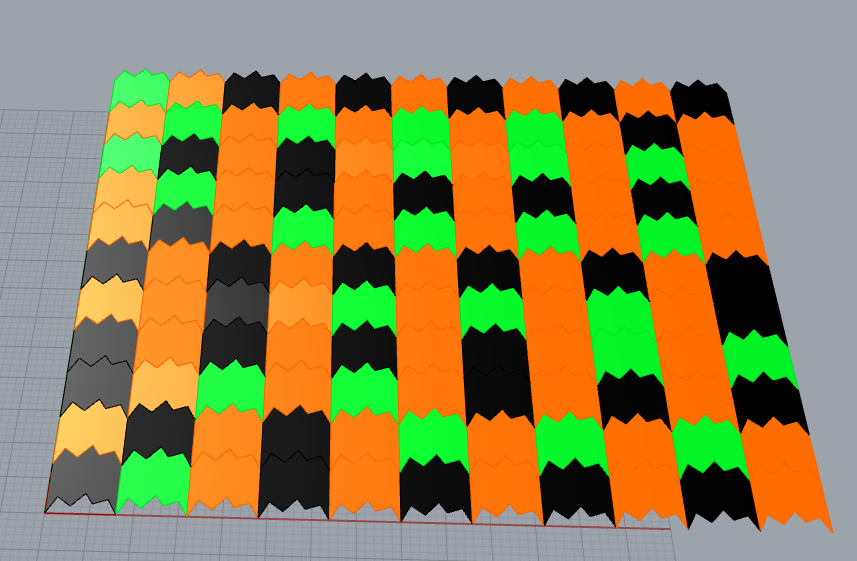
At least three excellent images of your 3D-printed tiles arranged in different tiling configurations. One of these images should clearly demonstrate a tiling of the XY plane.
- Your Grasshopper code. If your Grasshopper file depends on a shape imported into or drawn in Rhino, also include your Rhino file. Name your files or folder: FirstnameLastname3DTile.
Part 3: Surface Morph
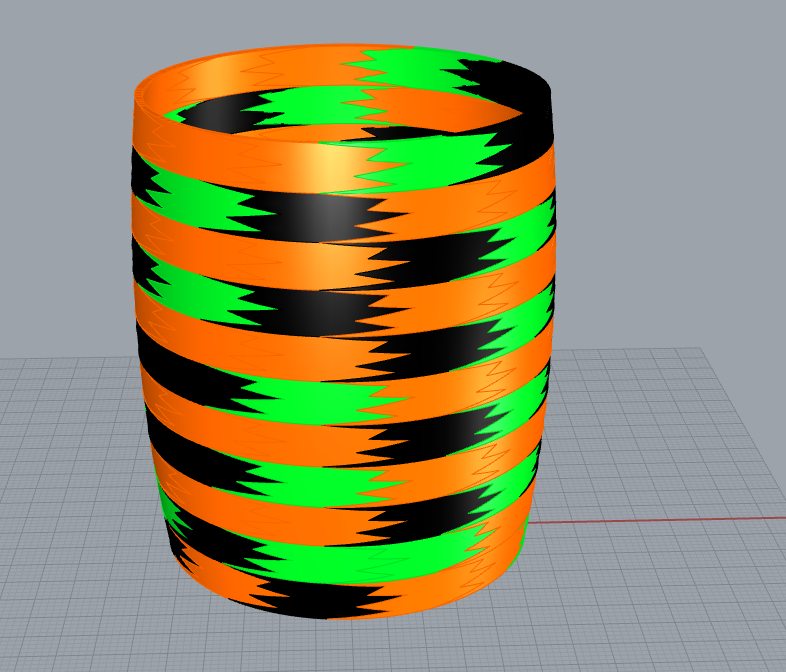
Even though this project counts for just 10% of my grade, it proved to be quite a challenge. The surface morph component requires numerous parameters, and it was a time-consuming task to figure out the correct connections. I also encountered issues where certain vessels I designed didn’t function properly. At first, I thought the problem was with the surface morph component, but it turned out to be an issue with my vessel design. Surprisingly, the Grasshopper script itself doesn’t look too pretty either. Despite these obstacles, I managed to successfully morph a simple vessel design, arranging my bat shapes to follow its contours.

- Your Grasshopper code. Name your files or folder: FirstnameLastnameSurfaceMorph.
Hey Nathaniel, your creative approach, turning simple curves into engaging puzzle pieces and ghost designs was amazing. Your surface morph design came out great. It was definitely one of my favorites. Great work!
Hi Daniel,
Thanks so much! It really took me awhile to understand what I was doing, I had to go through the slides back and fourth. I wish you the best for our final project.
Hi Nathaniel, I liked how your bats turned out. It was cool to see how they fit in both the bottom and the top. I also liked the colors you used. Your surface morph came out really nice as well!
Hi Raneem, thank you for your comments! I wasn’t expecting to go for a Halloween theme with some of my tiles. Happy accident I think. I wish you the best in your final project!