2D Tiles
Escher-esque Tiling
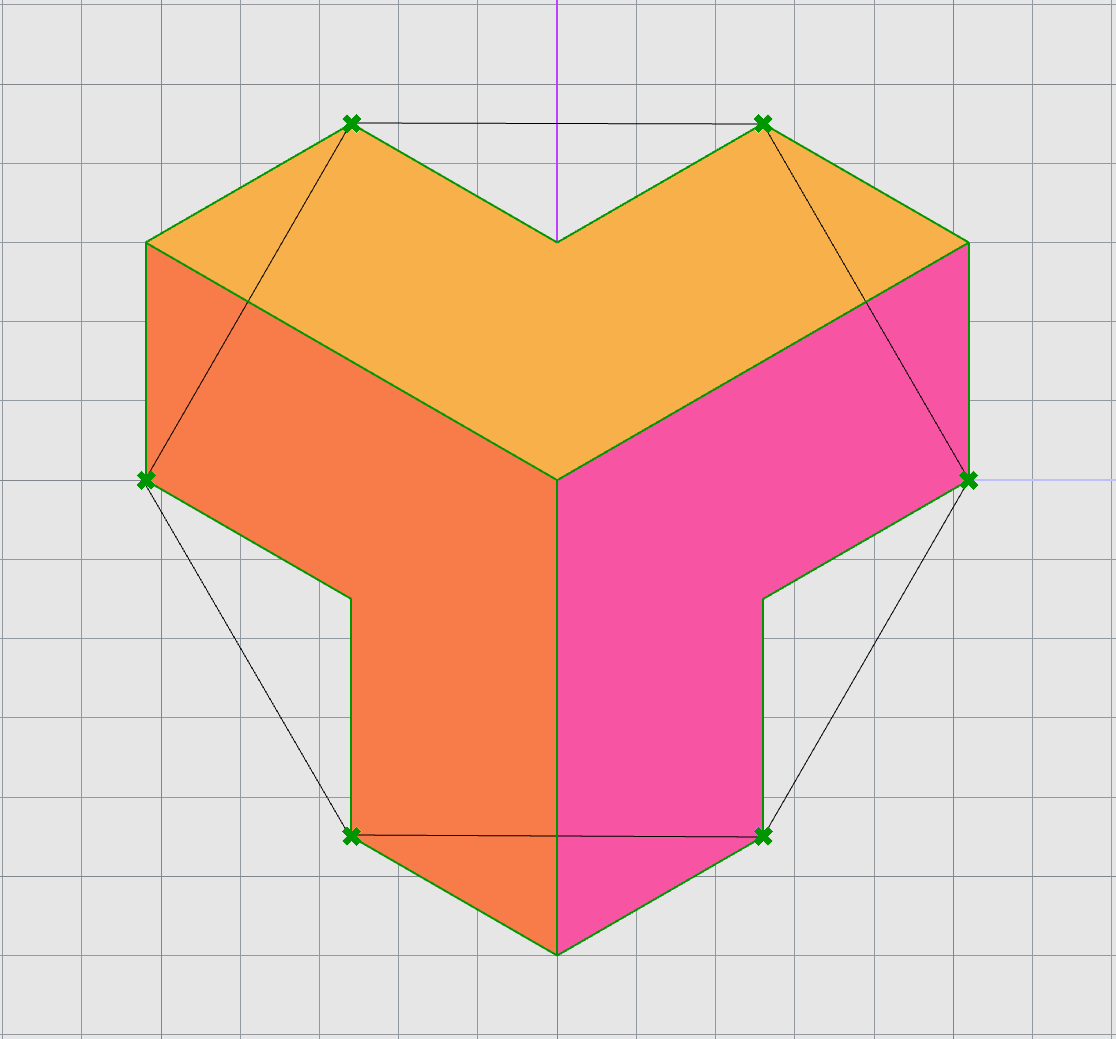
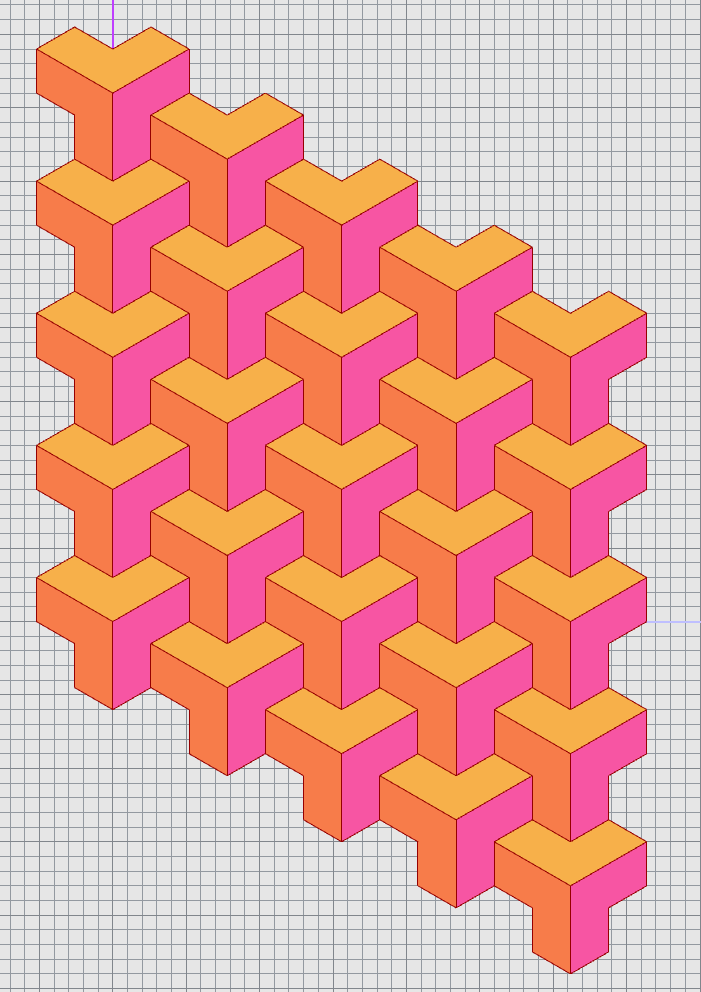
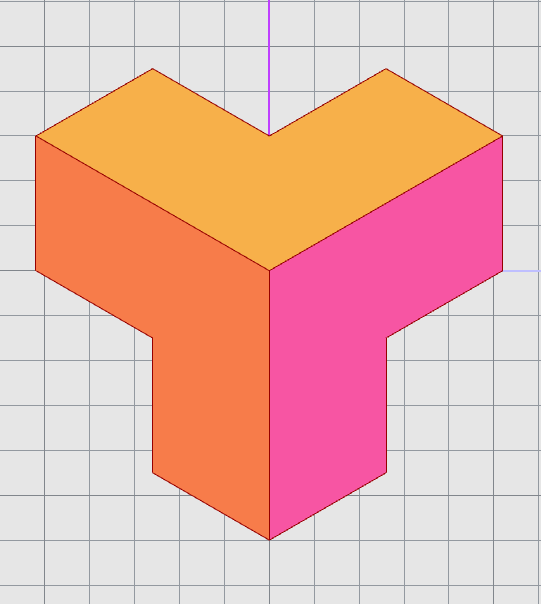
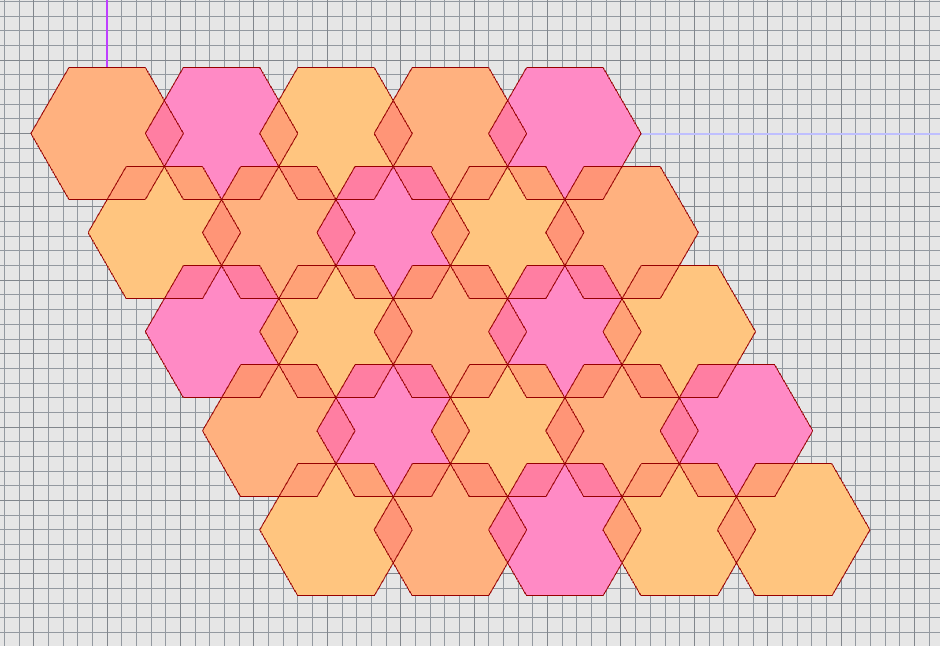
I may have made the mistake by starting out with my Escher-esque tiling as it ended up being one of the harder parts of this assignment, however I am extremely happy with how it turned out. This tiling is actually based on the regular hexagon tiling, as can be seen in the furthest left of the above images. When writing the code for the tiles I split up the larger regular tiling into a grouping of three monohedral tilings in order to add extra interest with color. This was originally a sticking point as I had at first created a single tile for the entire grouping which resulted in a grouping of two disconnected tiles. However after I discovered what was going on I was able to correct the issue and get the colors I had envisioned for the tiling. This designed was based off of a image I found when looking at Escher tiles for inspiration. To complete the code for this tiling I started with the base code from class and made the necessary changes to make it fit the new shape. This included adjusting the amount each of the copy tiles are moved on each iteration.

Hexagonal Tiling
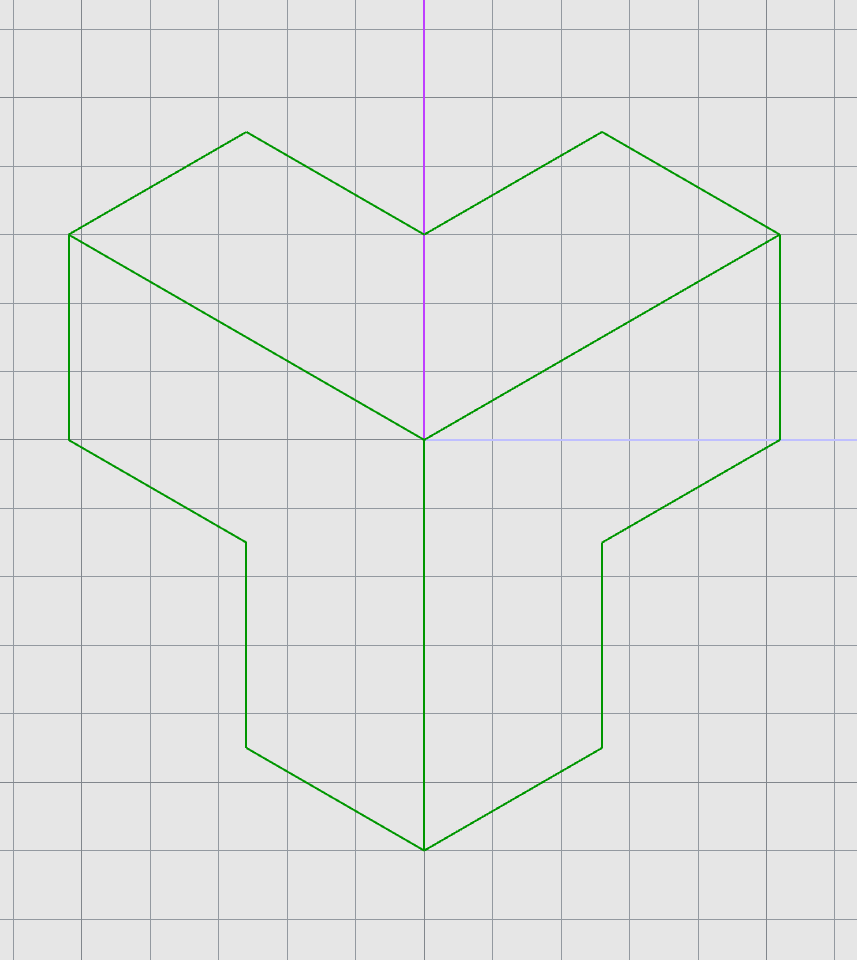
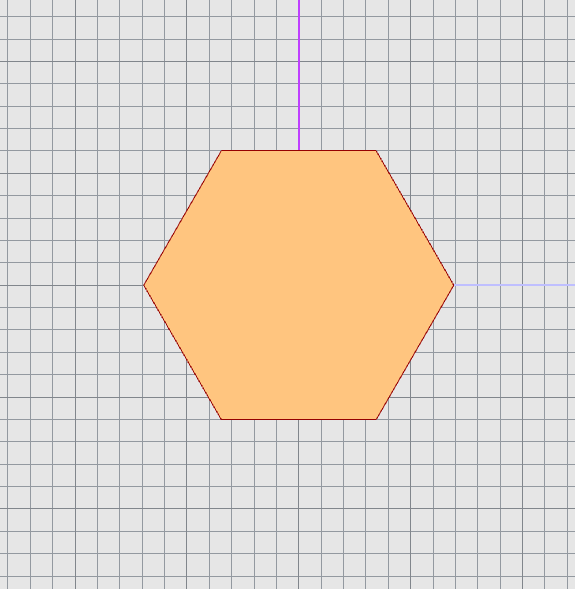
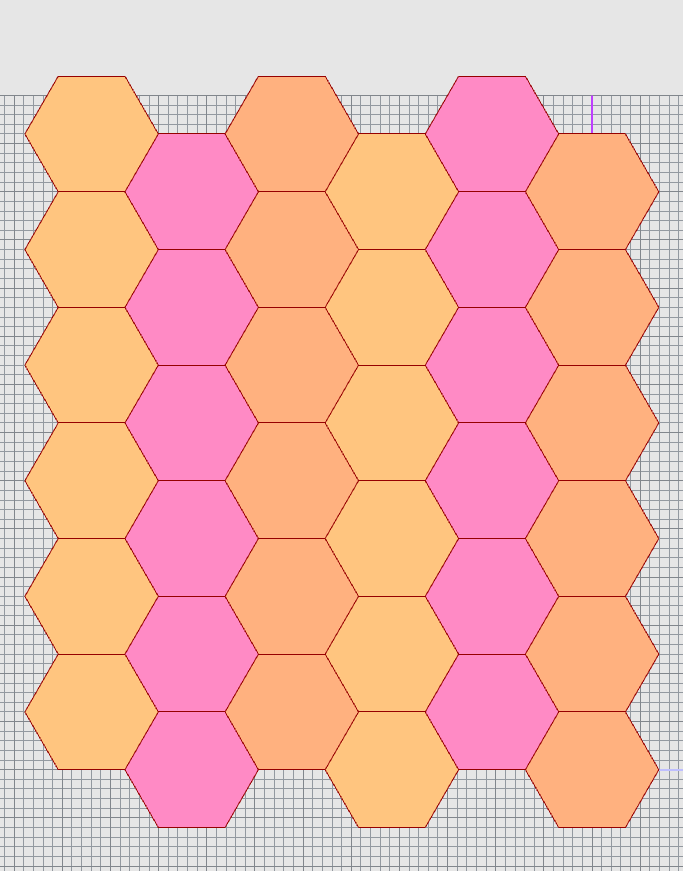
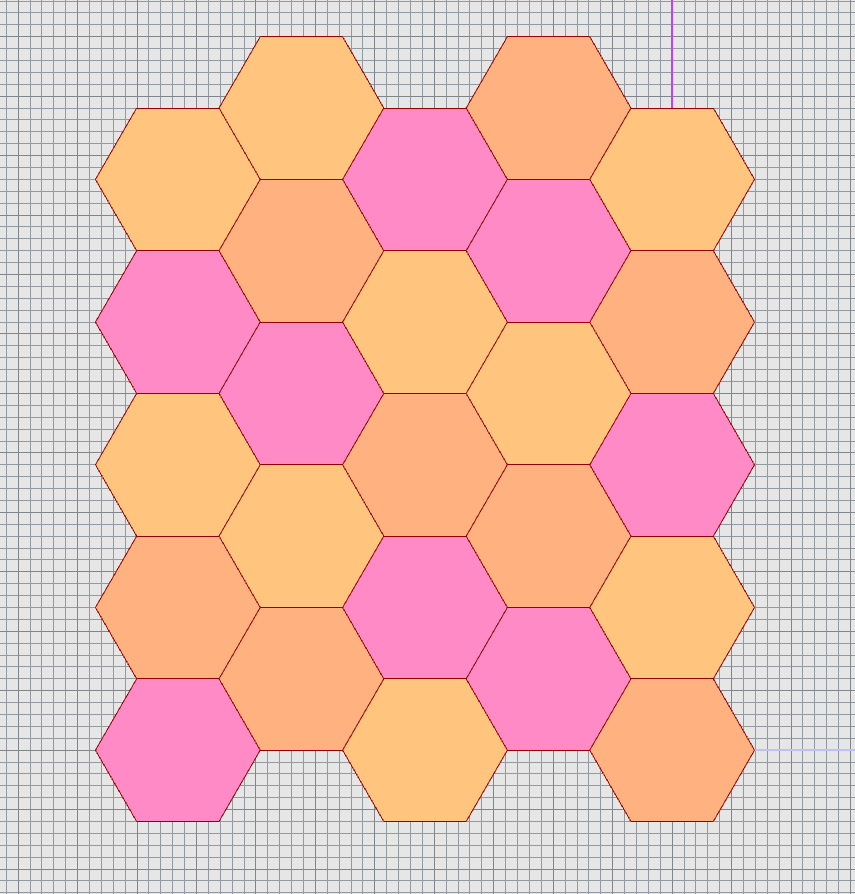
As I had started with the Escher tiling I already had the base design for what I would need for the hexagon tiling. This allowed me to easily replicate the code I already used except with lines connecting the points to create a hexagon rather than the existing Escher tiling. The only thing that I didn’t expect was that I would have to change the values to multiply by when creating the copies. However, the original tiling without being properly spaced still looked cool so I included it in the images below.
3D Tiles
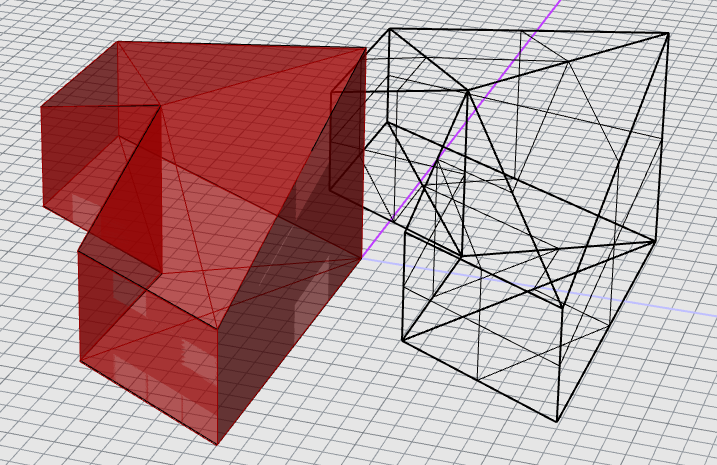

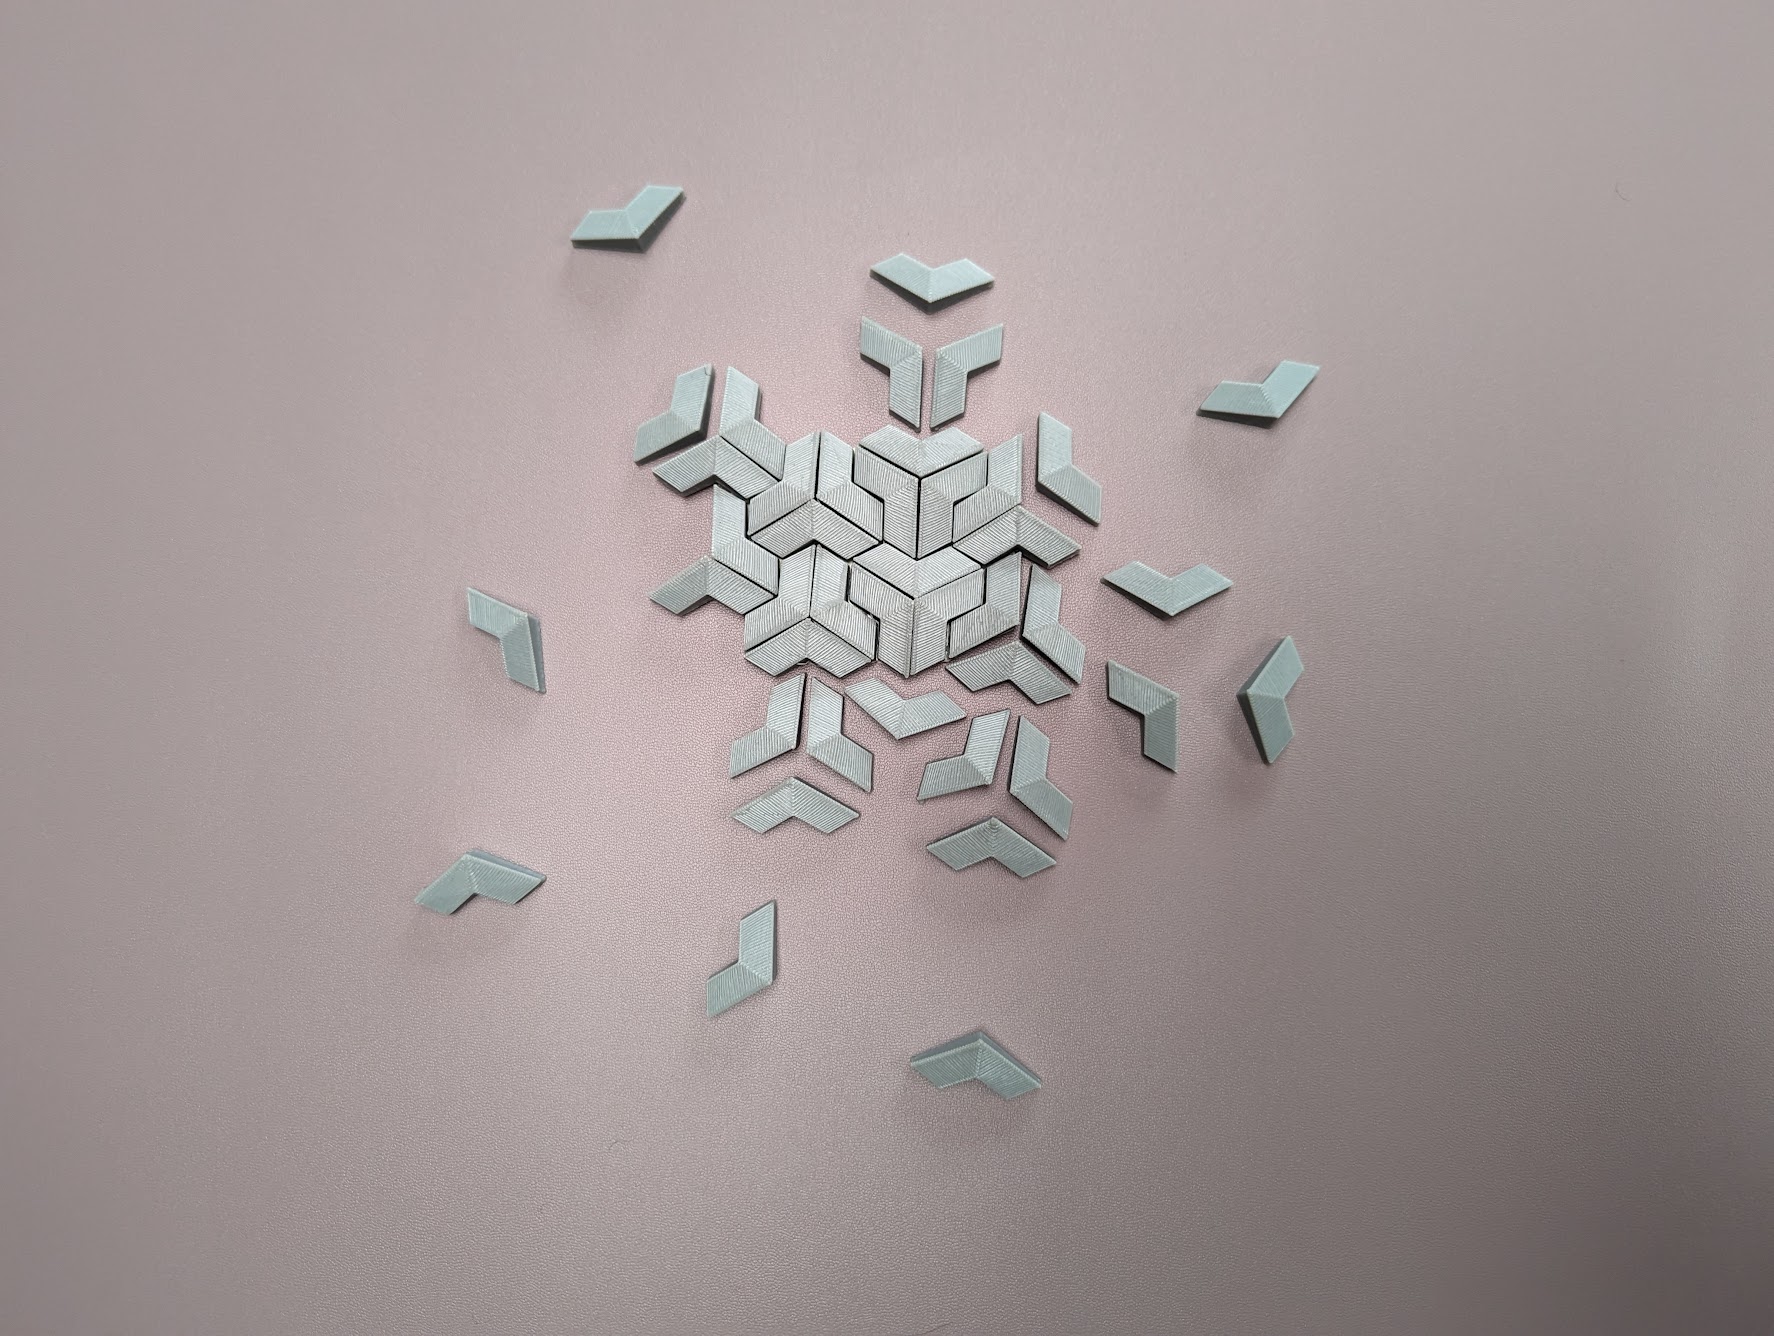
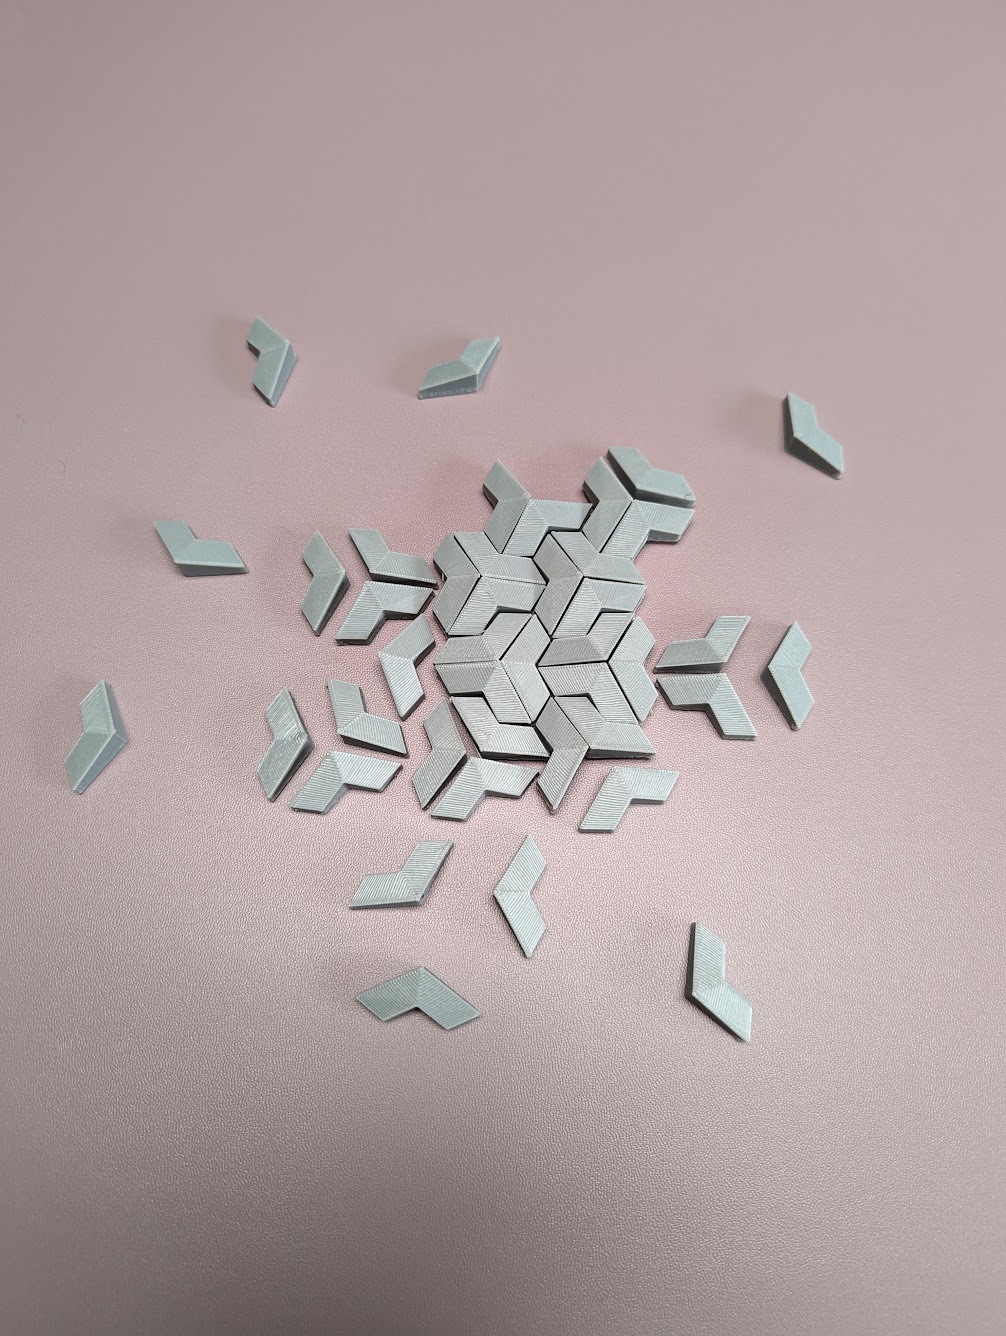
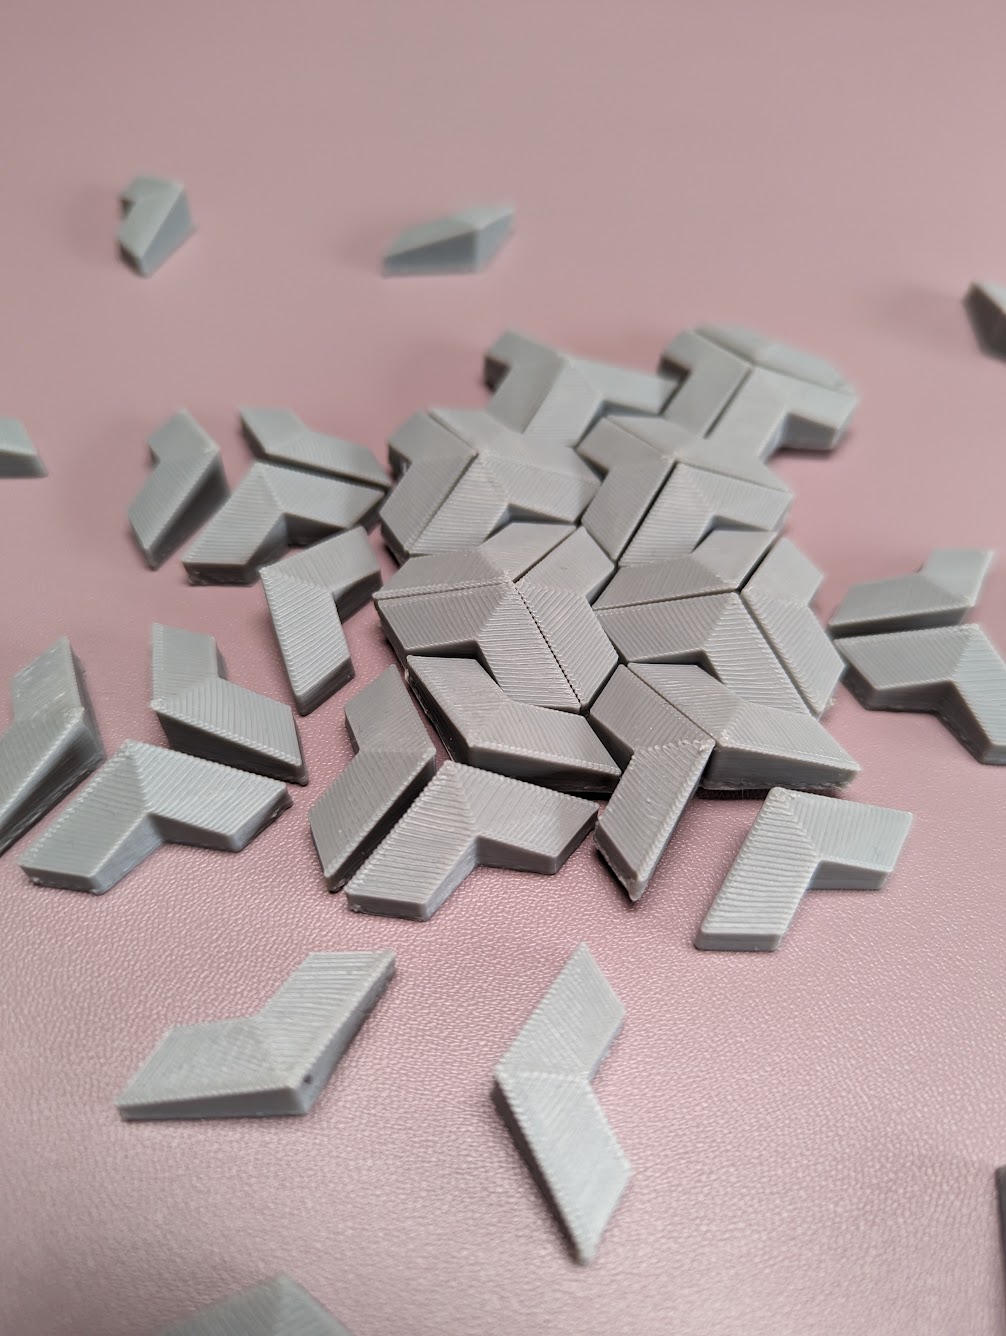
For my 3D tiling I decided to use my Escher tiling, the plane tiling of which can be seen under the 2D section of the post. Instead of created the larger regular tiling I used the smaller subsection as the printed pieces. This allowed for the seam separating the shape to still be seen, although I still consider the overall tile to be the larger shape. I had some trouble creating the object to print as I wasn’t sure at first how to handle the non-planer curve. And then I further had bounding issues despite going through my code and double checking that all the lines matched up to created a complete shape. So I ended up just creating a polyline curve object within rhino and linking it to a GH curve so I could finish lofting and capping it. I printed enough smaller tiles to show that they can be tiled, however I also added extra tiles so in the photos they look exploded.
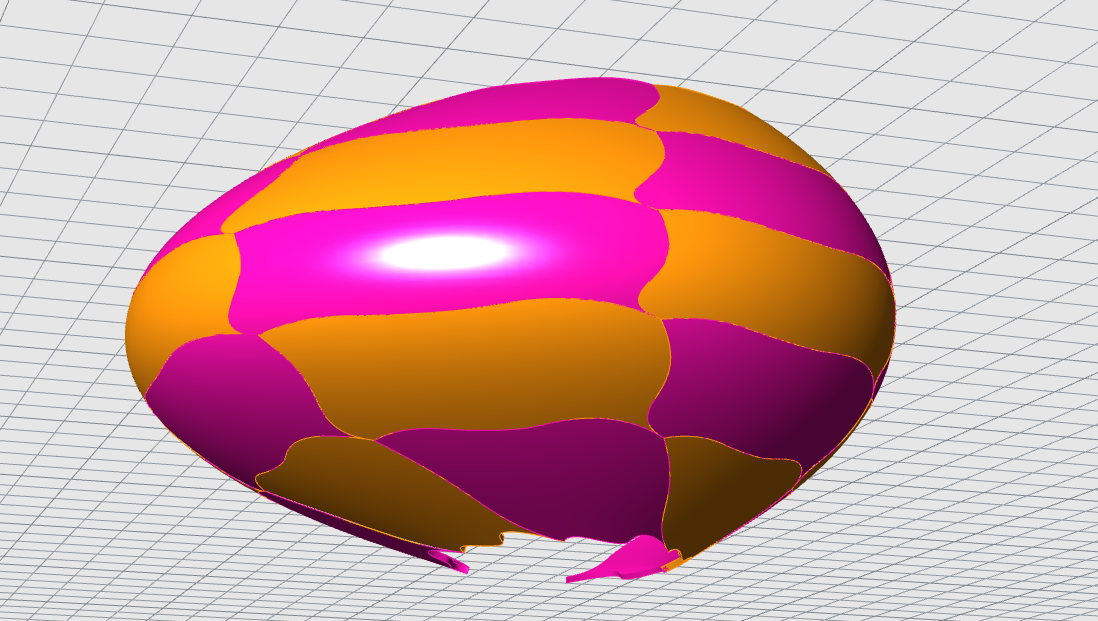
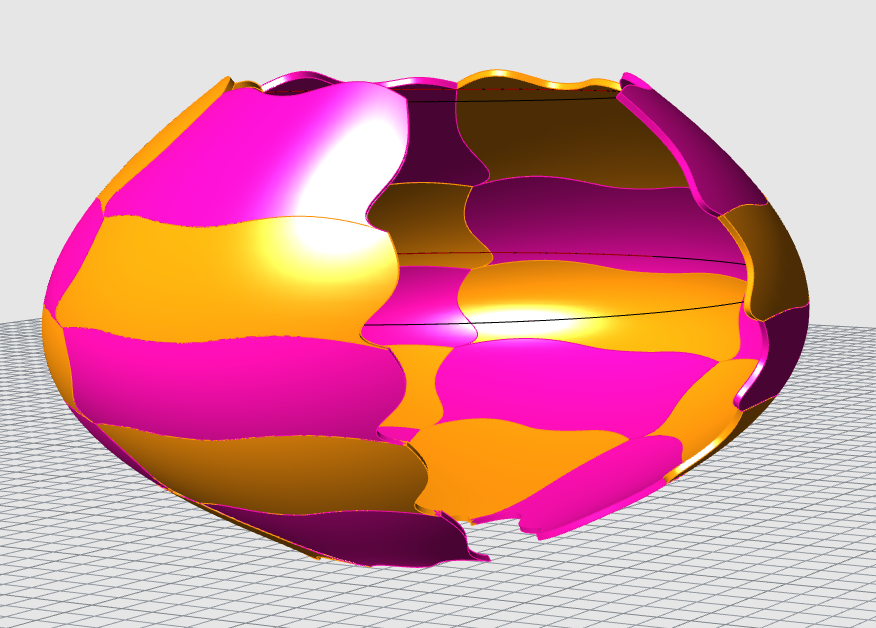
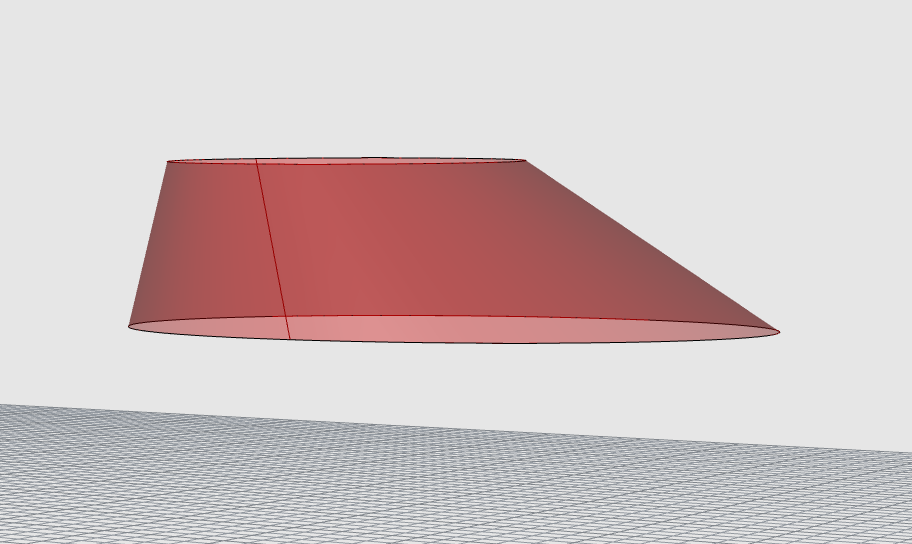
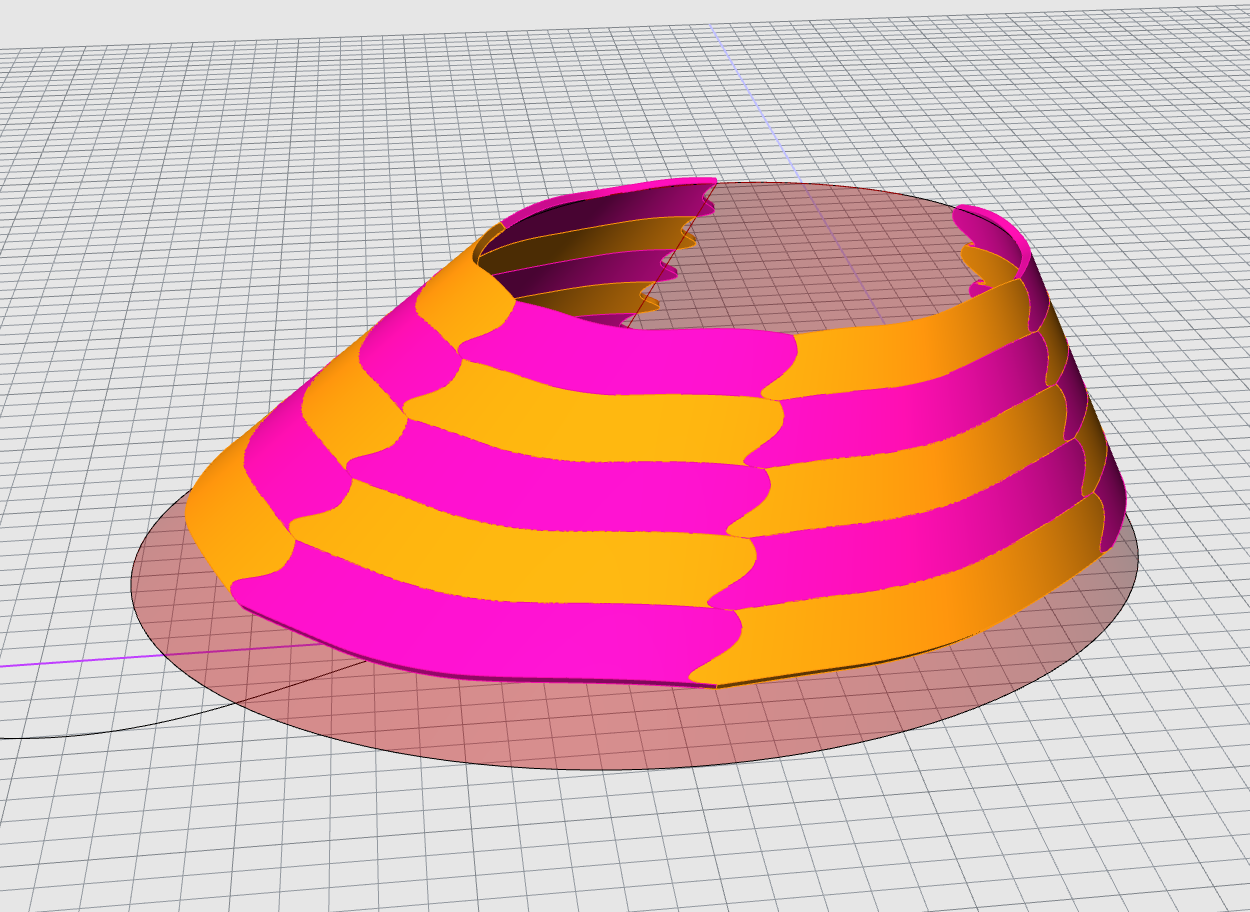
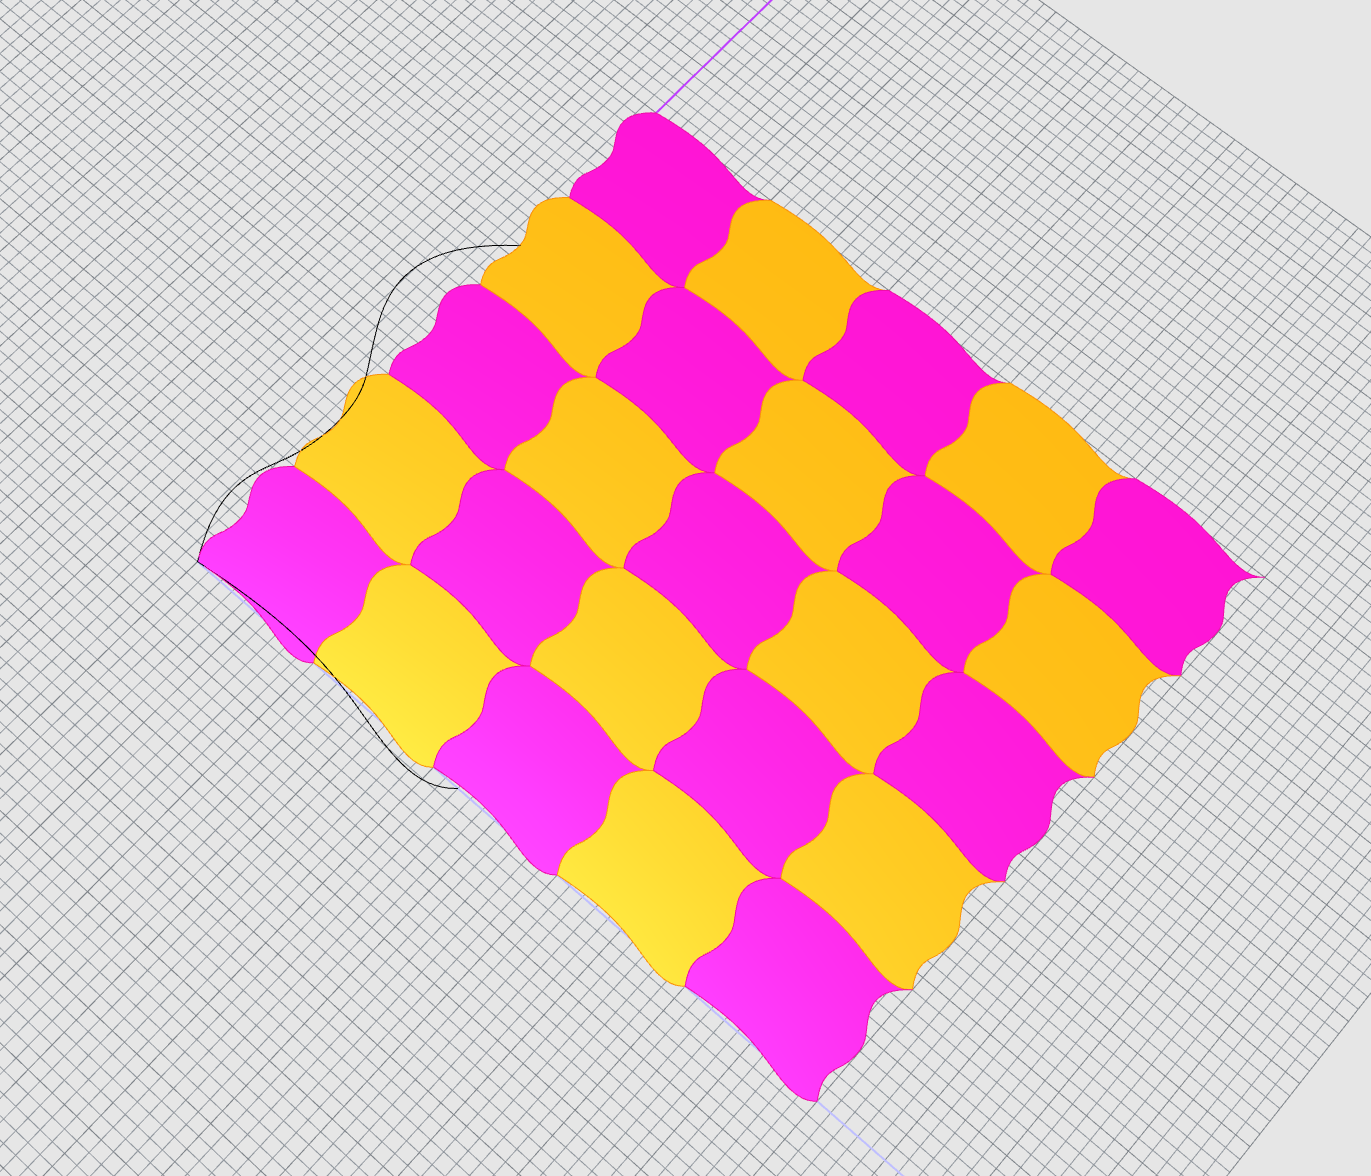
Surface Morph
For my surface morph I went back to the original code that we created in class and I knew that I could create the proper base tile with the examples. I kept to the same color scheme that I used to the rest of my tiles as I really liked the bright contrast between the pink and orange. Admittedly I did have some trouble getting the entire surface to be covered and well as issues with my vessels code loft not being excepted by the surface more module. I solve the problem of the loft just by created one from curves in Rhino, however I was never able to get the values correct so that the entire surface got covered by the tiling. I also accidentally deleted my first surface which is why there are two separate shapes below.
Hi Lasair,
I thought your tiles looked incredible. You were incredibly bold for starting out by making your illusion tile, but it came out great in the end, so it definitely paid off. I think someone mentioned it in class, but the pictures definitely don’t capture the incredible 3D features that I saw in person. Awesome work!
This was absolutly amazing. First off you picks such a wonderful 3D shape to work with and the colors you picked really make this stand out. Reminds me of the old game Q’ bert video game from the 80s. Love it.