2D Tiles
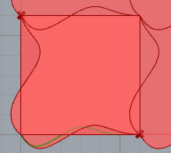
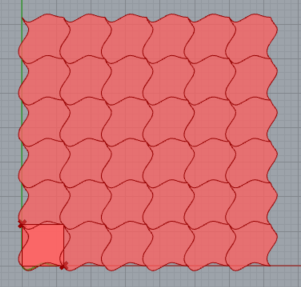
In part 1a I needed to create Escher tiles that were unique in design. I did this by creating Free-Form lines using the Interpolate Points function found under the Curve item in Rhino (Curve -> Free-Form -> Interpolate Points). The challenge I encountered was creating curves that did not overlap. Unfortunately, the overlapped curves cause the lattice to be incomplete and unfilled. As a result, I adjusted the curves until the tiles did not overlap. I also turned on GridSnap to assist with the accuracy of the curves’ starting points.

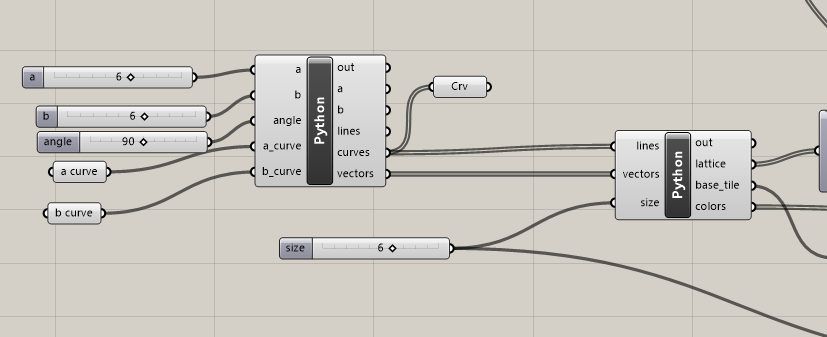
The first Python block consists of code that takes in points and considers them as curves for the tile. The second Python block consists of three main code sections, creating the lattice with a size input, creating the individual tiles with colors based on the edges for forming all the tiles, and generating the base tile.
In part 1a, the curve output in the first Python block is connected to the lines input of the second Python block while the vectors output of block 1 is connected to the vectors input of block 2. Unlike this format, part b has the line output of the first Python block connected to the line input of the second Python block. The vector output and input connection remain the same.
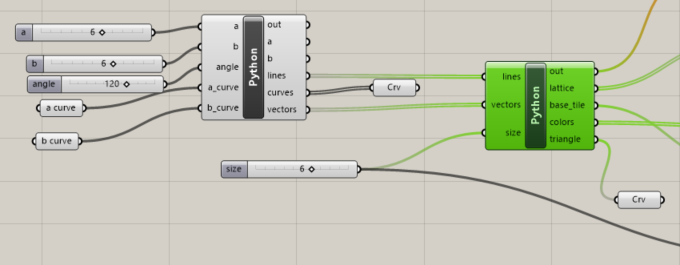
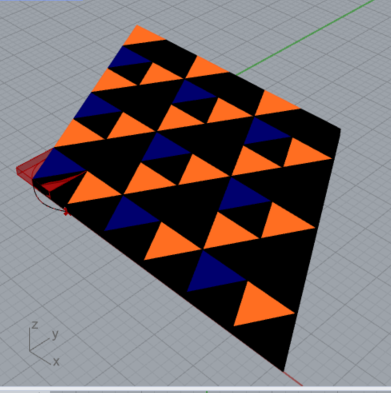
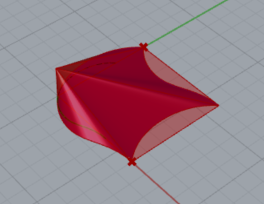
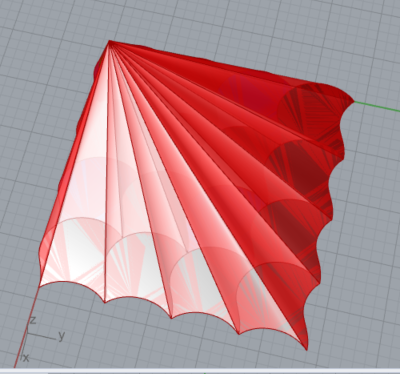
Part 1b focuses on creating a code that can present a triangular tiling. The first thing I had to do was create one triangle by cutting a quadrilateral with an angle of 120 in half diagonally. I did this by creating a cross_lines variable that aims to create a diagonal line by starting from the points of the left edge at 0,0,0 to the top edge 1,1,0 and then joining the specific edges using JoinCurves function to make a triangle. After this, I made similar changes in the for loop that aimed to create several tiles. I also needed to introduce a second tile opposite to the first created tile. This was done by using JoinCurves of the remaining edges. In both tiles, the edge2 variable is presented as the diagonal tile. Finally, I added all the tiles together to create a lattice.
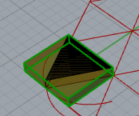

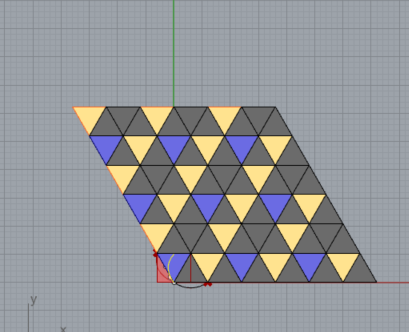
The challenge I encountered was creating the triangle in part 1b. I needed to understand how the code worked to find the edges that could cut the plan to form a triangle. Another challenge was how to form a lattice after I formed the base triangular tile. This was difficult since I needed to create new tiles and not recreate the original tiles. Above that, once I created the tile I noticed that the opposite tile was not formed. This was the third challenge I faced since the code needed to be updated to form a new tile by using the other edges.
Surface Morph
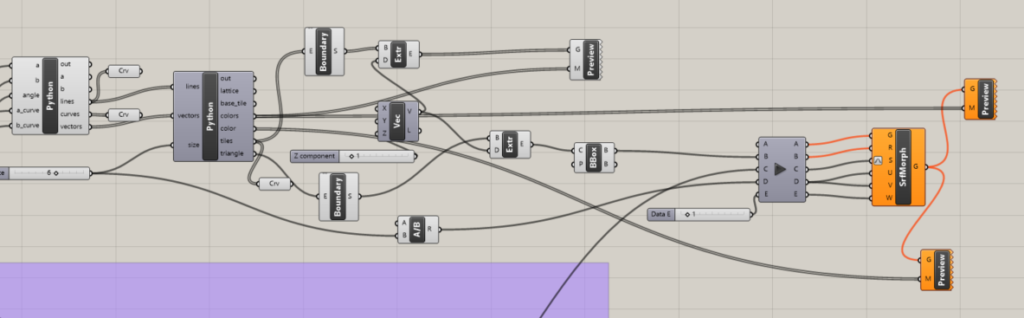
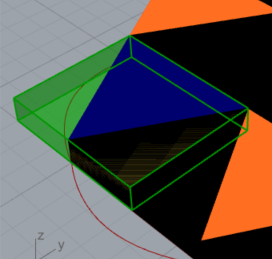
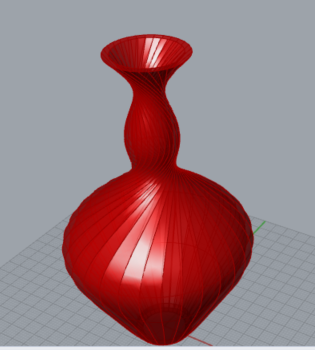
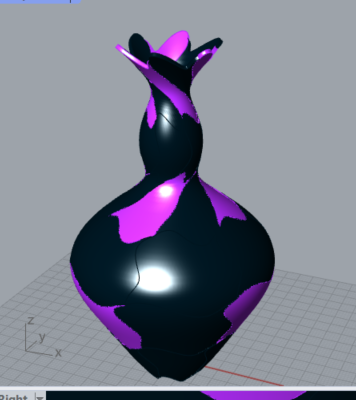
For this part of the assignment, I used my previously created Escher tiles from part 1a of the assignment. Then I used the SrfMorph (Surf Morph) block to wrap the tiles on the vessel.
RaneemRamadan2DTileandSurfaceMorphCode
3D Printed 3D Tiles
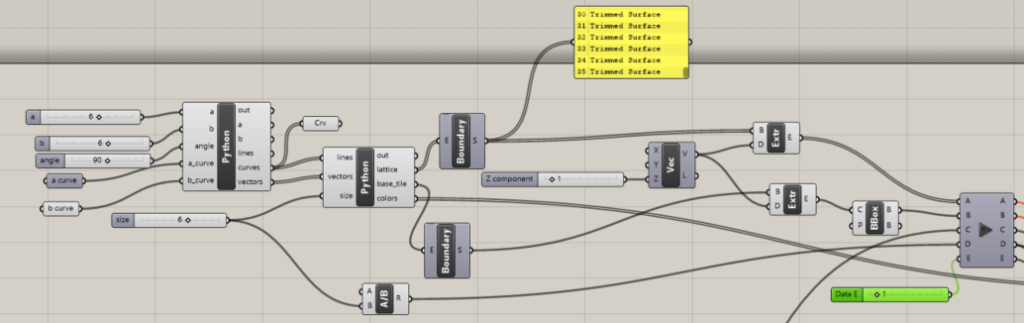
For this code, I used what I had from part 1. The difference in this part required creating an extrusion to meet the 3d requirements. In this case, I added a Grasshopper block named Extr (Extrude Point) and I connected the boundary block from the lattice output of the second Python block. I then added a Vector XYZ block with a slider to adjust how far I wanted to extrude the tile. Lastly, I formed the solid tile by connecting a cap block to the extrude points.

Design Process and Planning Photos
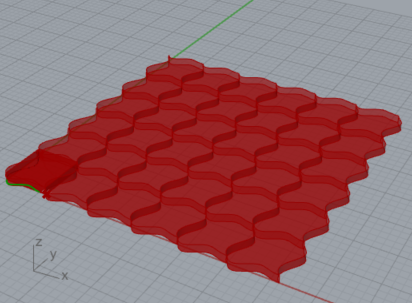
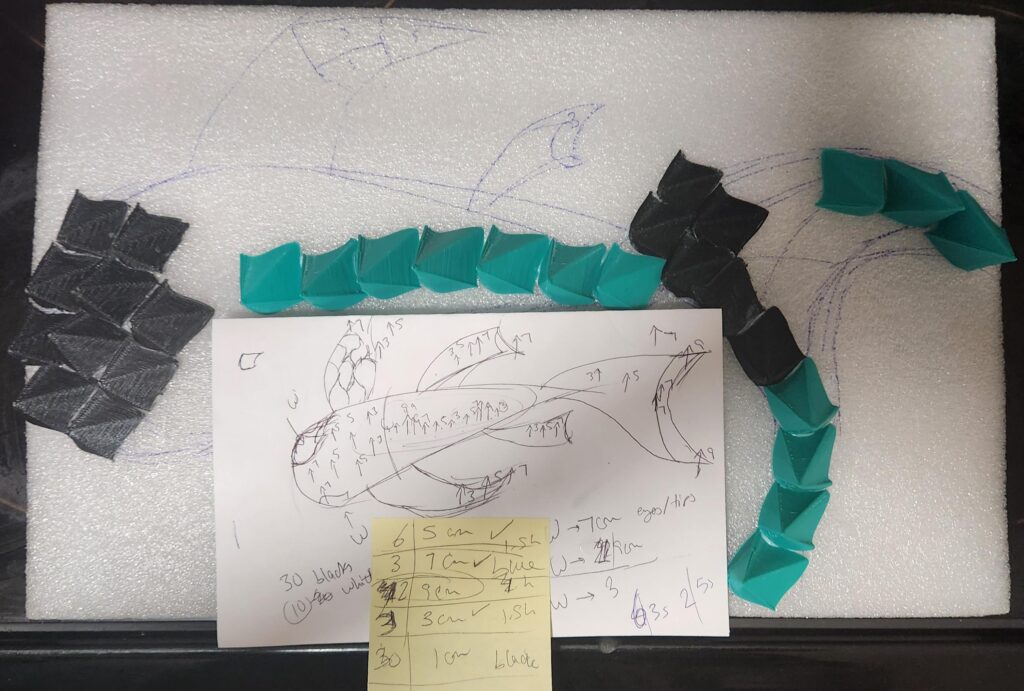
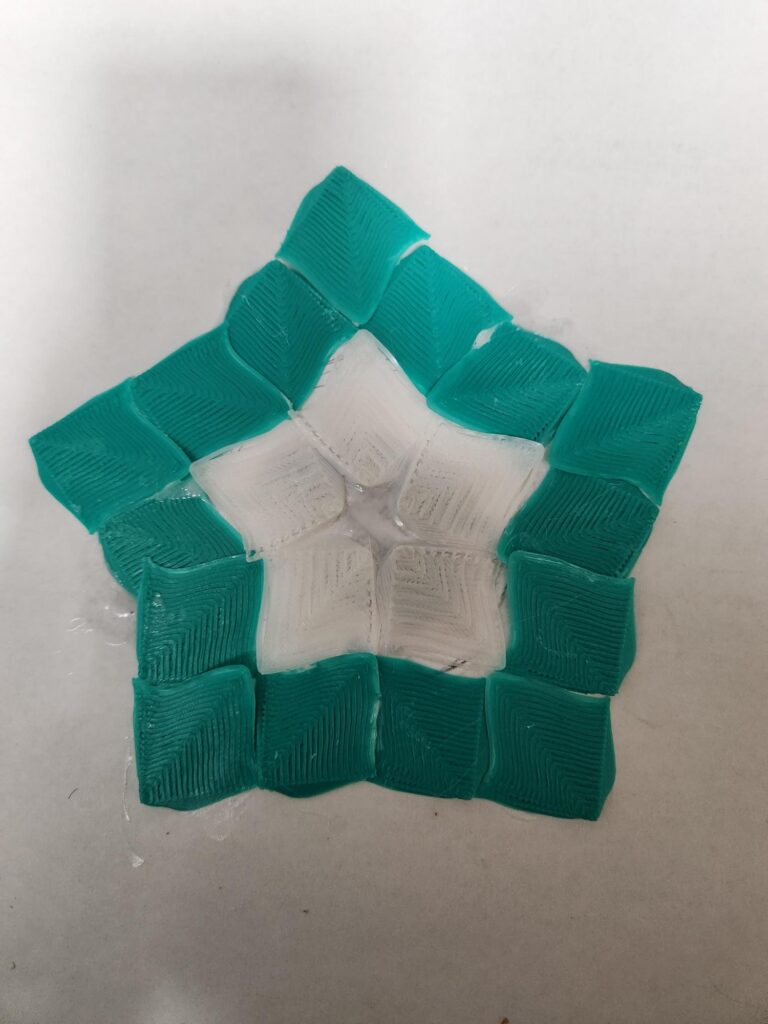
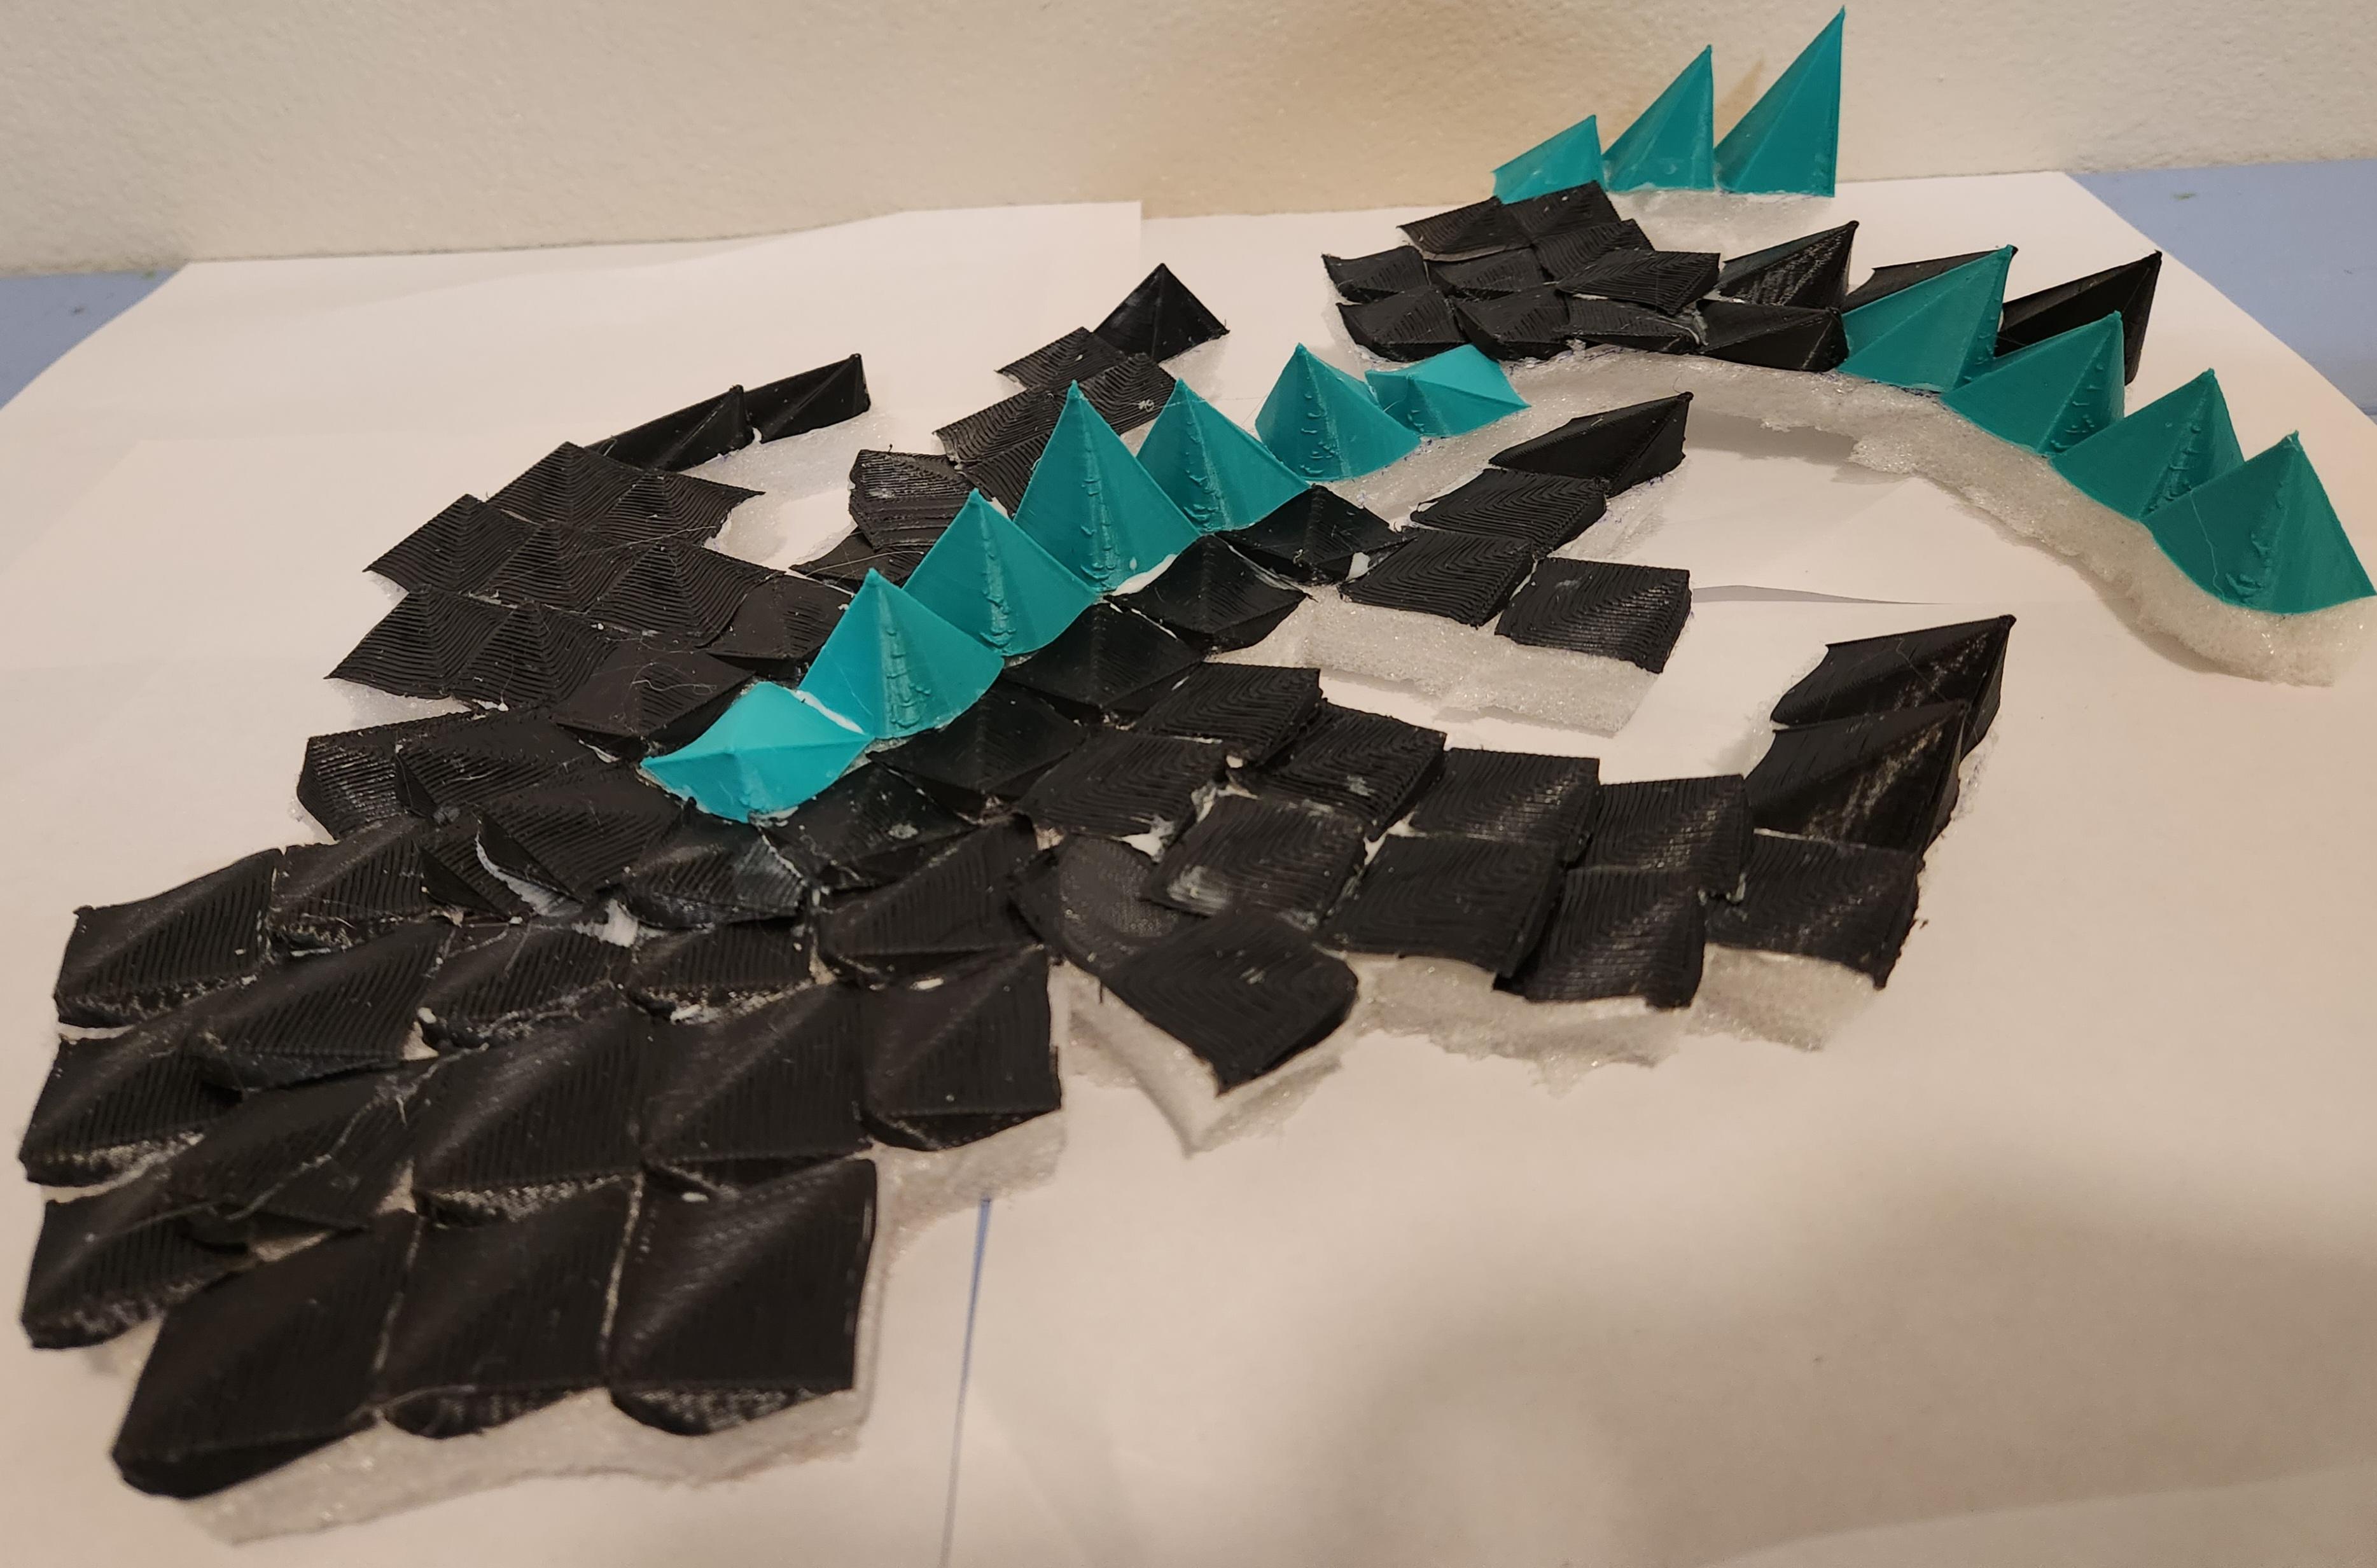
The design process aimed to create a fish and lily pads from several small tiles. The challenge I faced for the design was figuring out the right curves to make the tiles (scales) that corresponded to a Koi fish. After looking at a few versions of how scales looked, I decided to form different layers and heights based on the structure of the fish (head, fins, tail).
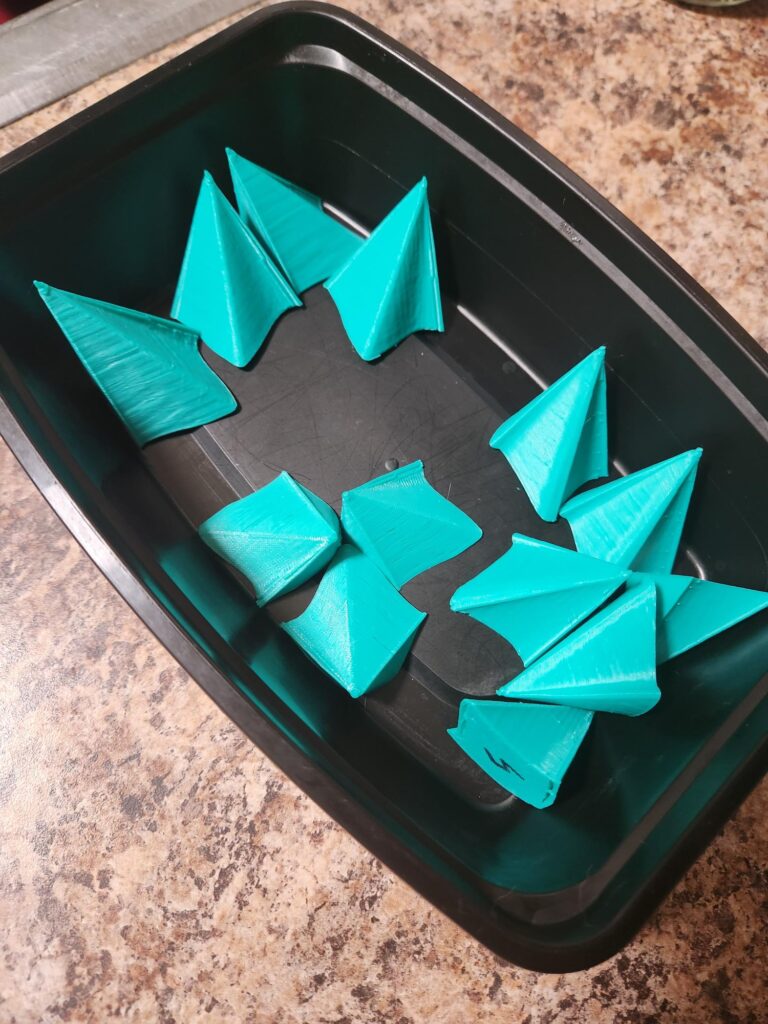
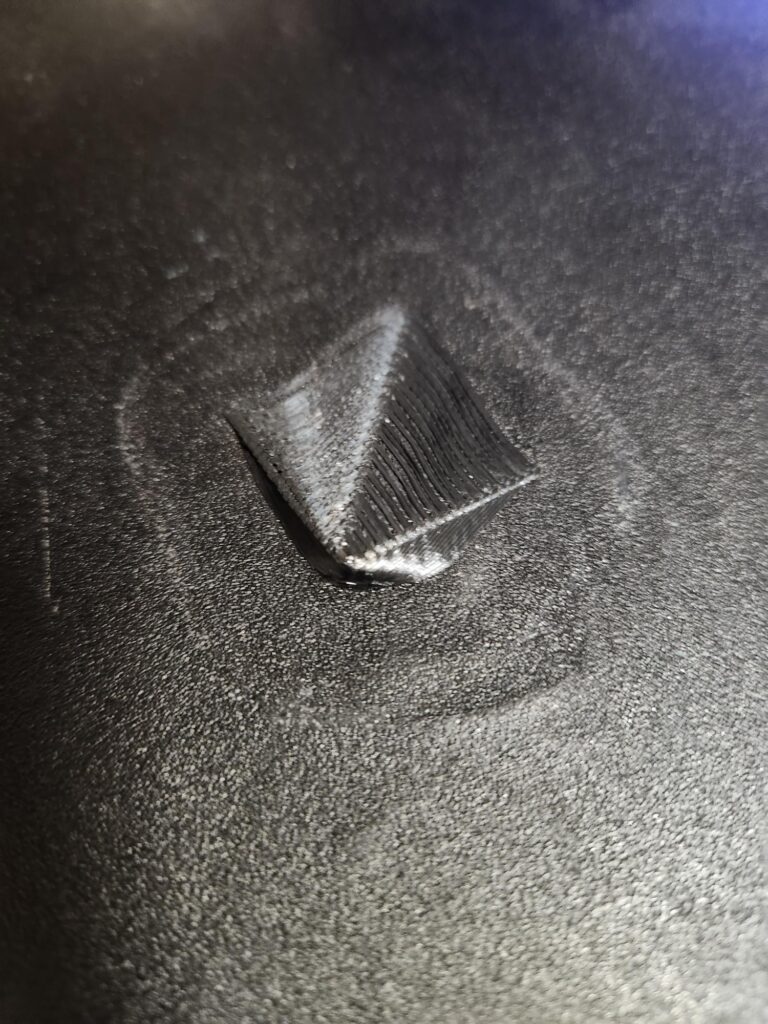
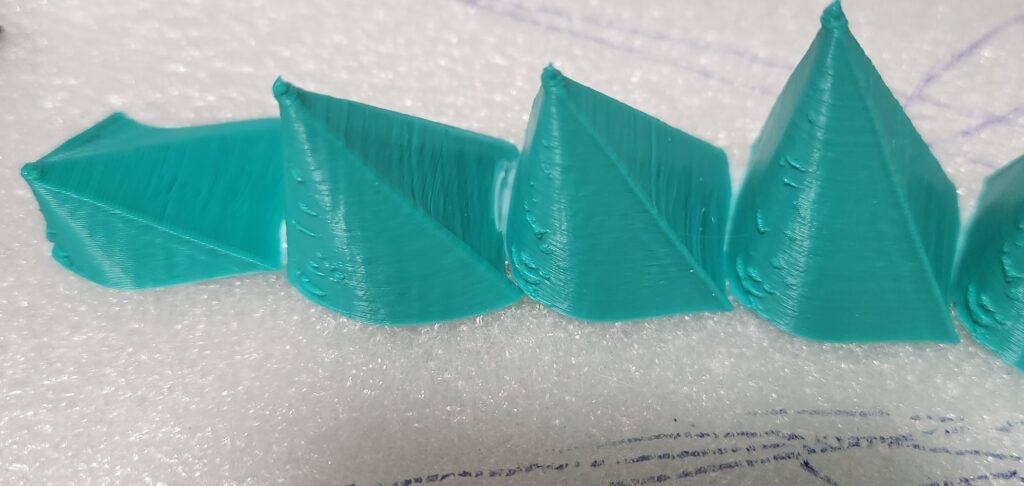
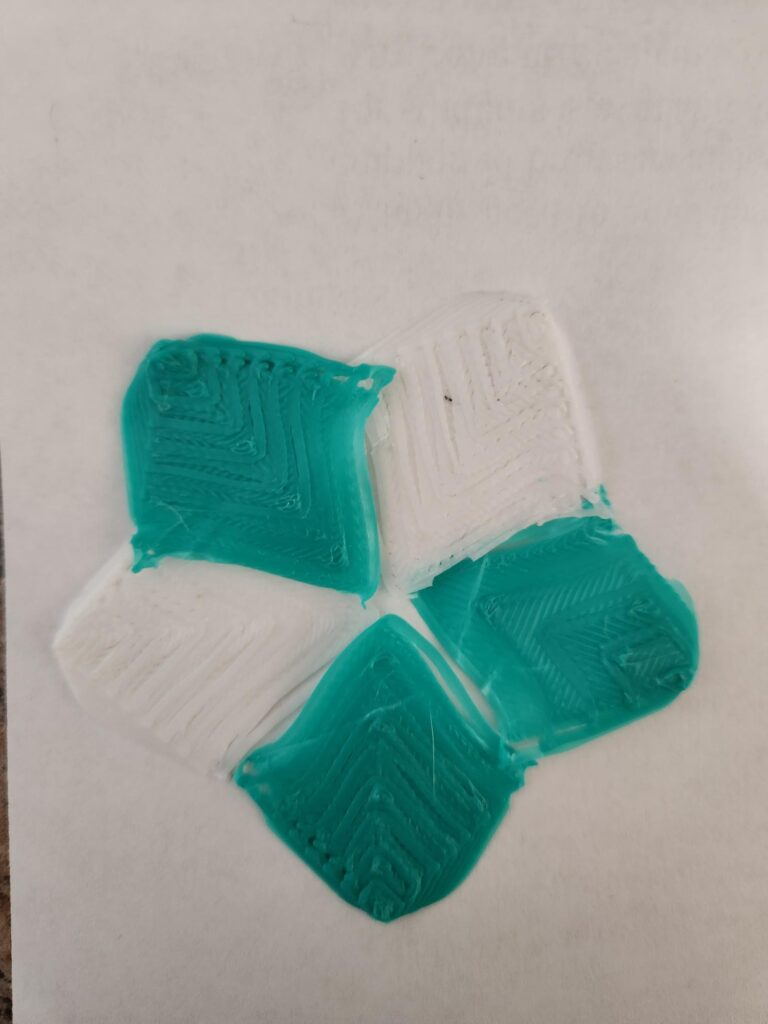
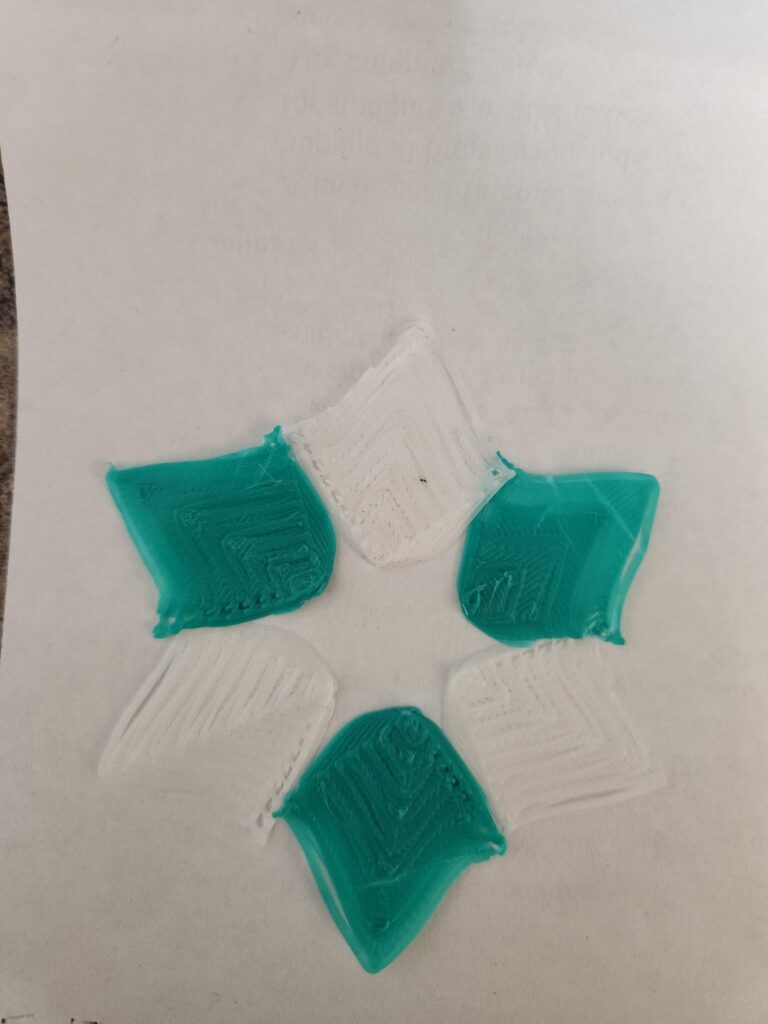
Printing Process and 3D Tiles Photos
The printing progress consisted of several going back to the printer. To be exact, the heights were 1cm (13 minutes), 3cm (24 minutes), 5cm (30 minutes), 7cm (35 minutes), and 9cm (40 minutes). Since I couldn’t print this overnight, I took about 2 days to complete this part of the project.
References Photos
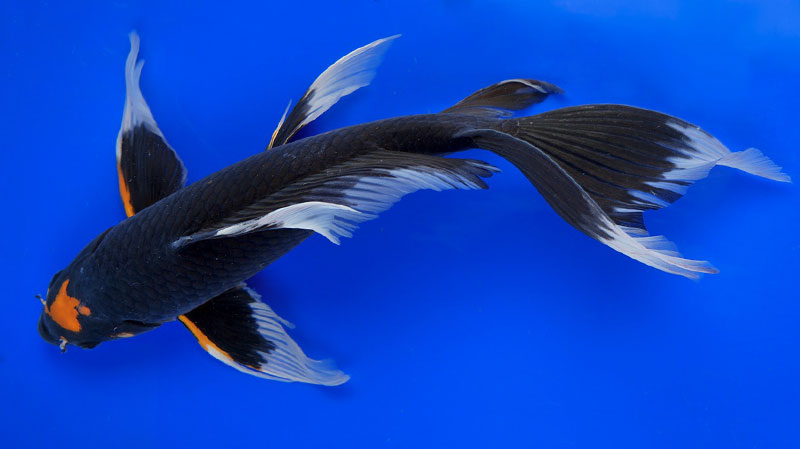
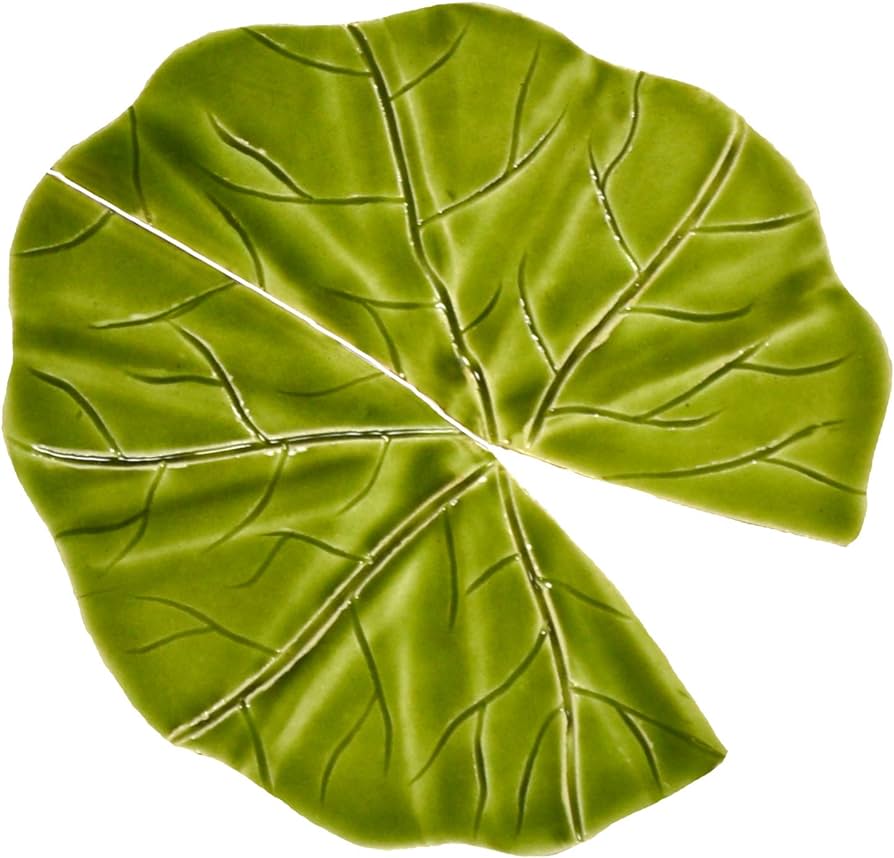
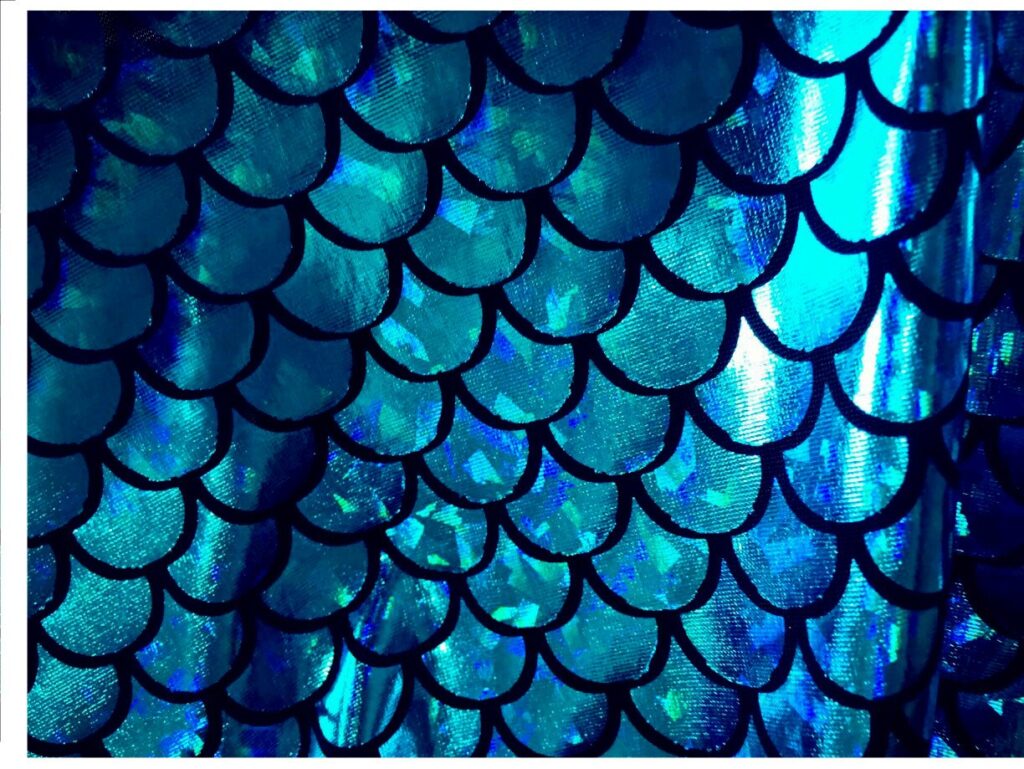
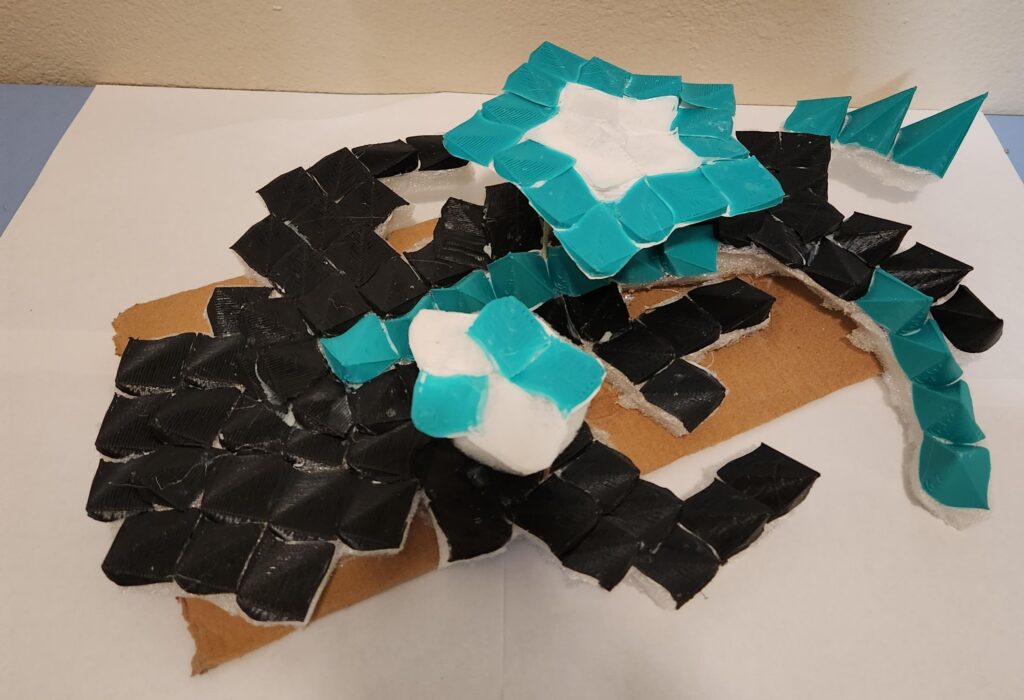
Koi Fish and Lily Pads Mosaic
Hi Raneem,
I really like how your Koi fish turned out; it looked even cooler in person. I know you put a lot of work into this. It probably would’ve been easier if you were able to print the scales in batches. I also couldn’t print my tiles in batches and had to print them individually. Great work!
Hi Nathaniel, Thank you! Yes it took a lot of time to get this done. I agree that printing the scales in batches would have been better than printing them individually. However, I didn’t want to deal with possible messed up prints when the nozzle needed to go back and forth while printing.