Part 1: 2D Tiles
Coming into the process of making my Escher-esque tile, my primary goal was to make a shape that represented an object well but wasn’t too obviously symmetrical. Due to the nature of an Escher tile, this can be quite tricky. As we worked on our tiles in class, my mind immediately (and for no distinguishable reason) went to making a representation of a dragon. With an eye out for complementary sides, I took upon my research to find a dragon, and to my surprise found one with historical importance as well.
Seen here is a dragon representing the Welsh dragon seal. In history, this dragon was used as their battle standard, a symbol to their enemies that may strike fear in their hearts. Much like the mathematical component of this assignment struck fear in mine. This aside, notice how the features of the dragon’s head seem to almost complement each other, as an Escher tile would. This was used as my inspiration for my 2D tiles.
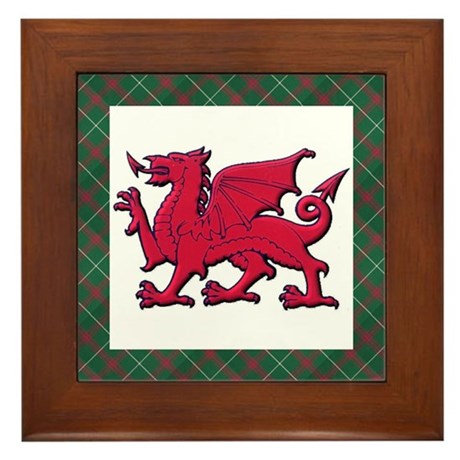

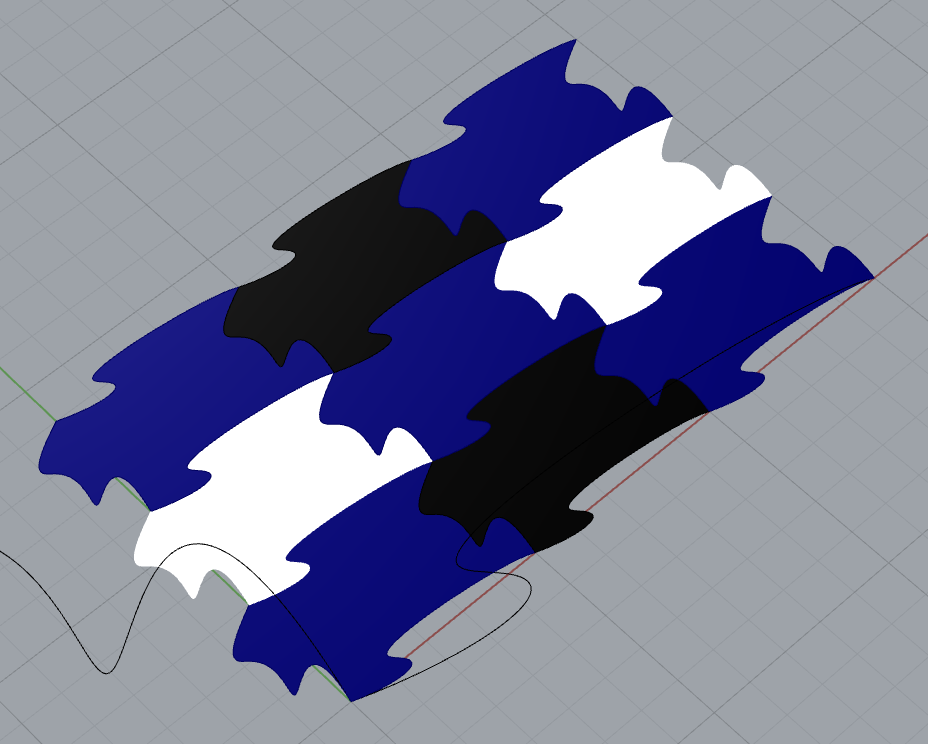
After some experimentation, I used the curve method shown in class to make this dragon head tile. Some concessions had to be made to the reference image due to an Escher tiles constraints, but for me the form shines through quite effectively!
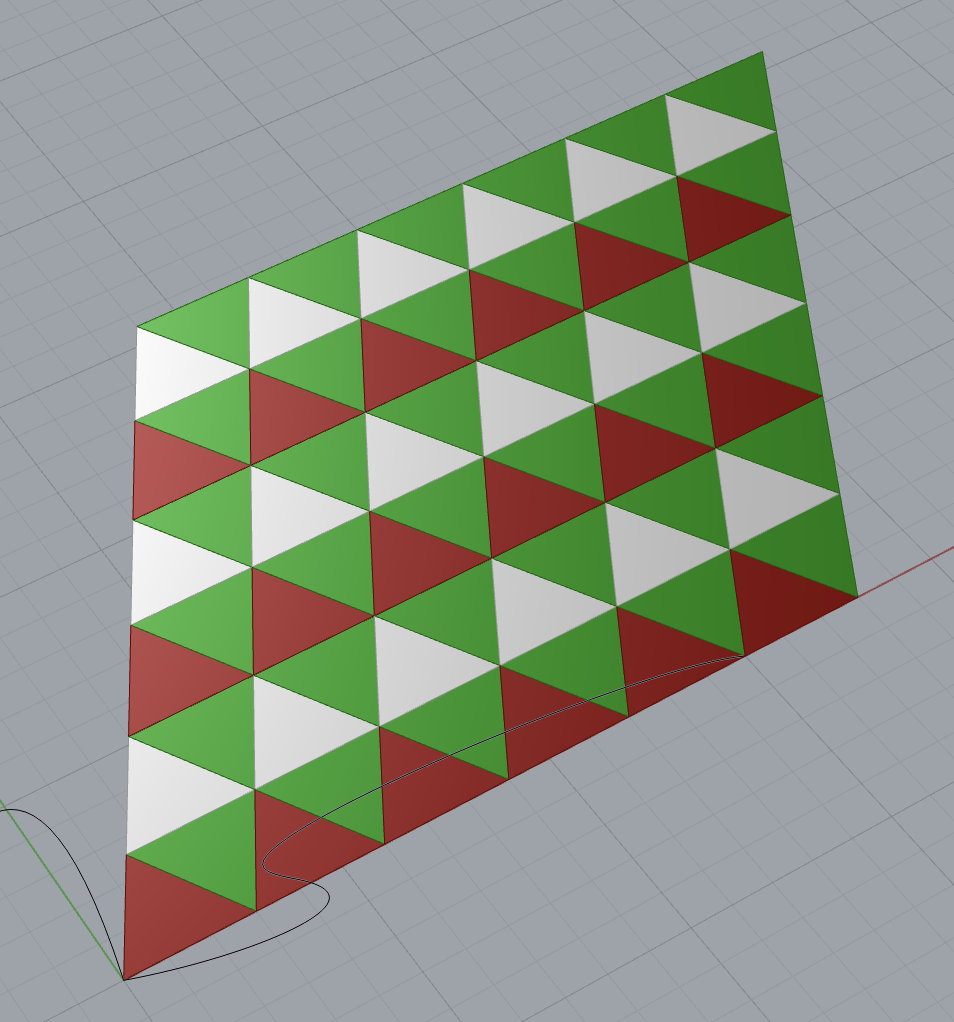
The process of creating a triangular tiling was actually much more difficult than the dragon head. I spent an embarrassing amount of time trying to understand the mathematical aspects of triangular tiling’s and their variants (see Wikipedia). After hours of unfruitful attempts to recreate this in the Rhino/Grasshopper environment, I went back to the drawing board to break it down to its base components, which is when I realized that the rhombus tiling we’ve been doing is essentially a tiling of two triangles. Now I was cooking with gasoline, and with a little bit of tweaking and altering the code to support triangles, I finally found a successful tiling. It doesn’t have the amount of parameterization I might have liked, but for the desired effect it was satisfactory!
Part 2: 3D Tiles
As was likely expected, this section was the hardest of the assignment. It began with my design process, which was that I wanted to keep my dragon tile. Unwise choice. In the perfect, 2D plane of the digital world, the complexity and curves of the tile are of no issue, while the same can’t exactly be said in the real, 3D world.
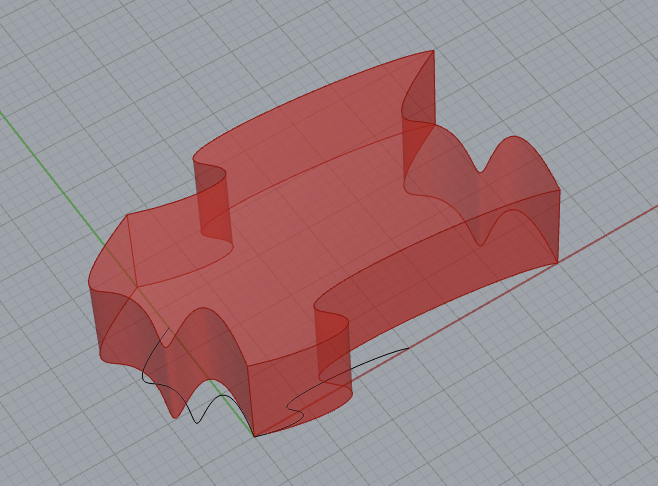
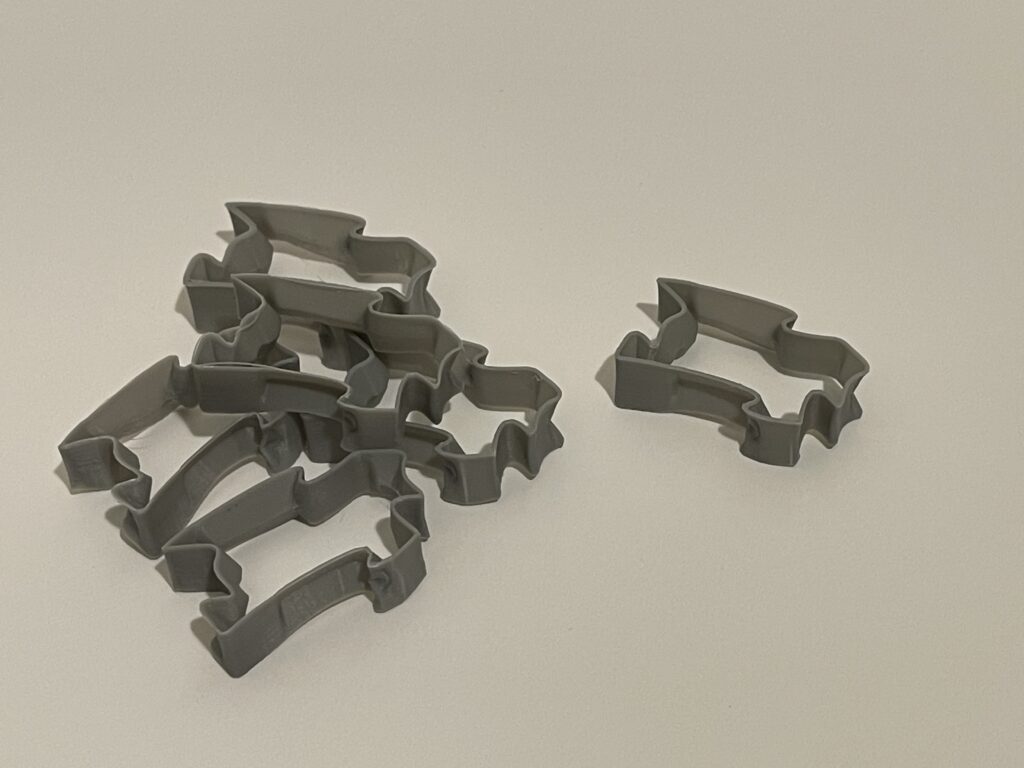
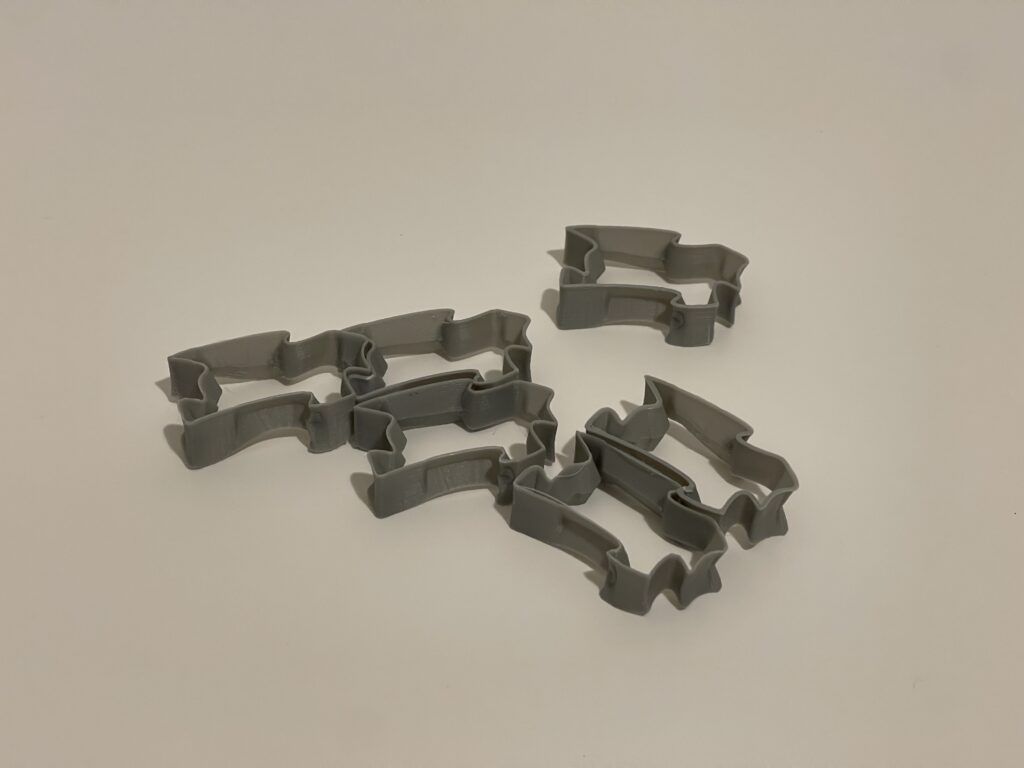
It started with the coding, where I developed a few functions to give the shape some interesting form by drawing it inwards at its mid line and flaring it back out to its original shape at the top. We’ll call these the hourglass functions. I also introduced logic to contract the dragon head on the left and bottom sides, while expanding the right and top sides. This had the intended affect of tiling 3D space as well. Finally I added a function to introduce a sin curve to the top of the form, giving it a change in Z during extrusion (revenge for missing it in LA4). I think the soft gradient of the curves juxtaposes the sharp lines of the form quite well and draws out that feeling.
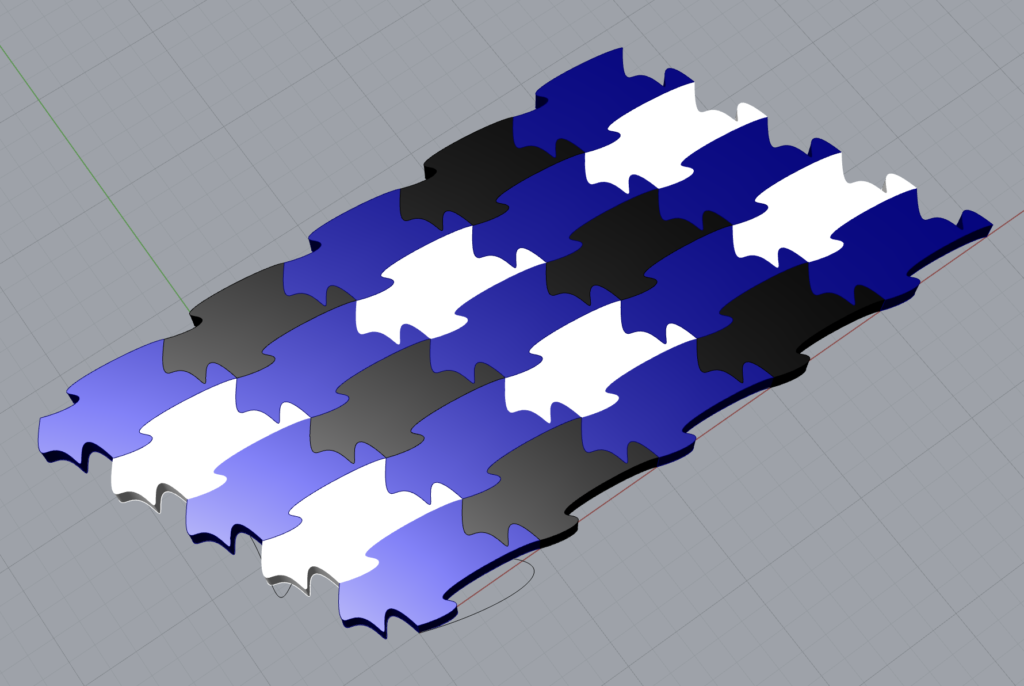
Here is where having a simpler form may have given more wiggle room though. When approaching points on the perimeter where the was a large angle change and little lead up room, the hourglass functions would pull the point inwards, but breach the perimeter, since inward doesn’t necessarily mean towards the forms center. Not only does this threaten tiling, but it also makes tiling the Z plane largely impossible. This is a difficult problem to solve with the methods I possess now, so instead I had to pull back and ensure that this behavior didn’t exceed the original footprint of the tile to preserve its tiling properties.
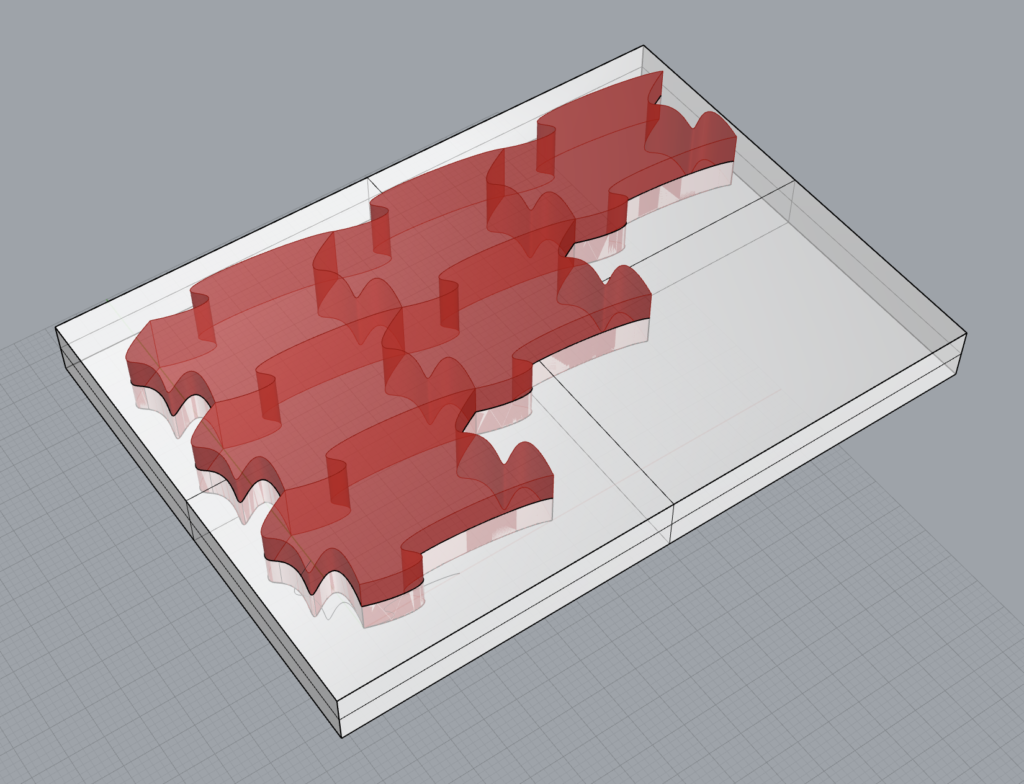
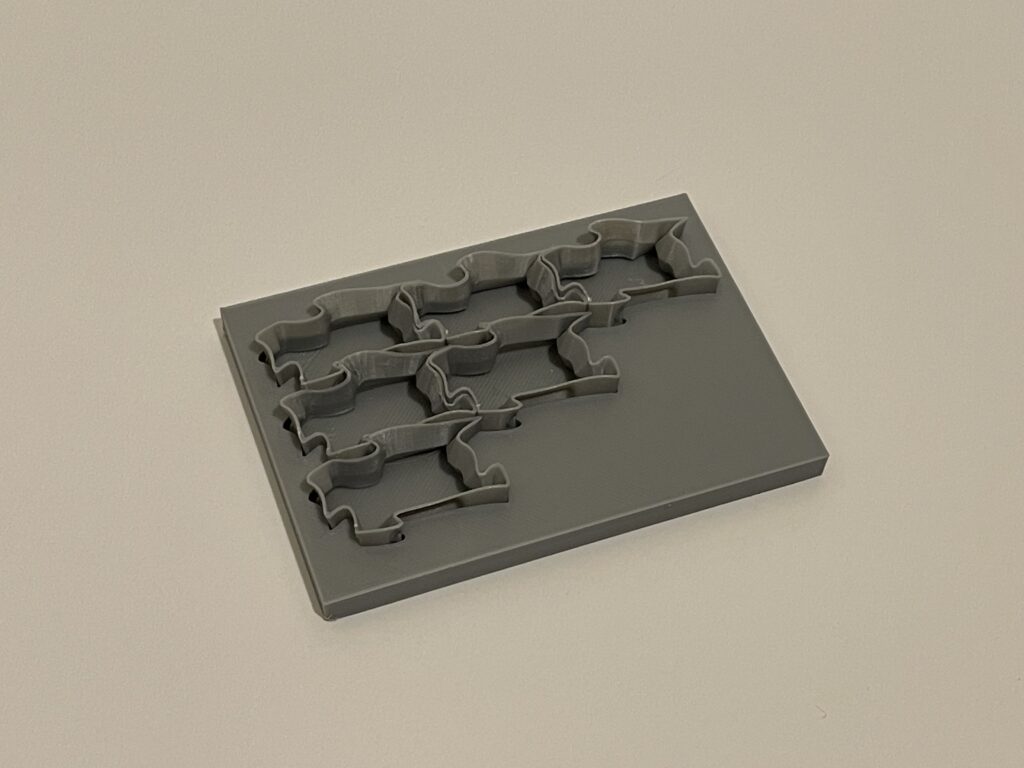
With some manual tweaking of when rules affected parts of the model, and moving away from attempting to tile the Z plane, I was able to make a tileable, geometrically dynamic dragon head print. I also printed a small tray using a Boolean subtract to get a perfect tiling surface, which demonstrates how these prints still tile the plane despite having different sin wave amplitudes at their surfaces.
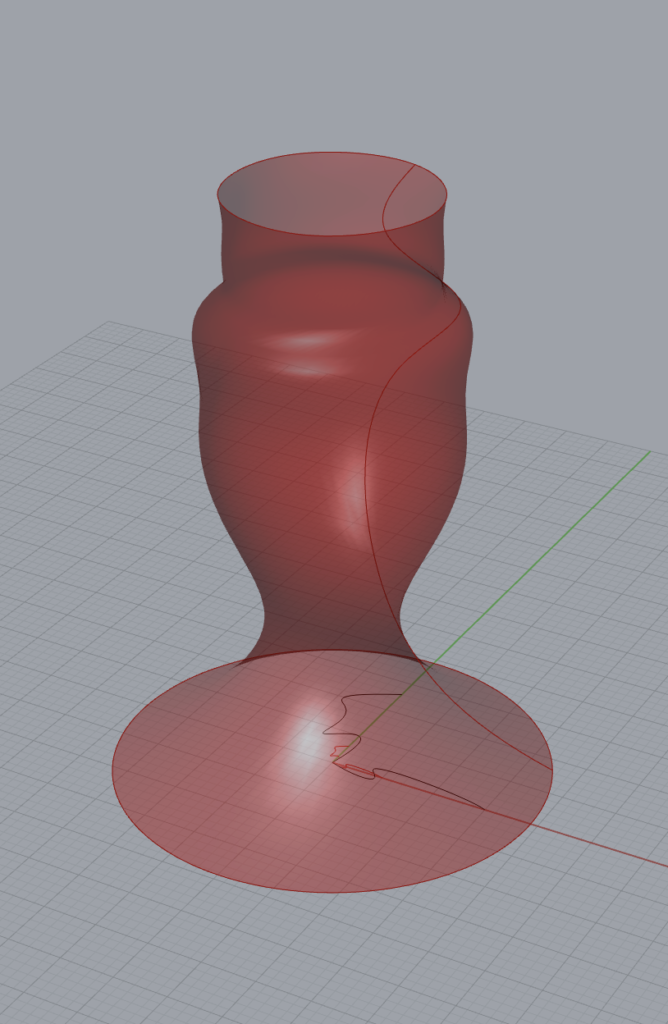
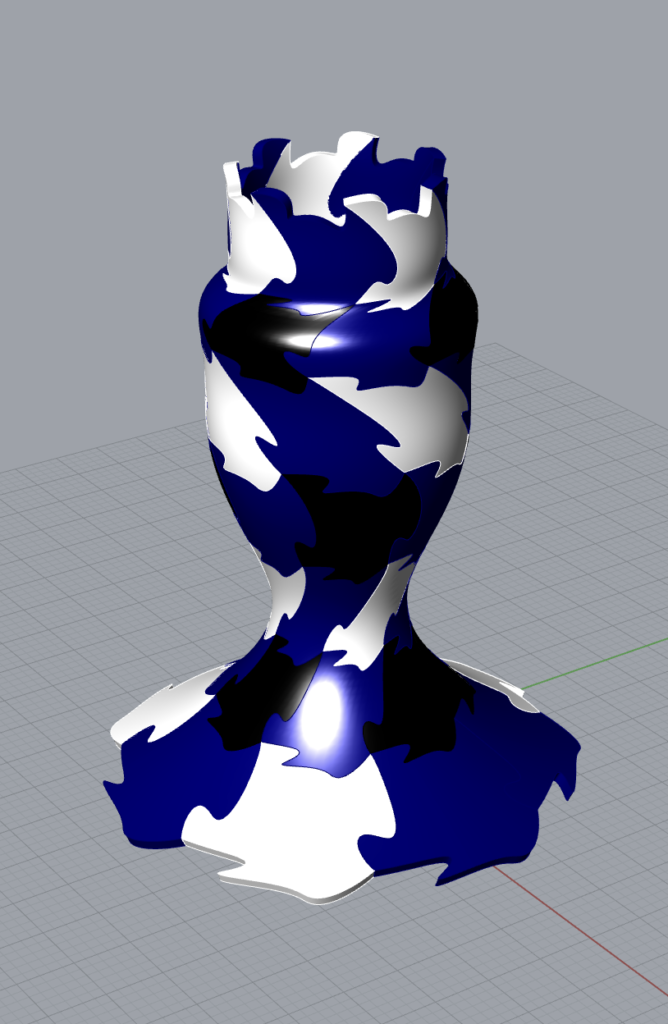
Part 3: Surface Morph
For the surface morph, I wanted to create a new object from the marriage of a vessel and my dragon tile. I tried a few different basic shapes, but eventually decided I could use the prominent mane of the dragon head as part of a certain chess piece; the rook! I like the idea of making many different chess pieces and morphing this tile onto it, making your own personalized chess set, and it should be relatively simple so long as you keep in mind how the process works. I think the rook came out quite well here but the queen and king are other easily adaptable pieces as well!
Code
For this assignment, I have a few different files contained in the main .zip folder. The tiling Grasshopper file must be used in tandem with the tilingRhino file to achieve this specific form shown here. I’ve also included the .3dm file for the tray as well, though it’s easily replicable using the method discussed above! The files can be seen here.
Hey Christopher, I enjoyed the historical inspiration in your design, particularly in transforming the Welsh dragon into an innovative Escher-esque tile. Your transition from 2D to 3D, especially in the chess piece design, showcases amazing creativity. great work!
Hey Daniel, thank you so much! I really enjoy history and think there’s so much art to be made and gleamed from a time gone-by. It’s almost poetic sometimes when we use our insane technology today to barely imitate something from during medieval times!
Hello Christopher, I really liked your design of the tiles. I wanted to say this during your presentation but the tiles almost look like the logo for the Buffalo Bills Football team. I also really liked how you made a housing for the tiles pieces to sit in. Great Job!
Hey Christopher!
I really liked your consistent theme with your base Escher tile and your surface morph. I followed the same work flow as you did with my hexagonal lattice. I spent an embarrassing long time too and I referenced the same wikipedia article. I instead abandoned the triangle and started with the hexagon.
Hey Erin, I’m glad to hear that someone else hit the same wall that I did haha. Something about math has such a power to make my eyes glaze over and not understand it, which is exactly what happened when I over-complicated the triangles. Your hexagons turned out great, maybe I could combine 6 of my triangles to recreate that one without overcomplicating as well haha