Part 1:
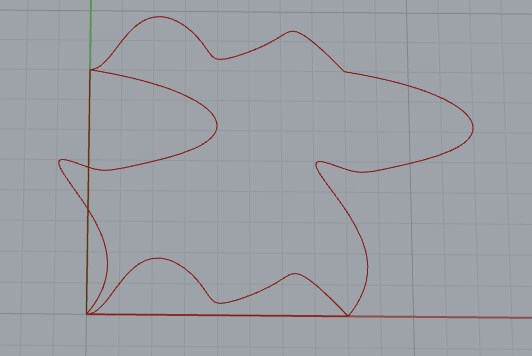
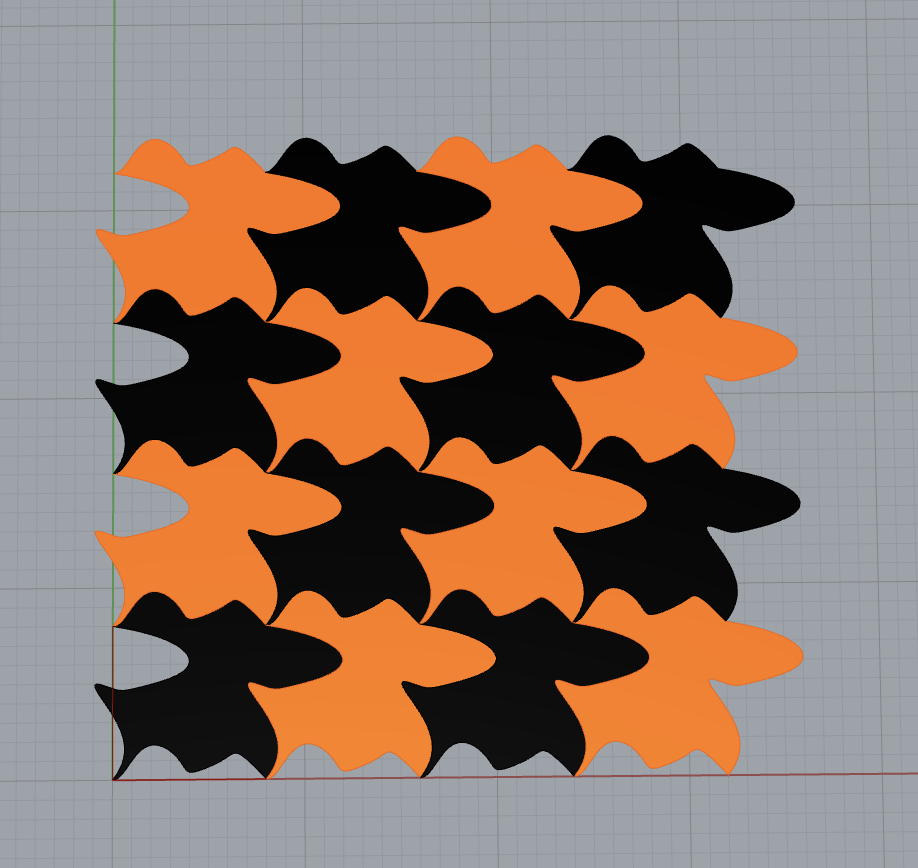
After playing with code we did in class, I had tried to come up with a really interesting Escher tile design. I used the code we did in class with creating our own tiles, but for my Escher tile I add multiple points of curvature, so that I can manipulate the lines based on how I like. After an hour of playing around I was able to create a design that resembles a dog. Here are some images of the Escher tile and its tiling of the 2D plane.
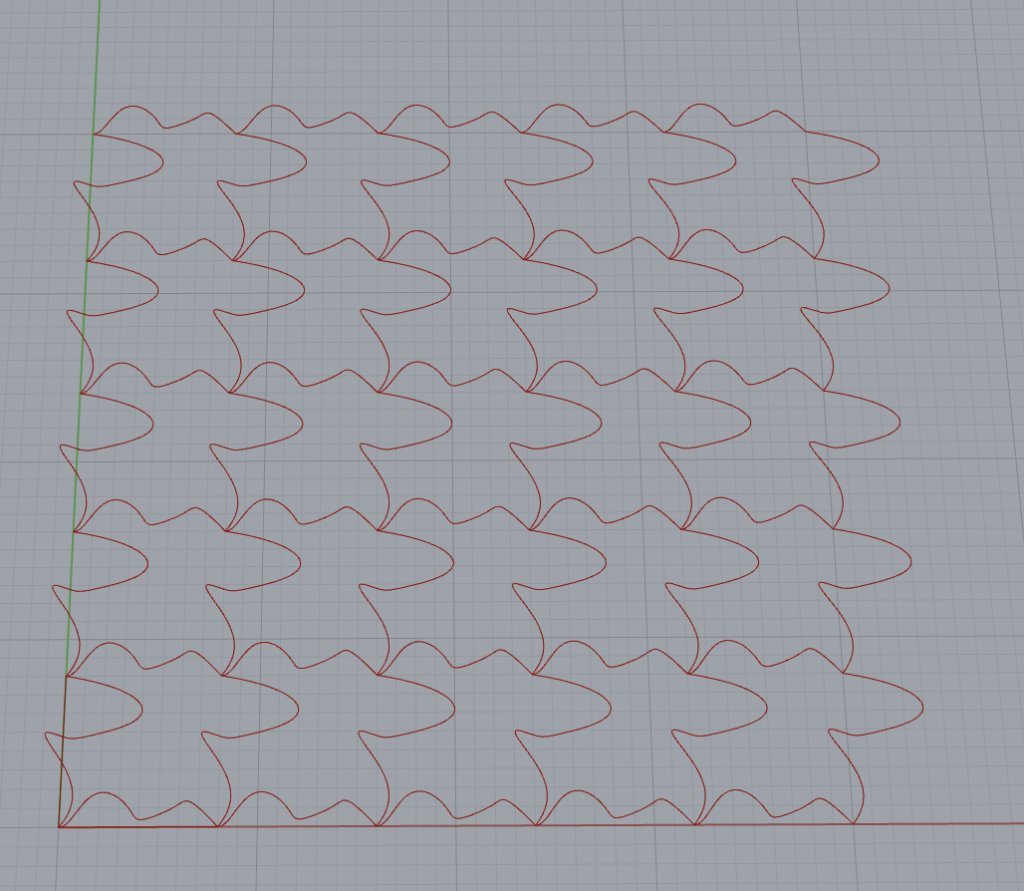
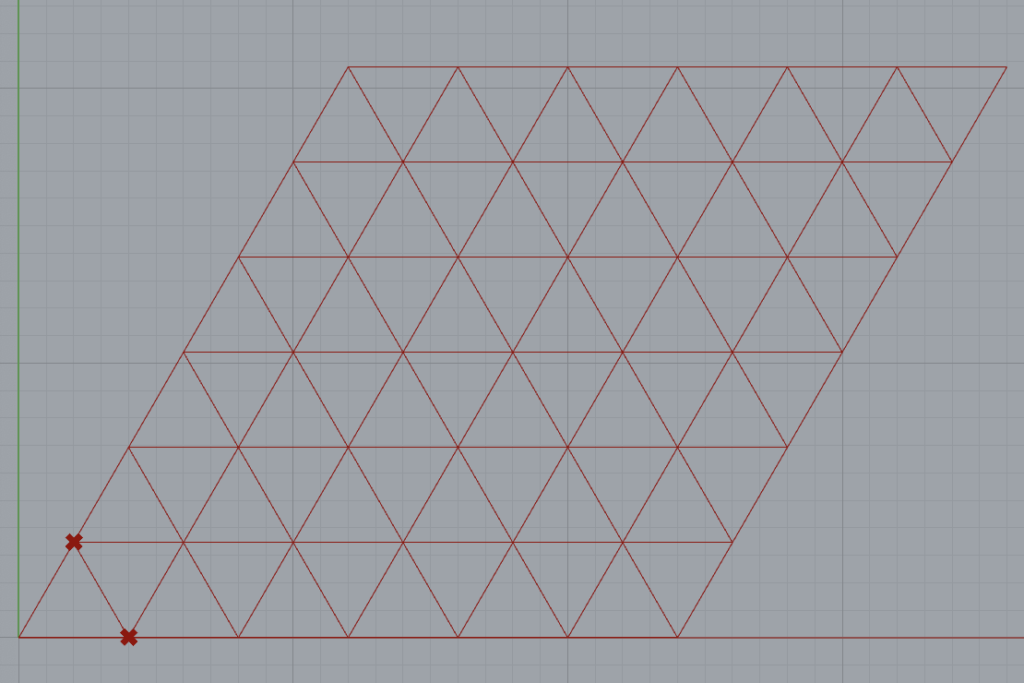
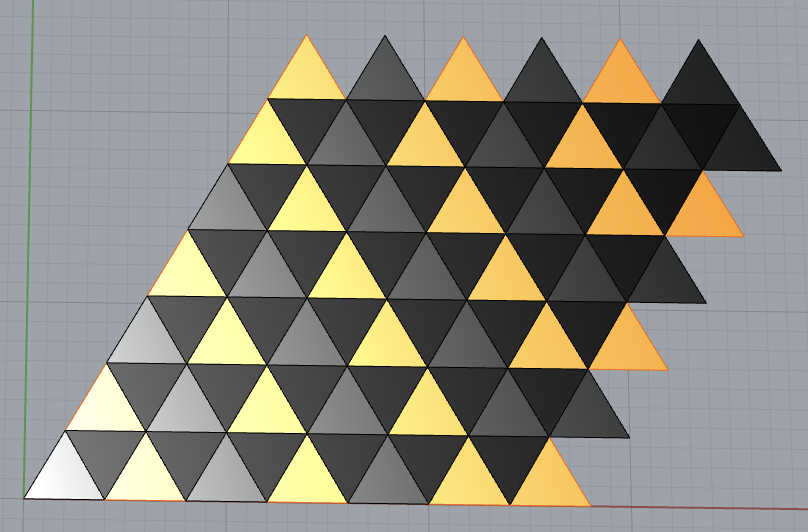
For Part B, I decided to create triangular tiling, specifically equilateral triangles.. I also used the code we did in class and created another line that connects from the end of point a and point b. Then I had to figure out what edges I needed to get that actually creates the triangular lattice structure. I also ran into an issue that the angle for the tiling had to be 60 degrees or it will not create a closed lattice structure. Here are some images of the tiling.
Part 2:
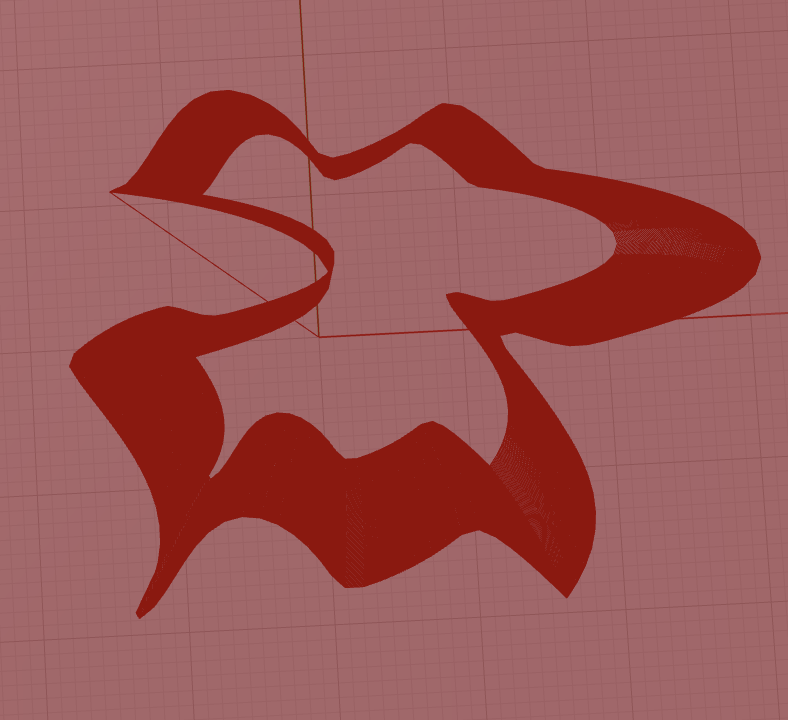
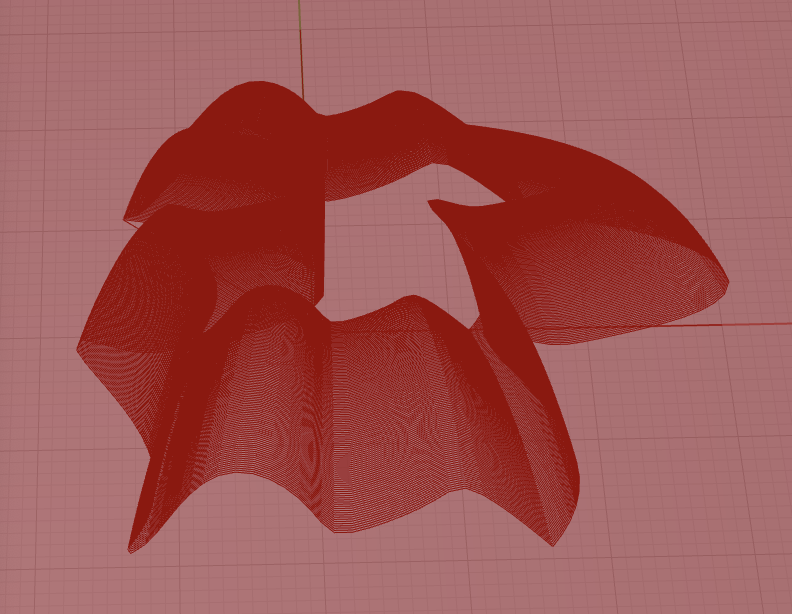
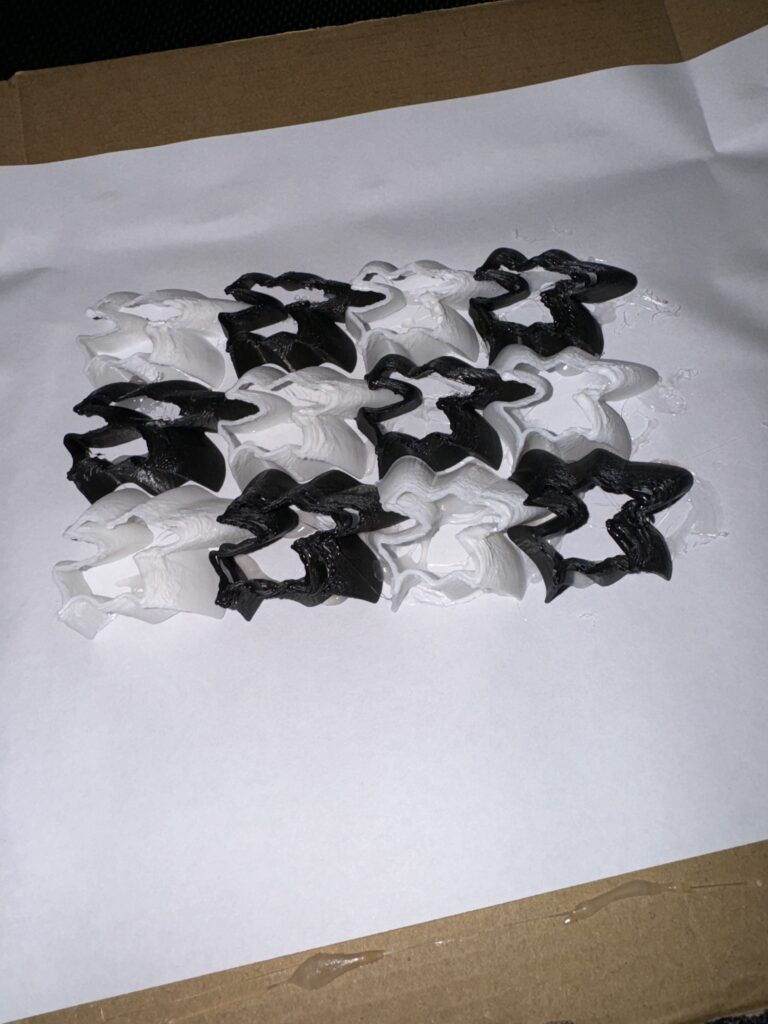
For this part I used the base tile from part 1. I used the recommendation of using the Extruder Turtle library to create the path of my 3D tile. I used the extruded tile and changed the z height to be tall enough and baked that object to be used in my code. I created a function that changes the path of the turtle by a scale factor to get smaller as the turtle is at the highest slices of the object. I wanted to replicate the design of having two different colors in my tiling and the only colors of filament I had was black and white. I then printed 12 total tiles and used hot glue to make sure the tiles don’t fly off the paper. Each tile took about 20 minutes to print.
A problem that I had was the actual process of the 3D printing the tiles. As the tile got taller the filament would the design of the dog would mess up a little. Here some images of my tiles in rhino and its final design.
Part 3:
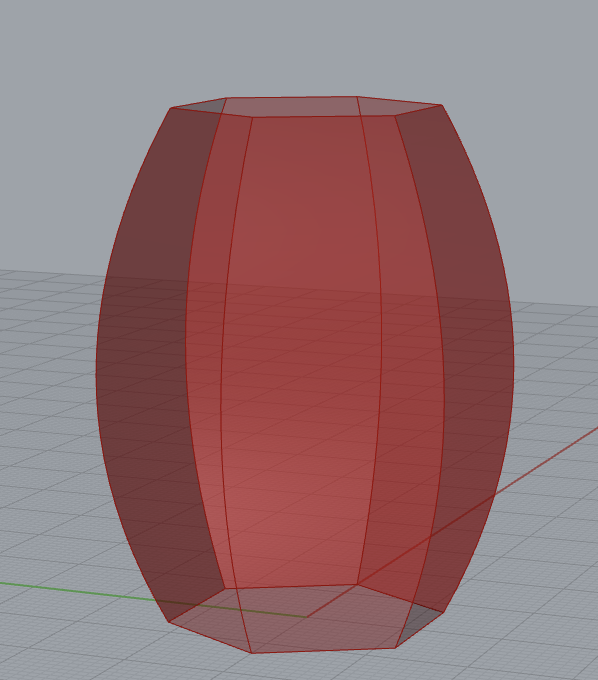
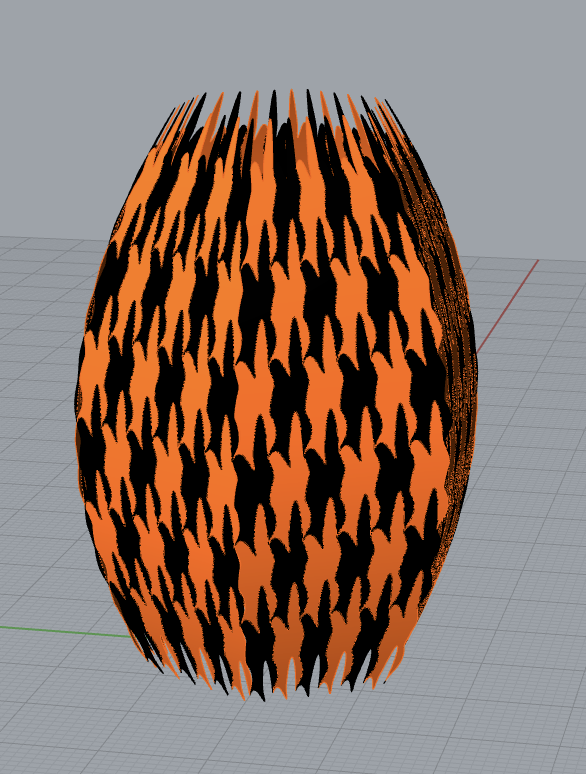
For this part I also used my Escher tile of a dog. This section was the hardest part for me. After messing around for couples hours I found out that all I had to do was change the size of of the lattice structure to 1 and the design was really cool. I used a vessel from the parametric vessel assignment and used that to morph the surface to my tile design. Here are some images of the vessel and the design.
Overall this assignment was really fun and interesting. Here is my zip file with my code, each directory contains the grasshopper files and its images for the part.
Hey Atah, I enjoyed your adaptation of Escher tiles into a dog design. The way you integrated the dog tile into different forms, culminating in the vessel morph, showcases a thoughtful approach to the design. Great job!
Thank you Daniel, It was pretty cool, experimenting with creating lines and finding a design I liked. Once I found the design of a dog, I kept it.
Hey Atah, I think your project turned out super cool, I really like how your tiles mapped up on the vessel, it looks really cool how the tiles get spiky at the top and bottom of the morph!
Thank you Andy, that part took me the longest. I had to do some research of why it wasn’t working and then I figured out that I had to use the deconstruction of the brep to get the surfaces.