
Process & Code
Instead of using the turtles to slice a shape and trace sinusoidal waves around each layer, I translated the code so that I can just control the turtles in their sinusoidal toolpaths without needing a shape to slice. I altered the code for different prints to change the oscillation numbers of each layers, the amplitude of each layer, the radius of each layer, and how many circles were between each sin wave. One of my pieces also was the result of rotating the turtle to that the heading was straight up, and it drew the sine wave perpendicular to the circle so that the sine wave was being drawn in the z plane while still rotating around a circle in the x & y.
Uniqueness of Gcode
These pieces would not have been able to be created with a traditional slicer because each layer a controlled sin wave. I designed each layer intentionally to produce an object rather than designing the object that would then be constructed with the layers. The differences between layers was the focus rather than the final outcome.
Iterative Printing
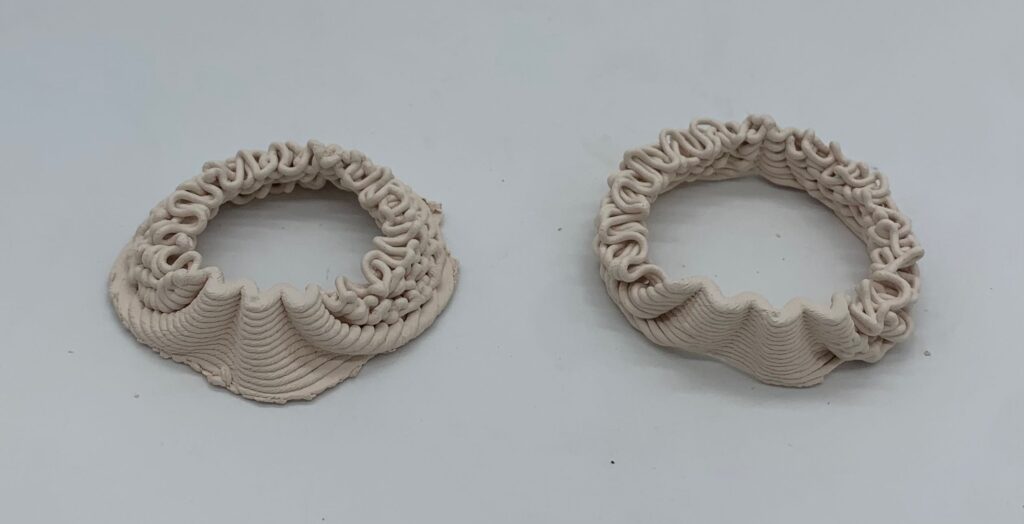

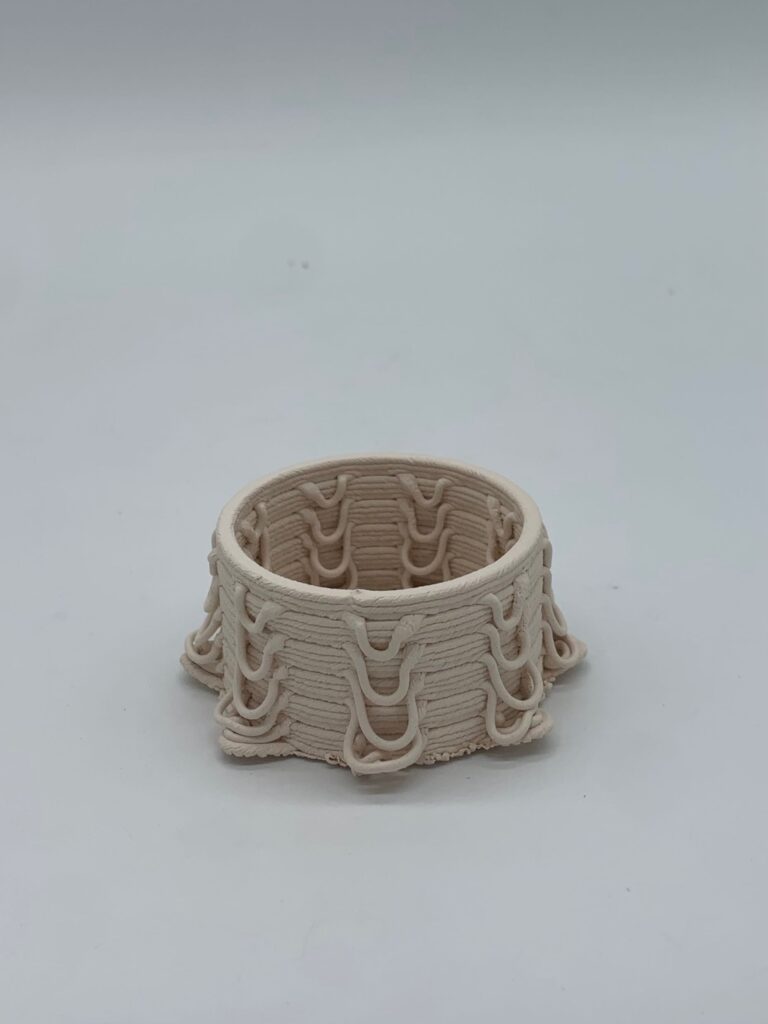
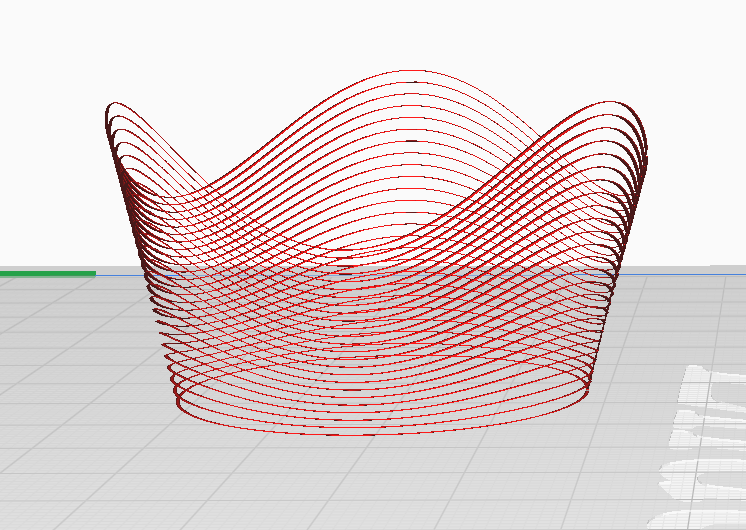
These were my first prints. I played with increasing the oscillation number with every layer. It produces this side where you can gradually see the oscillations getting smaller, and the other side where the clay falls upon itself. I really liked these forms and the patterns the differing oscillation numbers created. I find myself wishing that I had made a larger object using this principle, because the pattern it generated is really interesting. I wanted to see the difference in the oscillations more though so that inspired the next iteration:
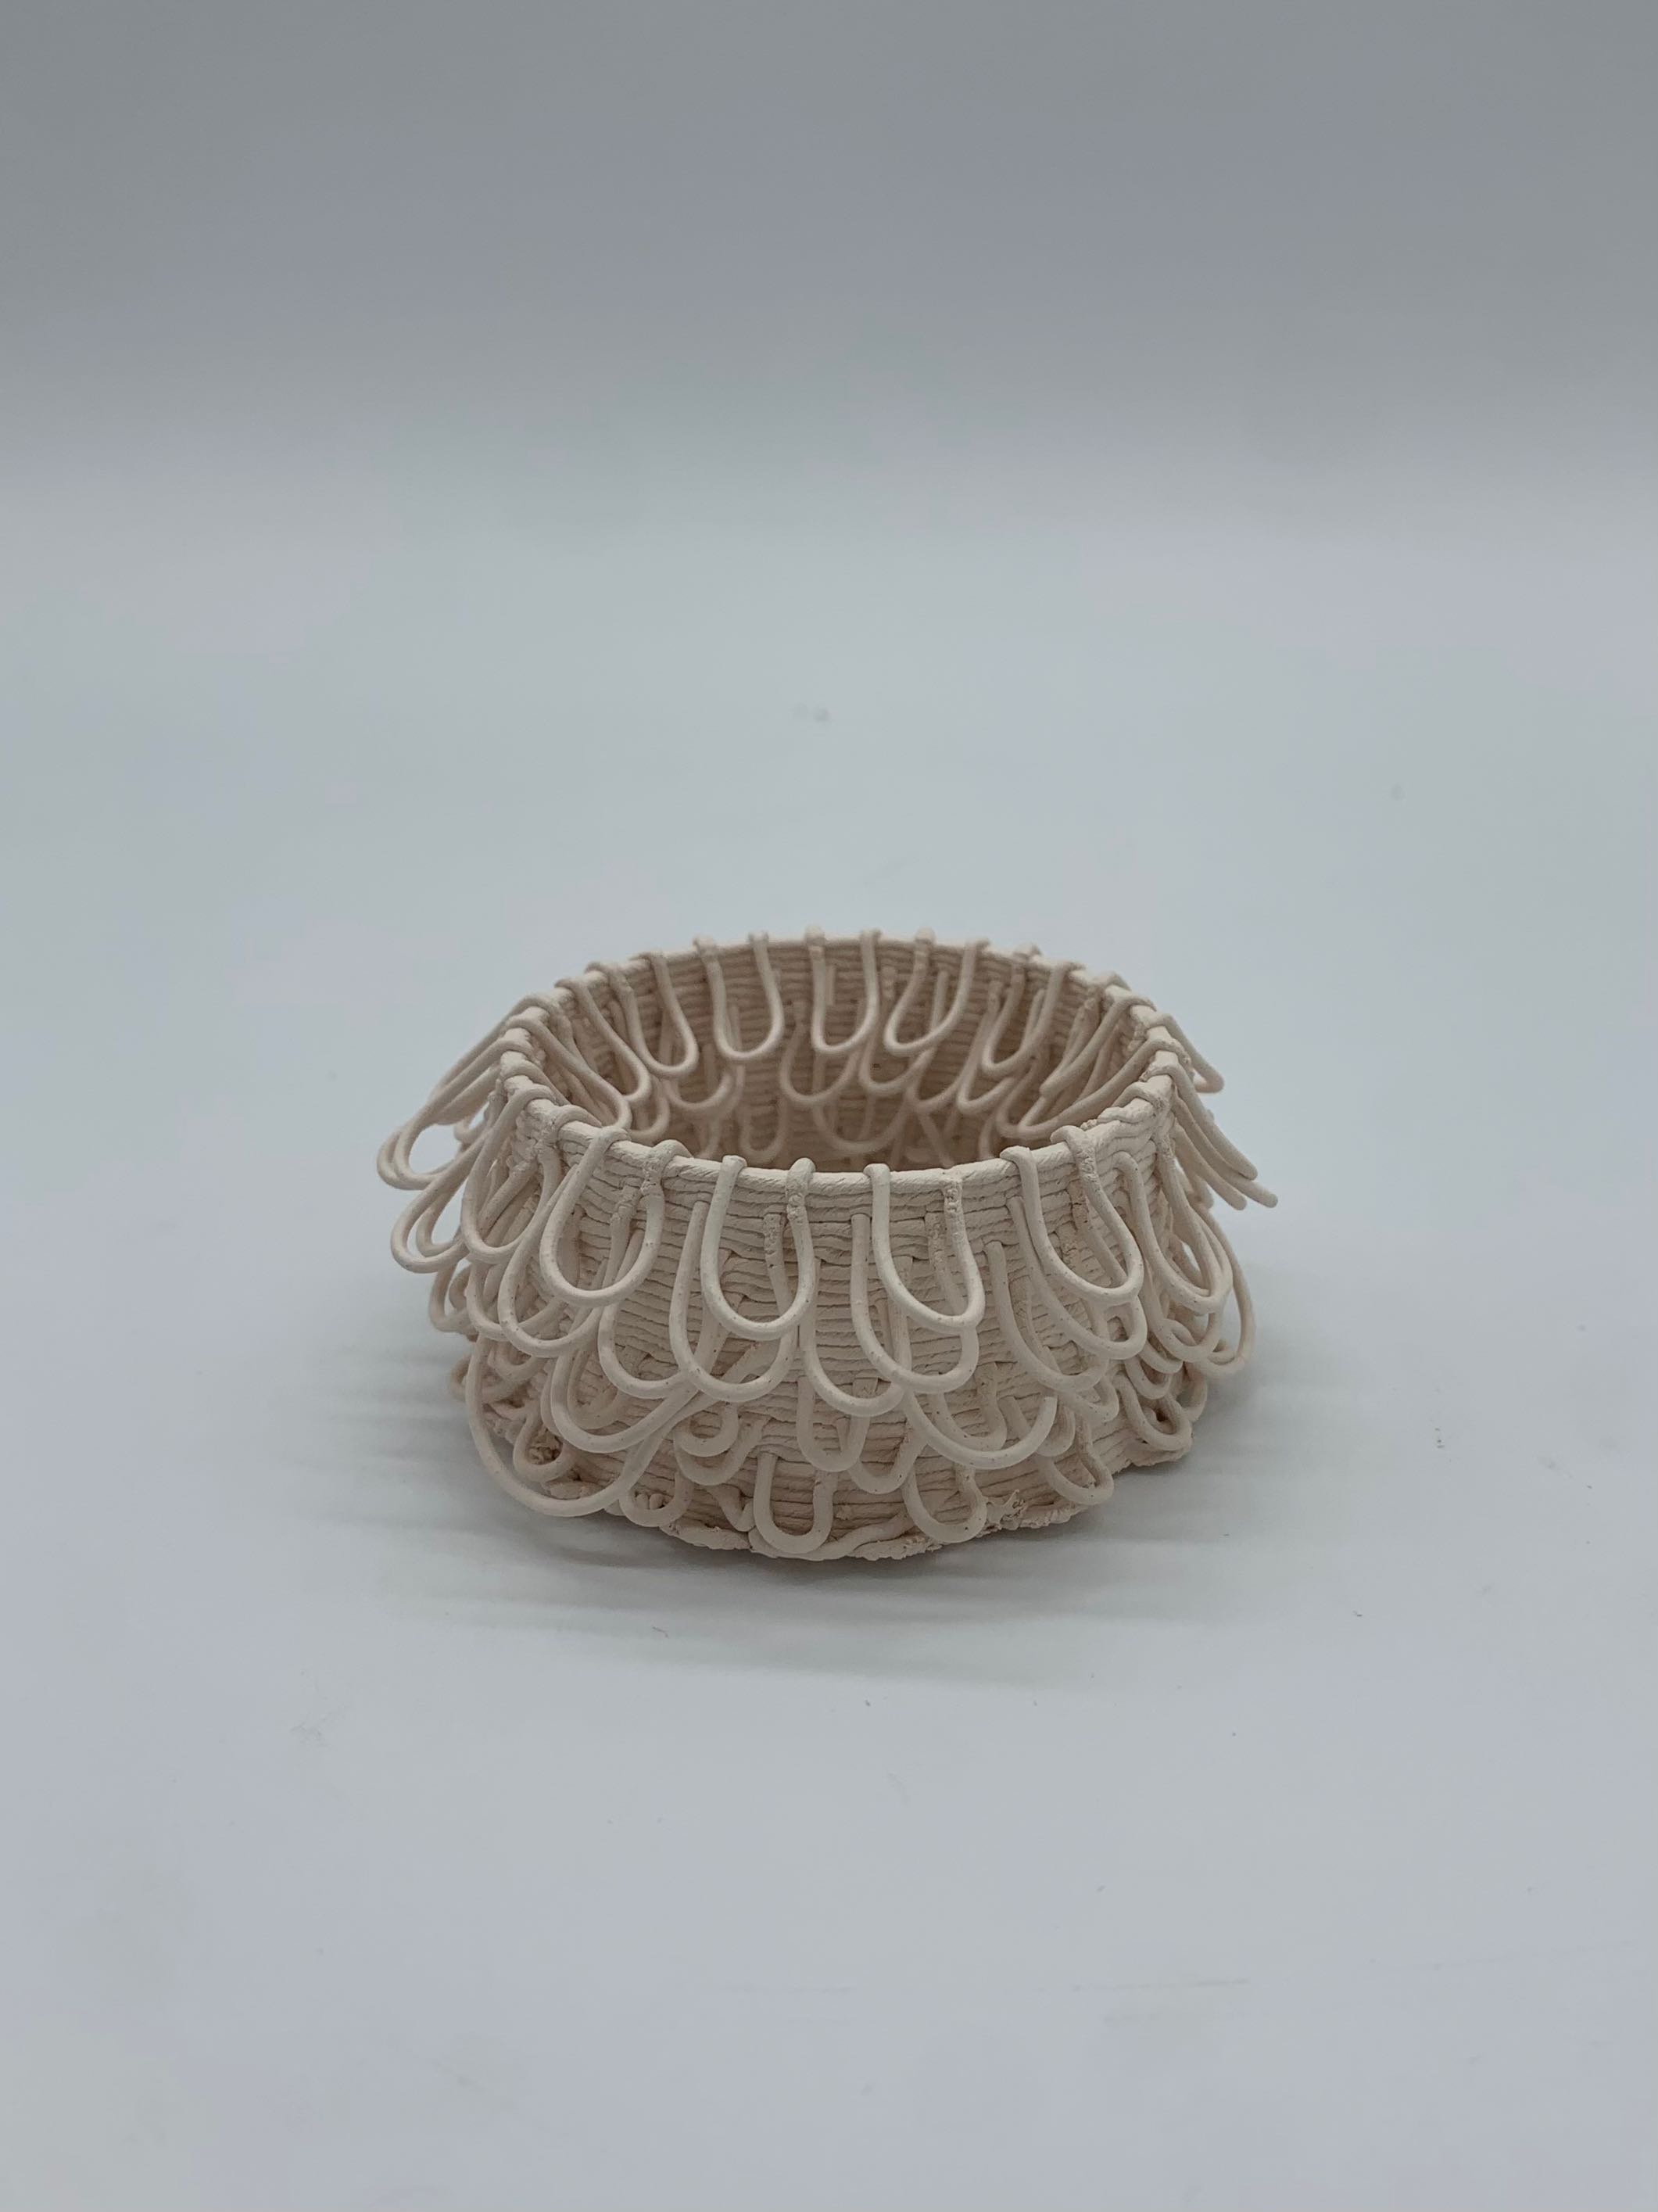
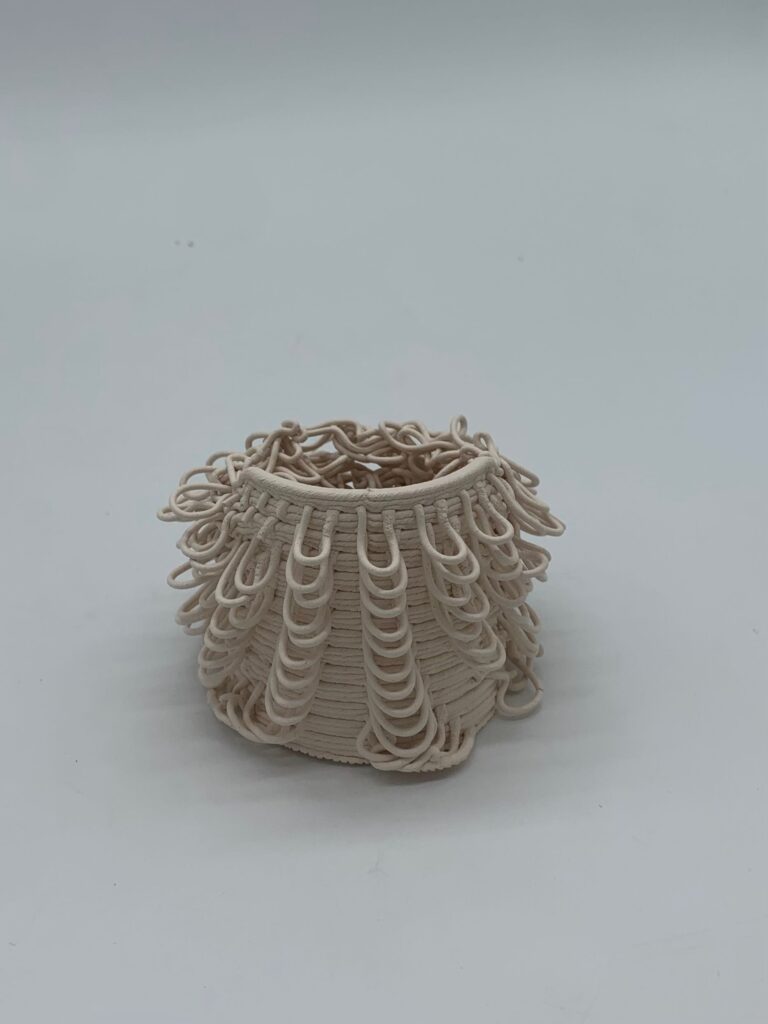
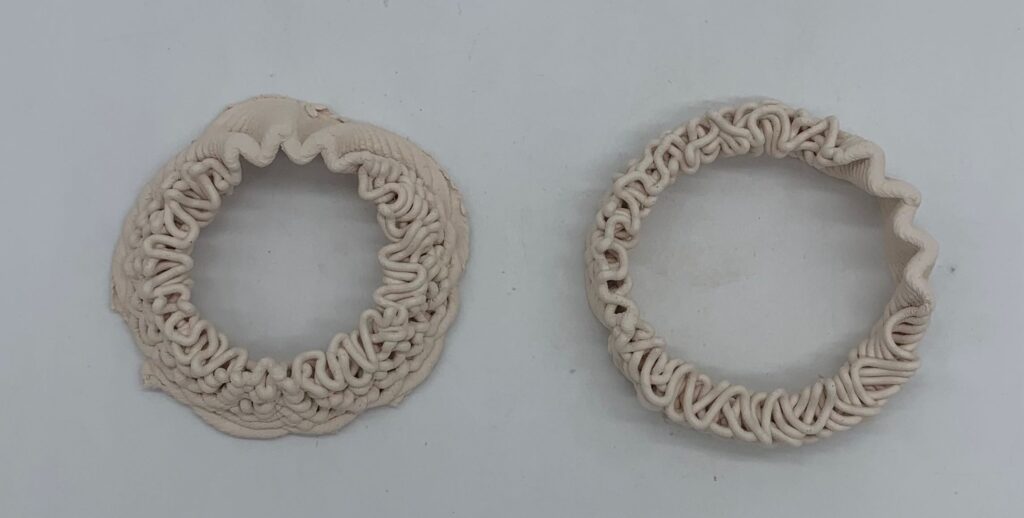
Here I created the sine wave every fourth layer I believe, while the other layers were circles. The oscillation number and the amplitude were randomized. I really liked how the loops were randomly offset because of the oscillations, and how some even drooped over the loops below. However, I still wanted to see more of the changes between the oscillations. But I went with the inspiration of the loops layering, and generated this:
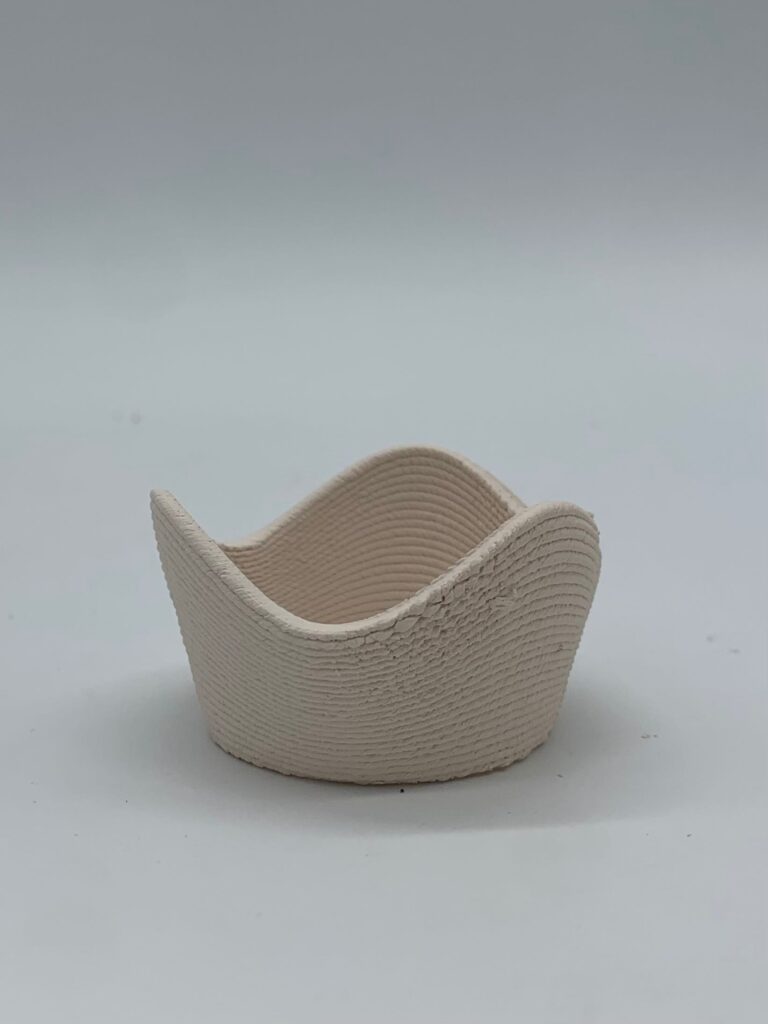
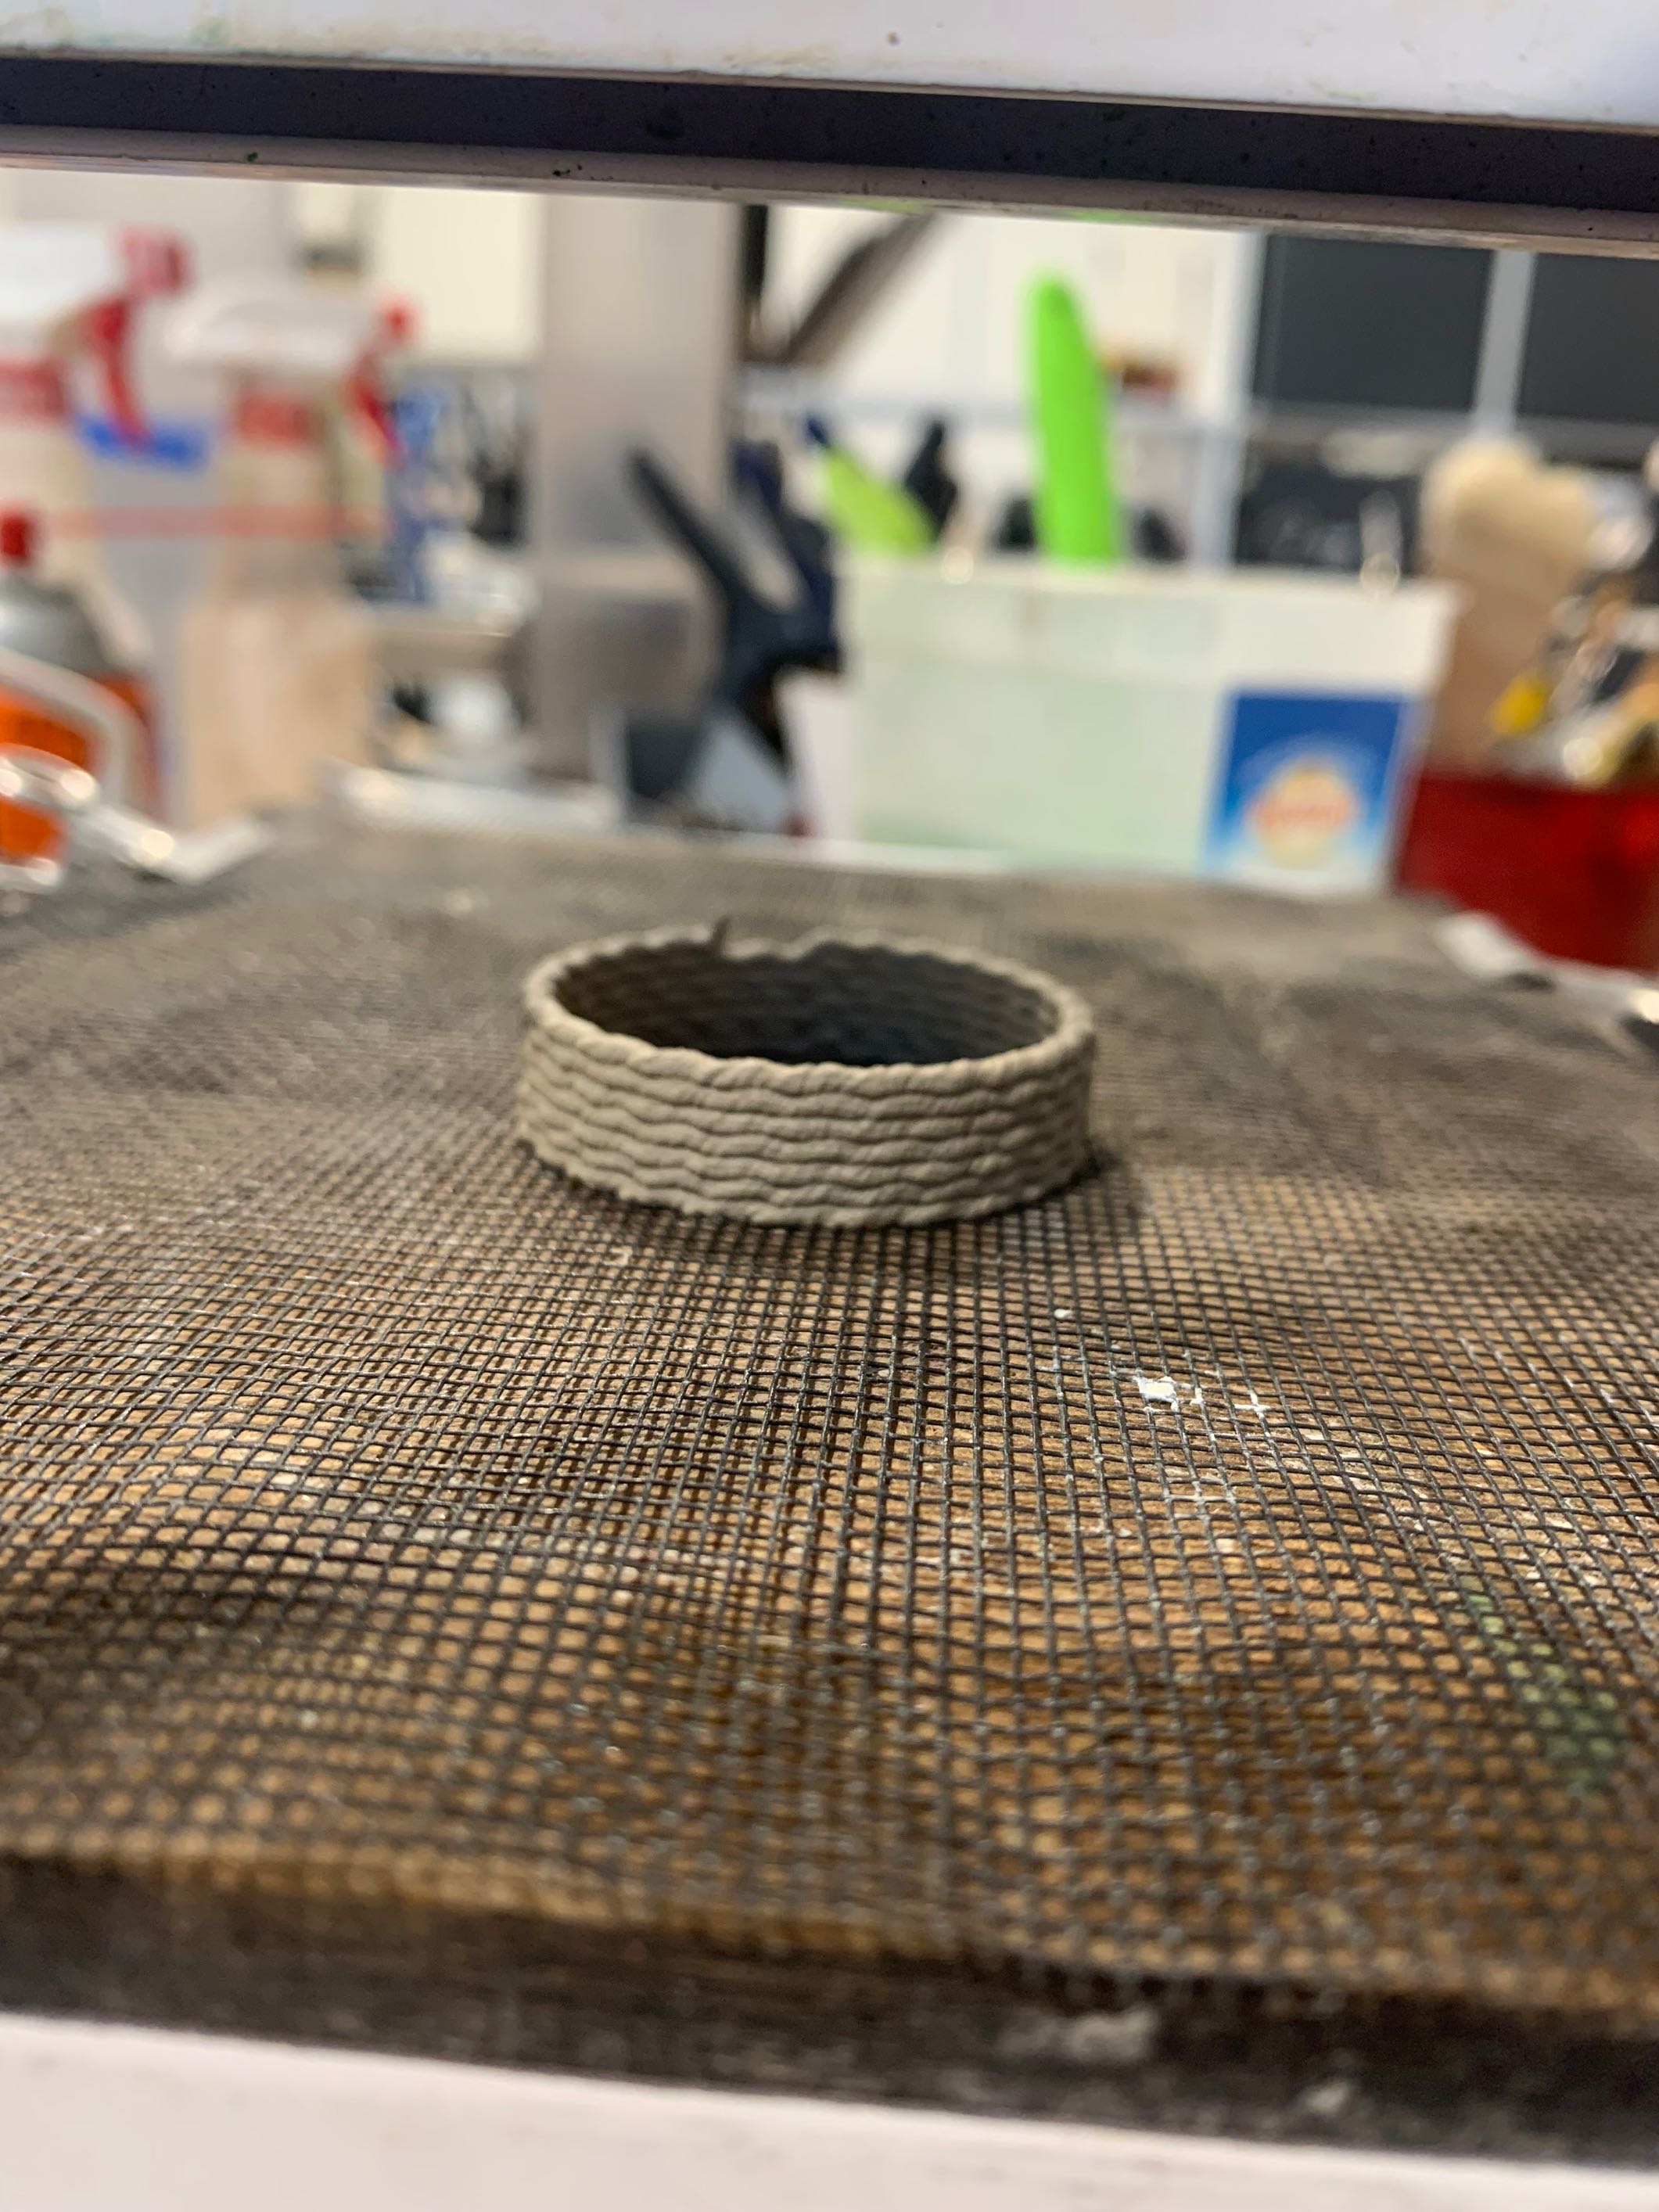
This time oscillation number stayed the same but I changed the amplitude to be smaller every time, in hopes they would sort of nestle or layer nicely. It didn’t come out quite as I thought and was wanting to go back to the changing of oscillations, leading me to two of my final forms:
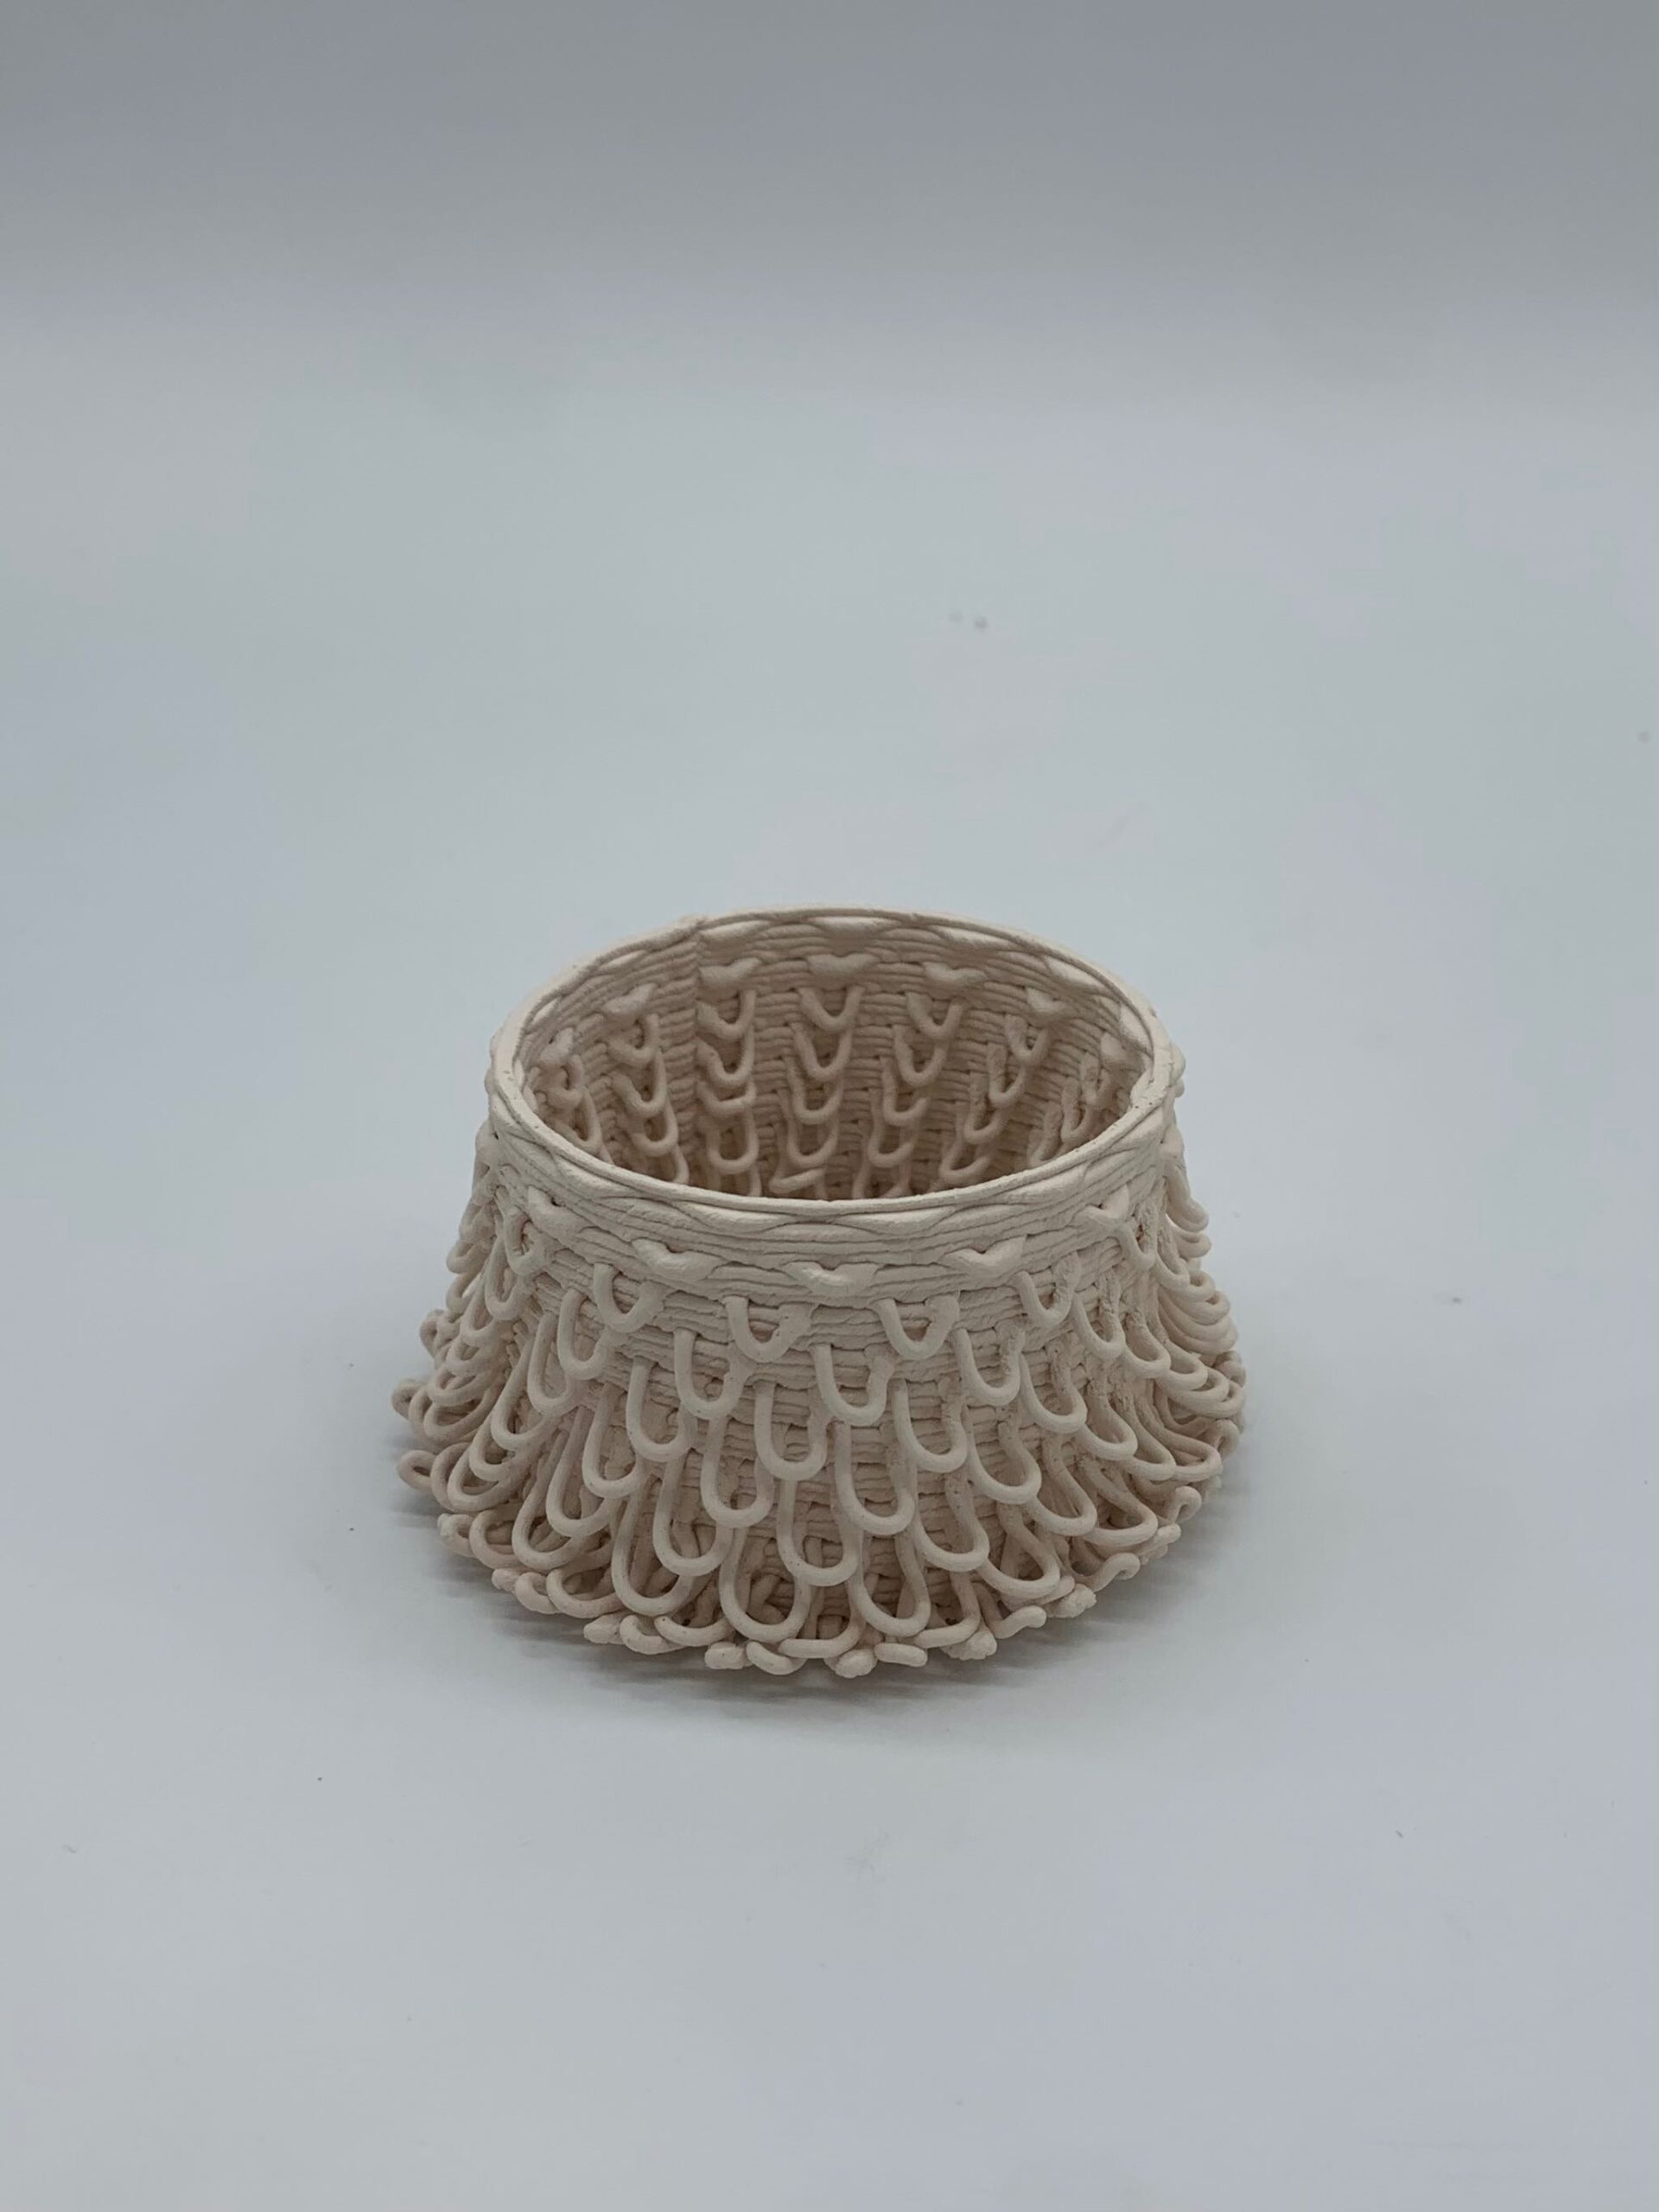
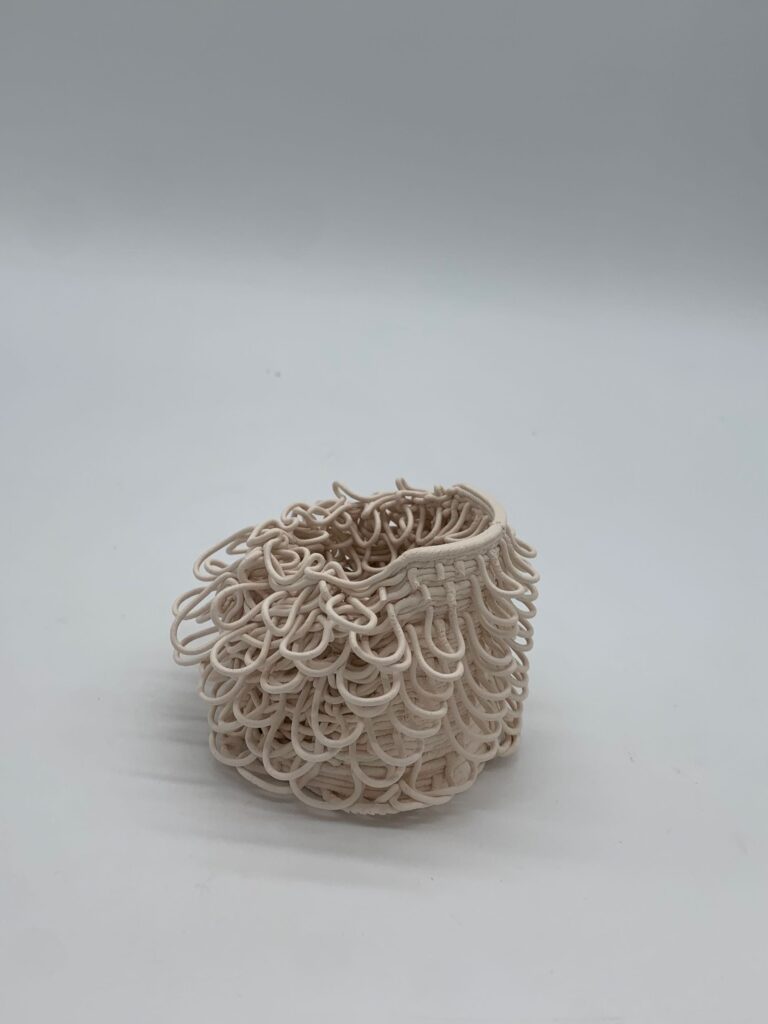
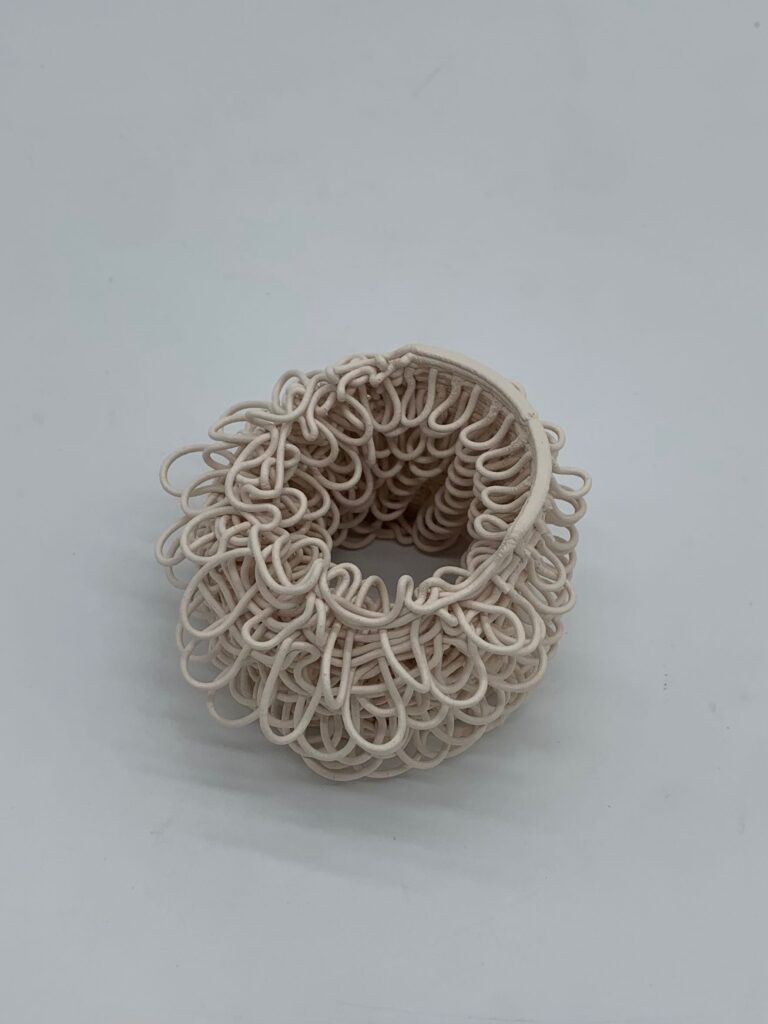
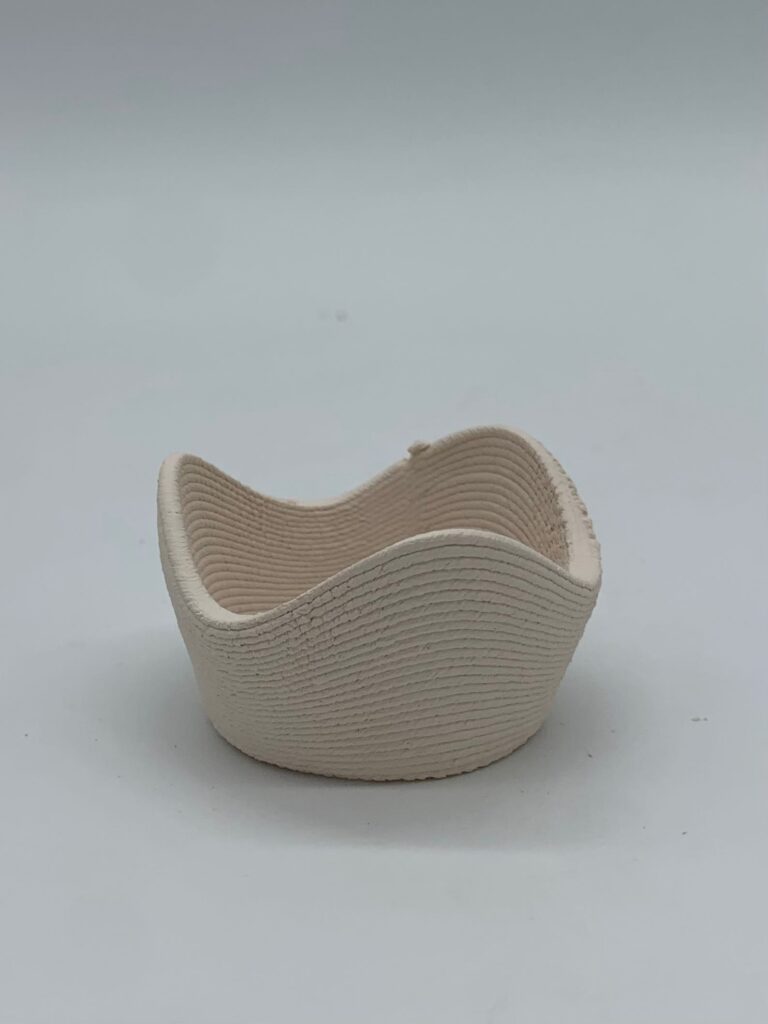
In the first I randomized the radius of the circle layers but kept the aligned on one side, the side where the sine waves start. The differences in the radii caused this sort of melting effect on one half that I really enjoy. It was super cool to play with the clay drooping like that and still see the sine waves spreading on the other, intact end. For the second object, the idea was to decrease the oscillation number with every sin wave, and also decrease the amplitude. This print was supposed to be twice as tall. As you can see here, the amplitude got to about zero. After that the amplitude was then going to be negative, so technically the amplitude of the waves was about to start getting larger with each layer, and it was supposed to go all the way til the oscillations were at 3. However, the printer started making scary noises and I had to stop the print and it was time for me to move on to another print. But I still like the result:)
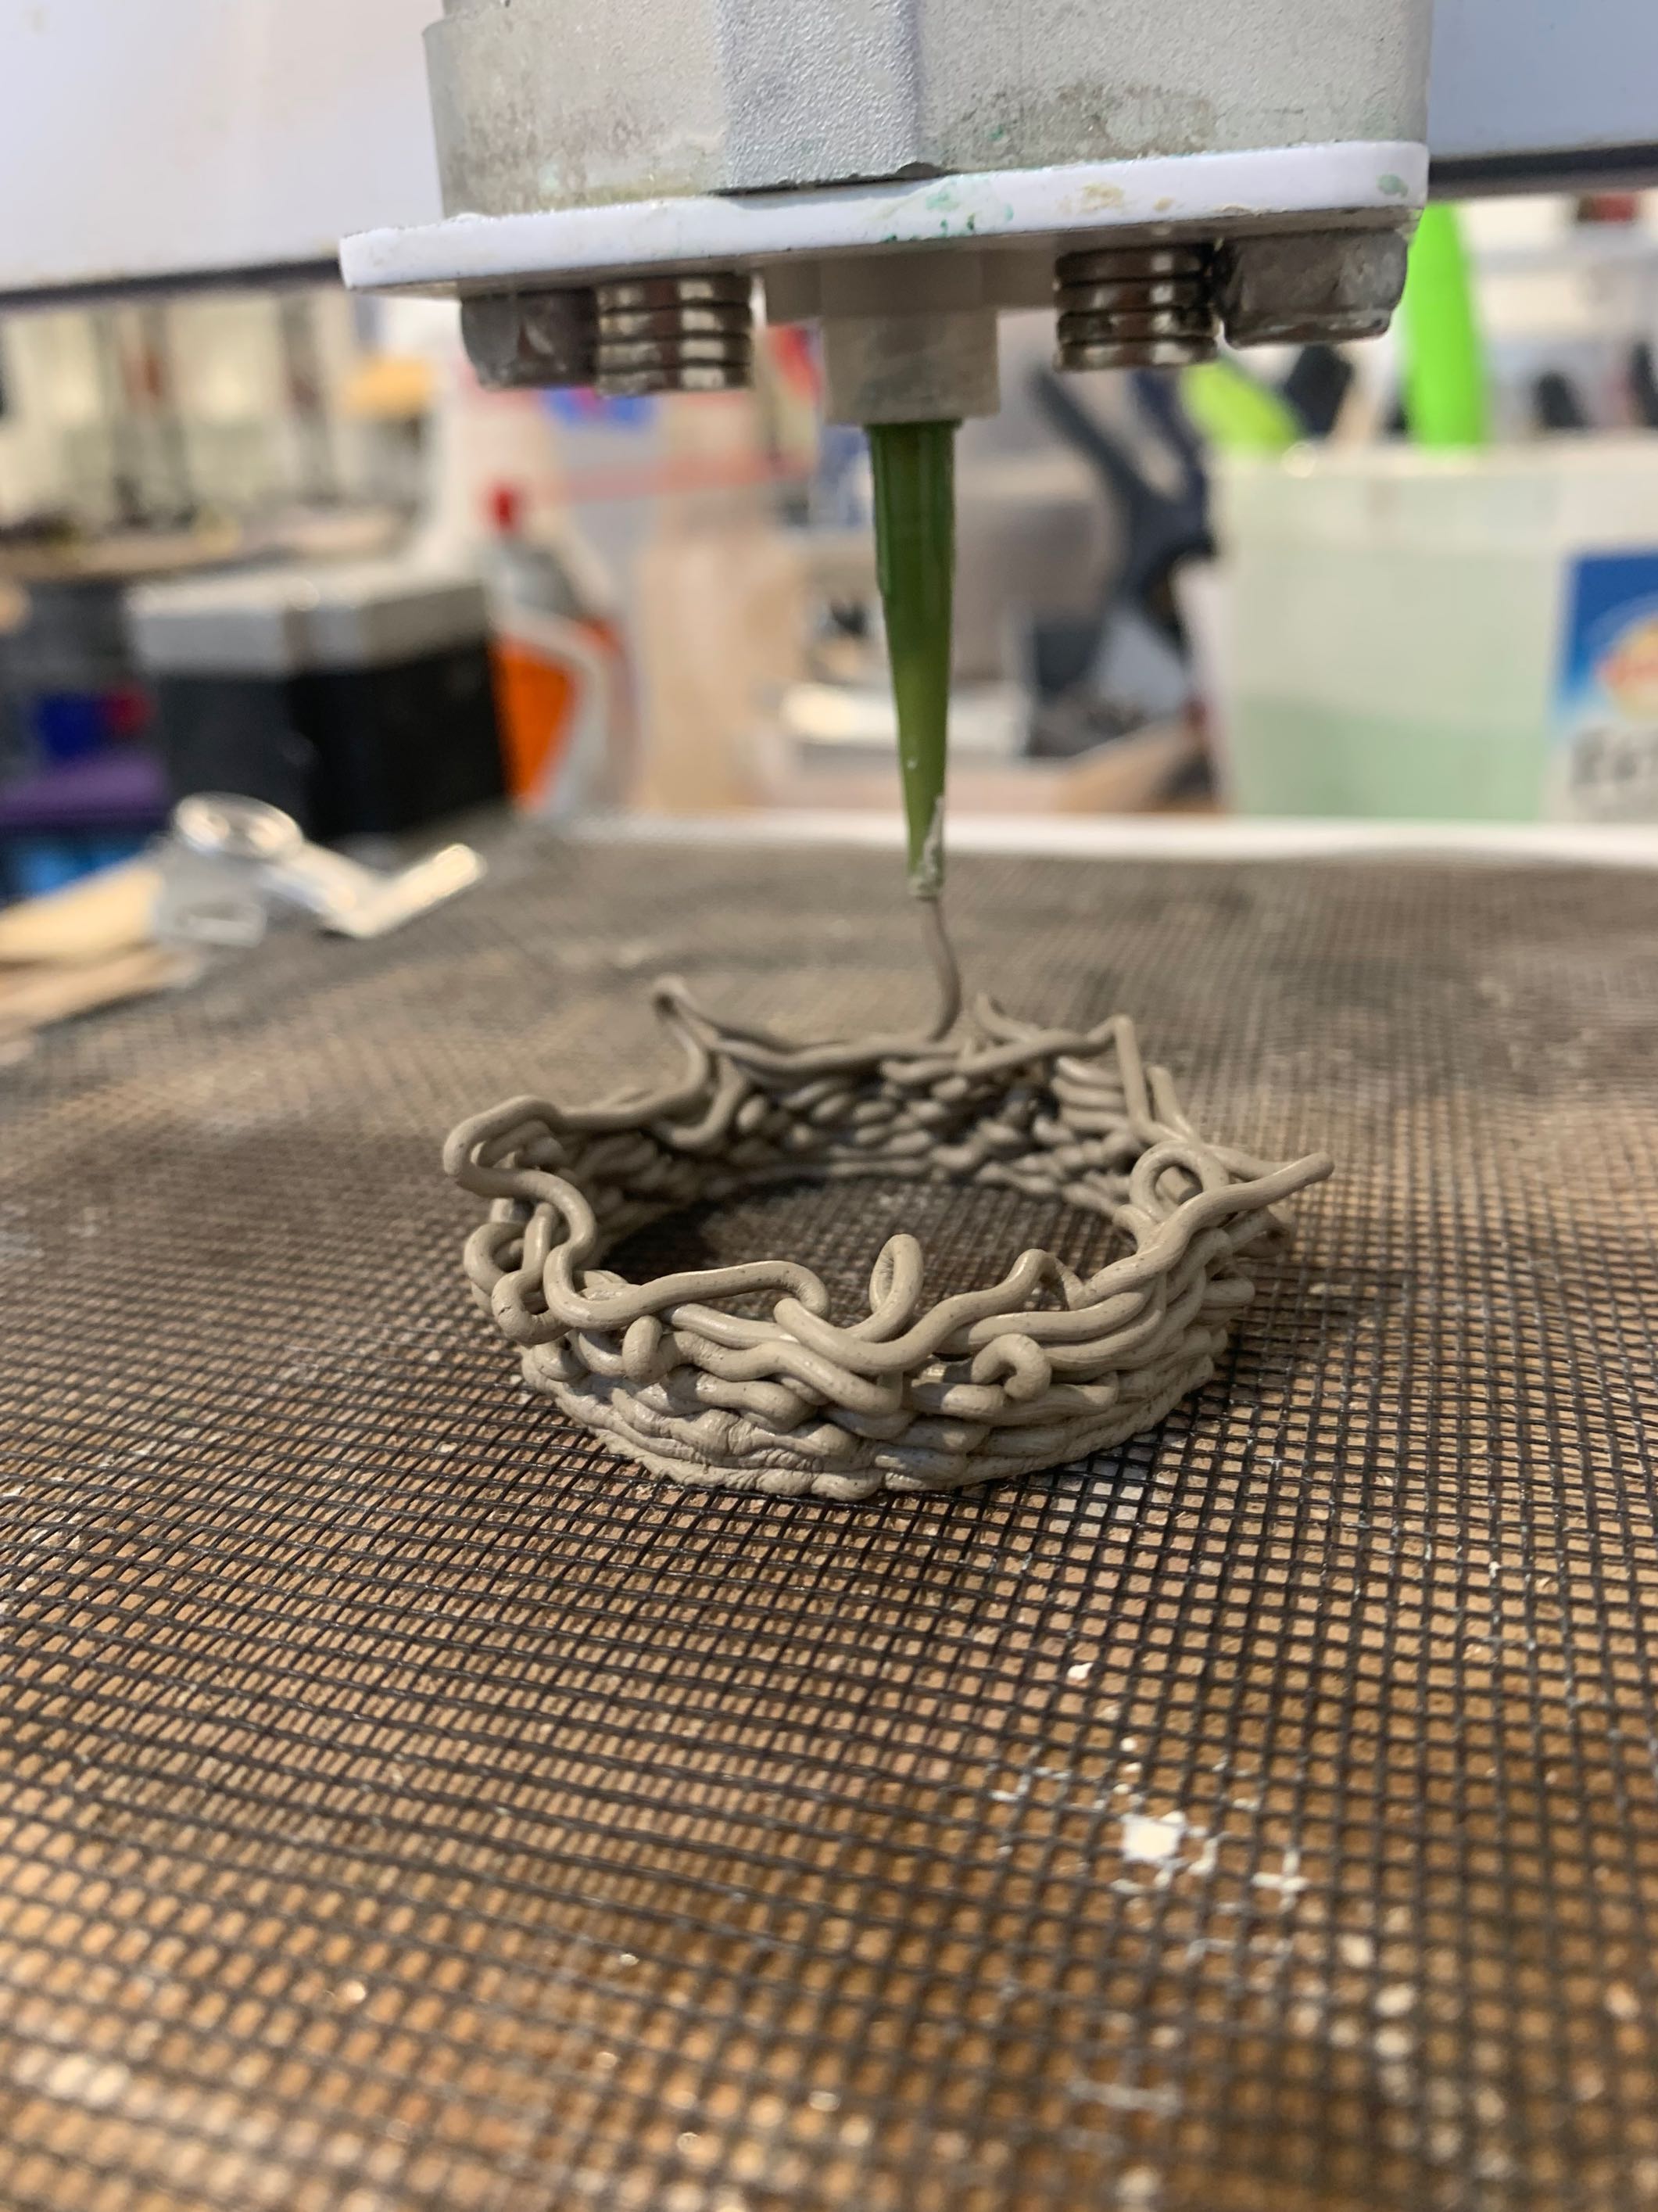
My last set of experiments was with printing in the z axis. I first tried just alternating the layers to be a sine wave, then cosine wave. I thought if the oscillations were large enough and amplitude was small enough that it would be able to stand and create little windows due to the offsets, but it didn’t really work:
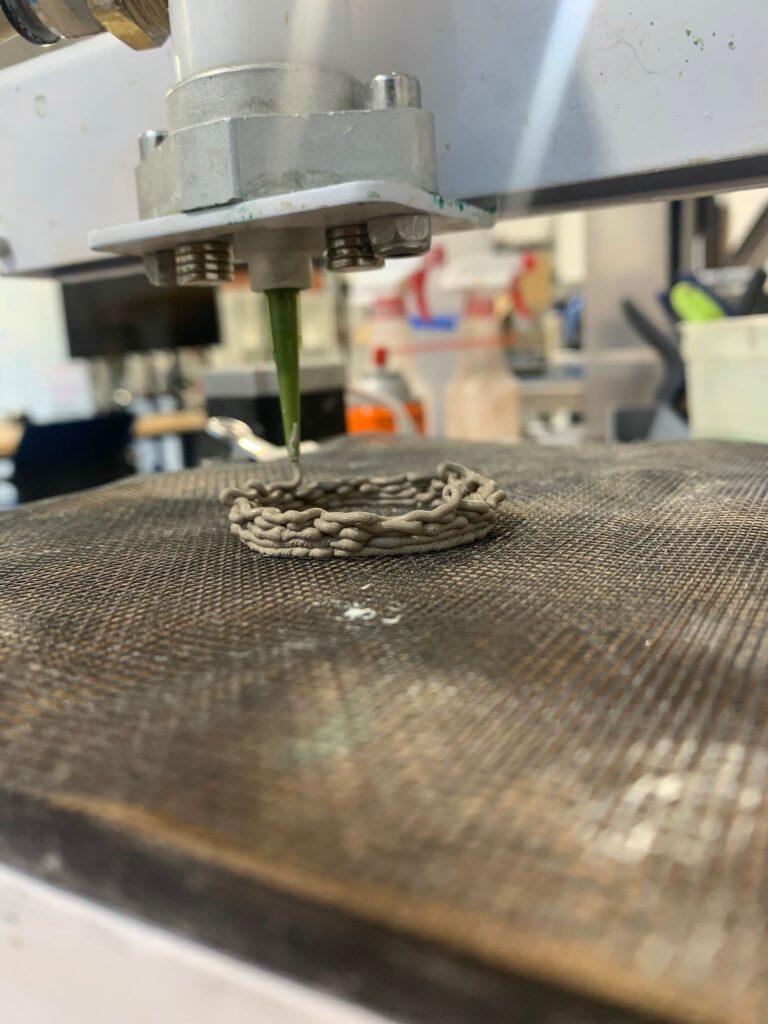
I turned to just keeping each layer a sine wave, but changing the amplitude:
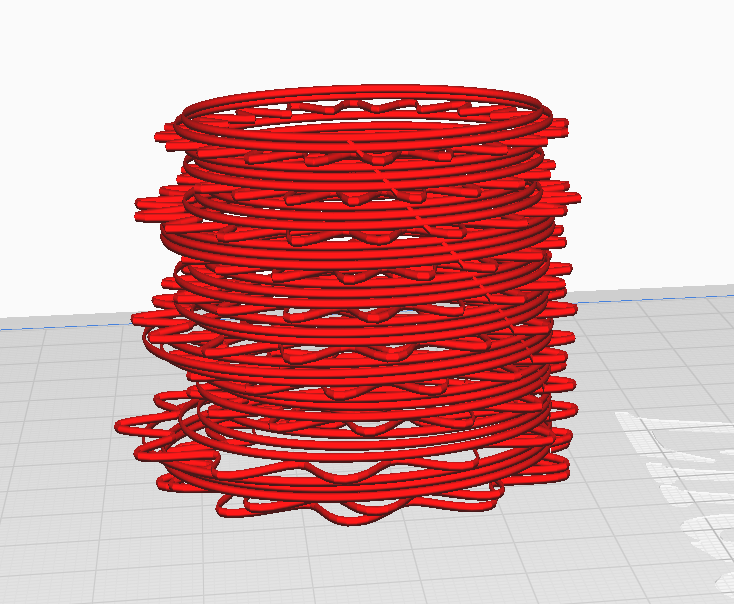
Code
Gcode in Cura

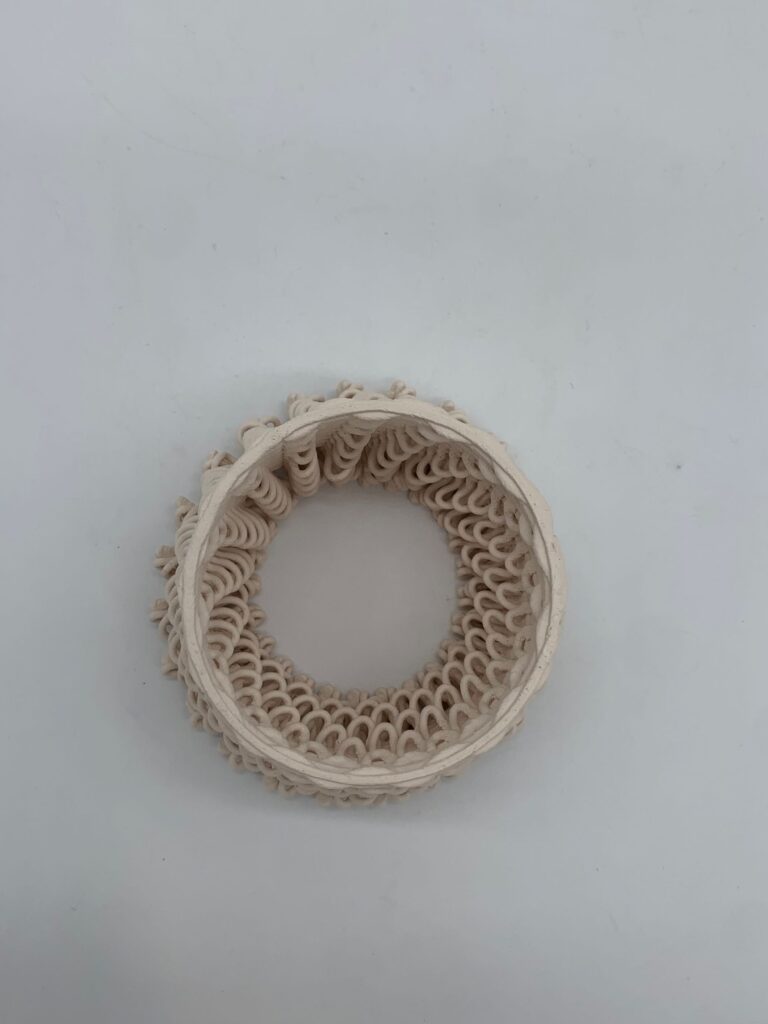
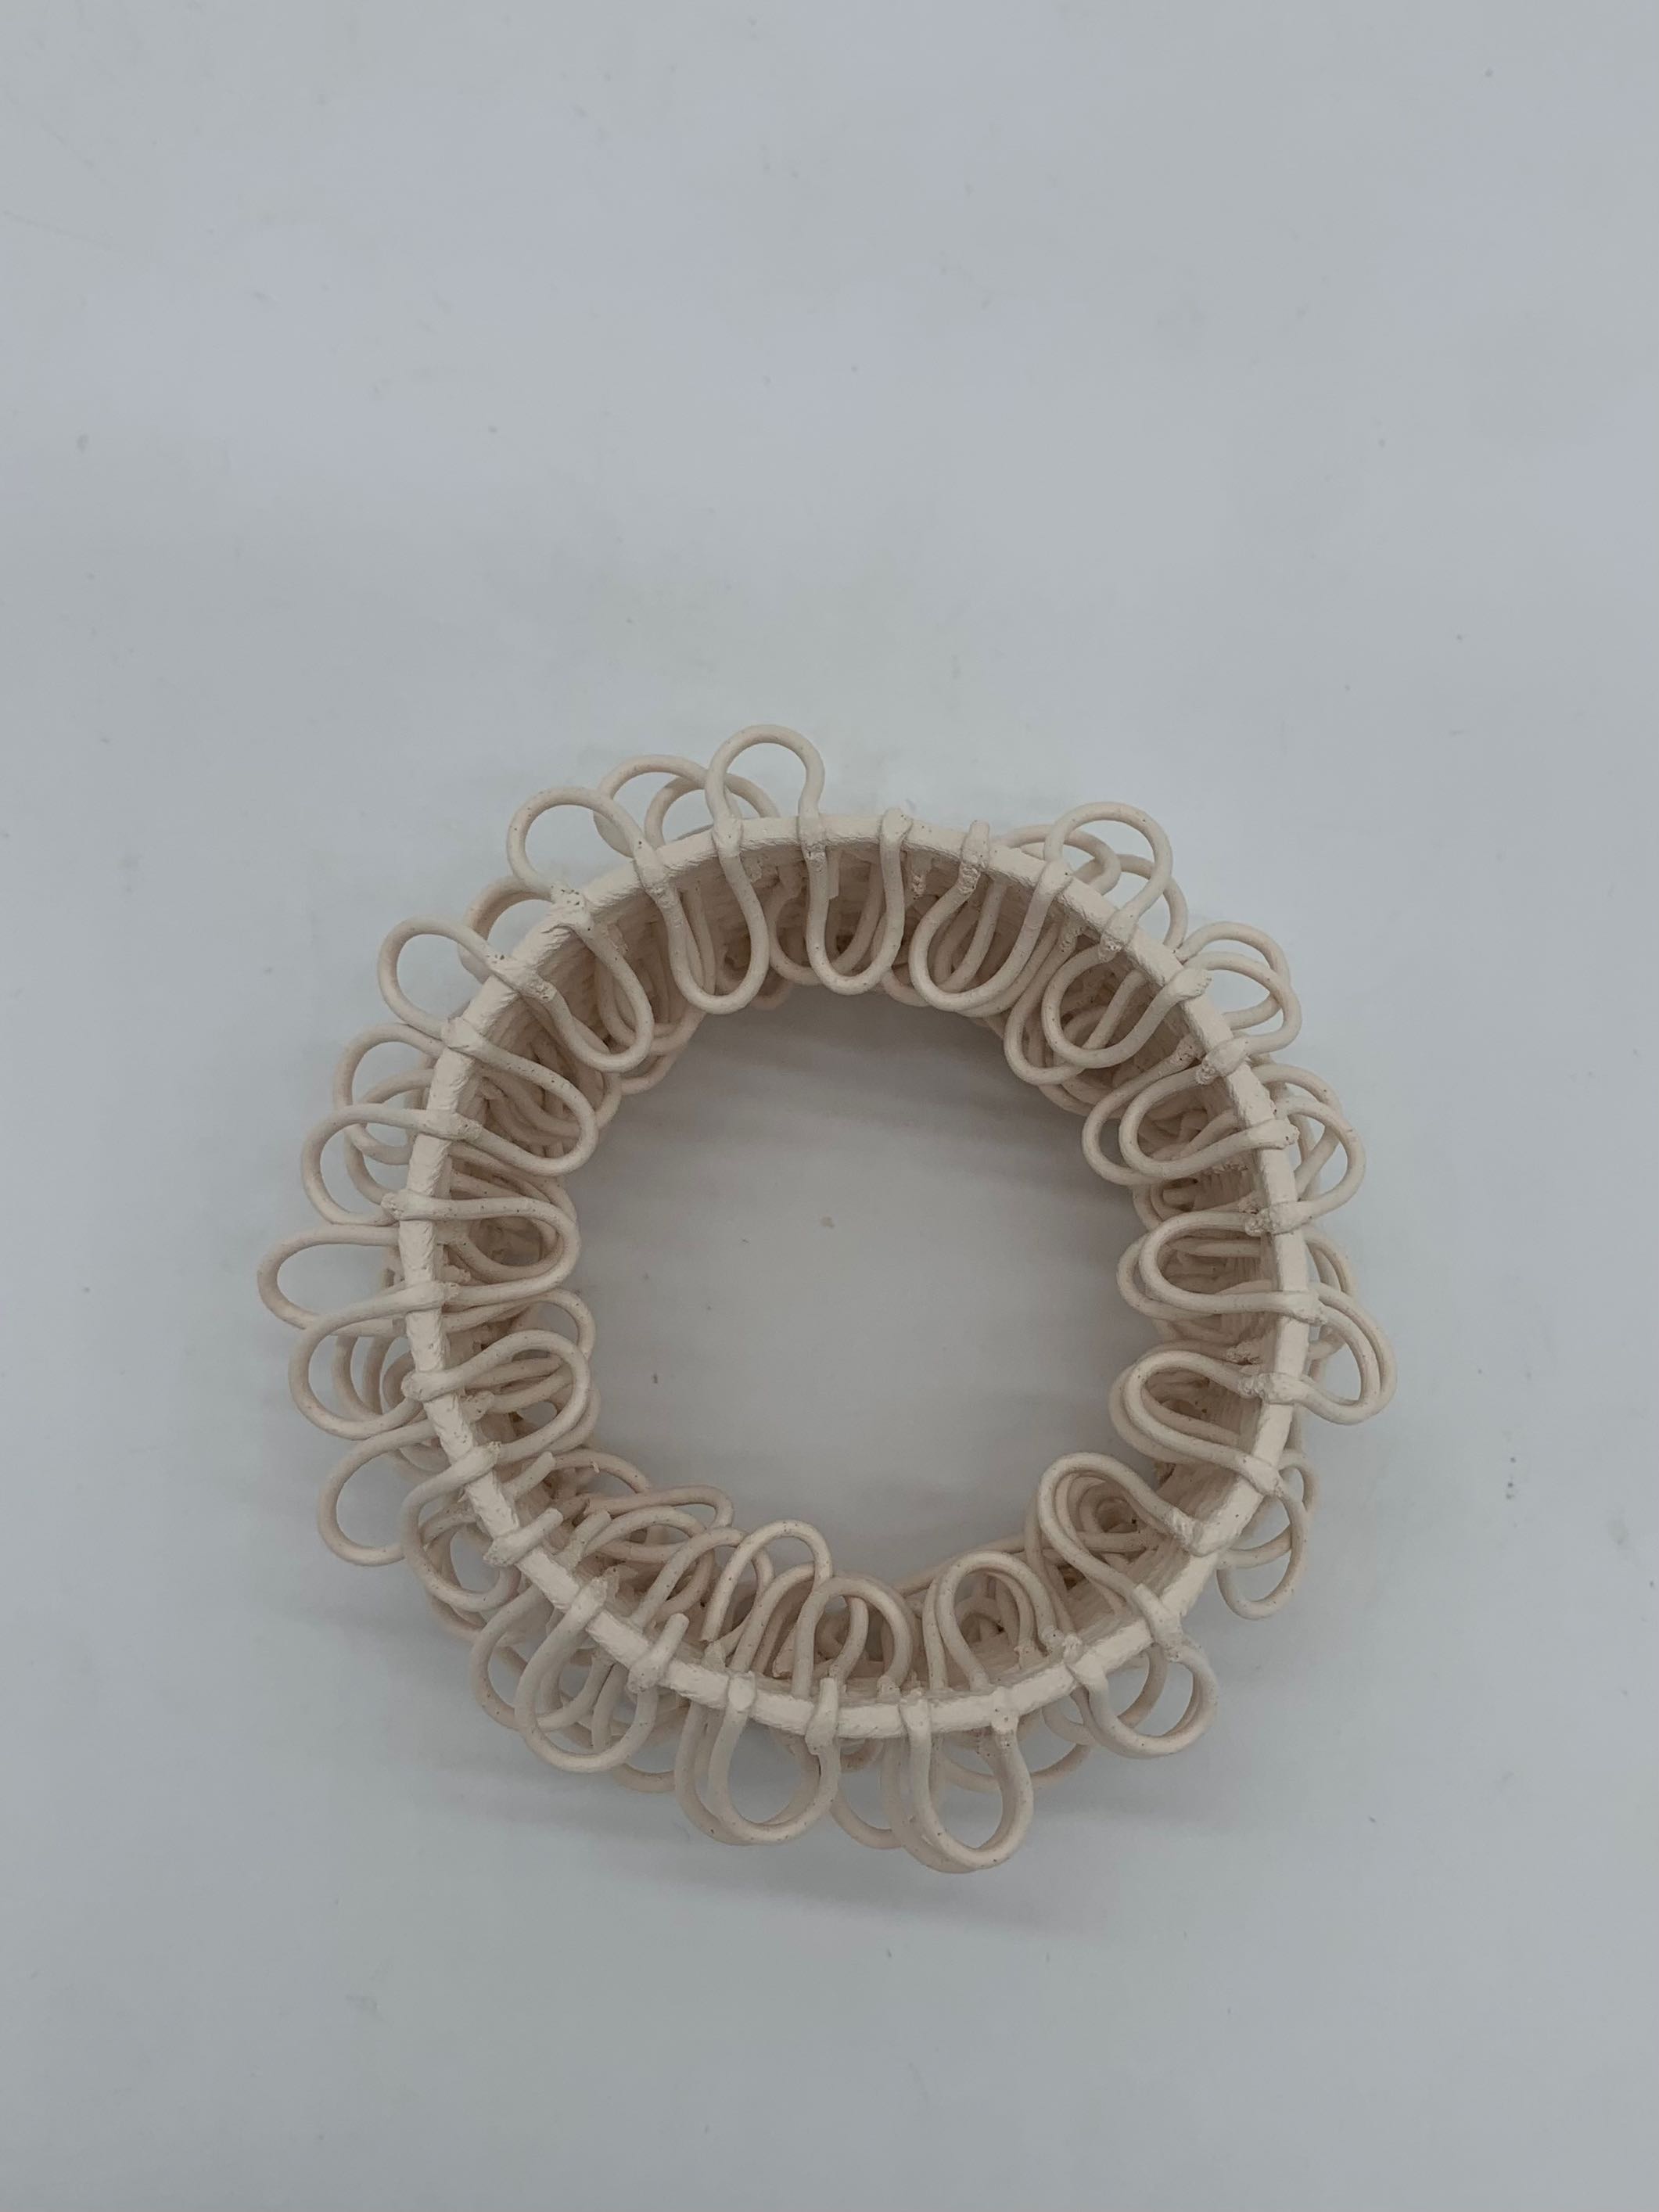
These are wonderful designs… I love the one with hoops on the inside and outside. I was trying to do this very same thing and had such trouble with it. I’m glad someone else was able to make such a beautiful piece of work. And I really like how some of the pieces have fallen to the side. Make such a dramatic effect. Wonderful Job.
Hi Christopher, Thank you very much for your kind words:) I also love the way the loops create patterns both on the outside and the inside
Hi Lauren, what a beautiful designs! When I was first picturing my designs, I had the same loops in my mind that you created, although on a Christmas tree. Using clay was such a great idea. Your pottery came out absolutely stunning. What a great job!
Hi Michaela, thank you for your comment:) Working with the clay was a really enjoyable experience and I’m happy you enjoy looking at the pieces!