For this assignment, I was able to get 3 shapes completed. I had tried to build 3 shapes that were related to each other and almost achieved this. unfortunately due to time constraints, the third shape had to be simplified, but I believe they still turned out pretty neat.
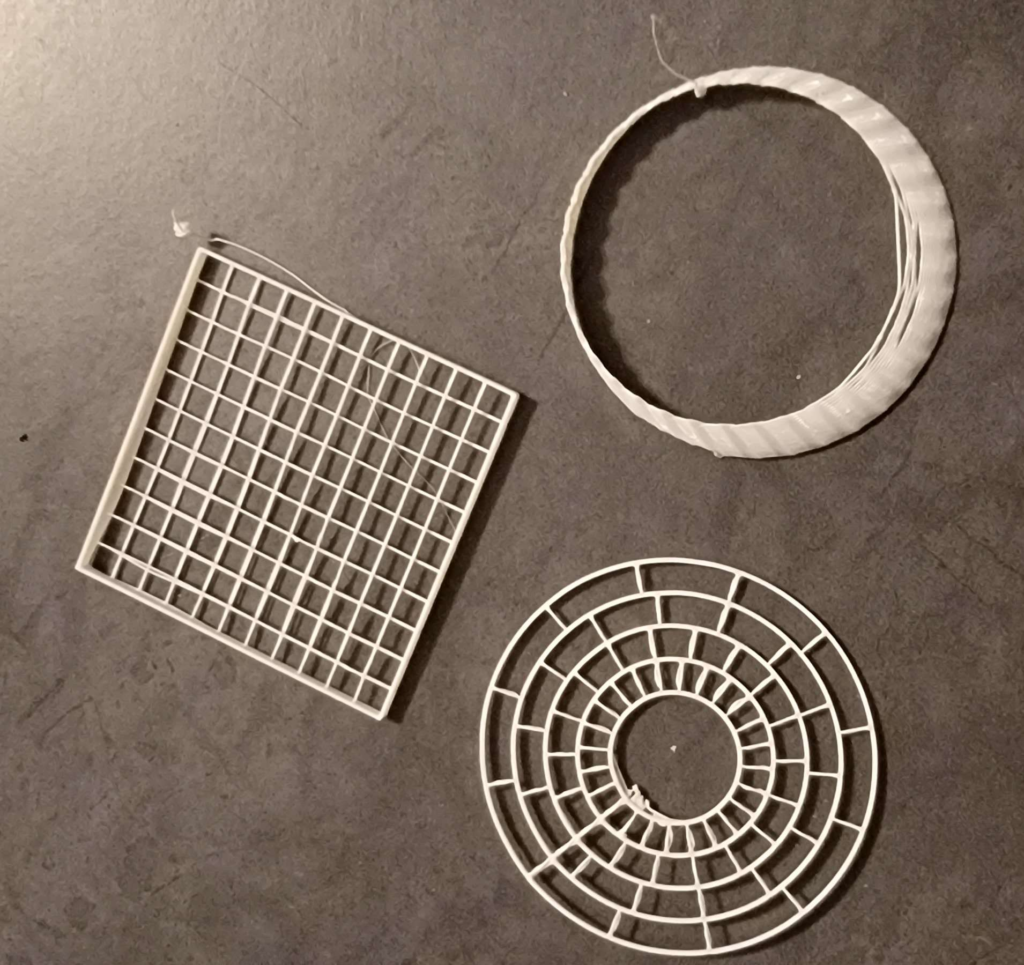
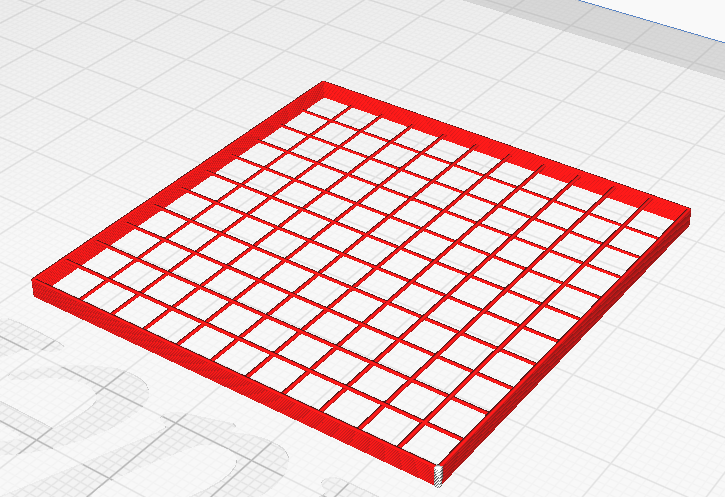
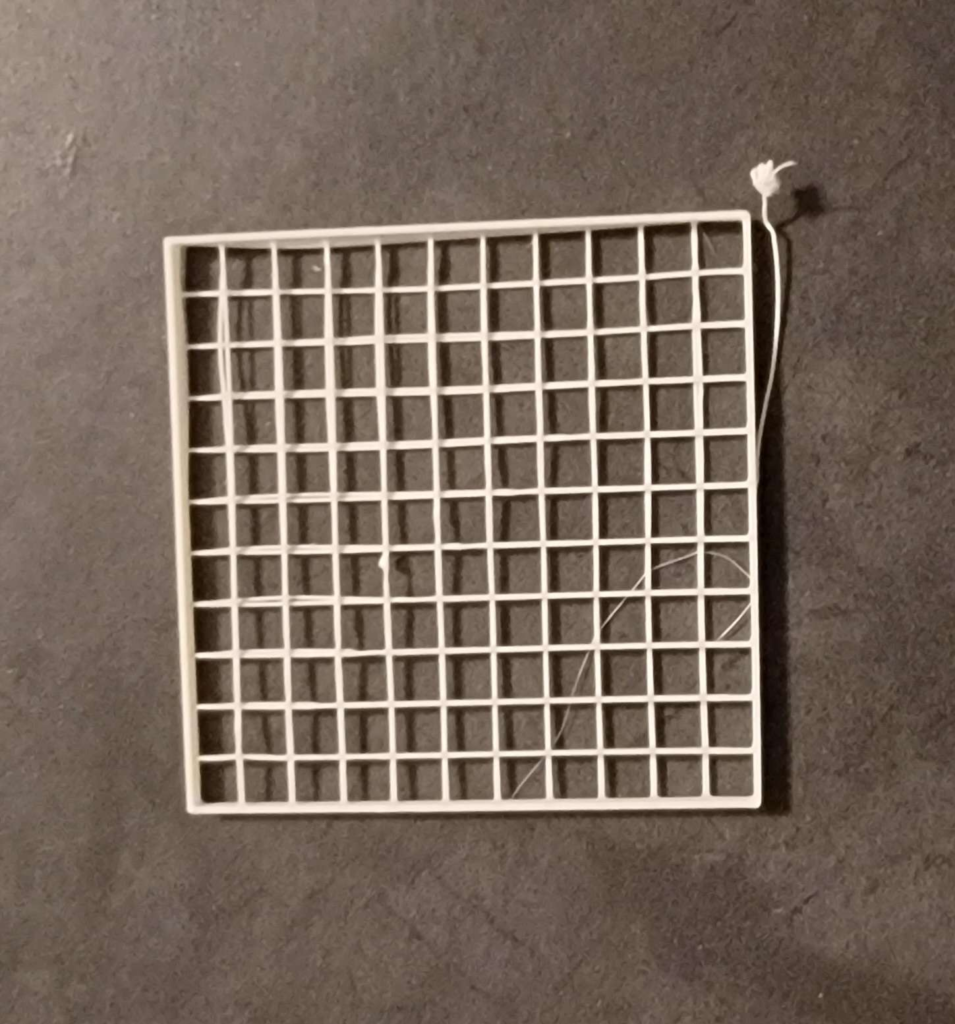
For my first shape, I created a simple grid, where each line of the grid is at a different elevation. The lines start after the first layer, so that a base layer could be printed, and then they go across to the next wall. This shape is fairly simple, I mostly used it to see how far I could get the filament off the plate without issues.
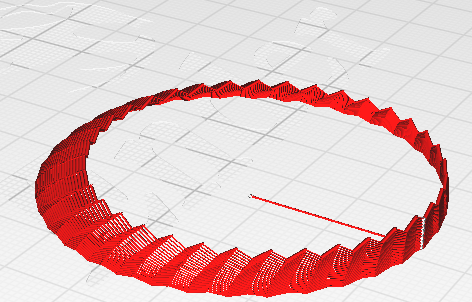
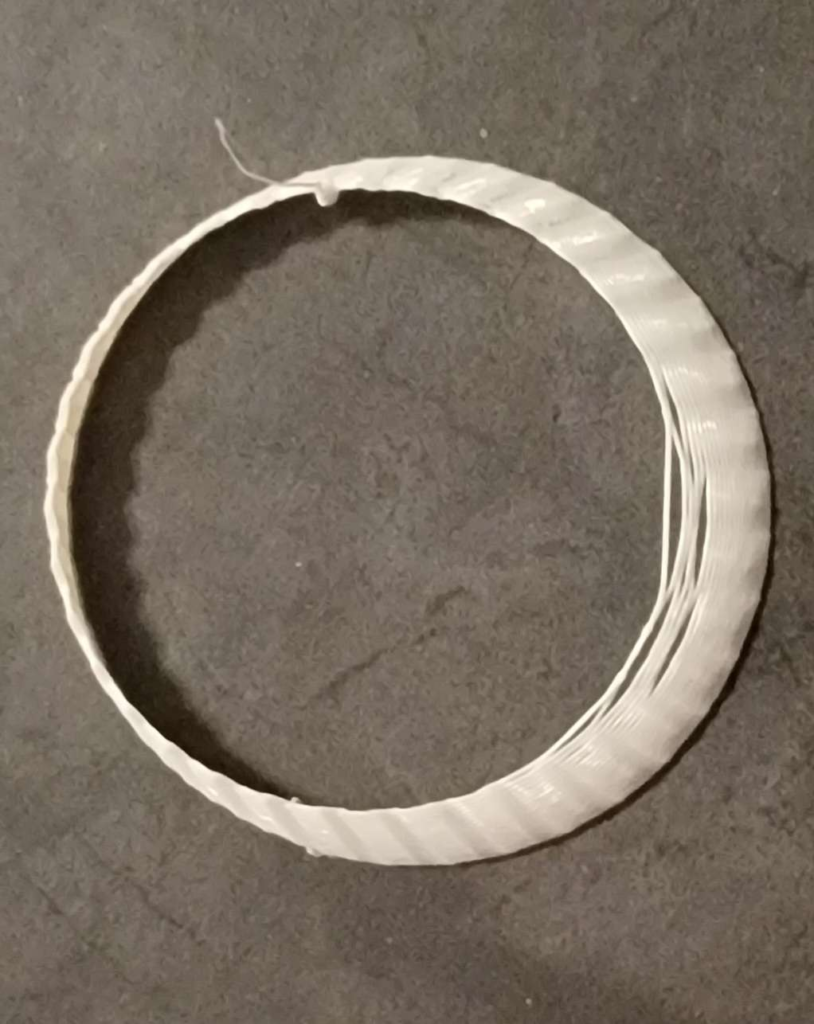
For my second shape, I setup an uneven cylinder. The code for this shape called the Z axis to rise/fall for each layer of the print. I had initially intended to have the spikes all pointing towards the middle or all pointing straight up, I was unable to determine why half of the shape was on its side, and the other half was straight up. (I was noticing very strange numbers in the turtle pitch, but was unable to correct these). This shape turned into an interesting challenge to see how sideways I could get it to print.
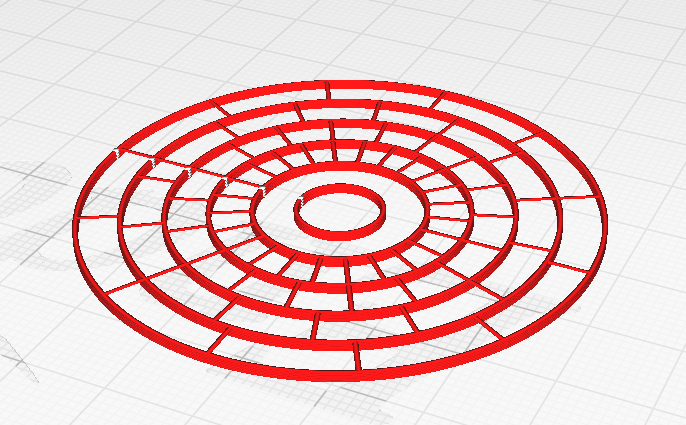
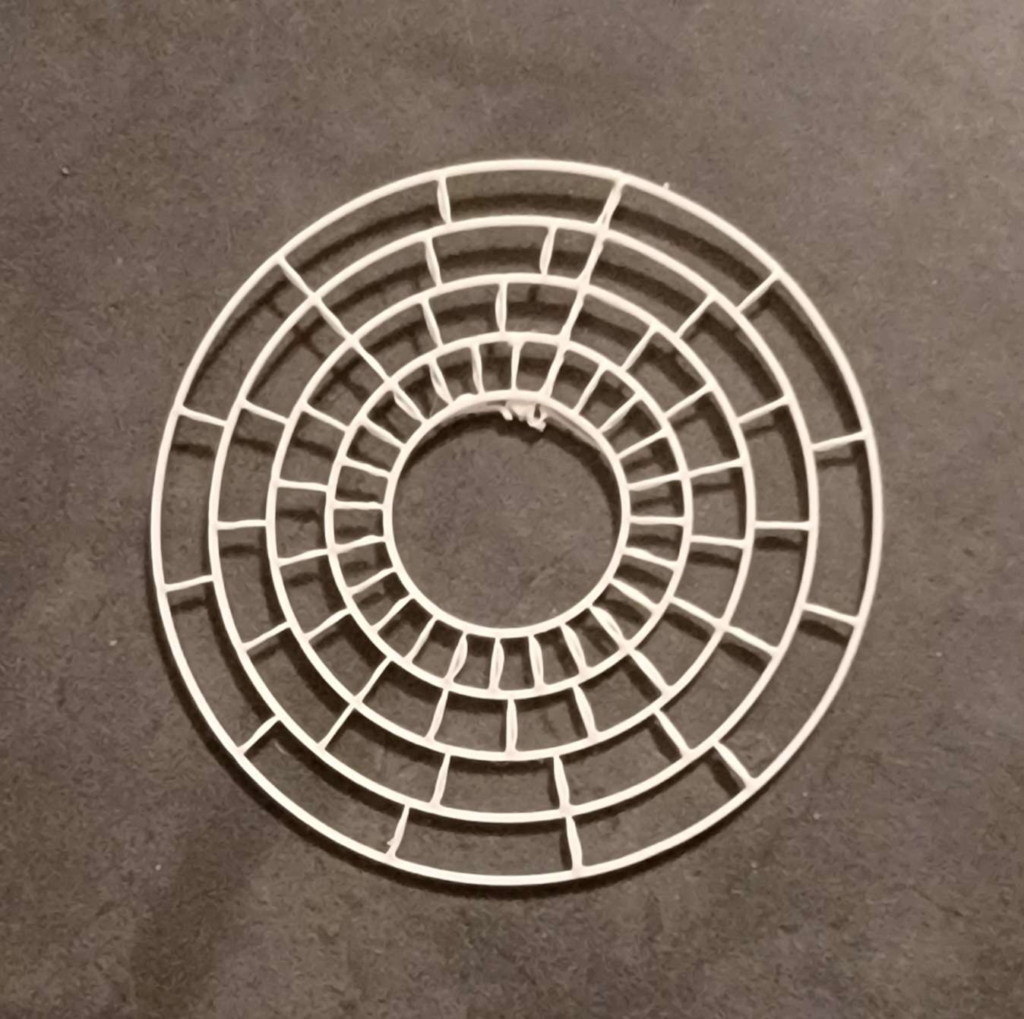
For my third shape, I setup the code to create this wheel-looking shape. I was hoping to get the spikes similar to what I had from my second shape, but due to the issues I was having with that one and time constraints. I opted to just keep the circles level. Printing this shape was difficult, instead of printing out all the circles layer by layer, I had to print out each circle completely before moving on to the next circle. The circle in the middle is so that the extruder has time to get more filament out, as it wasn’t always printing the first layer of the inner-most connected circle.
Overall, I believe the second and third prints could not be completed if they were created using a regular slicer.
For the second shape, I believe that a similar shape would fall over and not have enough filament to connect the horizontal slant. For the third shape, I had to work starting from the inside and work my way outwards, not bottom to top, which is not handled by most slicers.
Hi Andy,
I find your shapes rather unique especially the third one. The way you printed it was very significant as you completed one circle after the other. The circles were also connected in an interesting way as well. I would also like to learn more about your first print. How did you print the grids without dealing with the filament falling on the bed?
I’m glad you liked the circle print, I think it turned out well. For my first print, the extruder movement was straight across, which helped a lot with keeping the filament from packing together on the print bed. I believe if I attempted to curve or lift/lower the path the floating strands would have had more issues.
Hey Andy,
I really enjoyed seeing the forms that you created. I actually had quite a similar form to your second shape initially, but ran into many many issues with making enough room for the extruder nozzle and housing itself. I wonder if for situations like this some other printing method could potentially be more effective, like resin printing. Nonetheless all of your forms turned out great and I enjoyed the maze-like look that they possess!
I definitely think that this is not the best way to print something similar to my second print. I had a couple of failed prints with that one whenever the extruder nozzle would be too wide and start moving the ring around on the plate or breaking the actual print, so I was only able to get the print so horizontal before it fell.