I had both the best of times and worst of times with this particular assignment.
Process
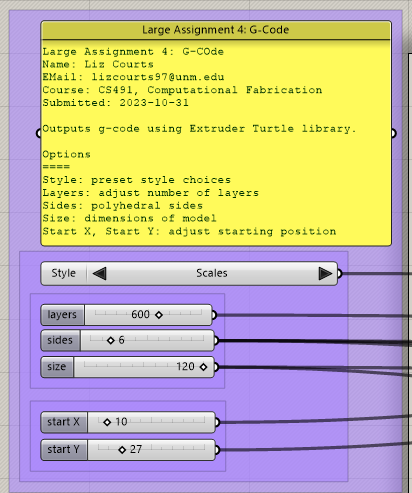
One of the things that I wanted to do was to be able to “save” my settings in case I wanted to go back to them (something that I did not do in our first project). I opted to add my setting information in my G-Code output, as well as group them together in my Grasshopper canvas for easier reference.
My code cycles through four different styles: shape Thing, polygon with surface texture, scaled polygon, shape with internal webbing.
In our earlier Turtle-based projects, I created a Python library to use in the future, and I used it for this project as well. The various shape-building functions are useful, and passing variables to it works exactly like the extruderTurtle library we used for this project.
I added a check in the g-code generation that slows the calculated speed down to 20% if the current layer is below 10. This allows me to make minor adjustments to the bed leveling for better model adhesion.
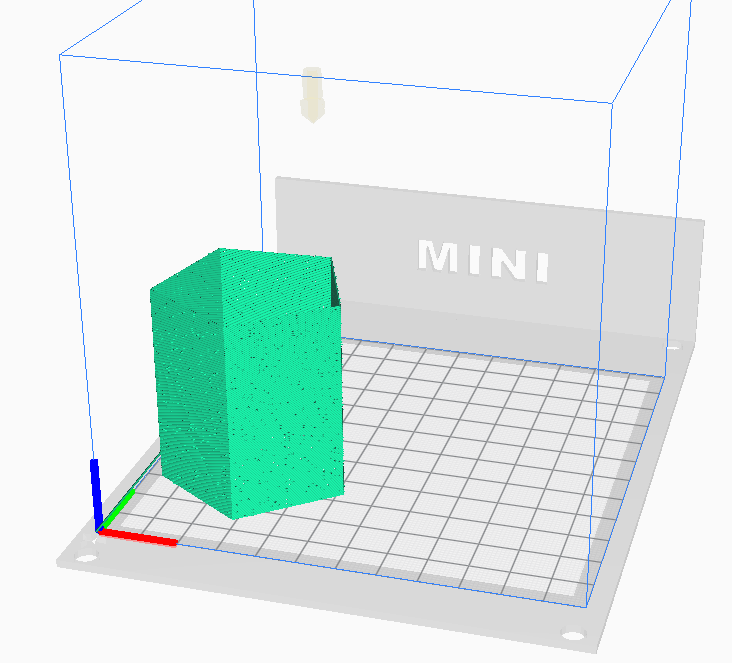
- Shape Thing: Turtle Geometry contained a simple shape, called “Thing” and I used it to create this shape, but added a circle to the end points for an organic touch. There is a slight offset to each layer.
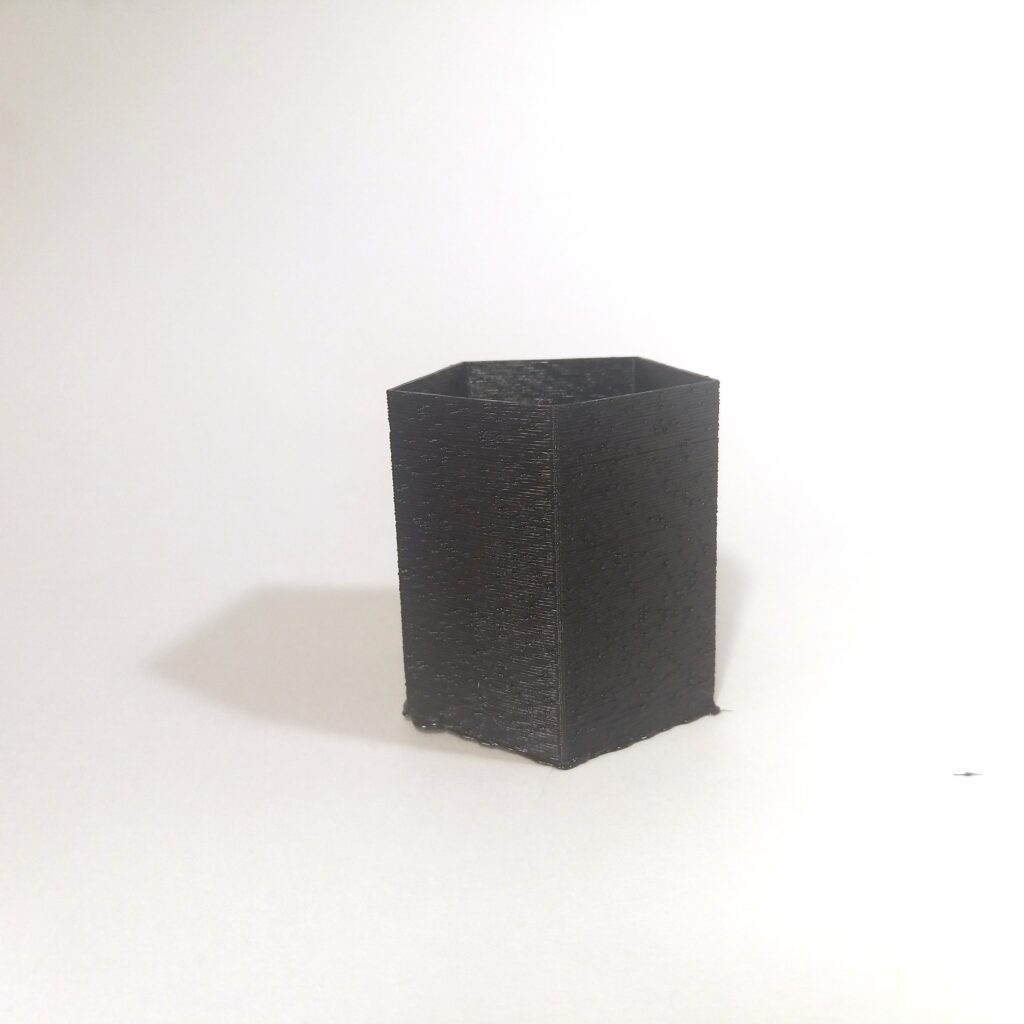
- Polygon with Surface Texture: I wanted to keep my first explorations simple. This style looks at the size of a side and generates a random number from the side (with an offset to keep the corners intact). It breaks the side into two pieces, and at the break, it angles out to make a “bump” and then back in before continuing on a side.
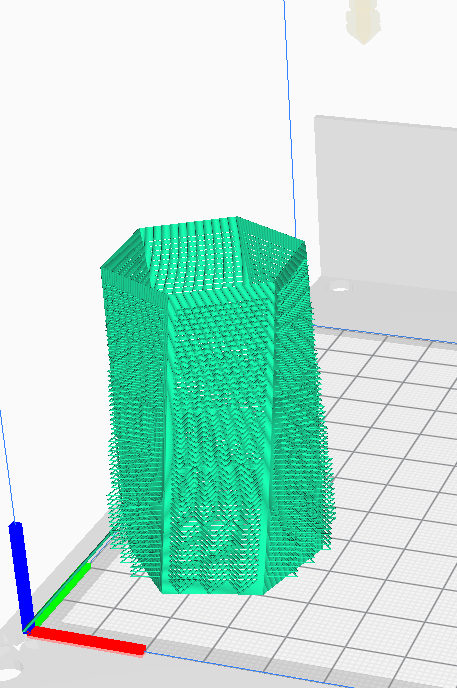
- Scaled Polygon: Based on the previous idea but does a gentle twist as it goes up in layers. Instead of a single random point, it breaks a side down into a number of “scales” based on the number of sides in the polygon. Again, it angles out from the side and then back in. As the z-height increases, the number of scales increases.
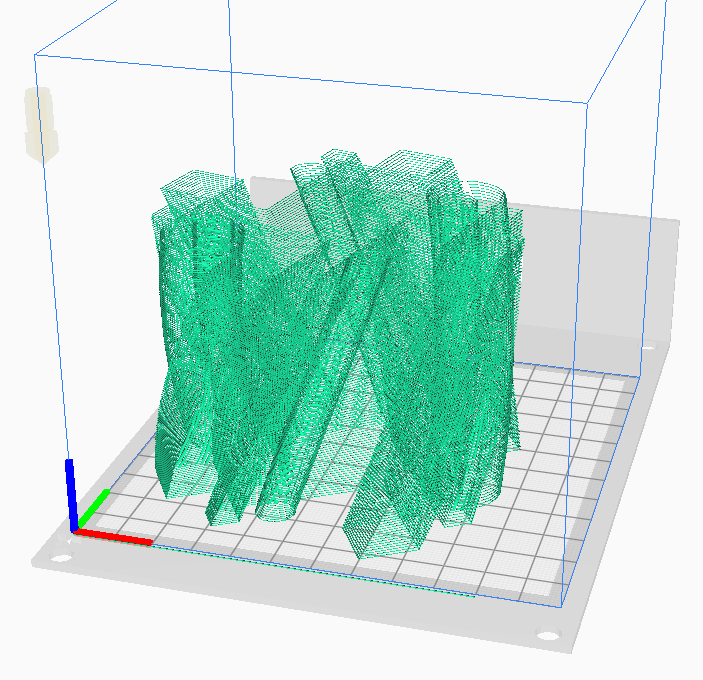
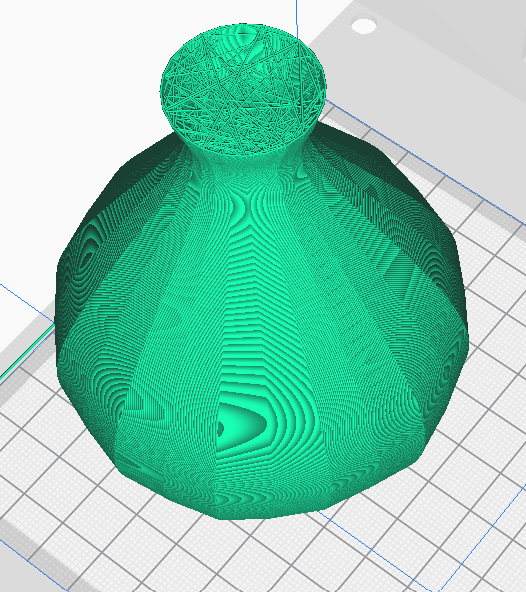
- Shape with Internal Webbing: Taking a generated shape, it breaks it down into the specified number of layers. For the first ten layers, every ten layers, and the top ten layers, it selects a number of points randomly. It extrudes filament to each point, then completes the layer as normal.
I did not get to the point of being able to experiment with varying the extruder width or freestanding filament, unfortunately, but having my printer settings dialed in will certainly allow for that now. (I think.) Unfortunately, my printer is one of those that did not respond to the pause function in the extruderLibrary, so I couldn’t test the extrude-and-hold option that I wanted to do for the freestanding filament portion of the assignment.
Analysis
This was a project that embraced Murphy’s Law at every step. My initial idea was to use my Sovol SV-01, as it has a larger nozzle and build volume. That did not go as planned for a number of reasons, mostly related to electrical. My old faithful, my Monoprice Select Mini 3D, was a champ, but even that was a problem. I have had consistent issues with the Z-axis “slipping”–this model only has one Z-Axis rod, rather than two as the Sovol (and Creality Enders) do. Upgrading that aspect has been on my research for a while, but time, money, etc. In addition, dialing in the right speed, temperature, and extrusion rate was awful. I was getting terrible inconsistencies with the Elegoo filament and wasted a lot of time (and material) trying to solve that problem. I switched over to my Hatchbox filament, which has been the most consistent filament I’ve ever used. The filament itself is much harder than the Elegoo (might just be because it’s older), but any time I’m having extrusion issues, the Hatchbox helps me isolate any issues I have.
Despite all of the troubles that I had with this assignment, I think what stands out the most to me is how powerful a diagnostic tool G-Code could be. Every slicer is a just a little bit different, and bouncing between Cura and Simplify3D really showed how much of an effect they can have without you even knowing.
Gallery: Cura
Gallery: Final Images

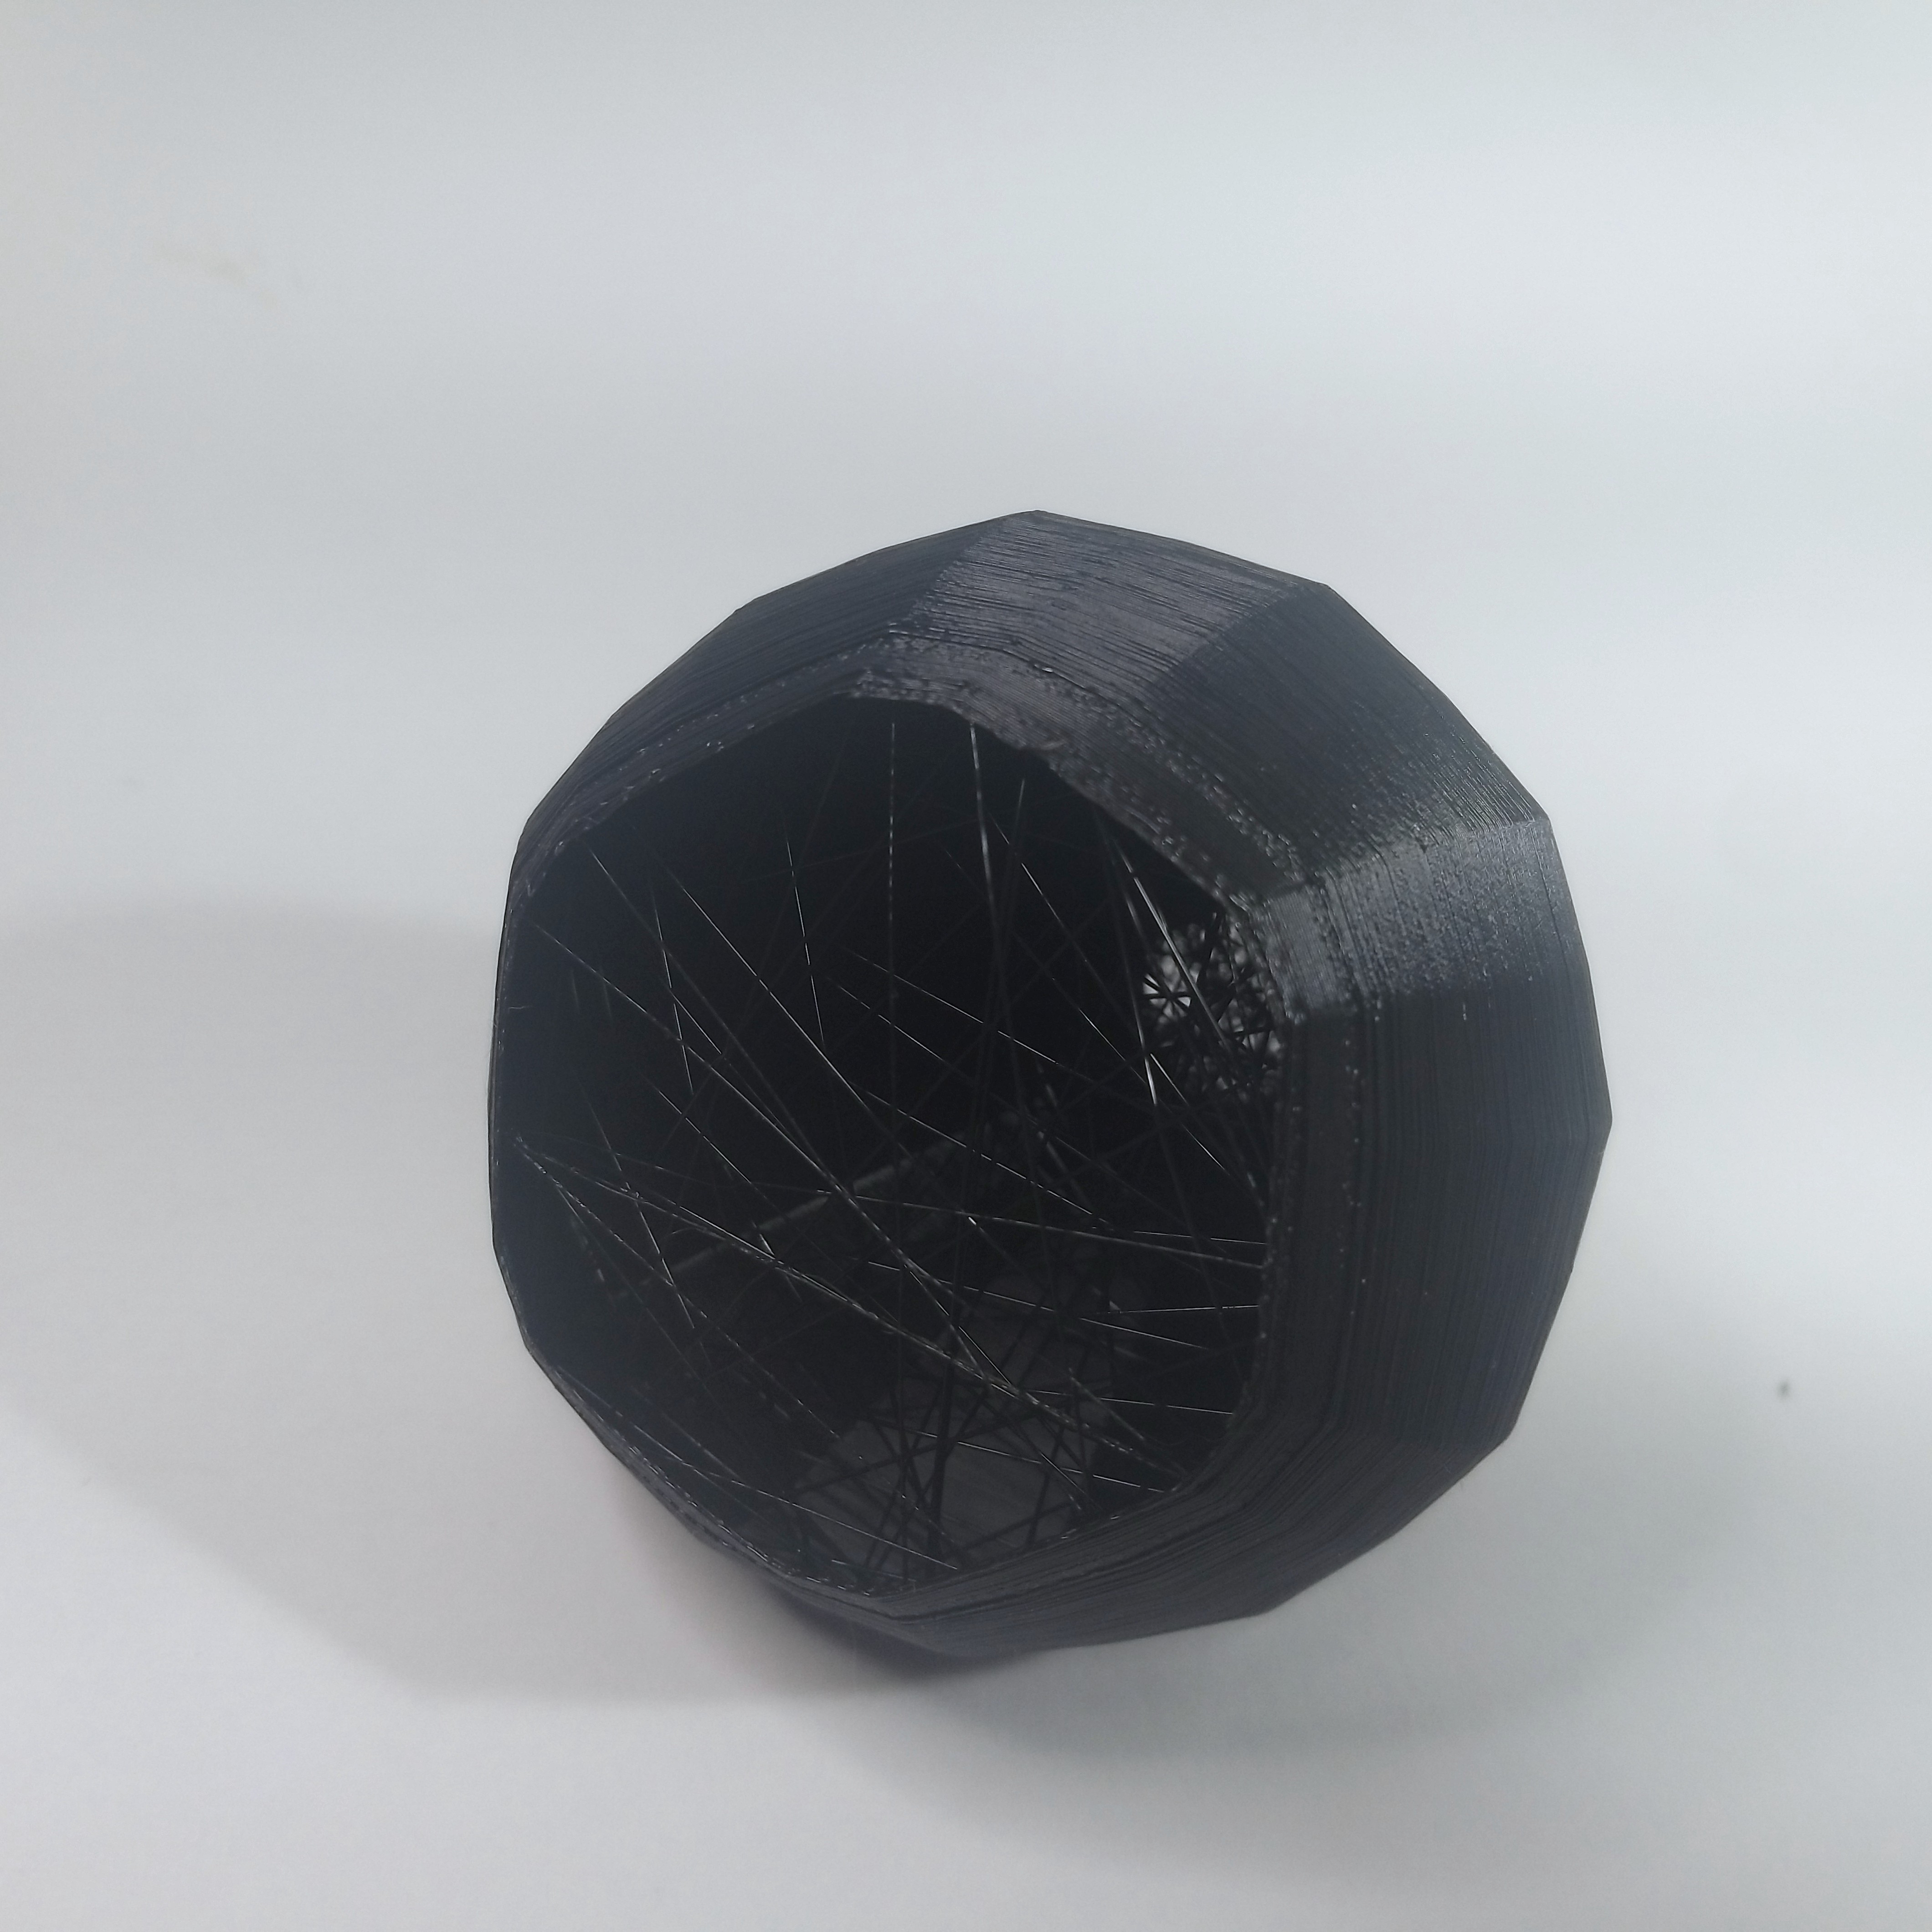
Hi Liz! I think your objects came out wonderfully. Even if the black PLA was hard to photograph I think it looks incredible in person. I love looking through the piece with the strings in the middle. I feel like some sort of light fixture with that style of print could be really cool. I also love the use of the turtle geometry book design, and that you used a thicker PLA – it has a really cool feel and effect!
I absolutely thought about the kind of projection effects and shadows you could use with the vase, and how I might integrate it into an installation piece.
I am sorry you fought your pinter so much! I loved the piece that was inspired from the turtle geometry book. It was so beautiful. Will you do more pieces like that?
Most likely, yes! I have incredibly fond memories of all things Turtle-related when I was growing up Back in the Day (my Spirograph as well), so when we first started using those concepts, it was 1990 and I was sitting in the computer lab and seeing a cute little pixelated turtle wander around the screen in the way I told it to.
Hey Liz, your exploration into G-Code customization and the creation of diverse textures and shapes is impressive. It’s particularly interesting how you integrated a system for saving settings directly into your G-Code output for efficiency and consistency. Vessels look great!