Plants
Each of the plants I chose grow in my backyard. I see them everyday and due to this they have faded into the background of my existence. So I decided to use this project to pull them into the foreground again, where I can appreciate the blooms that fought through the summer heat on the roses, the delicate leaves of the mimosa that fold up at night, and the pomegranate’s steadfast determination in growing despite seeming dead each spring.
Mimosa Tree
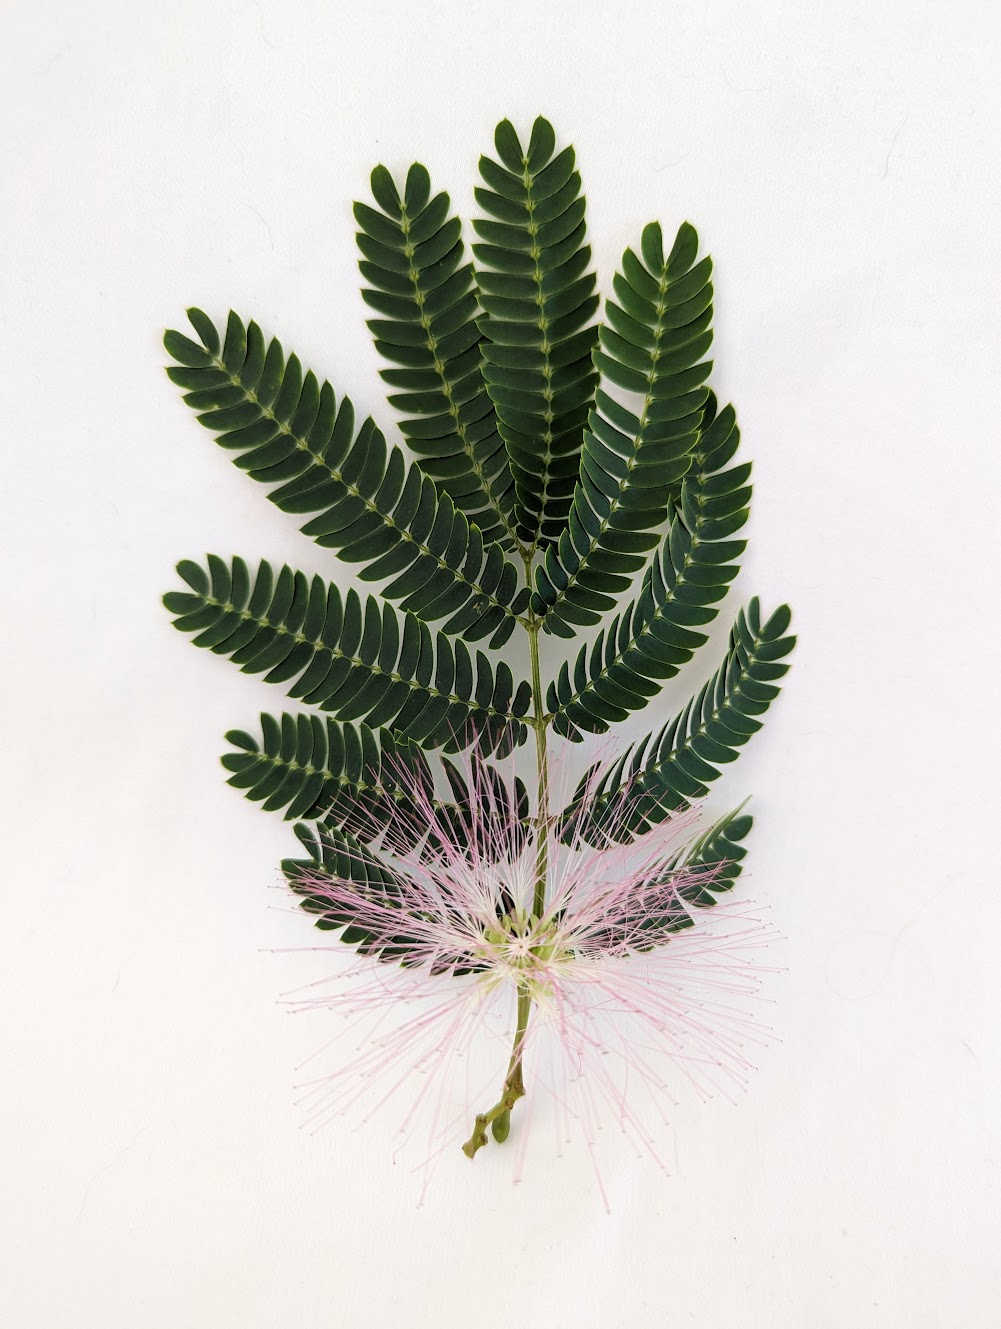
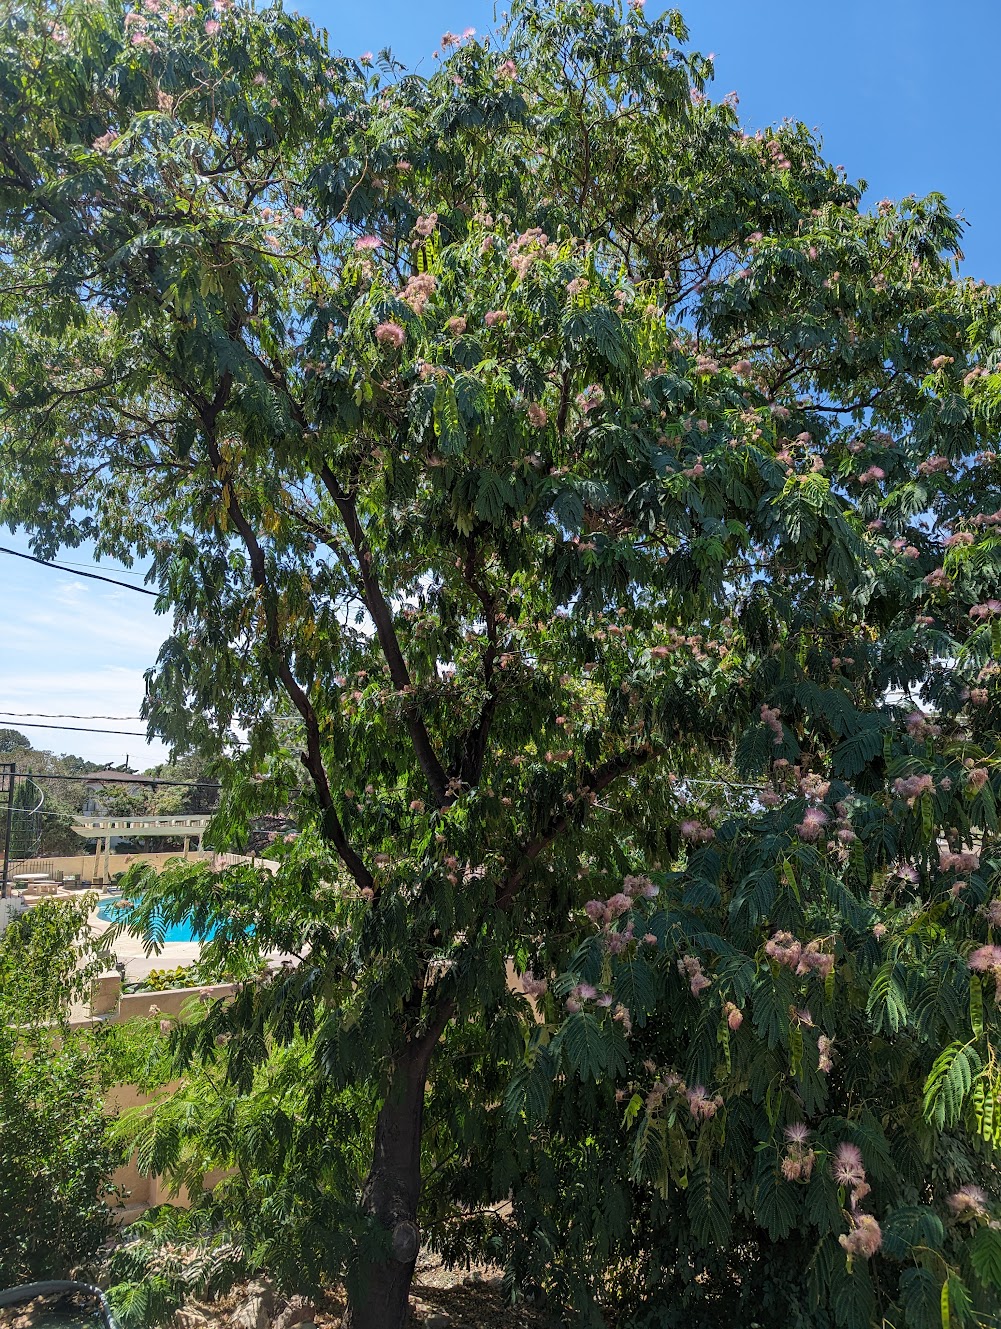
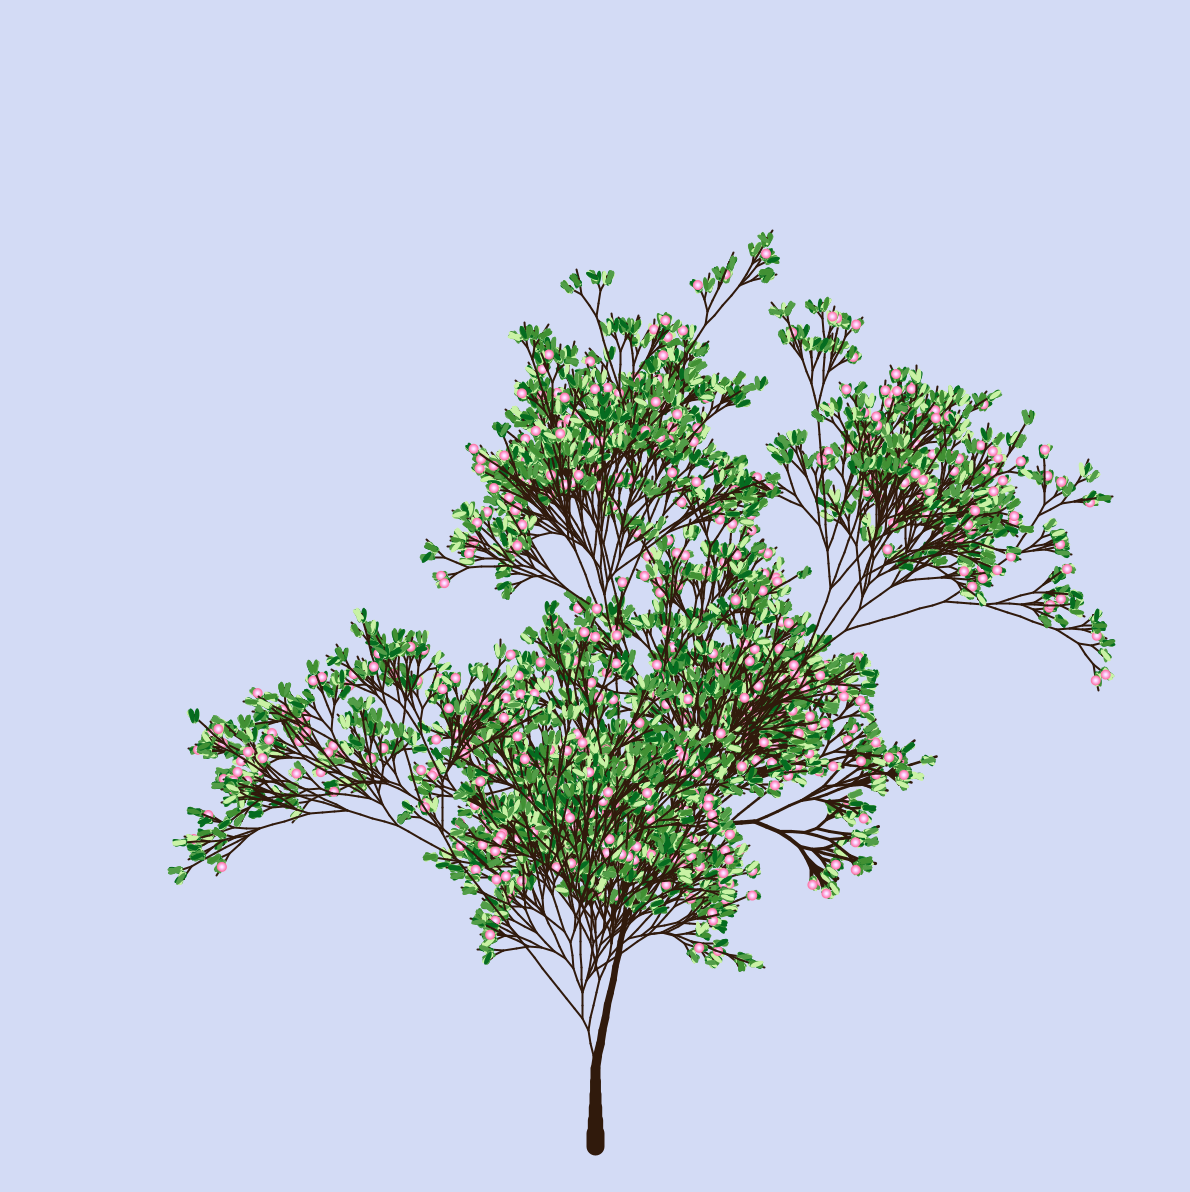
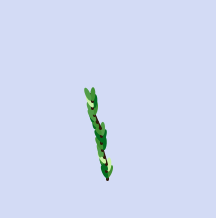
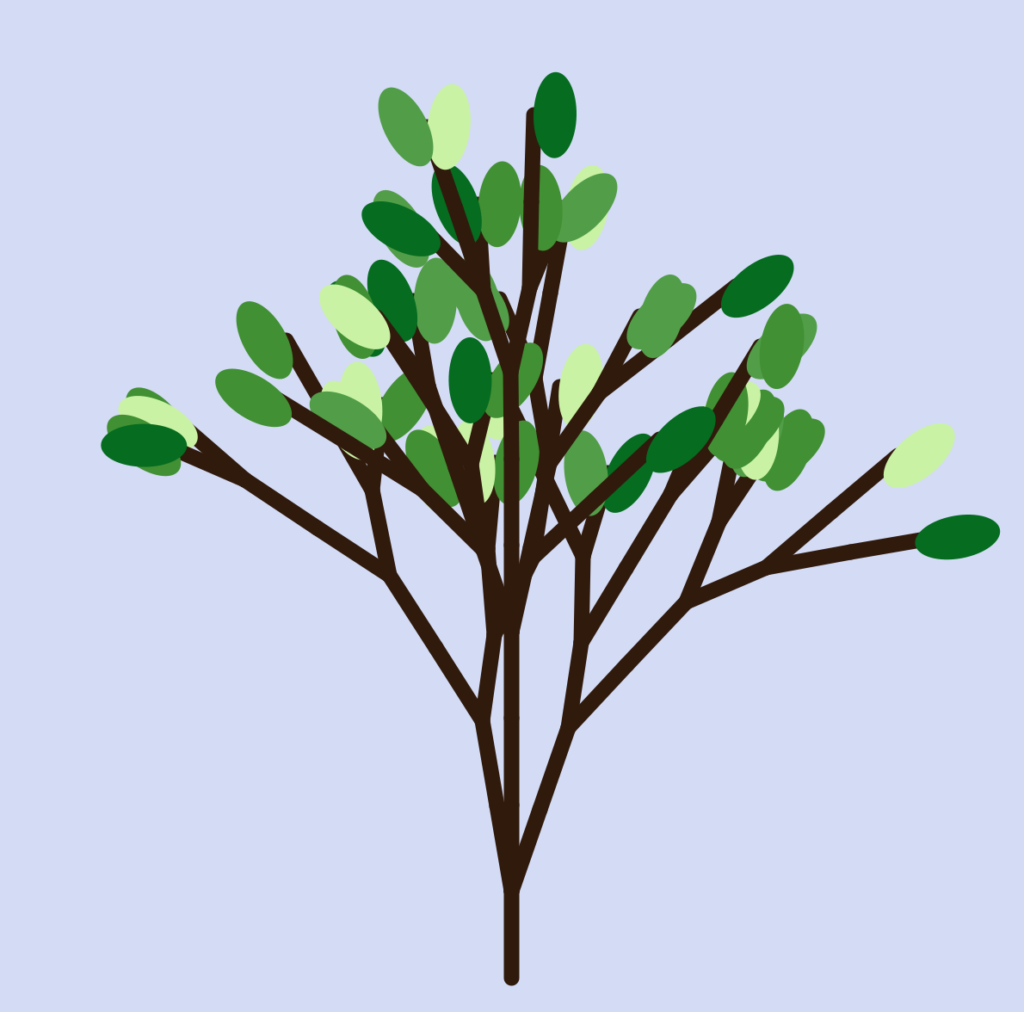
The first plant I chose is a Mimosa tree (Persian silk tree). The leaf pattern as well as the pink blooms provide visual interest. The overall shape of the tree consists of several main branches that end in massive canopies. In the L-system I attempted to mimic the pattern of leaves however this can only be seen in very early stages before the image is scaled down too much. While working on the Mimosa tree I found that thinking of the leaves as separate objects from the main body of the plant worked far better than addressing them as one object. To do this I would have one letter represent the leaf pattern that would then be composed of their own rules. Writing it this way also allowed me to test out the leaves prior to adding them to the final plant, which can be seen in an image below. The puffs were created using the ellipse function with a color gradient. In order to add to the realism of the L-system I experimented with changing the line weight as the tree grew. This was something I never quite got to where I wanted, however I was still able to achieve the general shape by slowly decreasing the weight as the tree was drawn. I also created a simplified version of the Mimosa tree L-system to be used in my fabrication that can be seen below as well.
Pomegranate Bush
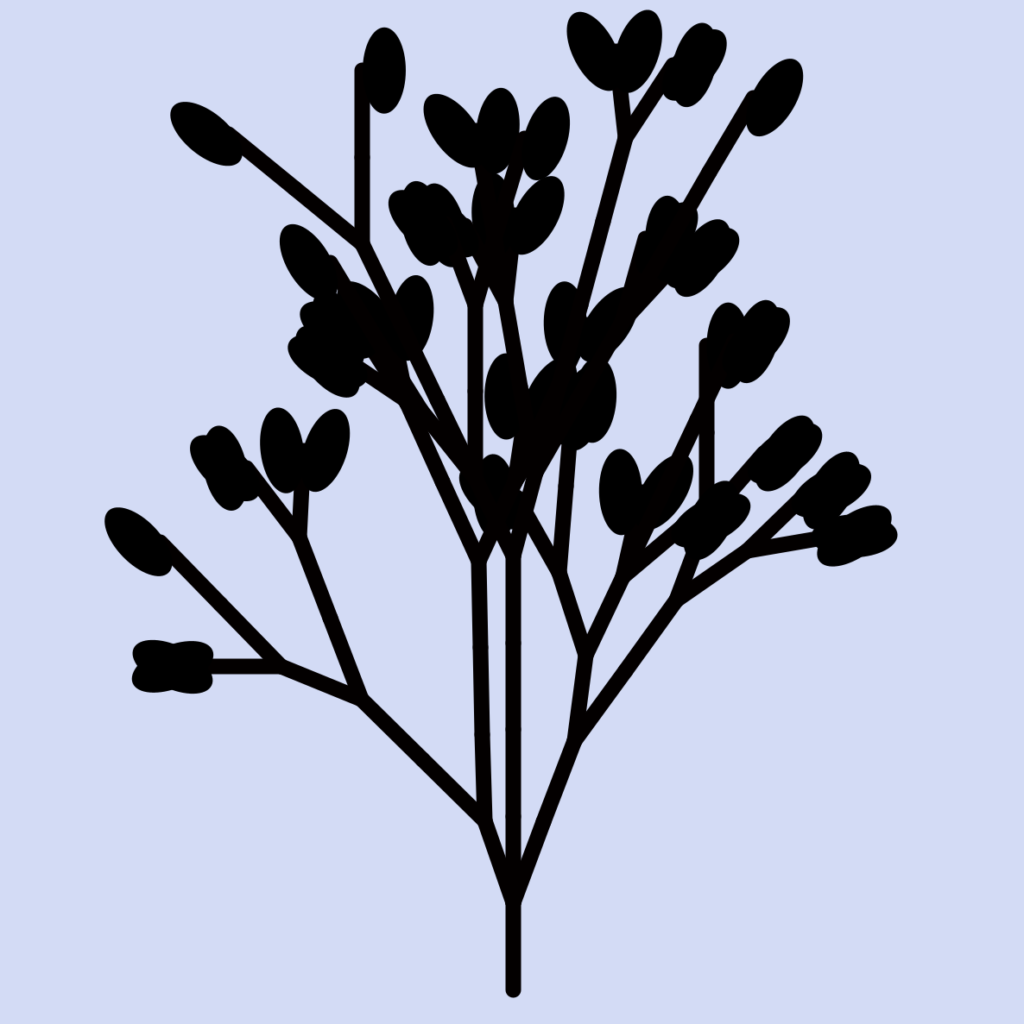
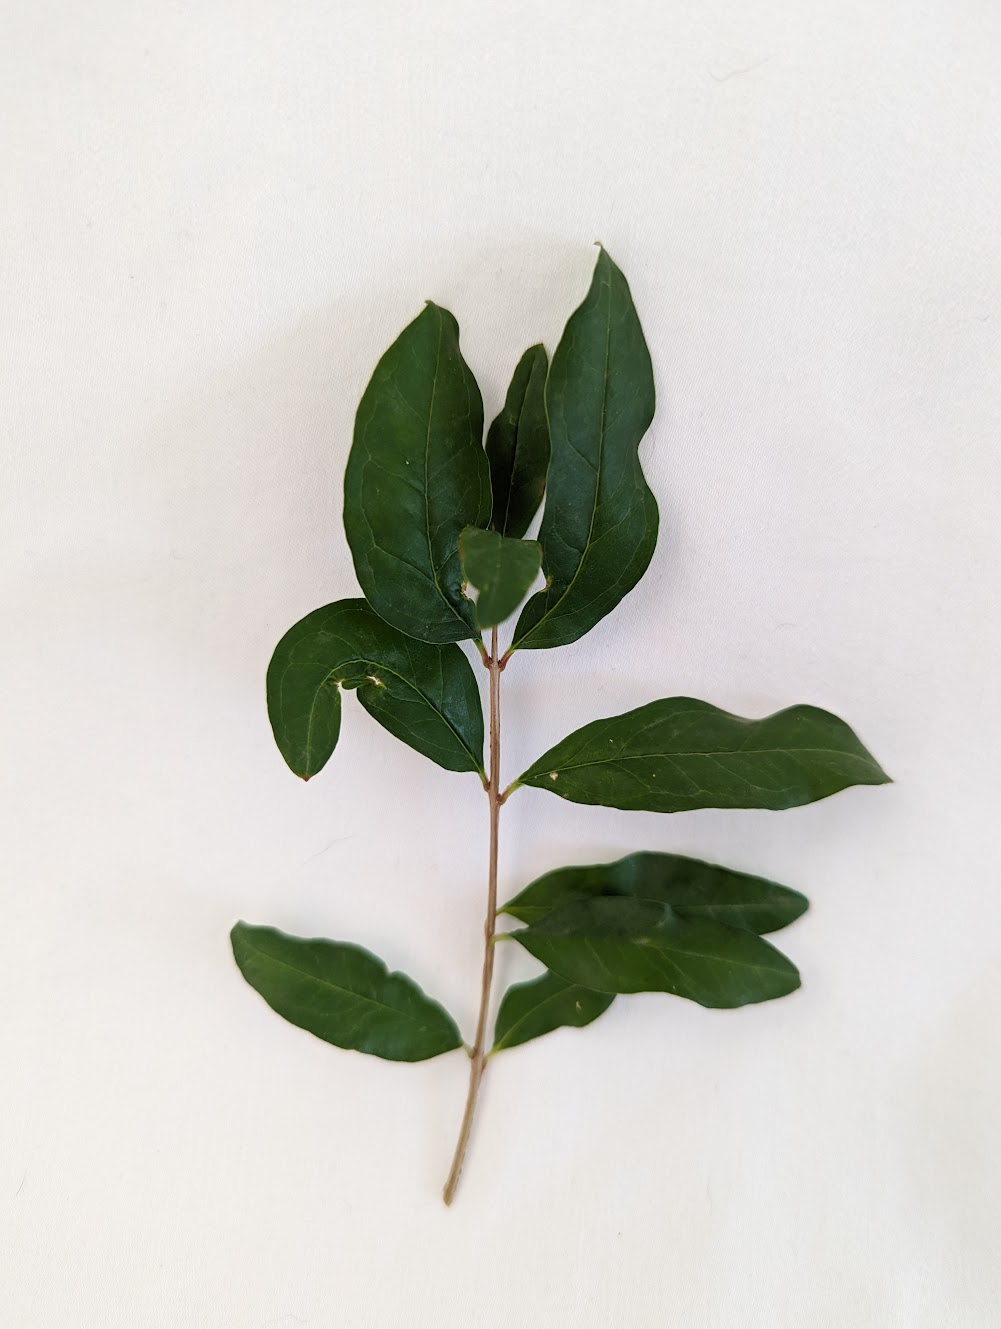
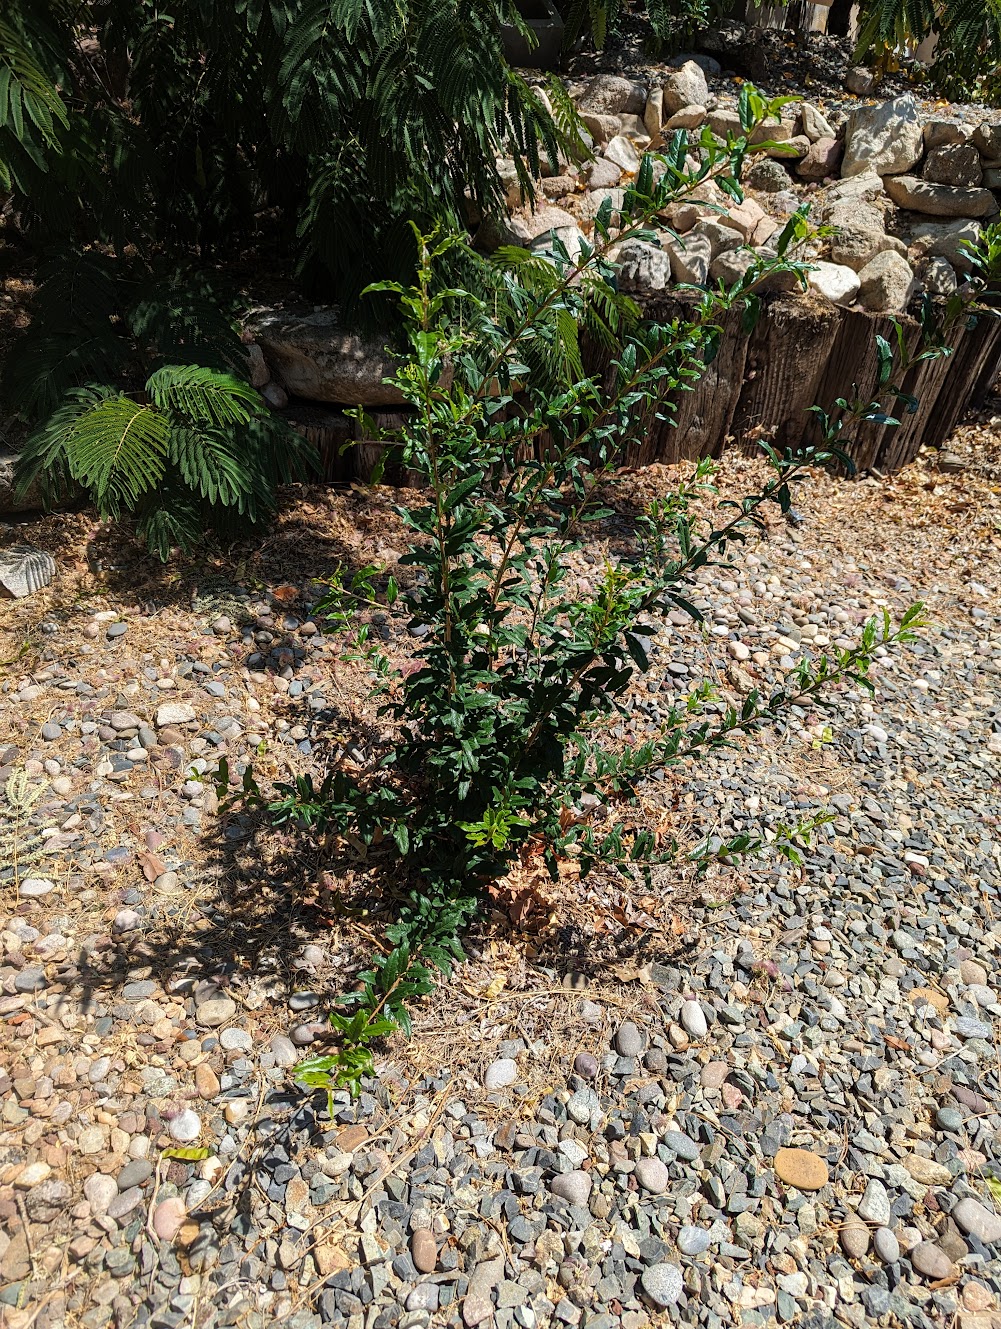
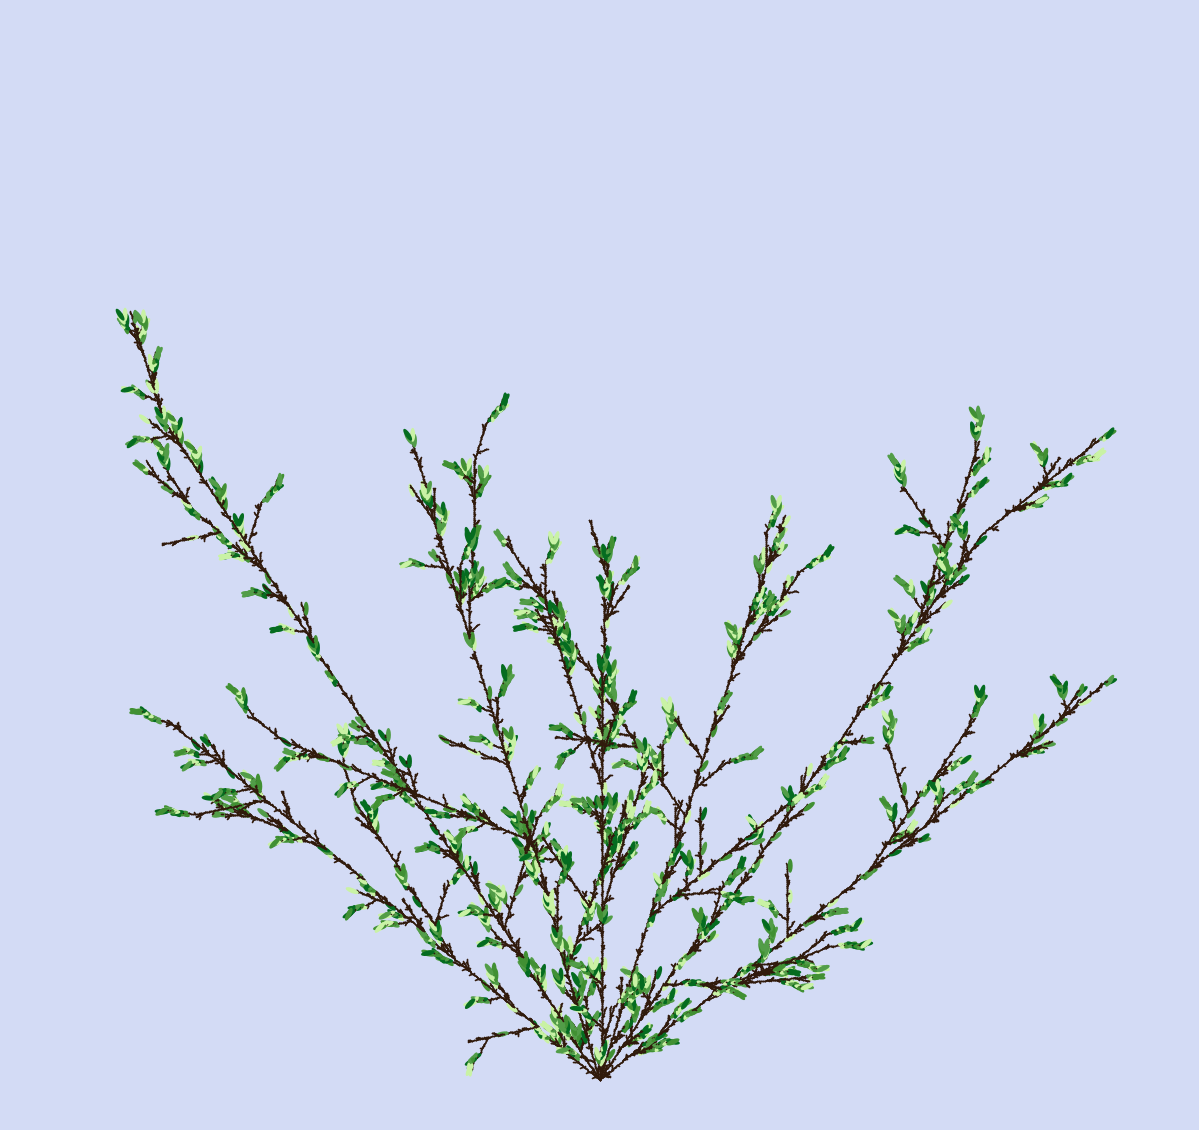
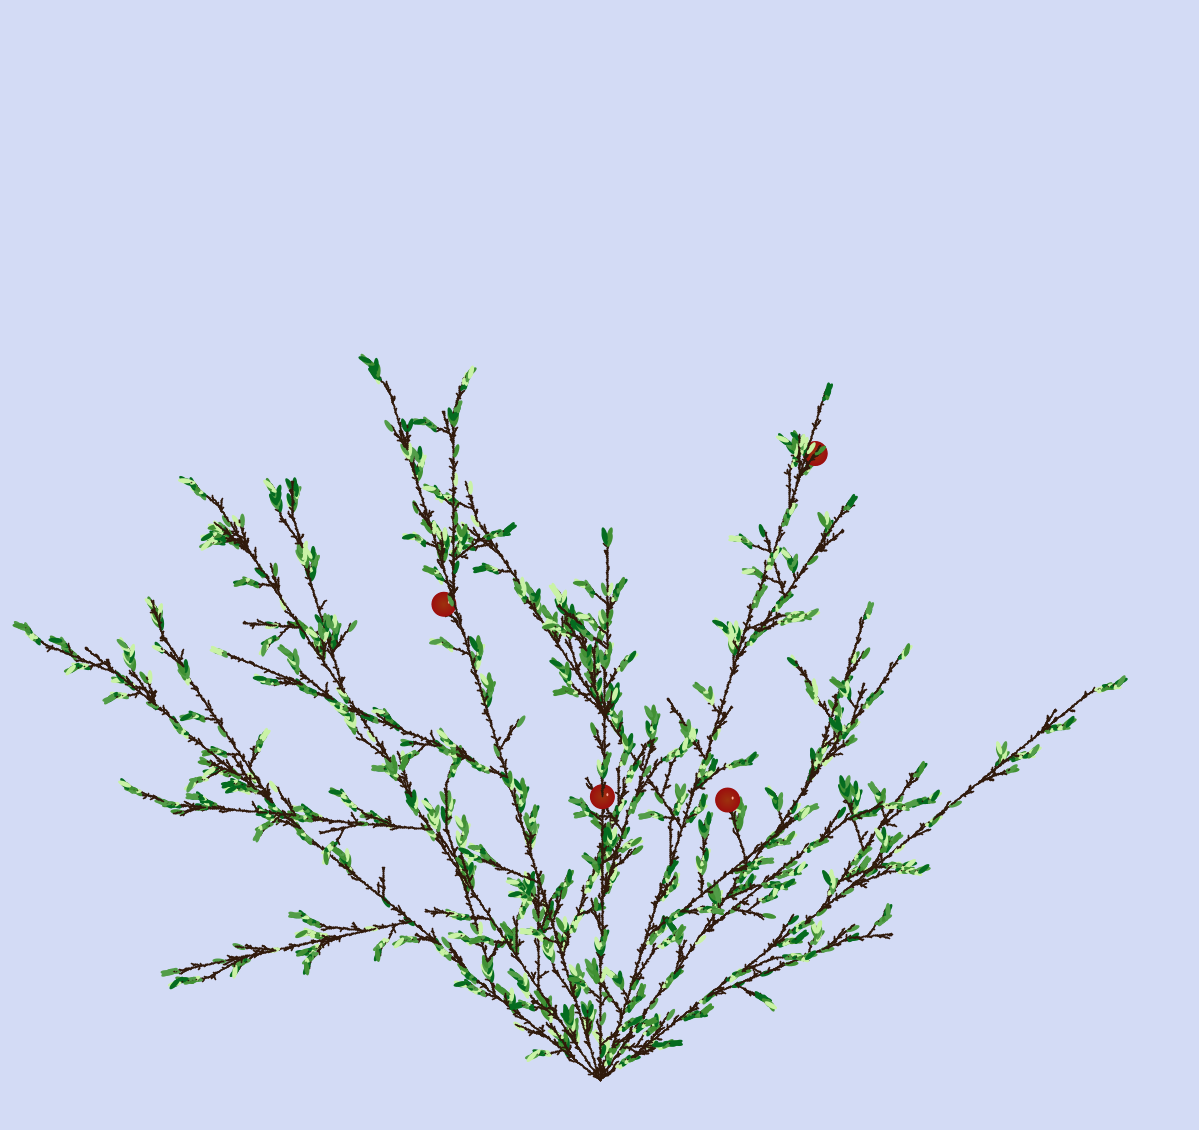
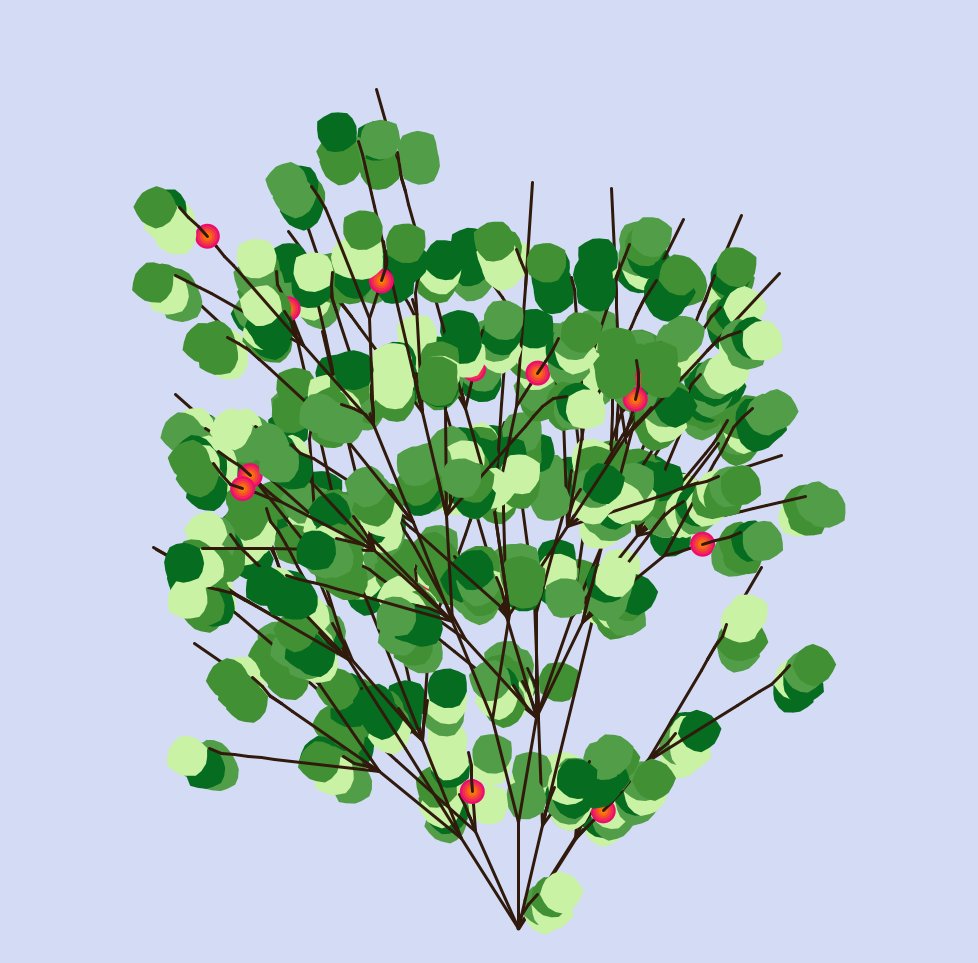
The second plant I decided to use is the smaller of the two pomegranate bushes that are growing in my backyard. I chose this one because the separation between branches allowed for more detail to come through in the L-system representation. To get the correct look of multiple long branches coming from a single base point I used a unique rule to start that wouldn’t be propagated past the first iteration. After that I was able to adapt the ‘bush rule’ that was gone over in class to achieve the rest of the plant’s growth pattern. In the second version of the pomegranate L-system I added pomegranate fruit. This particular bush hasn’t actually ever produced fruit but I liked the idea of adding the imagined fruit in hopes that it would someday be the reality.
Rose Plant
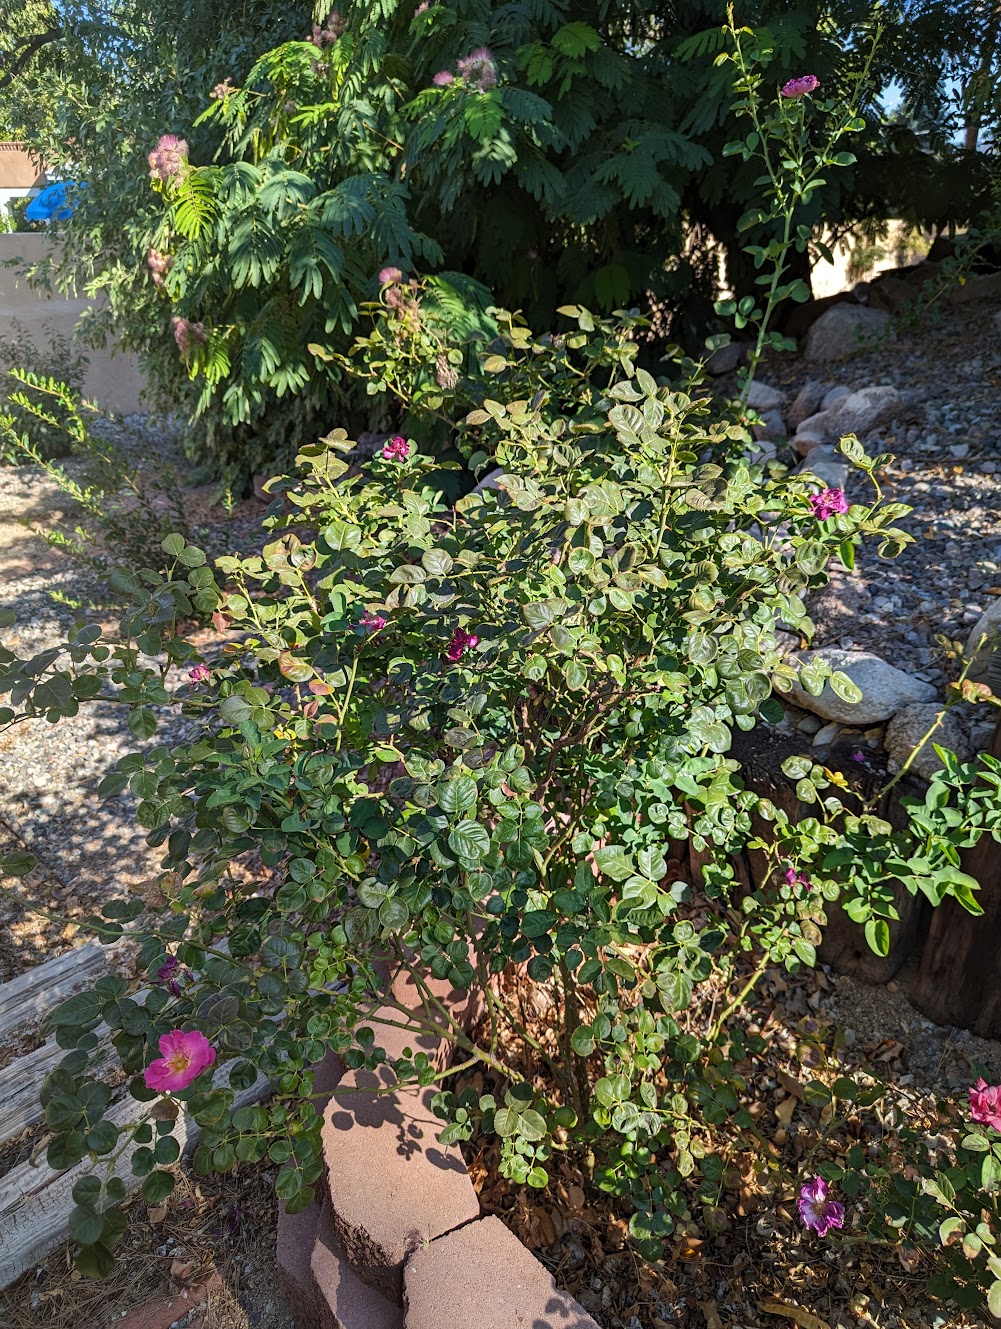
The final plant I used as a reference was one of my roses. Unfortunately the heat wave that we had earlier in the summer took a toll on the health of my roses, however despite this they’re still blooming. I wish I was able to document them while they were bursting with flowers, however that’s only a fraction of their lifespan and the rest of their time being alive is just as important. For the rose’s leaves I used the same method I implemented for the Mimosa tree, except for the rose I used the vertex function instead of the ellipse in order to get a custom shape. To get the shape I started with a simple square and then slowly added additional vertexes until I was happy with the overall look. The branching pattern was similar to that of the Mimosa tree as well, I just added more leaves and captured the final image at an earlier iteration.

Code
Fabrication
For the fabrication I created a simplified version of the Mimosa tree so that when it was just the outline it was clearly evident what was leaves verses branches. After creating the solid black version I used procreate to make an outline of the design that then could be laser cut. I chose to laser cut the design into a piece of acrylic so I would be able to paint the back side the colors of the tree and display the fabrication as a free standing art piece. During the fabrication process I ran into issues using the laser cutter. The laser cutter I used was one at my job as it was more easily accessible to me, however to get the engraving deep enough I had to go over the design multiple times and at least once it failed to line up properly. I also had issues with the outline initially being too thin causing the laser cutter to fail to cut. I am reasonably happy with how my fabrication turned out and will most likely display it at my desk at work.
Turtle Geometry+
1a) r = c / (2 * π), circumference c = 360 therefore r = 180/π
1b) A closed circle will have gone 360 degrees no matter what, so as long as the angle matches the length the circumference will still be 360 therefore r=180/π
2) Any closed shape will have gone a net 360 degrees therefore to travel through the arc with the provided description will be half of the total turning making the arc = A+B
Hello, Lasair. Cool work, I have a question on the roses since I was also trying to do one but failed. Have you thought about how to provide more details on the flower drawings? Thank you.
I was considering using the beginShape/endShape with the vertex function to create organic shapes to represent petals and the the ellipse to create the center cluster that my roses have. As you can layer filled shapes I was thinking you could lay down a set number of random petals, the the center, followed by more petals, with each iteration moving the starting point down so that the final product would be a rose generated by all the layers.
Hi Lasair, I really love your processing designs and how they came out, it’s almost like an exact replica of the picture you took. Especailly your tree, I love the way the colors came out! Great work!
Great work Lasair! Your attention to detail and focus on the graphic design of all your plants really made them come to life. I also liked your choice to choose plants that all grew in your backyard. I found that I have been looking at all plants I see now in terms of L-systems, and I enjoyed hearing about how this project made you look at your plants in a new light.