Part 1: Turtle Geometry
(a) The drawing generated by the function polygonHalt(size, angle) with the values: polygonHalt(1,1) approximates a circle. The circumference of the circle, C=(number of sides)*(size), so C=360. Since C=2*pi*r for any circle, r=360/(2*pi)=57.29.
(b) We know that C=(number of sides)*(size), and number of sides = 360/angle, so C=(360/angle)*(size). In this limit, we are using polygonHalt(a,a), so size and angle are equal. This means C=(360/angle)*(angle)=360, so r=57.29.
(c) Simple-Closed-Path Theorem: The total turning in a simple closed path is 360° (to the right or to the left). That is to say, the rotation number of any simple closed path is + 1.
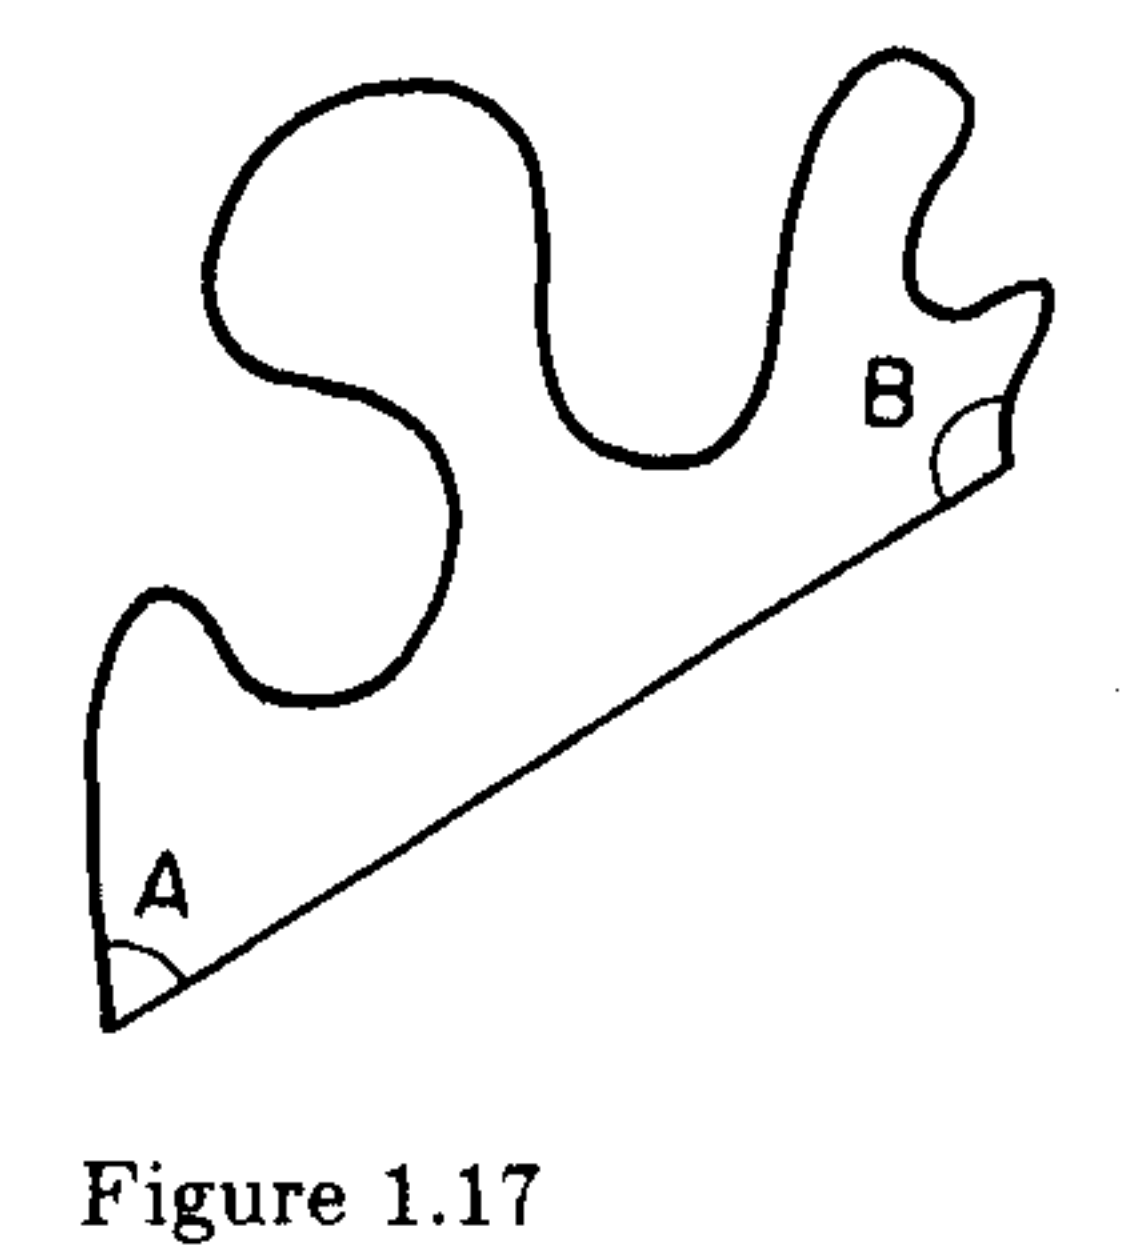
The path described in this problem is a simple closed path, so its total turning is 360°. The total turning=(turning over arc)+A+B, so (turning over arc)+A+B=360.
Part 2: L-Systems
I chose to write L-Systems for a juniper branch, an araucaria tree and a fern. The juniper sprig was pulled off of a bush that grows outside my house. Araucaria trees can be found in central Chile. I thought their striking look would make a good design. The fern design was based on the ferns I saw in Alaska where my aunt and uncle live.
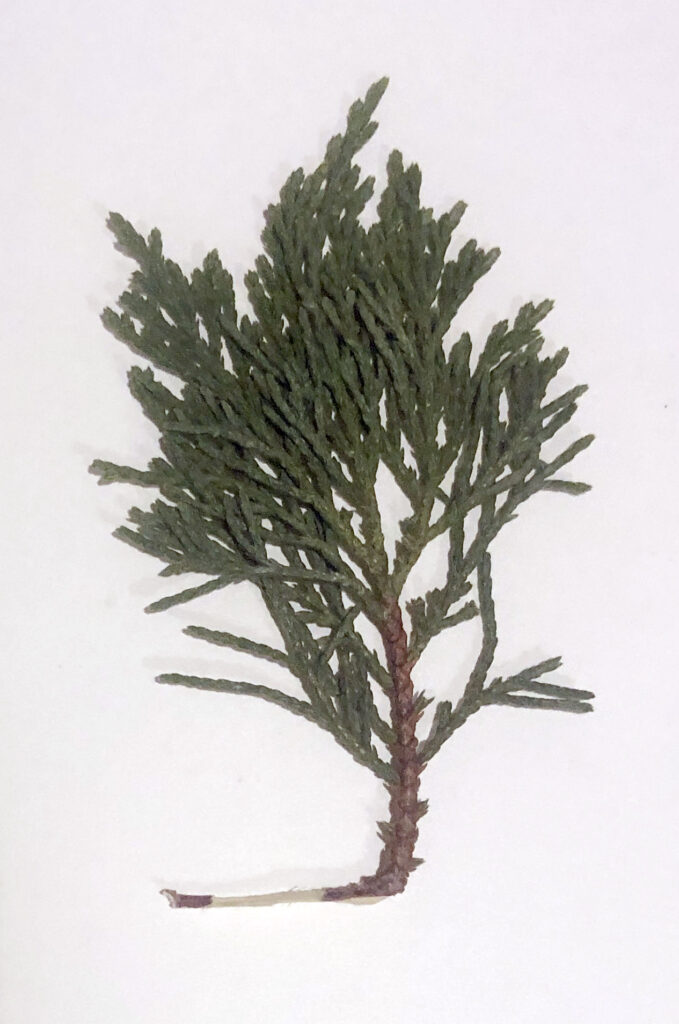

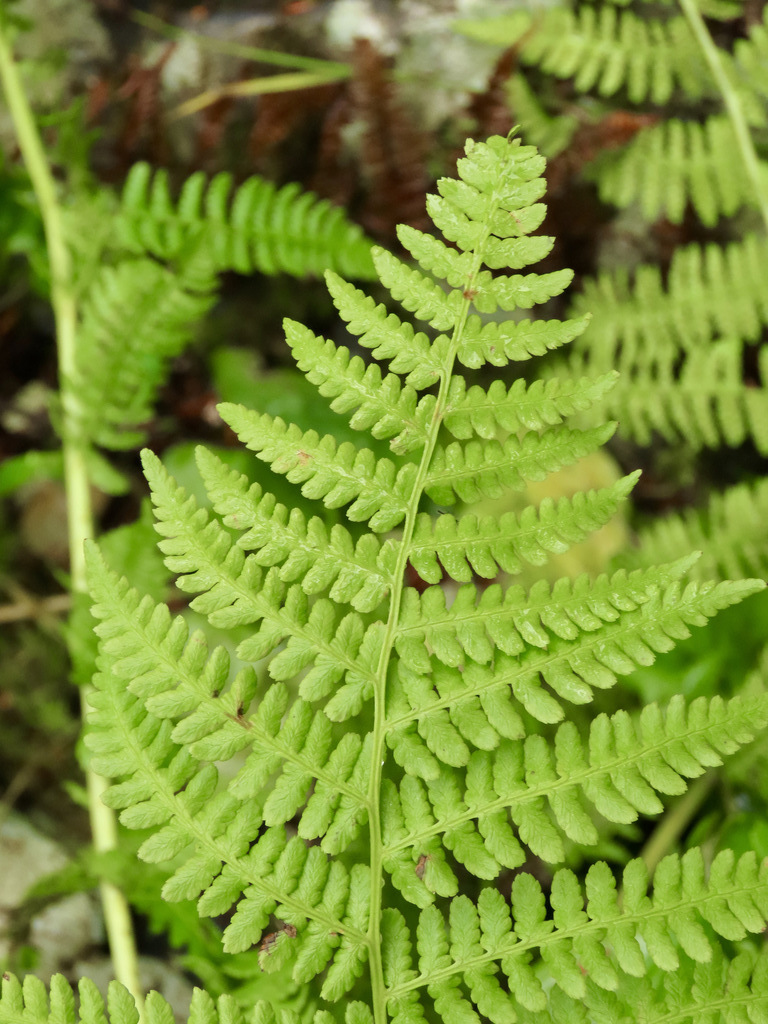

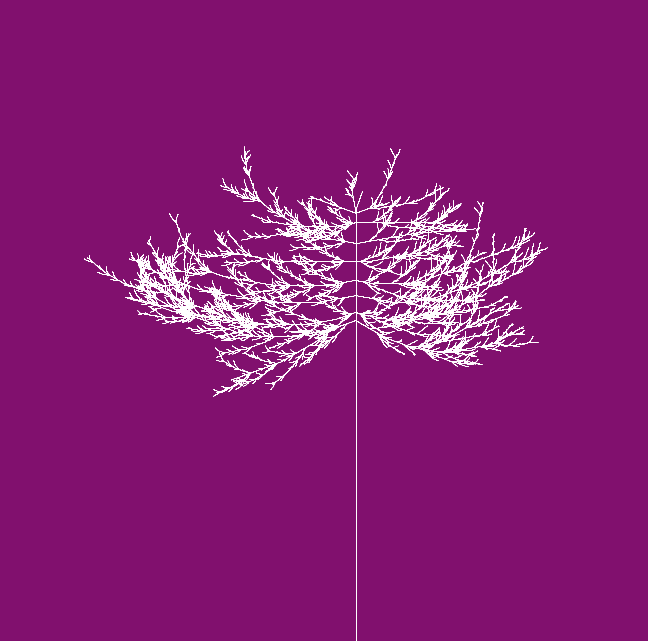

I chose these plants because they all felt like they could be modeled with L-systems, but they were all really different. They all presented different challenges. I found that it was easy to make an L-system look like a generic plant, but it was really hard to make an L-system that looked like a specific plant. To find an L-system that modeled a juniper branch, it was a balance of enough different options for branching to make each one look different and not too regular, but not so much variation that it looks like chaos. The araucaria was difficult because there were two different patterns. First, I did the trunk and the horizontal branches. Then on each branch there was a repeating L-system that filled out the branches. I looked at a lot of pictures and I noticed that most of the branches grow up toward the sun. This required making two different systems of branches (one for the right and one for the left). I found the fern really difficult because if I wanted new iterations to decrease in size, it had to decrease by at least 1/2. I wanted more control of how the size of the fern decreased, so I introduce a lot of new branching variables. I think there is probably an easier way to do this but this is the solution I found.
My code can be found here! https://handandmachine.org/classes/computational_fabrication/wp-content/uploads/2023/09/camilafriedmangerliczLA1.zip
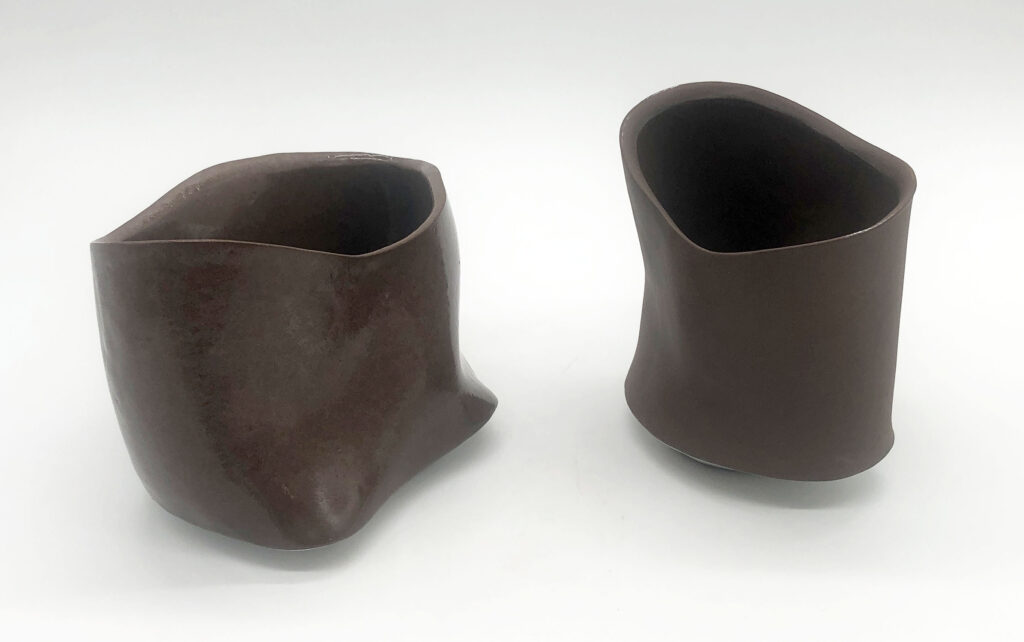
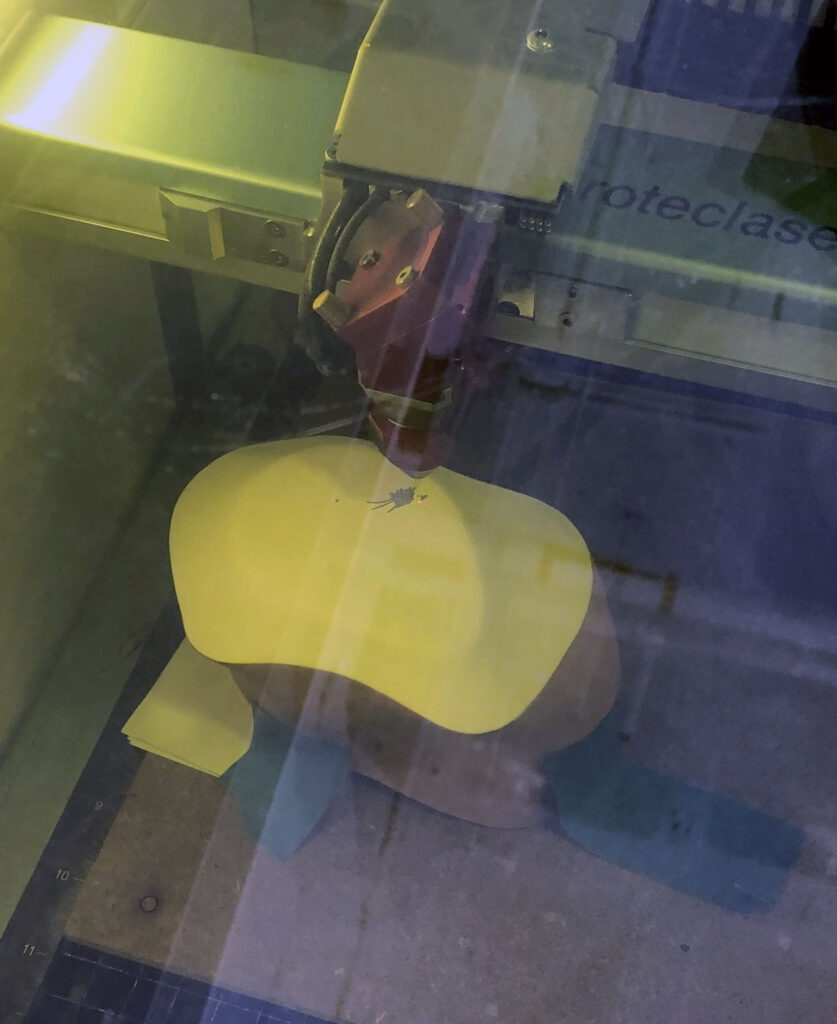
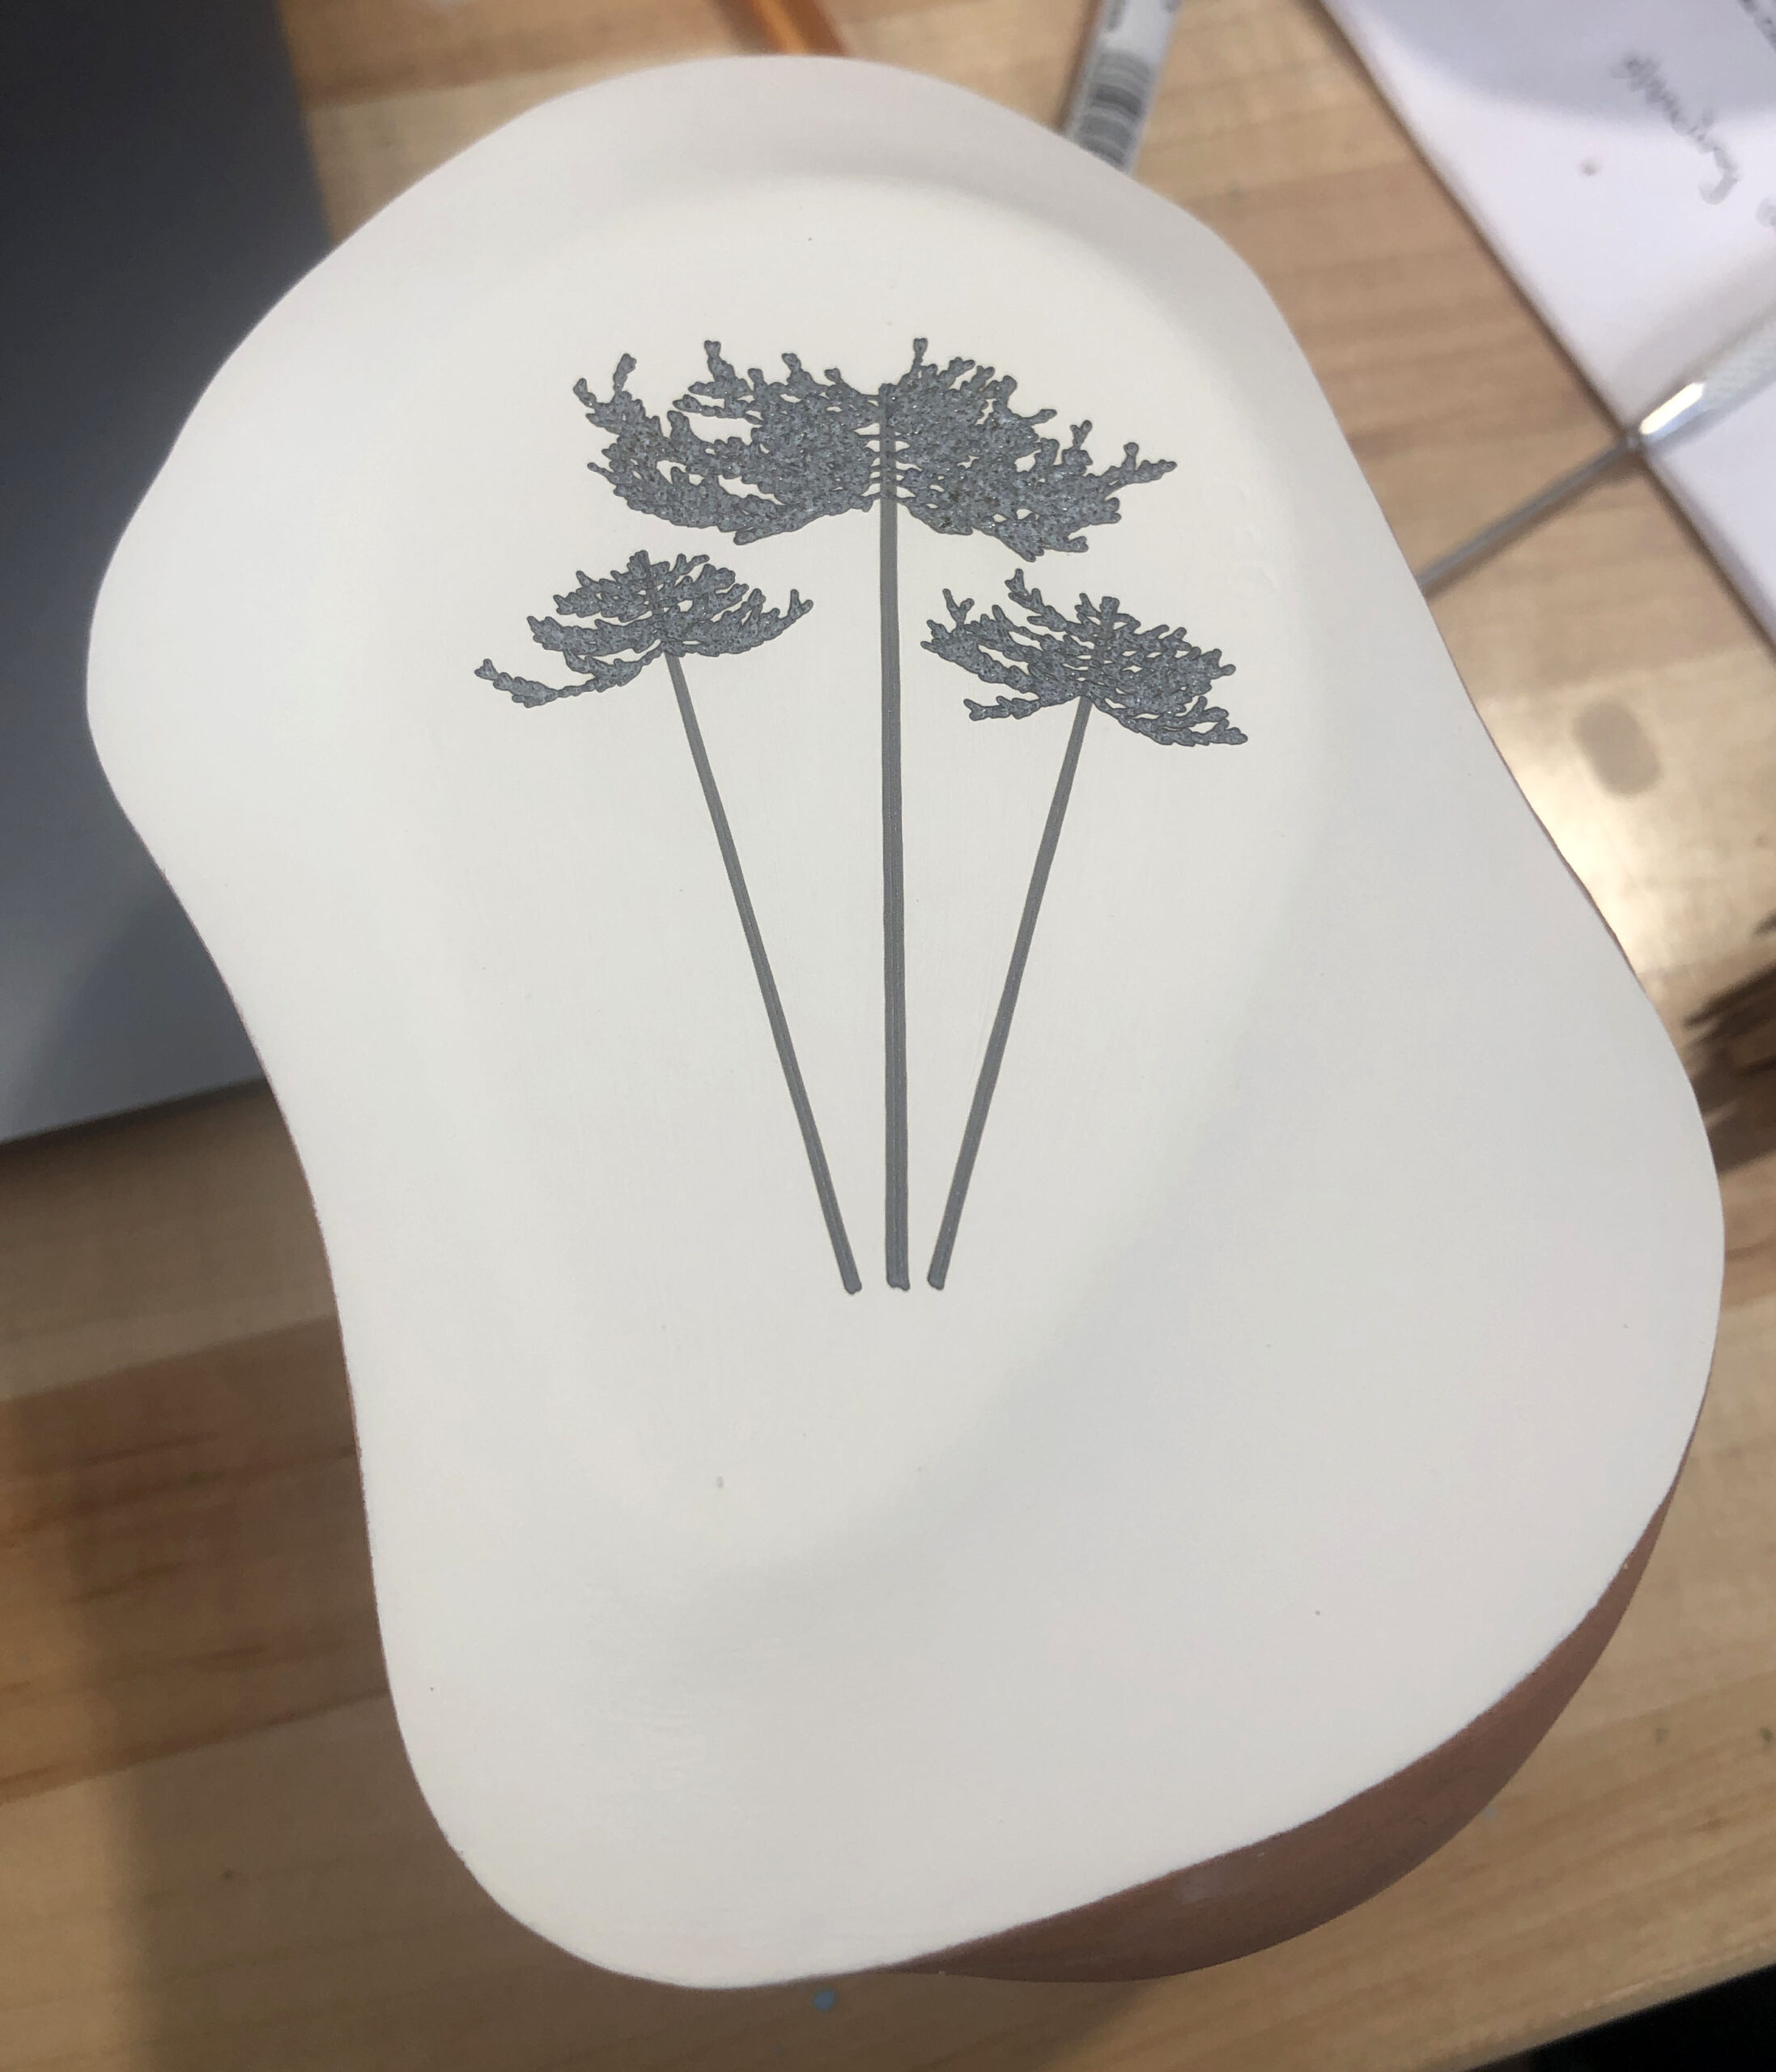
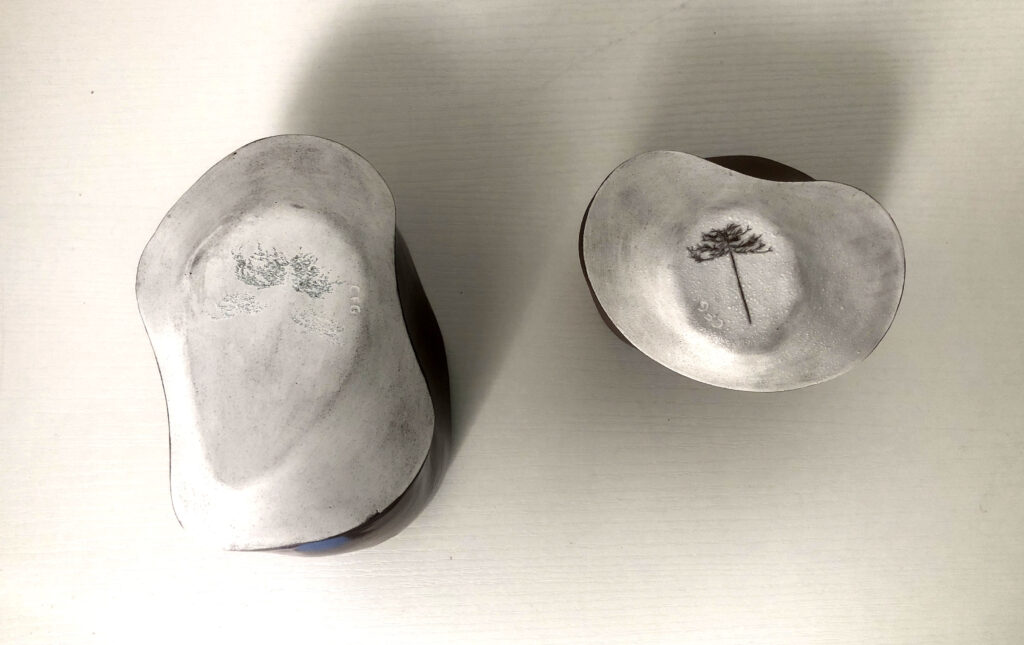
I chose to put my Araucaria tree design onto a couple of cups I had made. The cups were already bisqued, so I was planning on cutting some sticky vinyl to make an underglaze resist. I could not find any vinyl, so I pivoted to using the laser cutter. I tried cutting a sticker out of tape with the laser cutter, but my design was too detailed, and the laser cutter burned too much of the tape to make a sticker that could be used as a resist for underglaze. I pivoted again and tried to just use the laser cutter to carve away the white underglaze that I painted on to reveal the dark clay body underneath. I tried this with two different laser cutting methods. The first was rastering the image. I used a few passes, and the pattern looked burnt after and was beginning to peel away. I then used a needle tool to chip away the burnt part. The pattern was visible after firing, and the combination of the laser cutter engraving and the needle tool gives the final design a nice depth. On the other cup, I used a cut function, where the laser cuter just went along my vector lines with a much more powerful and directed laser beam. This only took one pass and the pattern was very visible after. It looked like the laser had sintered and melted the underglaze a bit. I was curious to see how this would look after firing, so I left it as it was. After firing to cone 6, the pattern faded quite a bit. There is still some melted underglaze, but i was hoping that it would be more pronounced.
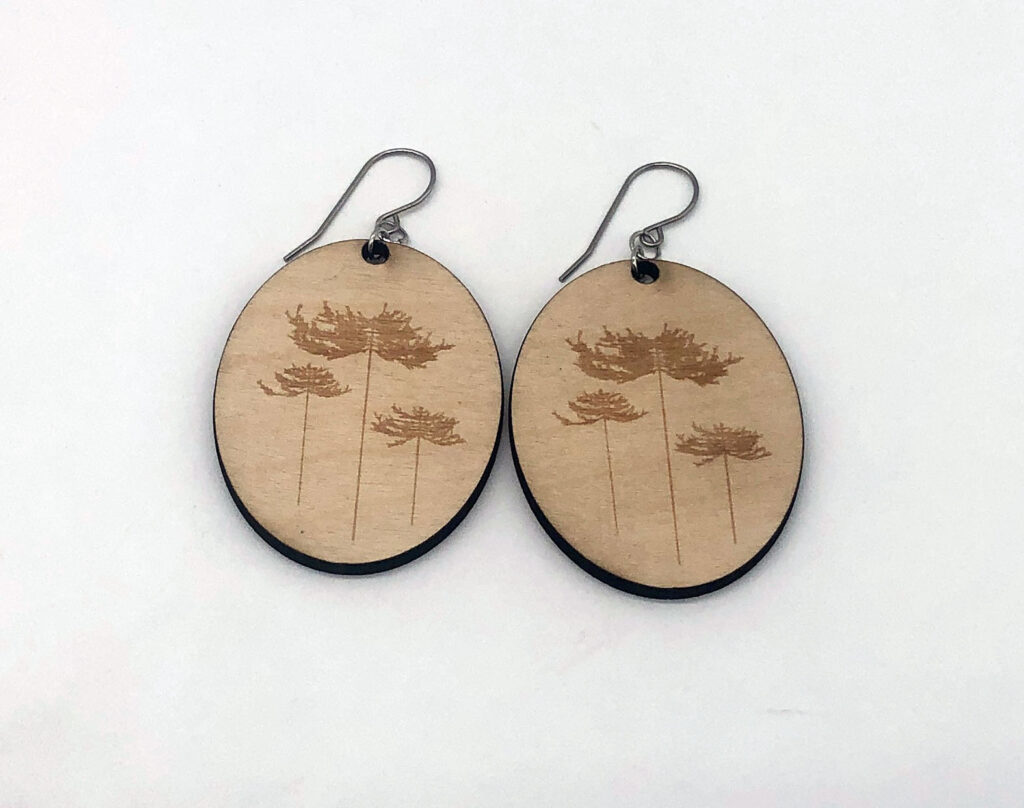
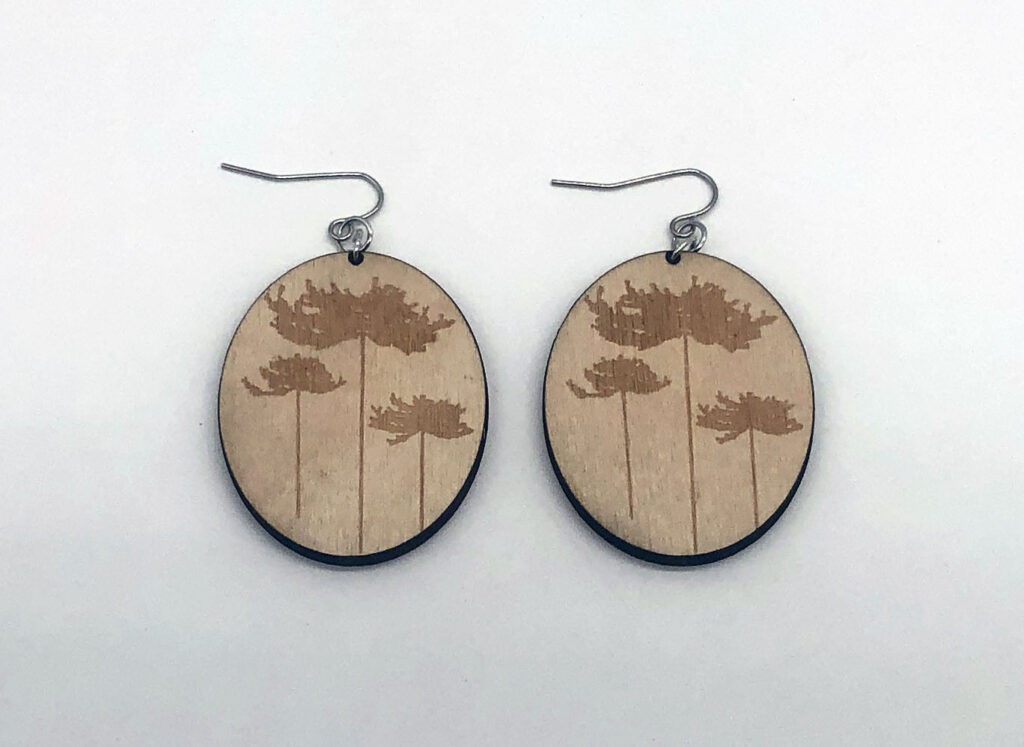
I was not entirely happy with my cups, so I also decided to make some earrings with my pattern out of plywood. I used the laser cutter to engrave the pattern and cut out the earrings.
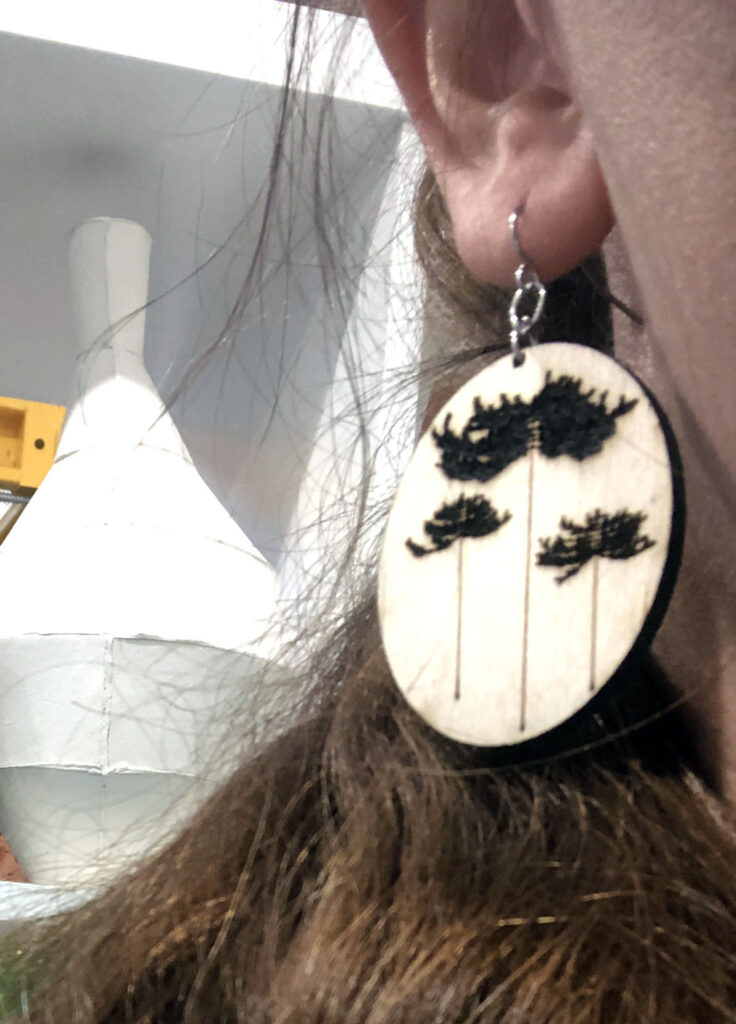
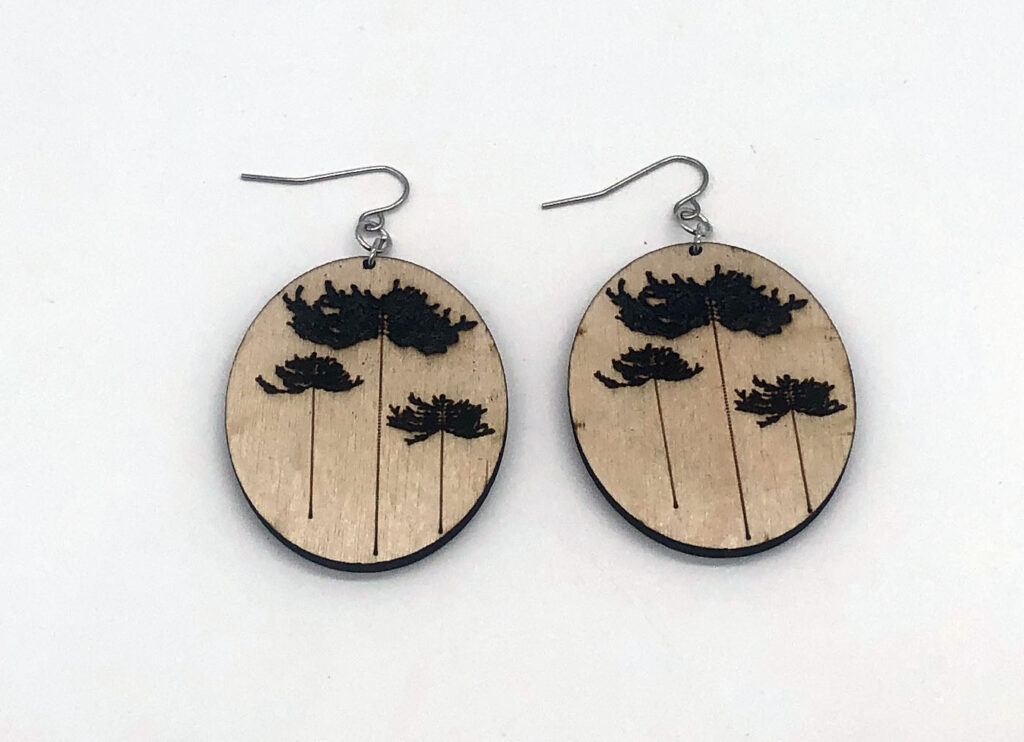
Hello, Camila. Great work, I have a quick question: how did you attach the flannel (I believe they are flannel according to the photo) to the earrings?
Hi Lin! It is not flannel on the earrings. I used more powerful settings on the laser cutter for the darker pattern, so it is just charred wood.
Hey Camila, I really liked how you used your own pottery with your fabrication process. It was really cool seeing it in person in class. Great job.
YAY another ceramicist enthusiast in the class.
I was thinking that some sort of silkscreen and transfer technique would be useful, but instead of transferring the underglaze, maybe transfer wax or shellac resist? Also, maybe keep the cut vector settings you have, but do multiple passes at a lower power to keep the underglaze from sintering? Or a small drill bit in a desktop CNC machine (like the Bantam https://store.bantamtools.com/collections/desktop-cnc-machines ) to carve away the underglaze or slip? So much fun experimentation possible! (What clay body are you using, by the way? Inquiring minds and all that.)
And if you ever need vinyl, we have so much scrap vinyl that gets tossed at FUSE Makerspace, and I have so much laying around. I’d be happy to toss some your way if you want to keep using vinyl in your projects.
I like how you thought about the growth patterns of your plants, particularly with the araucaria. That little bit of curve on the lower branches adds to the impression of what kind of plant it is and you get a sense of the structure underlying it. Well done!