I adapted the research paper about the extruder turtle library that was written by Franklin Pezzuti Dyer and Professor Leah Buechley to come up with the designs for my shapes in this project (https://handandmachine.org/publications/Extruder_Turtle.pdf). I was amazed by the 3D printed vessels from the Emerging Objects website (http://emergingobjects.com/project/gcode-clay/) and I wanted to create these types of patterns/designs they have on their vessels.
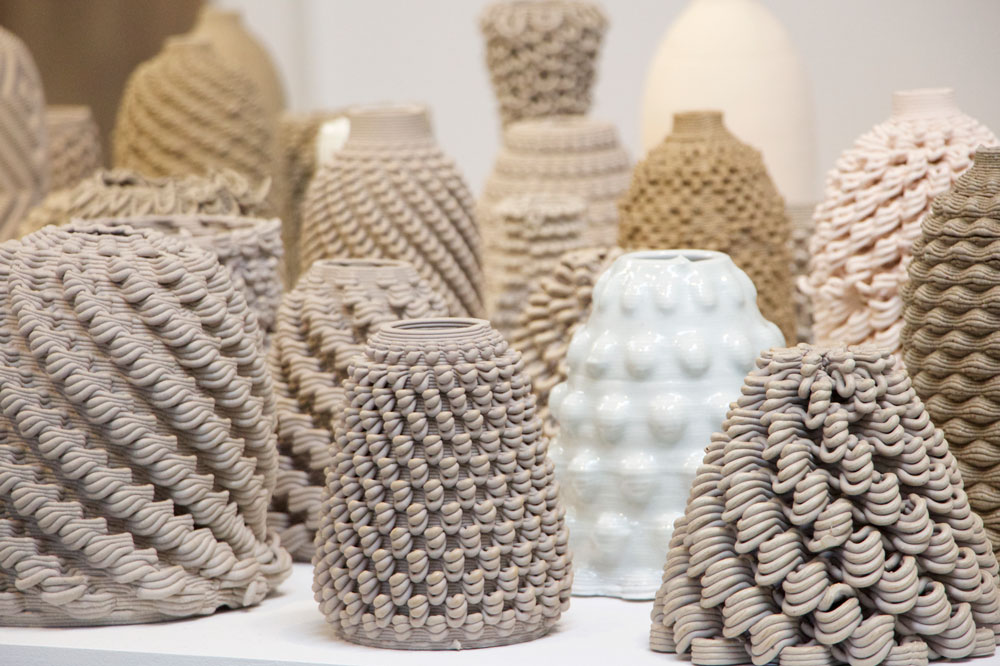
By understanding the clay material and its behavior, I created normal vessels with some adjustments to make the turtle go in and out of the vessels’ surfaces to create interesting clay-dropping and textile-like styles. I made the turtle travel out for about 1-10 millimeters from the vessels’ surface at a 45-degree angle then travel back to the surface to continue with the shapes. The shapes I created using the extruder library cannot be generated by a traditional slicer because the bumps/loops on the vessels consist of closed loops with endpoints lying on the vessels’ walls which are not perpendicular to the vessels’ walls , nor do they have sharp corners. After being extruded, these bumps and loops deform and sag under their own weight. Since unbaked clay is naturally heavy, this aspect allows me to create very interesting designs for my shapes.
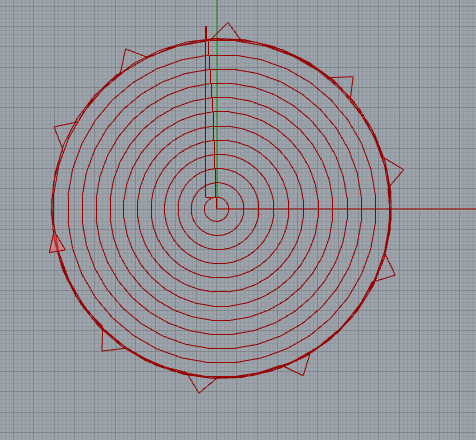
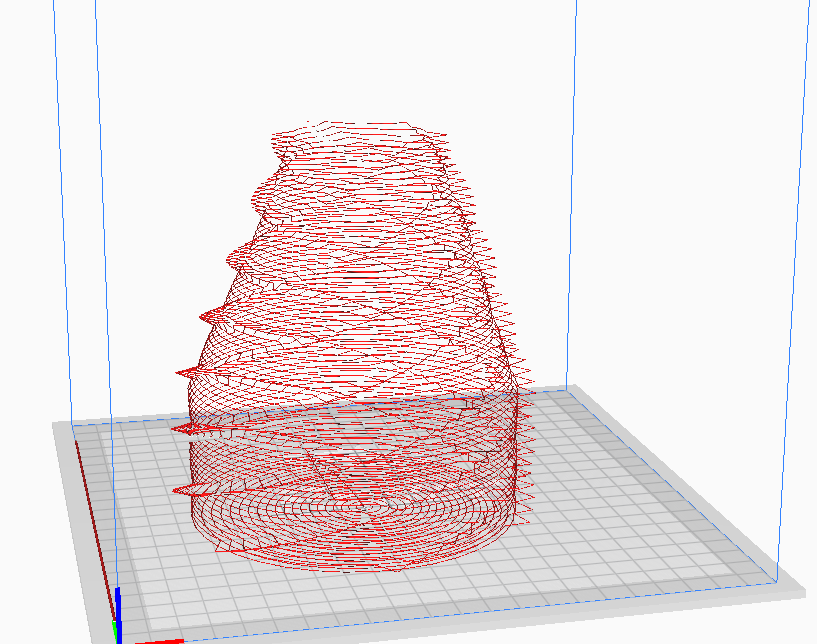
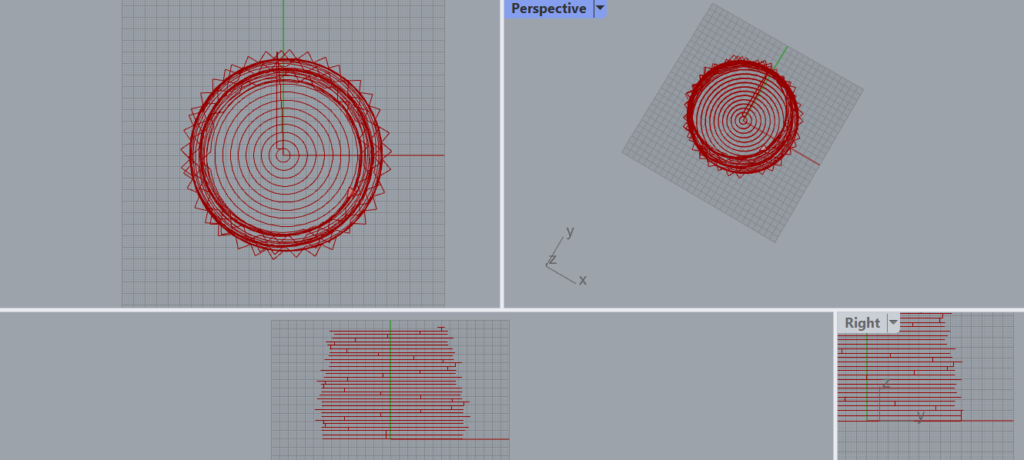
The image below shows the base and first two layers of the vessel I created. These triangles in the images are what I had to make the dropping effect.
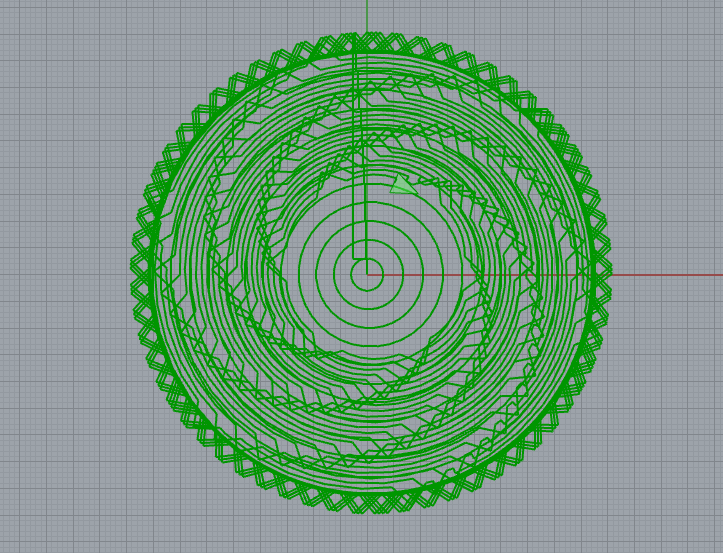
For most of my vessels, I made the turtle travel out from the vessels’ walls at a 45-degree angle for a few millimeters (the bigger the size is the longer the dropping loops are) then return back to the wall (the same length it travels out before) and that creates another 45-degree angle

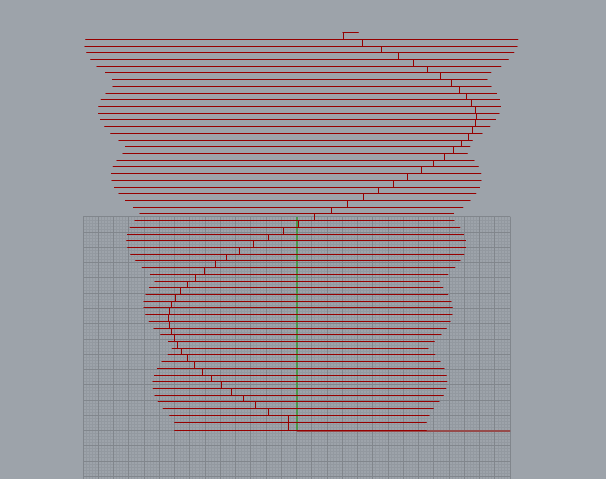
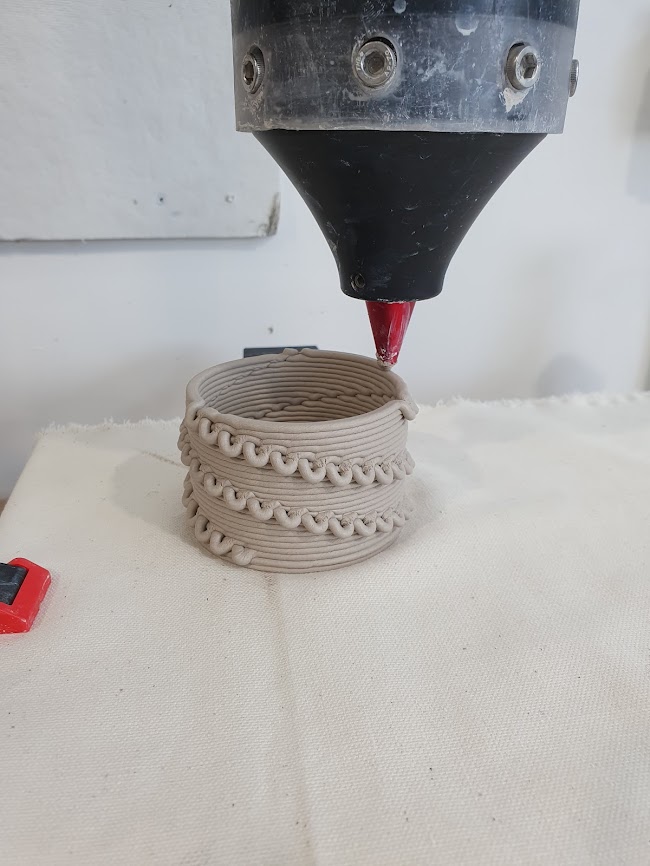
Below is the first vessel I created using the bump’s size equal to 5 millimeters. This shape is big at the bottom and gets smaller and small at the top.
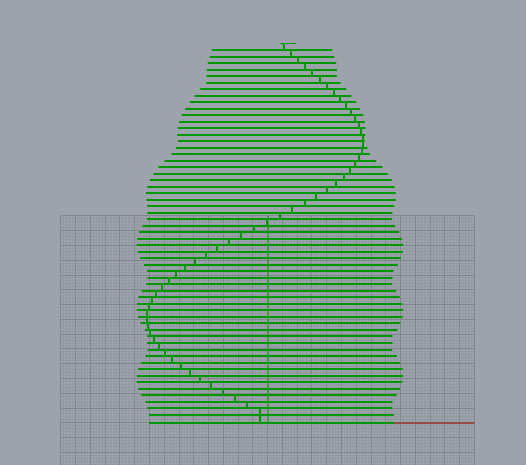
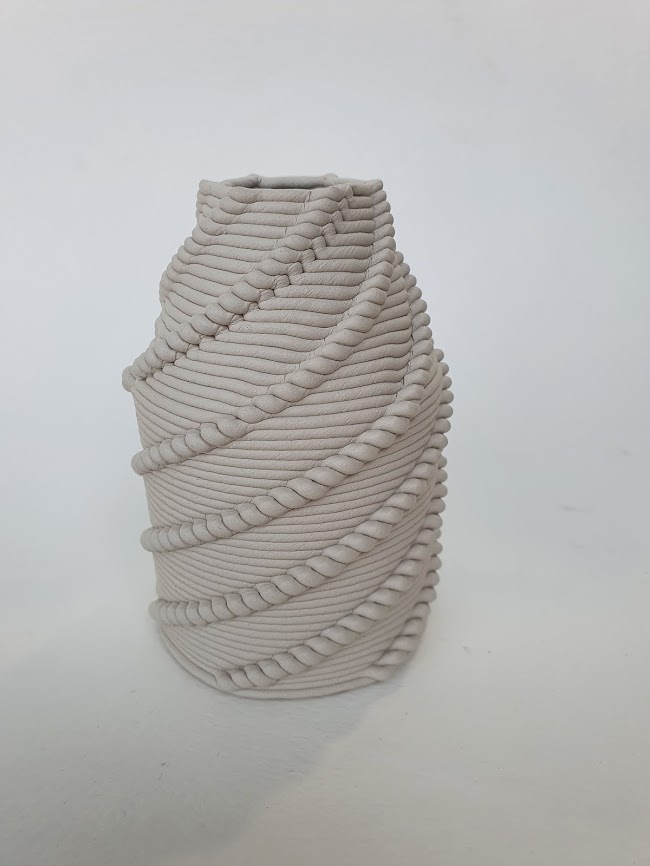
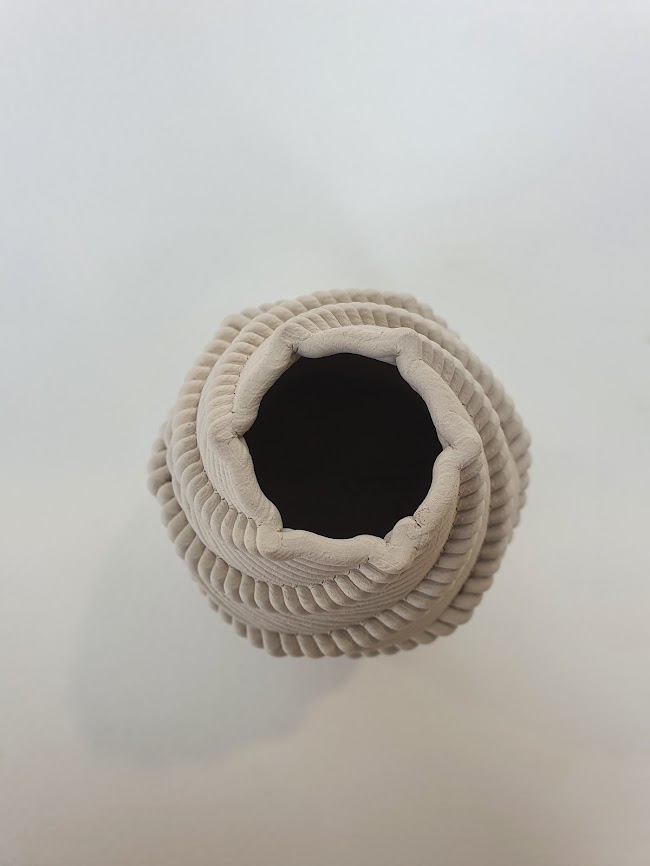
I met a lot of difficulties when working on 3D printing this first shape. Because I am new to the clay 3D printer, I didn’t know that I have to adjust all the parameters to create the distance between each level and each layer. Some shapes actually require shorter layer height while some require more space. I have learned that the base requires significantly more space between each layer. Since I didn’t set it up the right way and that didn’t give it enough space between each layer, so the clay has always built up and created a very tall chunk of clay.
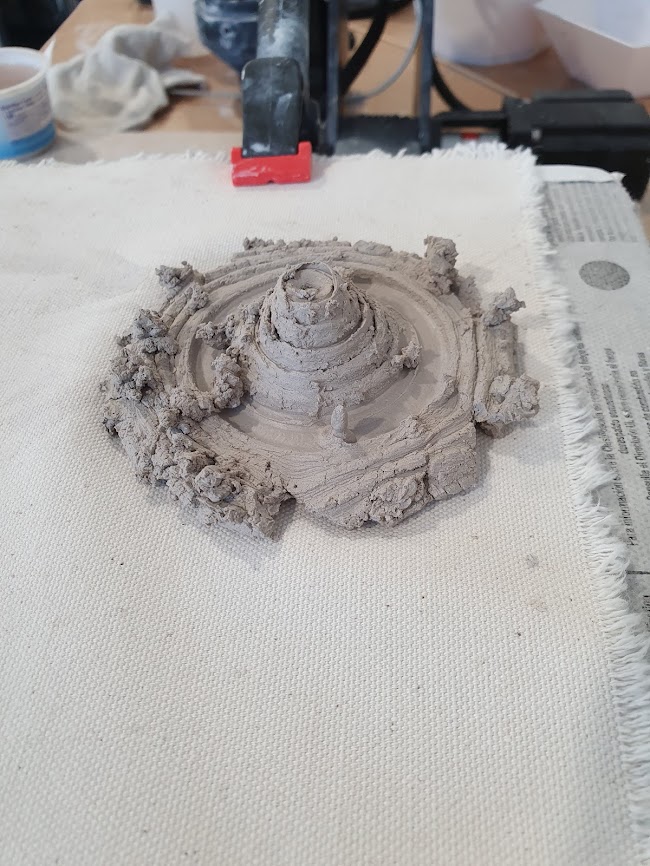
After printing this shape, I wanted to increase the size of the bumps/loops to make it more like the vessels from the Emerging Objects website. I generated more interesting shapes and use much bigger loops sizes (7-10 millimeters).
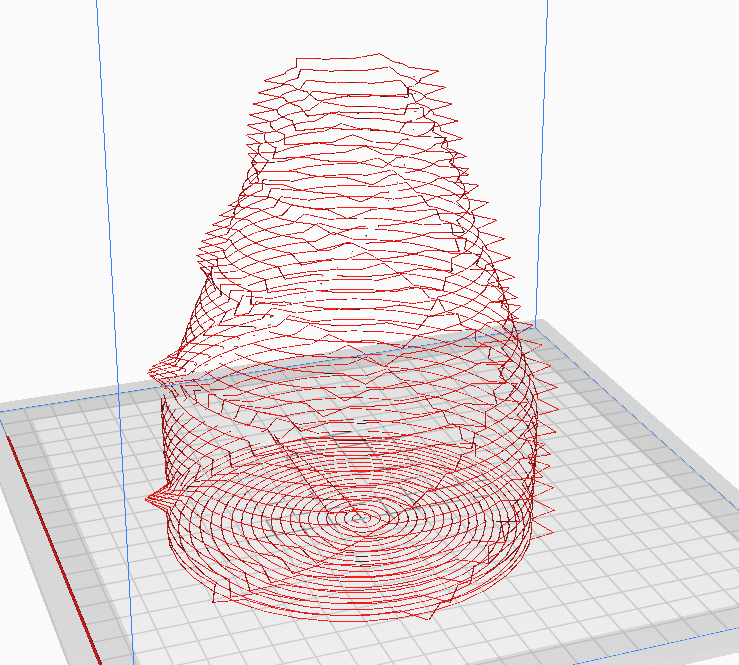
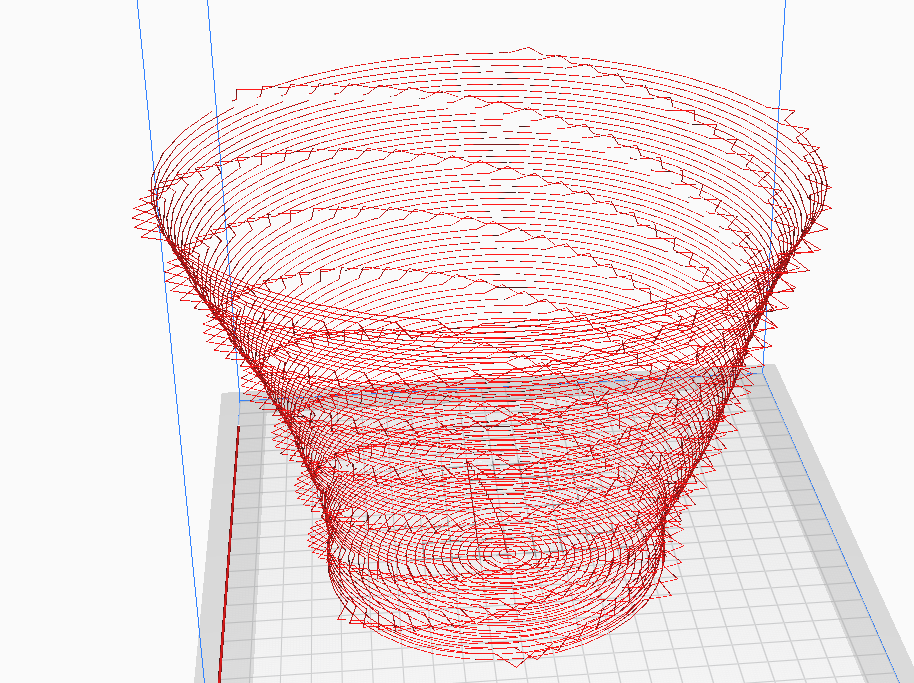
Unfortunately, I was not successfully printing any of these new shapes. I have tried to modify all the parameters to try to make the shape more stable. However, I’m not sure if I calculated the layers wrong or if the vessels’ walls are just not stable enough to hold those new bumps/loops since they are significantly bigger and heavier than before. The vessels usually collapsed after they got a little bit tall.
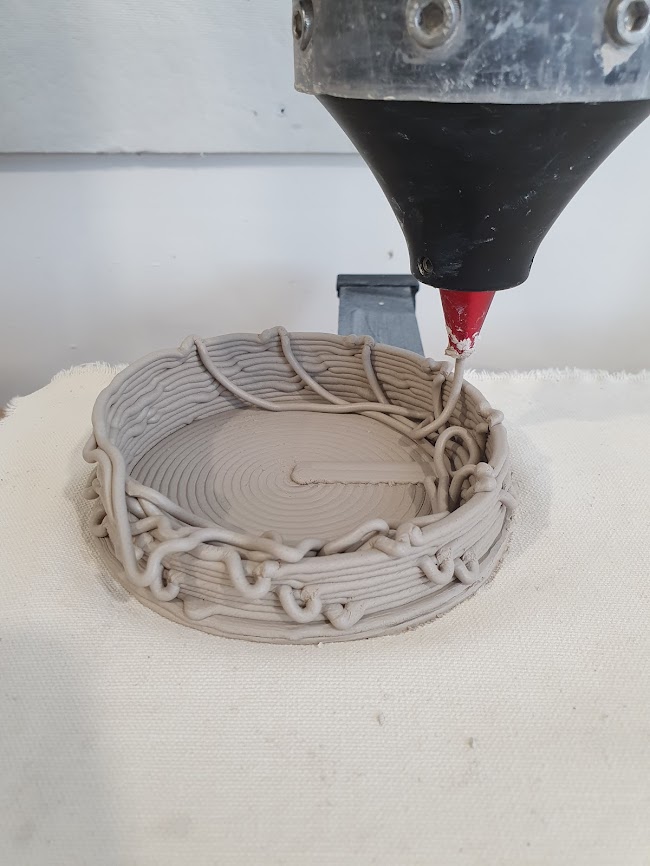
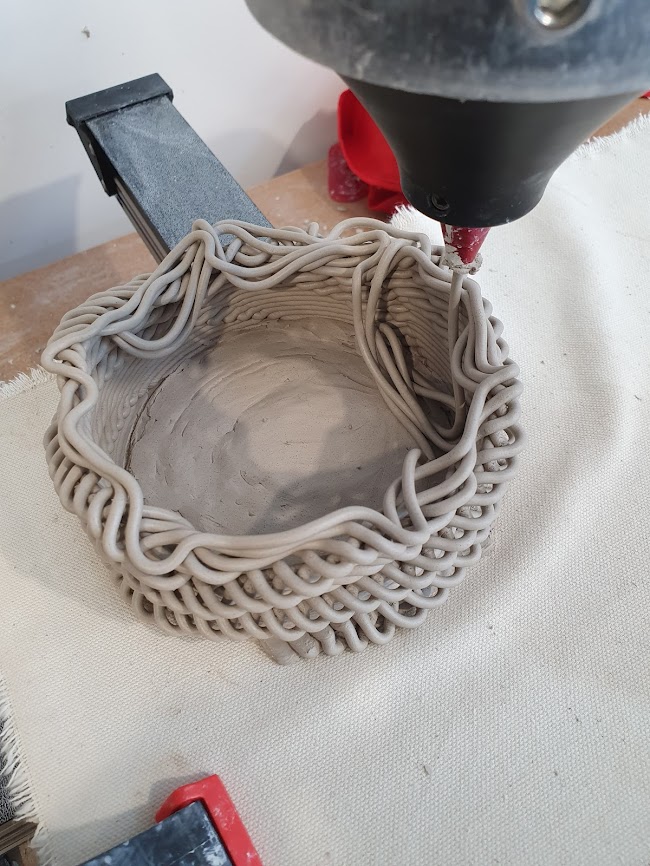
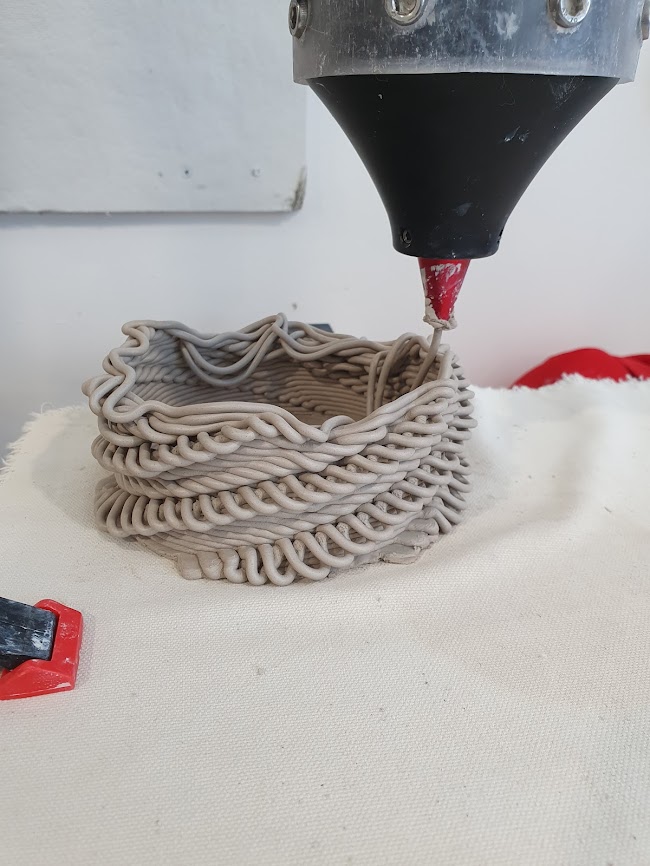
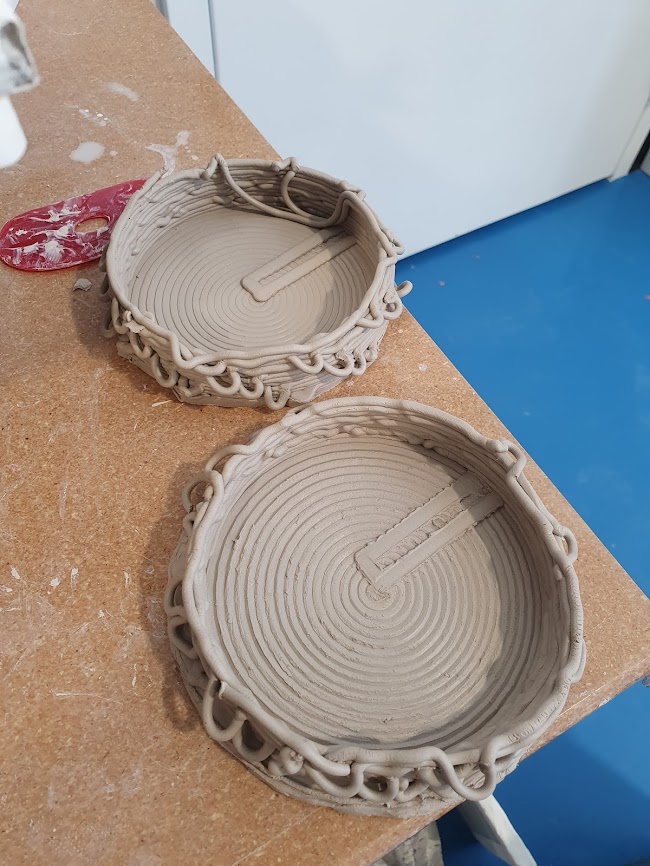
After failing to print these vessels so many times, I decided to create a smaller and taller base for the vessels, decreased the loops’ size, and made those loops occur less frequently. I chose the basic cylindrical shape for this vessel.
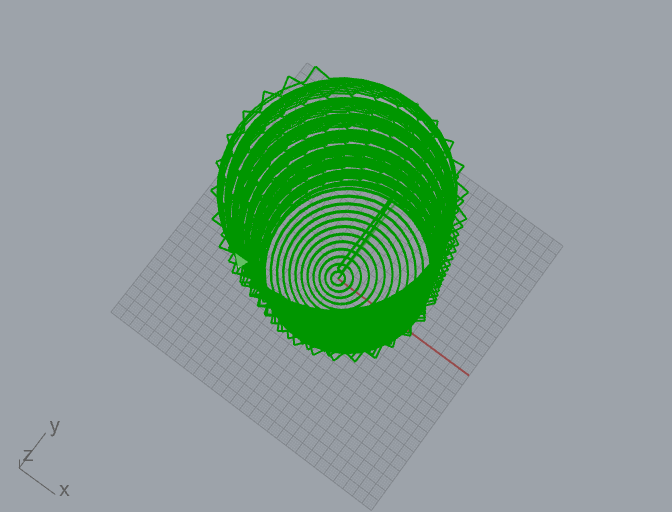
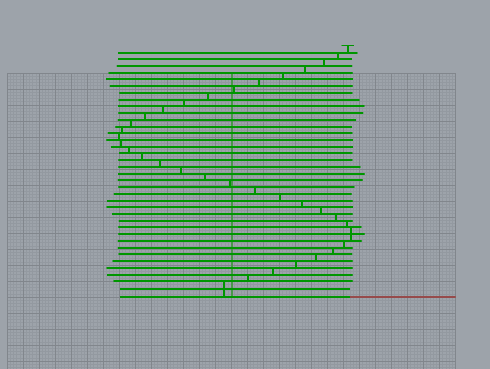
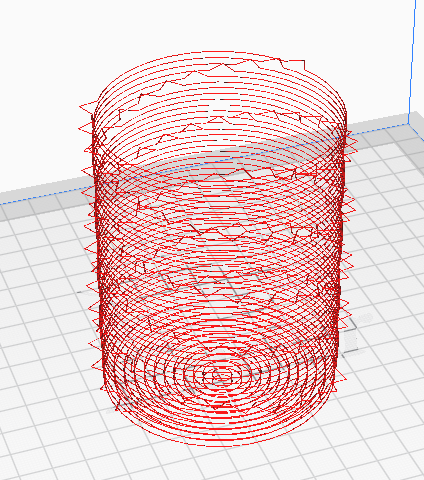
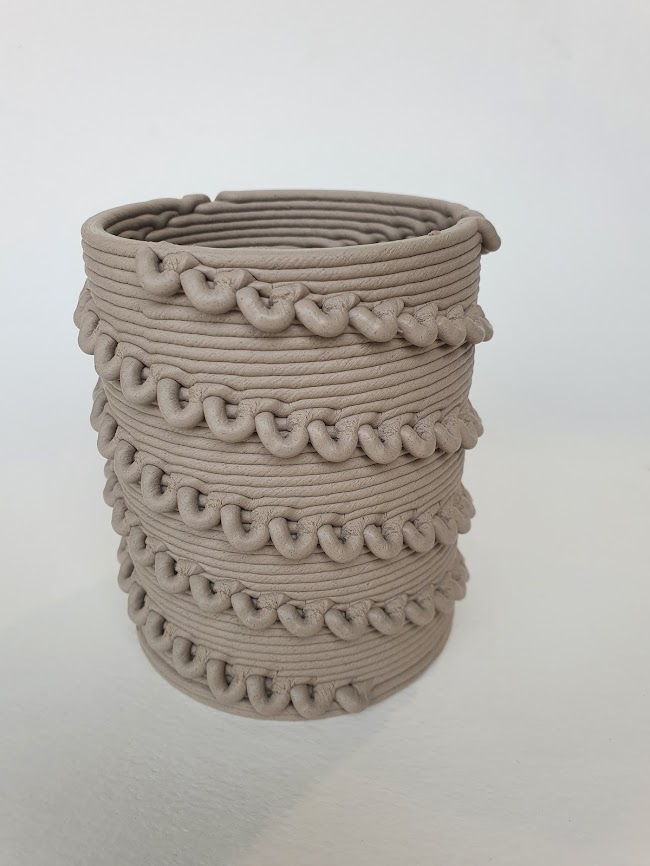
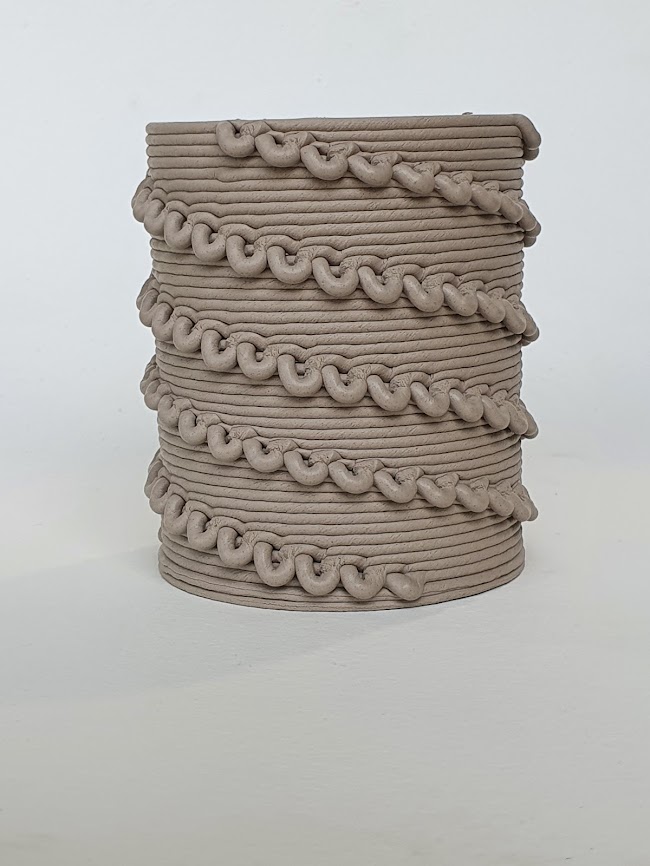
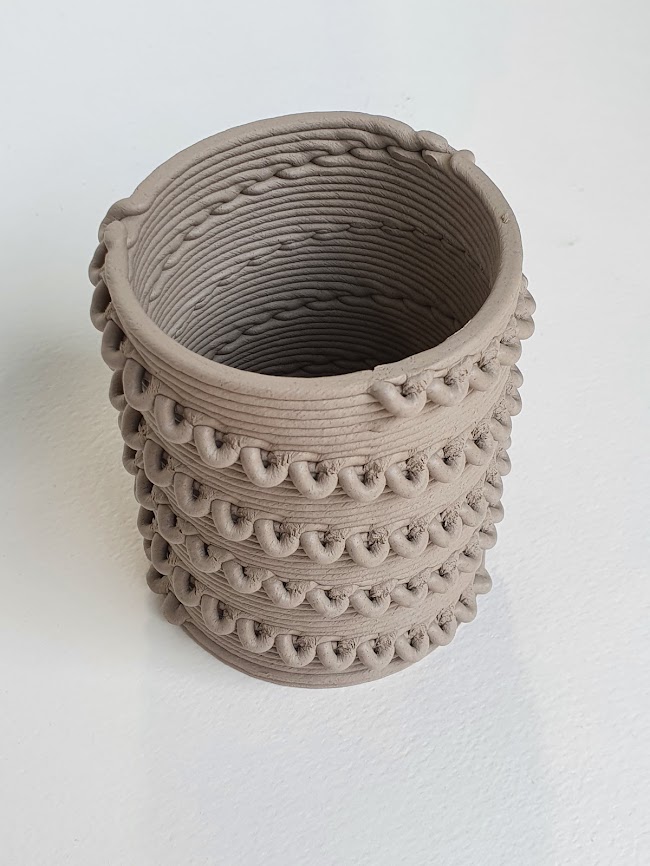
I also created a few more different shapes to print. One of them is the basic random-bumps-on-surface vessel. Points are randomly generated on the vessel’s wall in each layer.
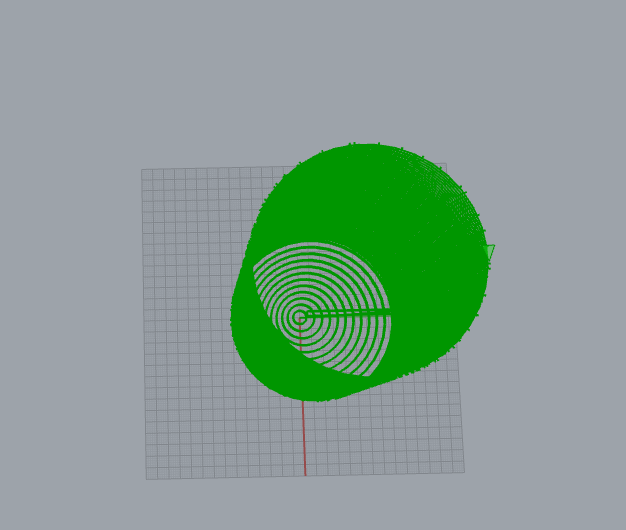
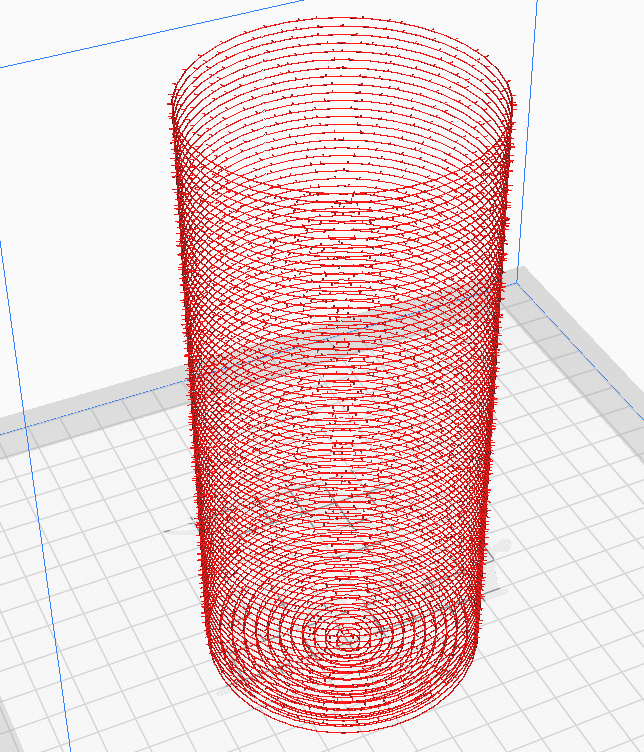
I expected it to be a very interesting looking vessel; however, the 3D clay printed stopped working when I was printing this one. Because we forgot to check the loader carefully before attaching it to the printer, the loader couldn’t push the clay out anymore. We also were not able to fix the loader and so that I was not able to finish printing my last piece for this project.
Code:
Shape 3
I finally had a chance to print, fire, and glaze the last shape as I worked on the final project
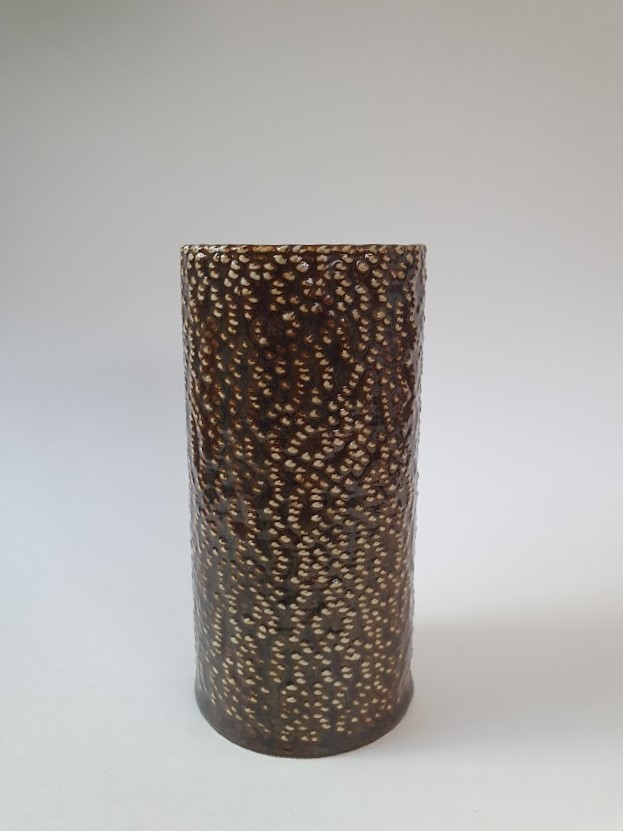
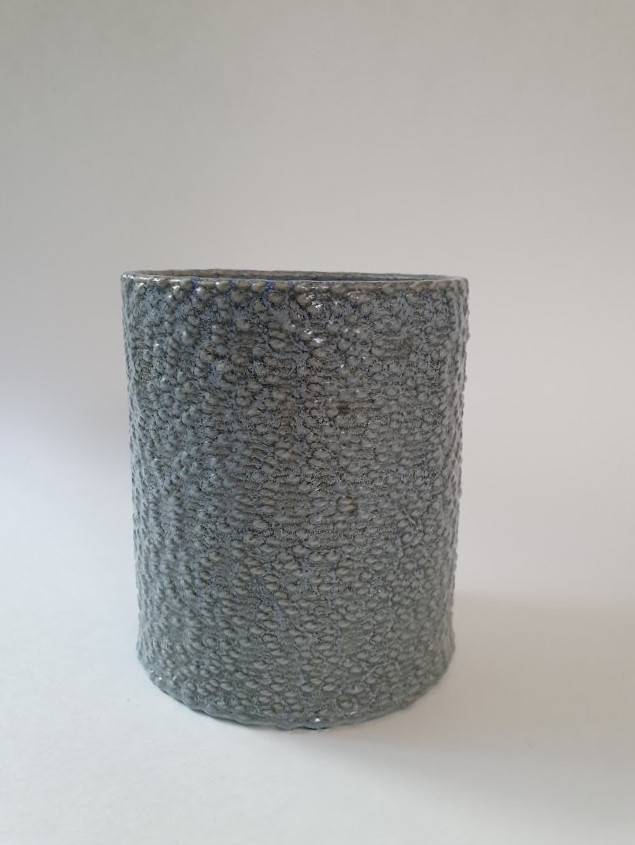
I also printed a few more shapes and glazed my two other shapes.
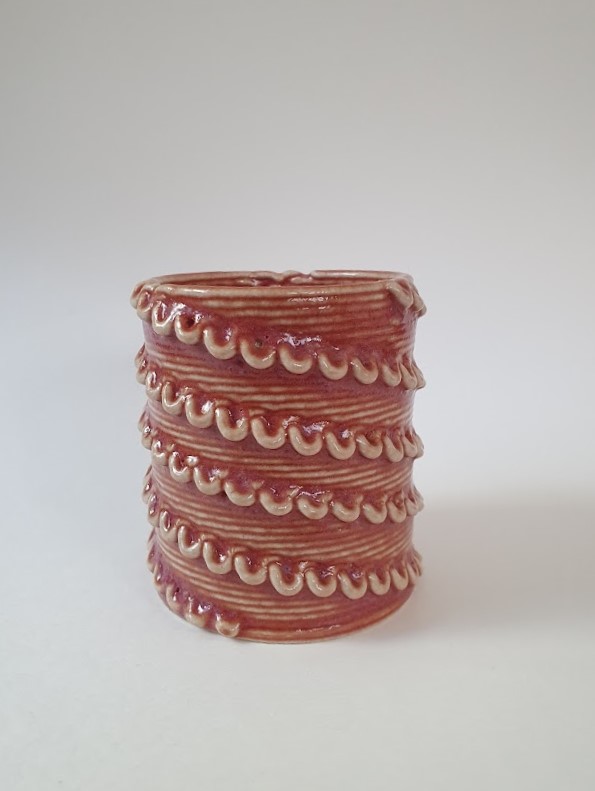
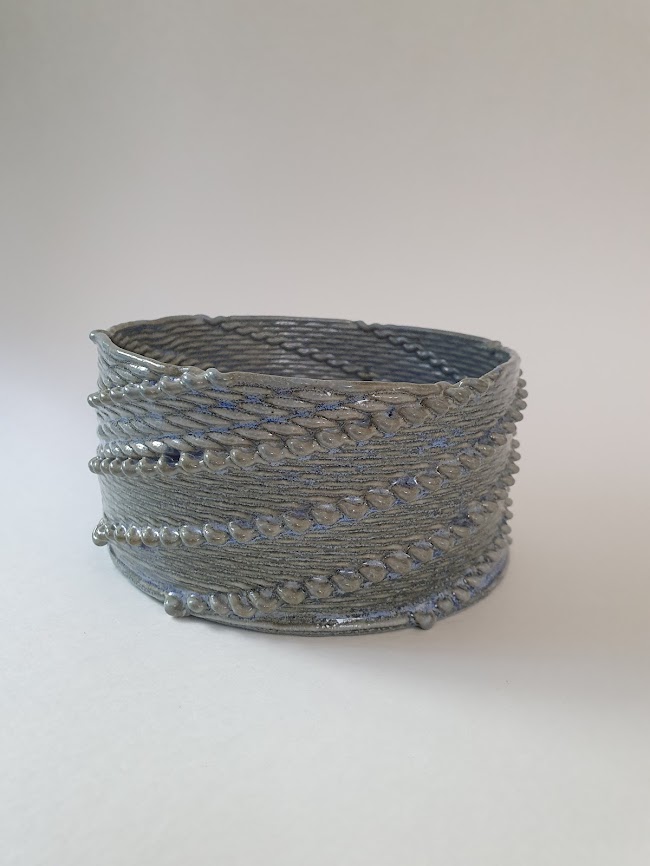
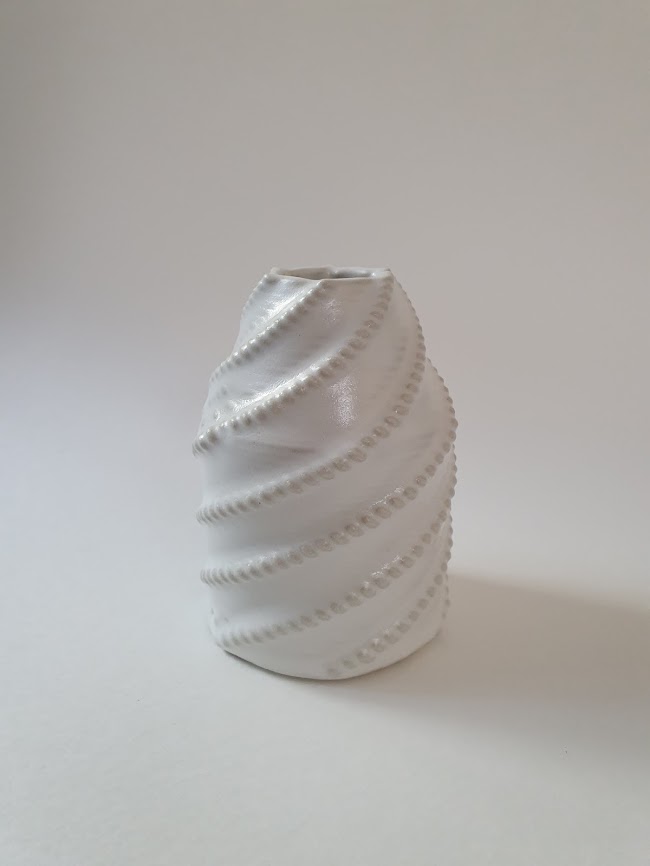
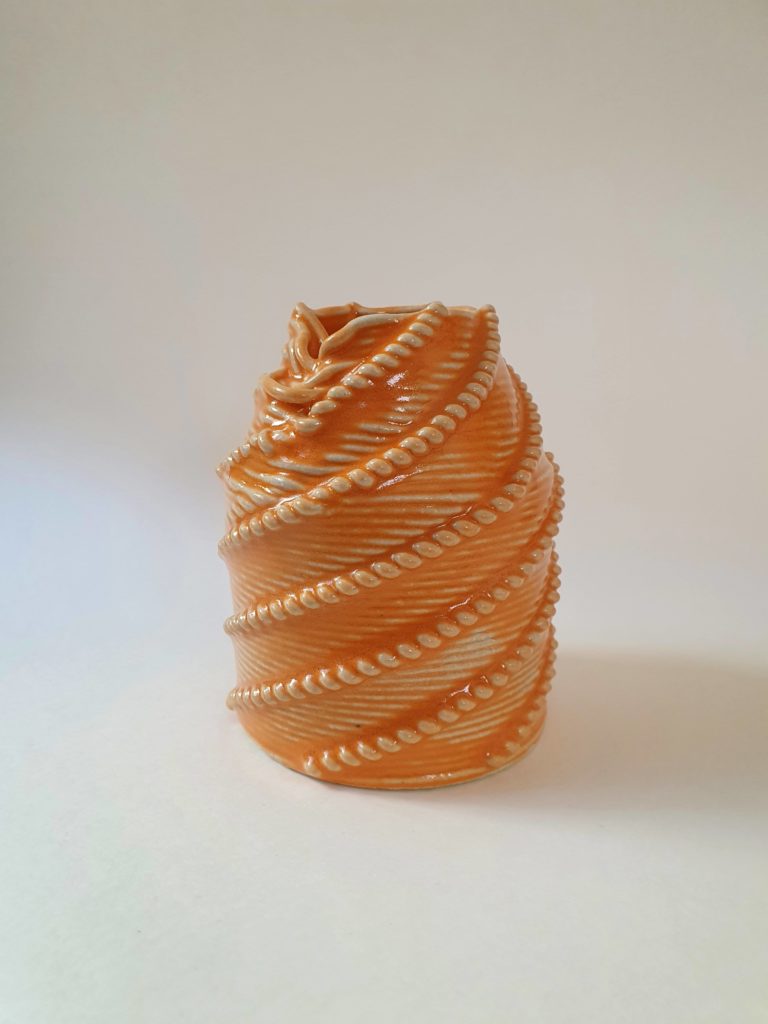
Wow those came out great! I really like the first design, the spiral weaving around the surface is awesome.
Thank you!
Great designs! Even though the print failed, I especially like that one with the crowded loops, it has a really cool sort of “weaved” look.
Hi Ruby! First I want to say that your cellular automata clay print was amazing. It was very well nicely done and looks great. Definitely something that will be cool to look back on in the future. The generated designs in Cura look very interesting, and I like how they show the separation of each line of filament really well. I haven’t used the clay printer yet this year, but the thing about adjusting each level and layer for the individual prints is something to keep in mind.
Thank you Meiling
I really like your 2nd shape it has a pretty design and it looks like it is a rope being tied into little knots whenever it moves out. I also think that the first print in Cura looks like a water bottle and if a top is made for it it could be a very nice 3D printable water bottle. Have you been able to fire the prints at all yet?
Yes I was able to fire nd glaze them all