Escher Tiling
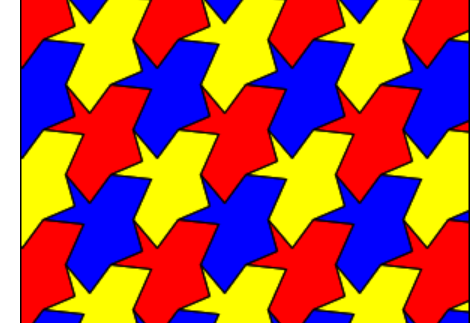
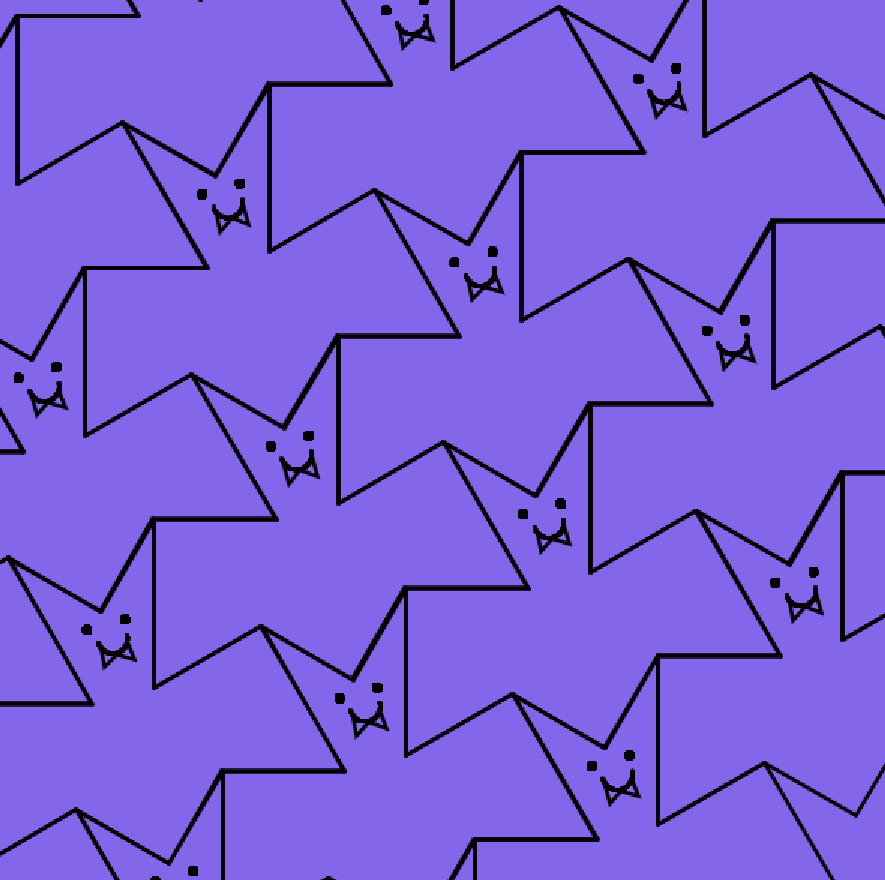
For the first part of this assignment, I started out using the interactive tesselation that we looked at in class. I messed around with that until I settled on a general shape I liked, which was a basic bat! I started to draw it out using the Processing turtle and quickly realized guessing at the math was not the way to go. Instead, I actually drew out the shape, and using the properties of a regular hexagon, figured out the angles and lengths I needed to draw it with the turtle. Once I got the tiling figured out, I went back and added a little face to make it cuter. Here’s how it turned out:
3D Tiling
For the 3D tiling, I started out doing a snowflake shape using a hexagon. I used a similar workflow to the turtle, adding points based on the geometry. That was a pain, and it didn’t even turn out that interesting.
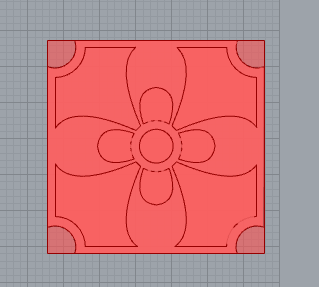
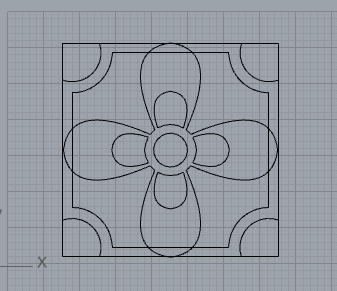
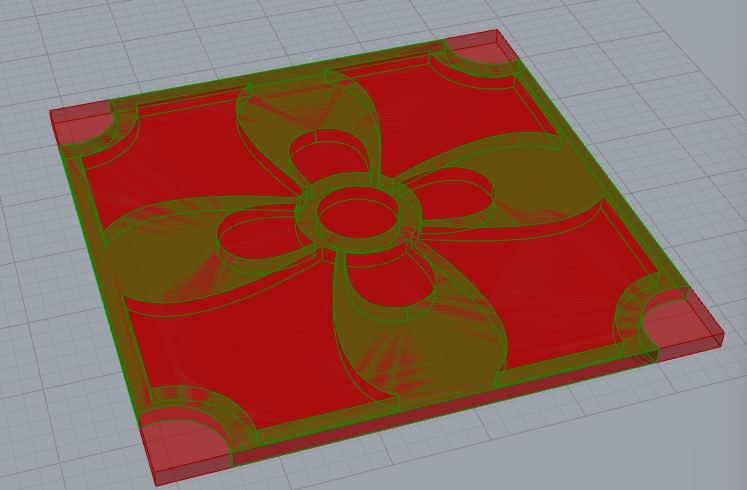
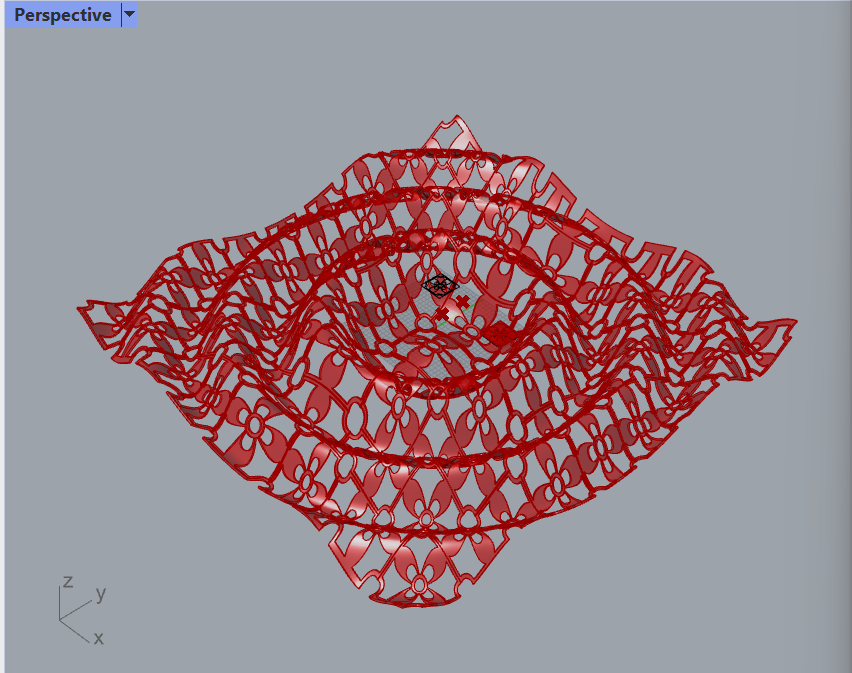
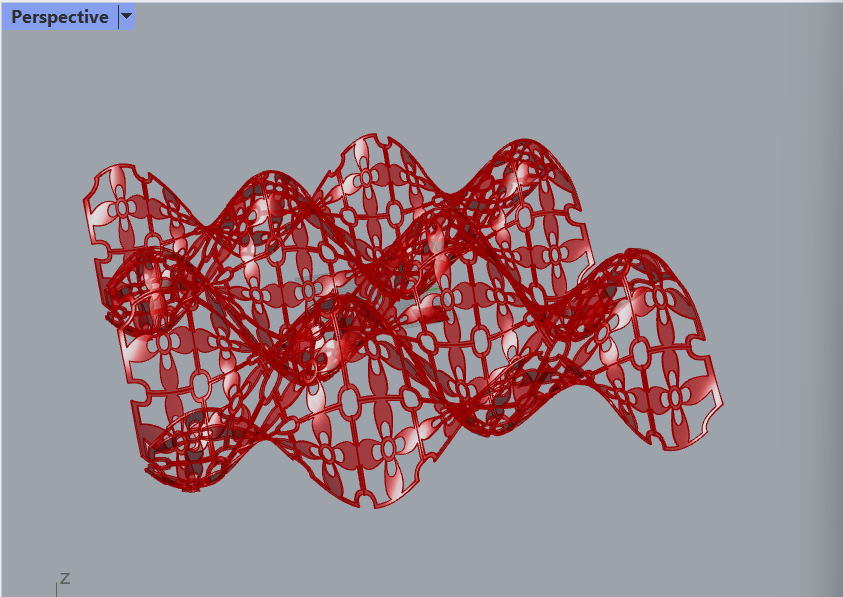
Our guest speaker from last Thursday actually made all the difference for this part. Instead of turtling along, adding points to make simple shapes, I designed this new tile using Rhino manipulations. I went for a square-based hollow flower shape. At first, the tile just had the petals, but the print didn’t turn out so well like that. I ran it with supports, too, but I think the lace’s connecting parts were too thin to work well. To fix that, I added a border around the square with a quarter circle cutout. To make it hollow, I used two different geometry objects and took the solid difference between them.
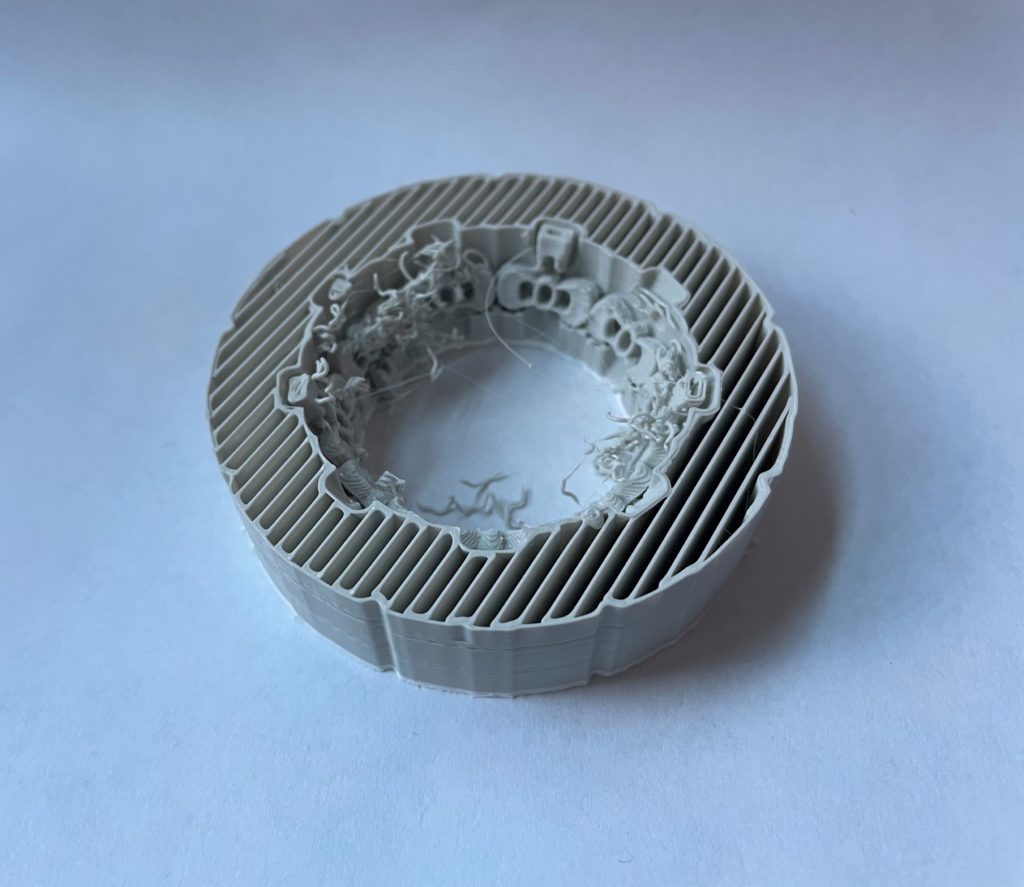
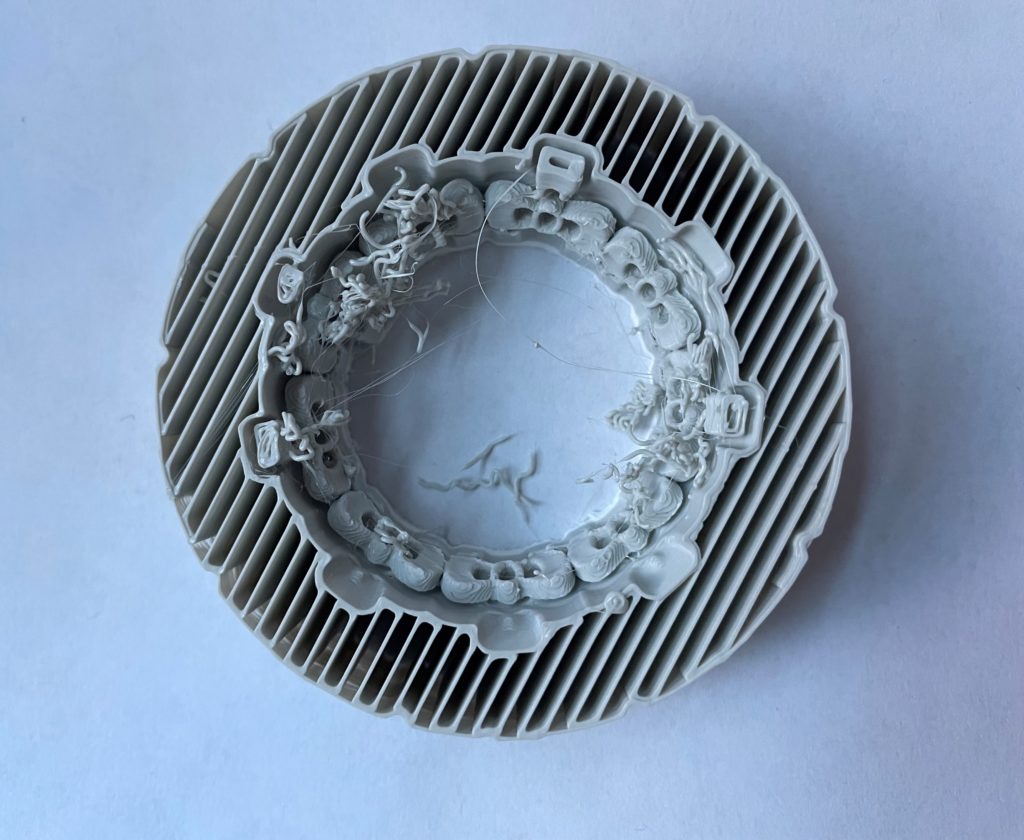
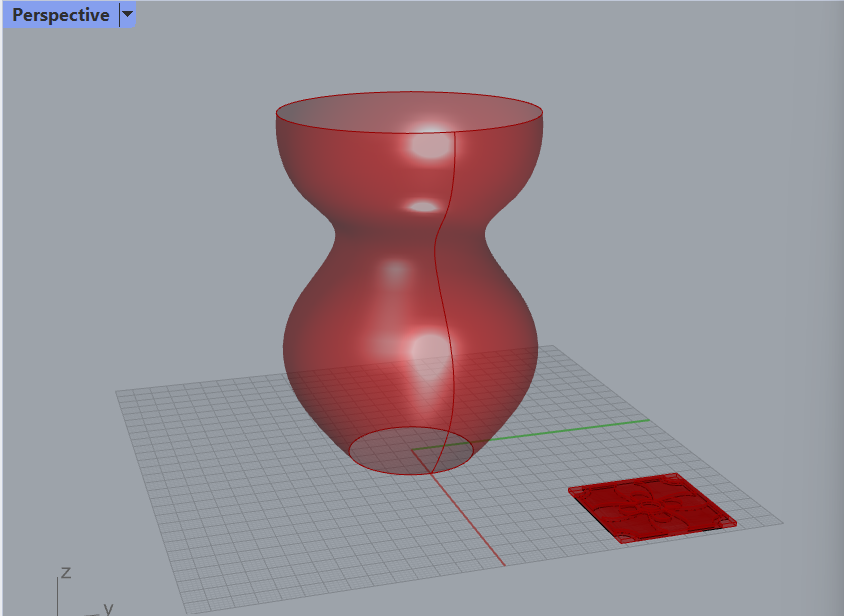
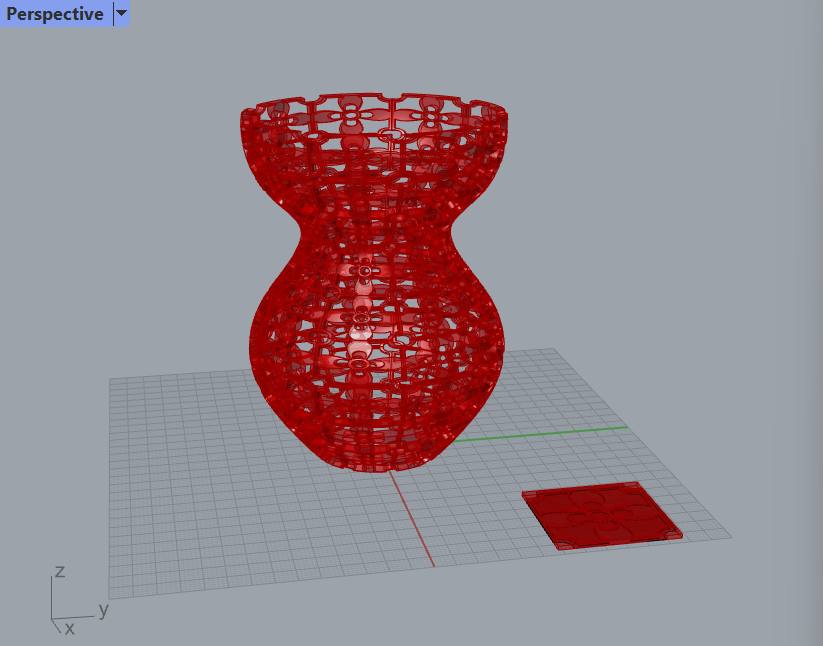
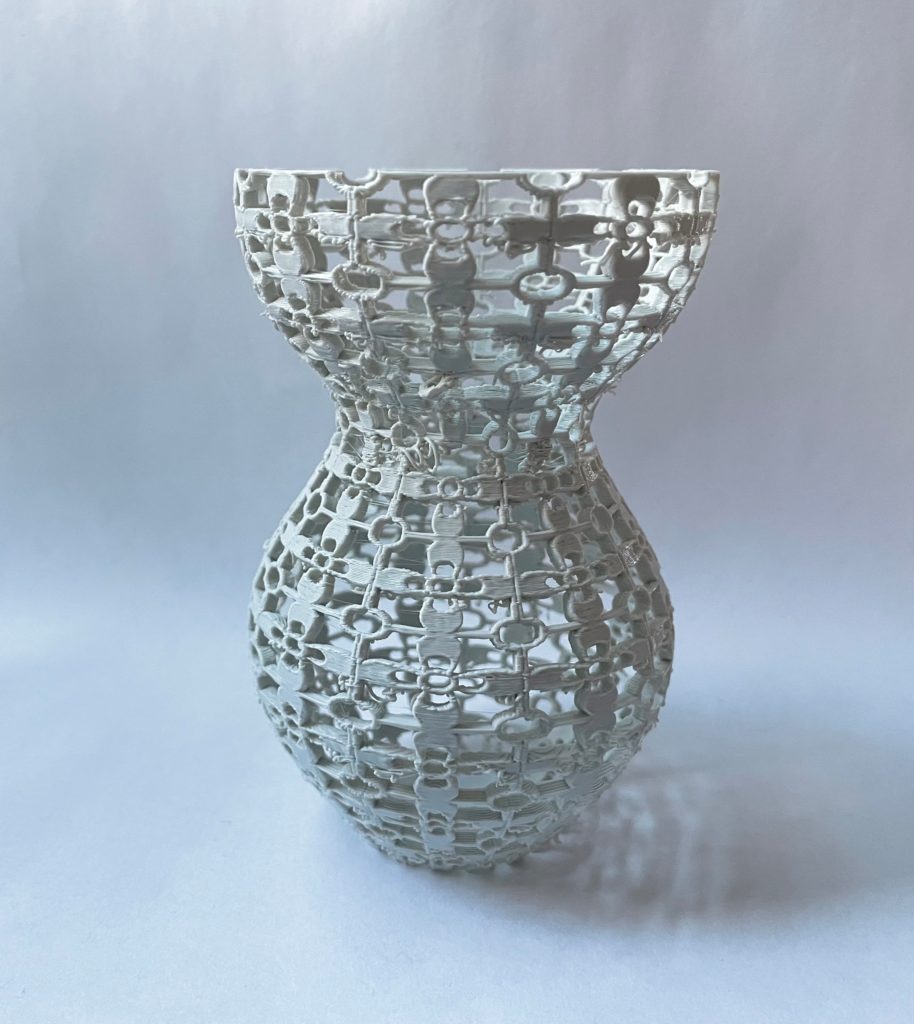
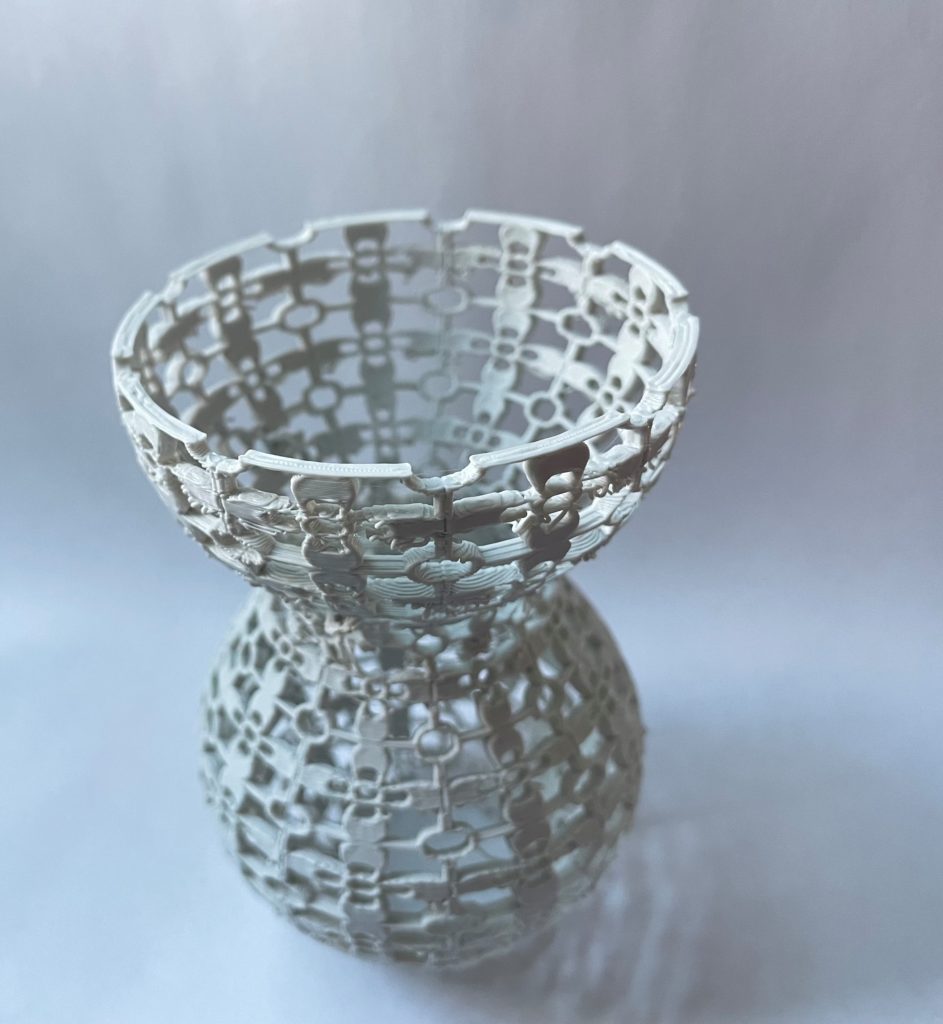
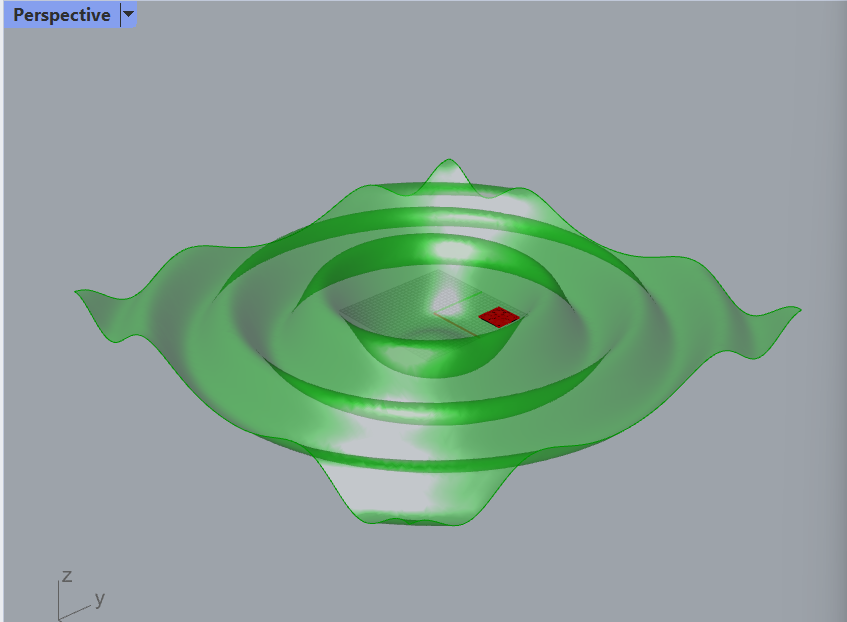
To develop my three surfaces, I mostly relied on trig functions. I like the look of the sine and cosine waves, so I used some variation of those for each. The cylinder used a passed-in starting radius and added on a sine function of the i loop iterator. This is the one I printed, as you can see in the first set of pictures below. The print itself came out a little wonky, with a lot of stringing. I was having issues with the extruder and the filament feeder all weekend after changing out the filament, so I’ll probably need to make some more adjustments to the machine to fix that problem.
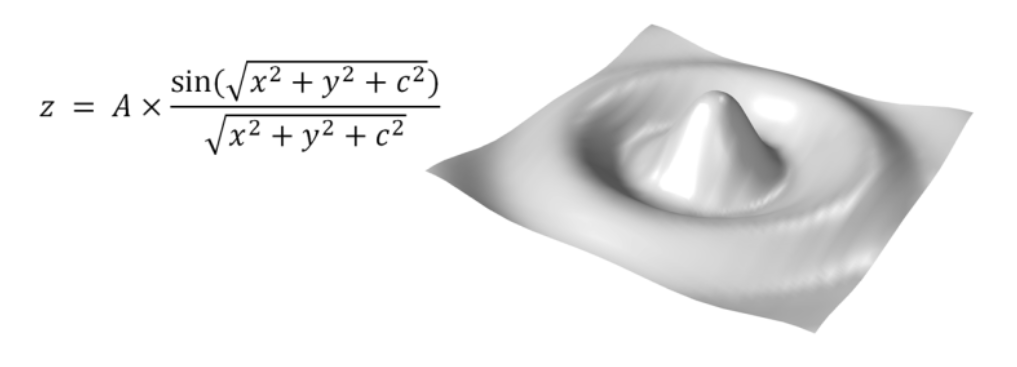
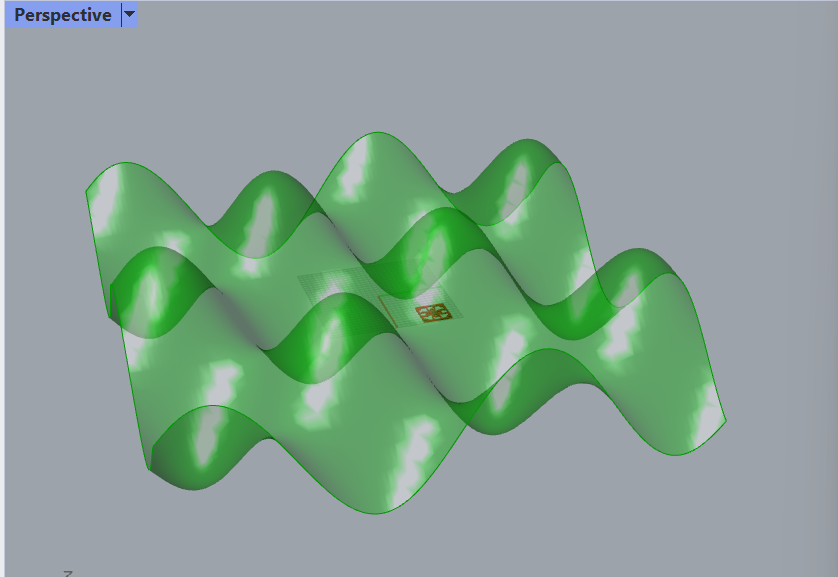
For the first planar surface, I made a surface that looks like a water drop in water and the waves that come out of that (blanking on the term for that!). The initial equation for this function is shown here, and the source is linked in the caption. I made a cosine variation too (like cos(sqrt(…)) / sqrt(…)) and multiplied those together hoping it would be cooler, but it was not that different.
The second planar surface used the general sin(pi * y) * cos(pi * x) form with variables to adjust the spread of the peaks.
I did a bat too, but yours is so much better!!!! Yours has ears, mine just has a spikey head, spikey feet. Idk why i did not think of just having my top and bottom be two spikes. Instead I have mine doing 5 spikes…. getting the wings to looks like wings for me was more difficult than I expected it to be. Like you said, there was some interesting math involved. It took me awhile to get it right.
Hey Michael,
I really liked your bat tile! The offset shape and the final object came out very cool! Yours is interesting in how you alternated the direction/heading of the tiles. Doing the trig to get the values was probably the most involved part of this whole project for me. It’s funny how much this class has makes us pull out age-old math knowledge from the back of our heads.
Jamini
Hello Jamini,
Your flower tile turned out really nice. I have to admit I would be interested to see the support of that first print you tried with the actual item taken out of it.
Your prints continue to amaze me. The detail that you were able to print with your flower tile is incredible and I am still shocked that our 3D printers are made without generating supports. The bats are also very cute and lively, which is a stark contrast to The Batman movie which inspired you.
Hey Marcos,
Thanks! I’m also impressed that these kinds of objects don’t need supports! Although I’m wondering if the lack of supports is part of why mine had so much stringing along the straight horizontal edges. I’m not sure what is a good way to address this, since the supports are such a pain to remove, especially with such fine detailing. I tried out the support for some of my other projects, like the vessels one, and removing the pieces left even more unwanted texture along the printed object. I’d probably break the object trying to get those off on this one. I guess that’s something to look into in the future!
Jamini