As a UNM student, you can download an install Adobe Illustrator for free. More information here. If you would like to explore a free and open source alternative to Illustrator, check out Inkscape. To prepare a drawing to be laser cut, with the lines of your drawing turning into the positive form of your cut-out, follow these steps.
Generate a .pdf in Processing
In Processing, you can use the processing.pdf library to generate vector pdfs. Below is a simple example program that will save a drawing of a line to a pdf file. Note that only drawing operations done between the beginRecord() and endRecord() commands are saved to your file. Any drawing done before or after these commands is not saved.import processing.pdf.*; size(600, 600); beginRecord(PDF, "line.pdf"); background(255); line(200, 0, 400, height); endRecord();
Note that you can export 2D Rhino designs directly as .ai files that can be opened in Illustrator.
Prepare the file in Illustrator
Now, follow the steps below to turn your drawing into an Illustrator file that can be laser cut. Note that following these steps will turn the lines in your drawings into a single solid shape to be cut out.
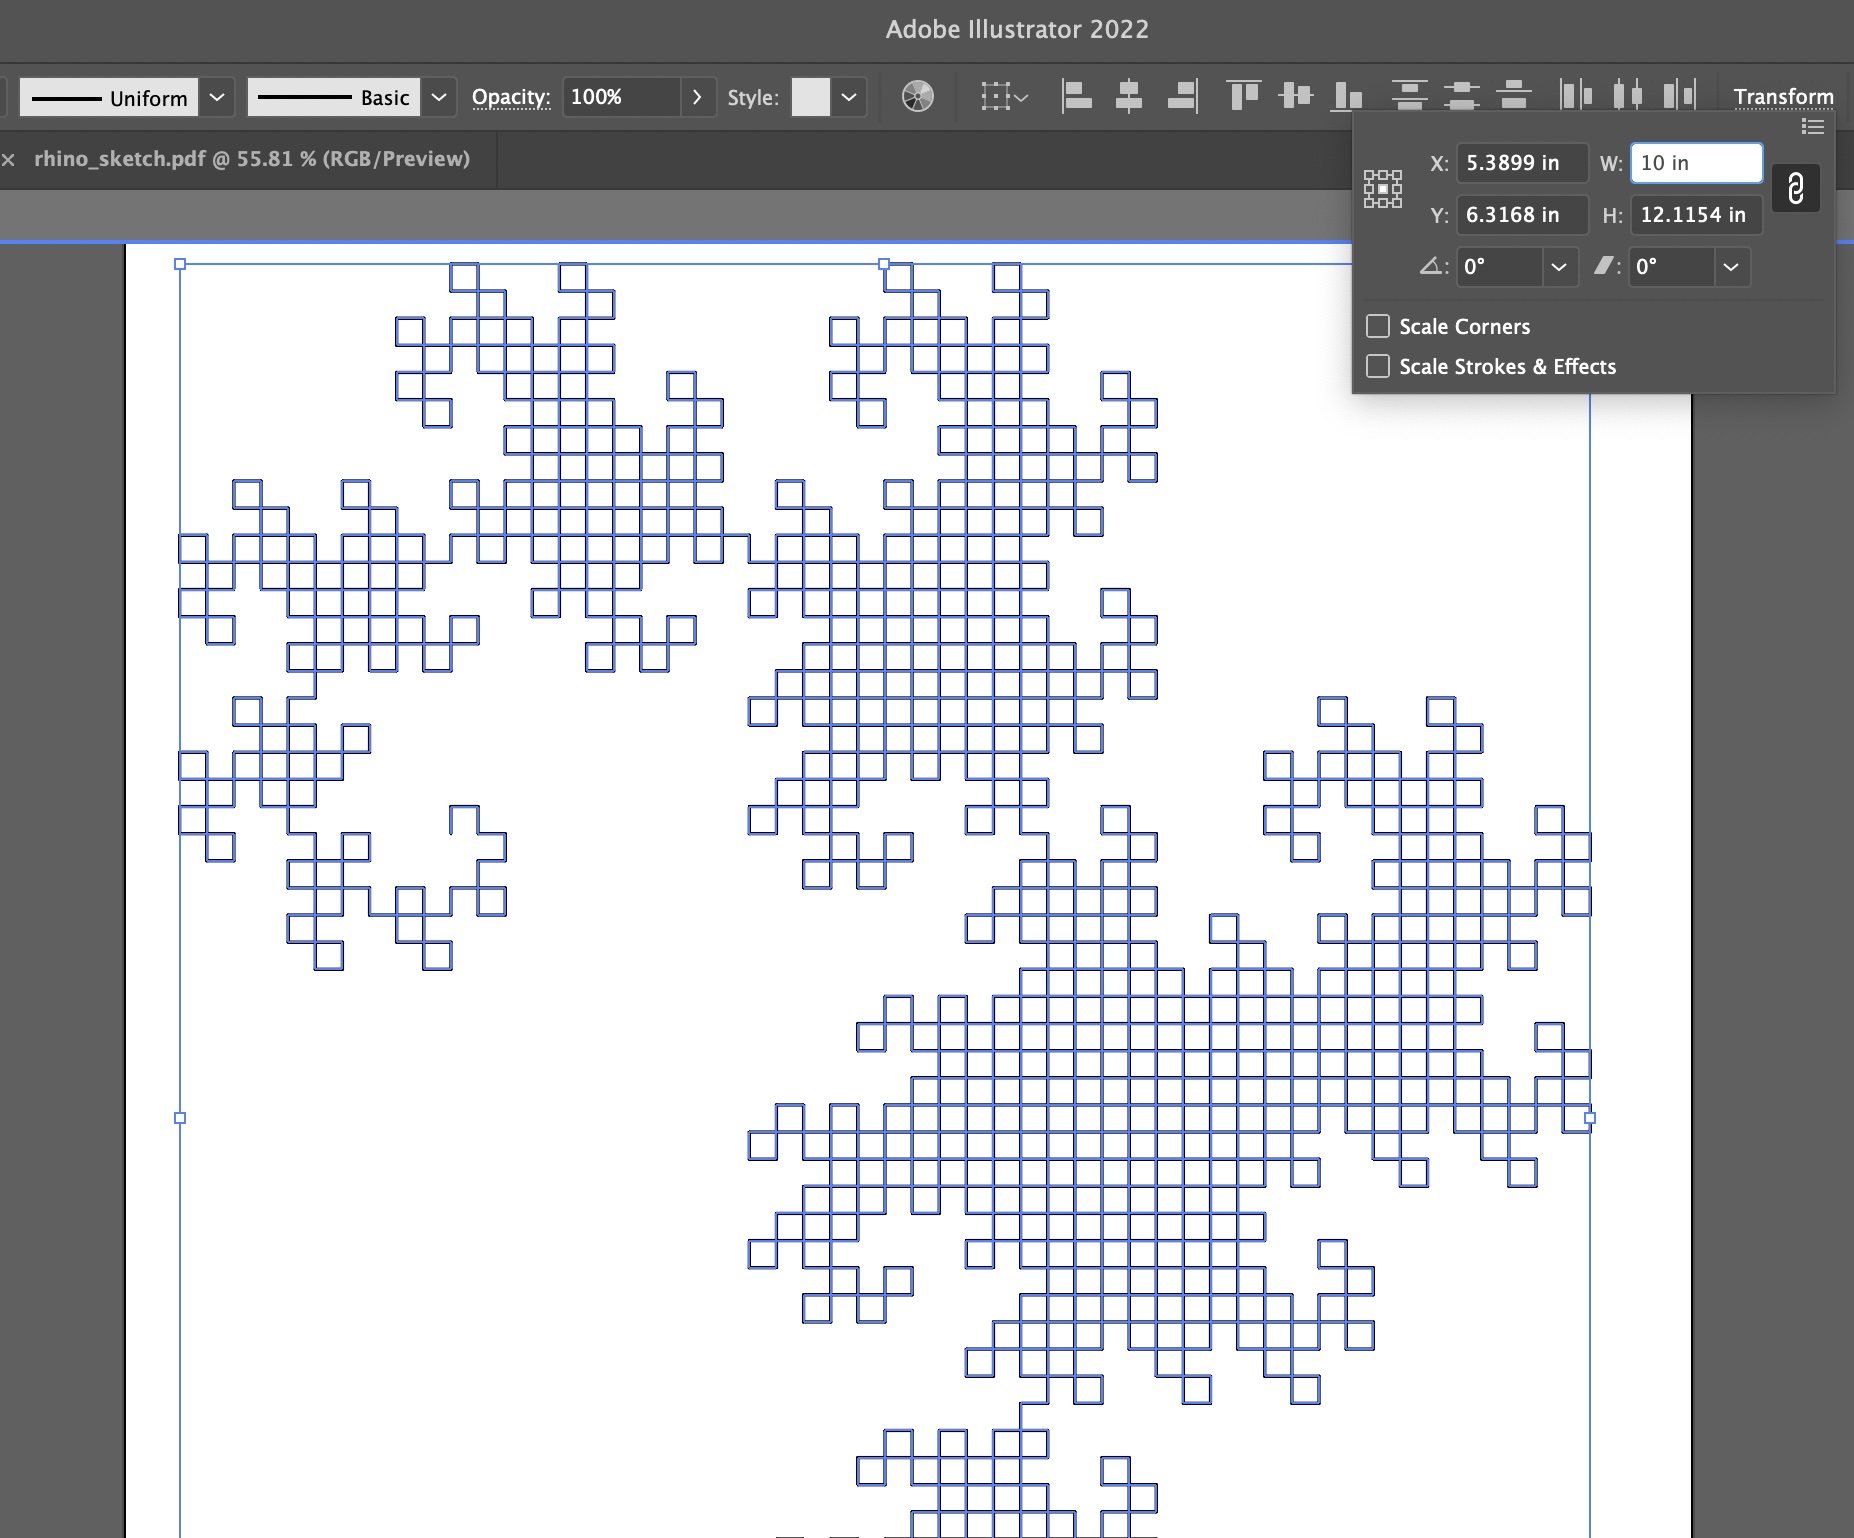
- Open the pdf file in Illustrator. My file is a dragon curve fractal.
- Set up the Illustrator document. Go to File–>Document Setup and select “Inches” or “Millimeters” for your unit so that you can adjust the actual size of your design. If necessary, click on the Edit Artboards link to change the size of your overall document to accommodate your design.
- Delete the background layer (Processing or Rhino window) from your design. Double click on your drawing to unlock the drawing group. Click on the rectangle surrounding your drawing and delete it. Don’t delete your drawing along with the rectangle.
- Scale your design to the size you want. Select all of the elements in your drawing. Click on the Transform link in the menu at the top of your screen. This will show you and allow you to change the dimensions of your drawing under W and H. In the image below, I have entered a width (W) of 10 inches.
- Simplify your path. When you generate a shape with the turtle library, it is made up of many small travel moves and therefore many small lines. If your design is intricate, particularly if it includes curves, it may have so many lines that you cannot successfully cut it on the laser cutter. Before proceeding, you should simplify your path. Under the Object menu, select Path–>Join. This will create a single path from the many small lines that were generated by the Turtle. Then, under the Object menu, select Path–>Simplify… In the small window that pops up, choose the smallest number of points that does not change the look of your drawing.
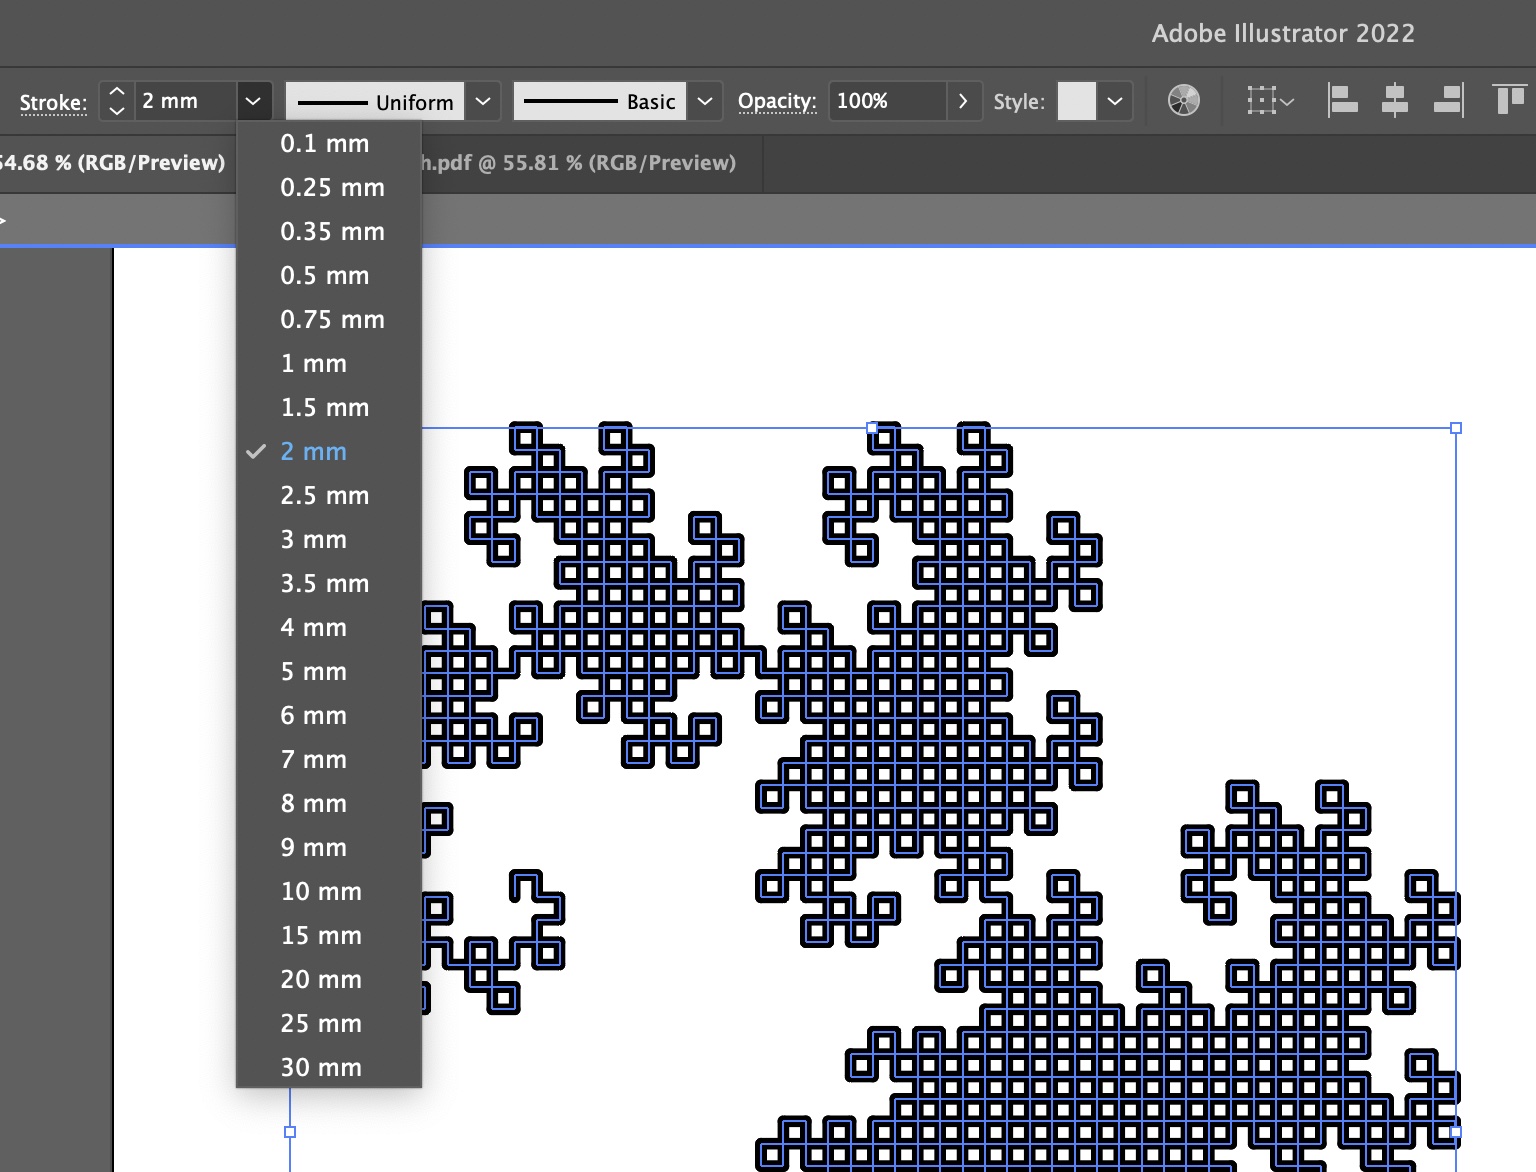
- Choose a stroke width of at least 2mm. Select all of the elements in your drawing and change the stroke width. This will turn each of the lines in your drawing into a path that will be part of your laser cut design. 2mm is the smallest detail that can be cut from most materials. For a more robust cut-out, choose a larger stroke width.
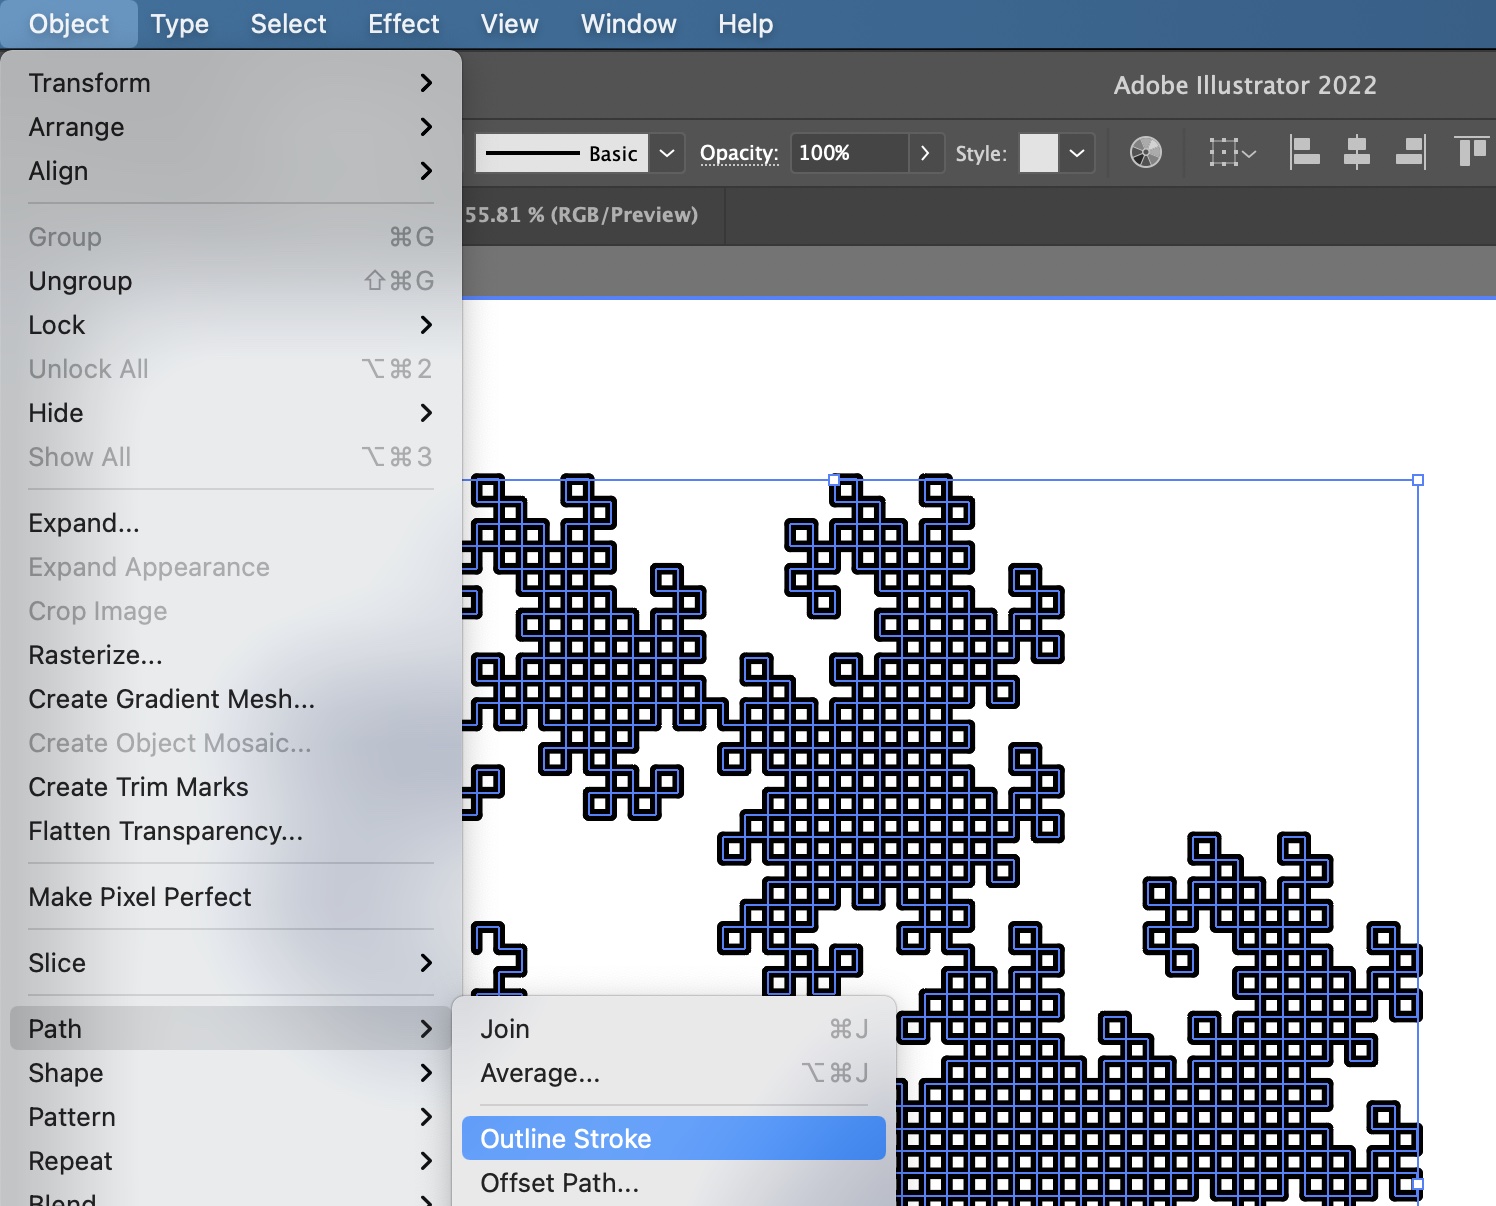
- Convert your path into solid shapes. Go to the Object menu and select Path–>Outline Stroke. This will convert the lines in your drawing into solid shapes.
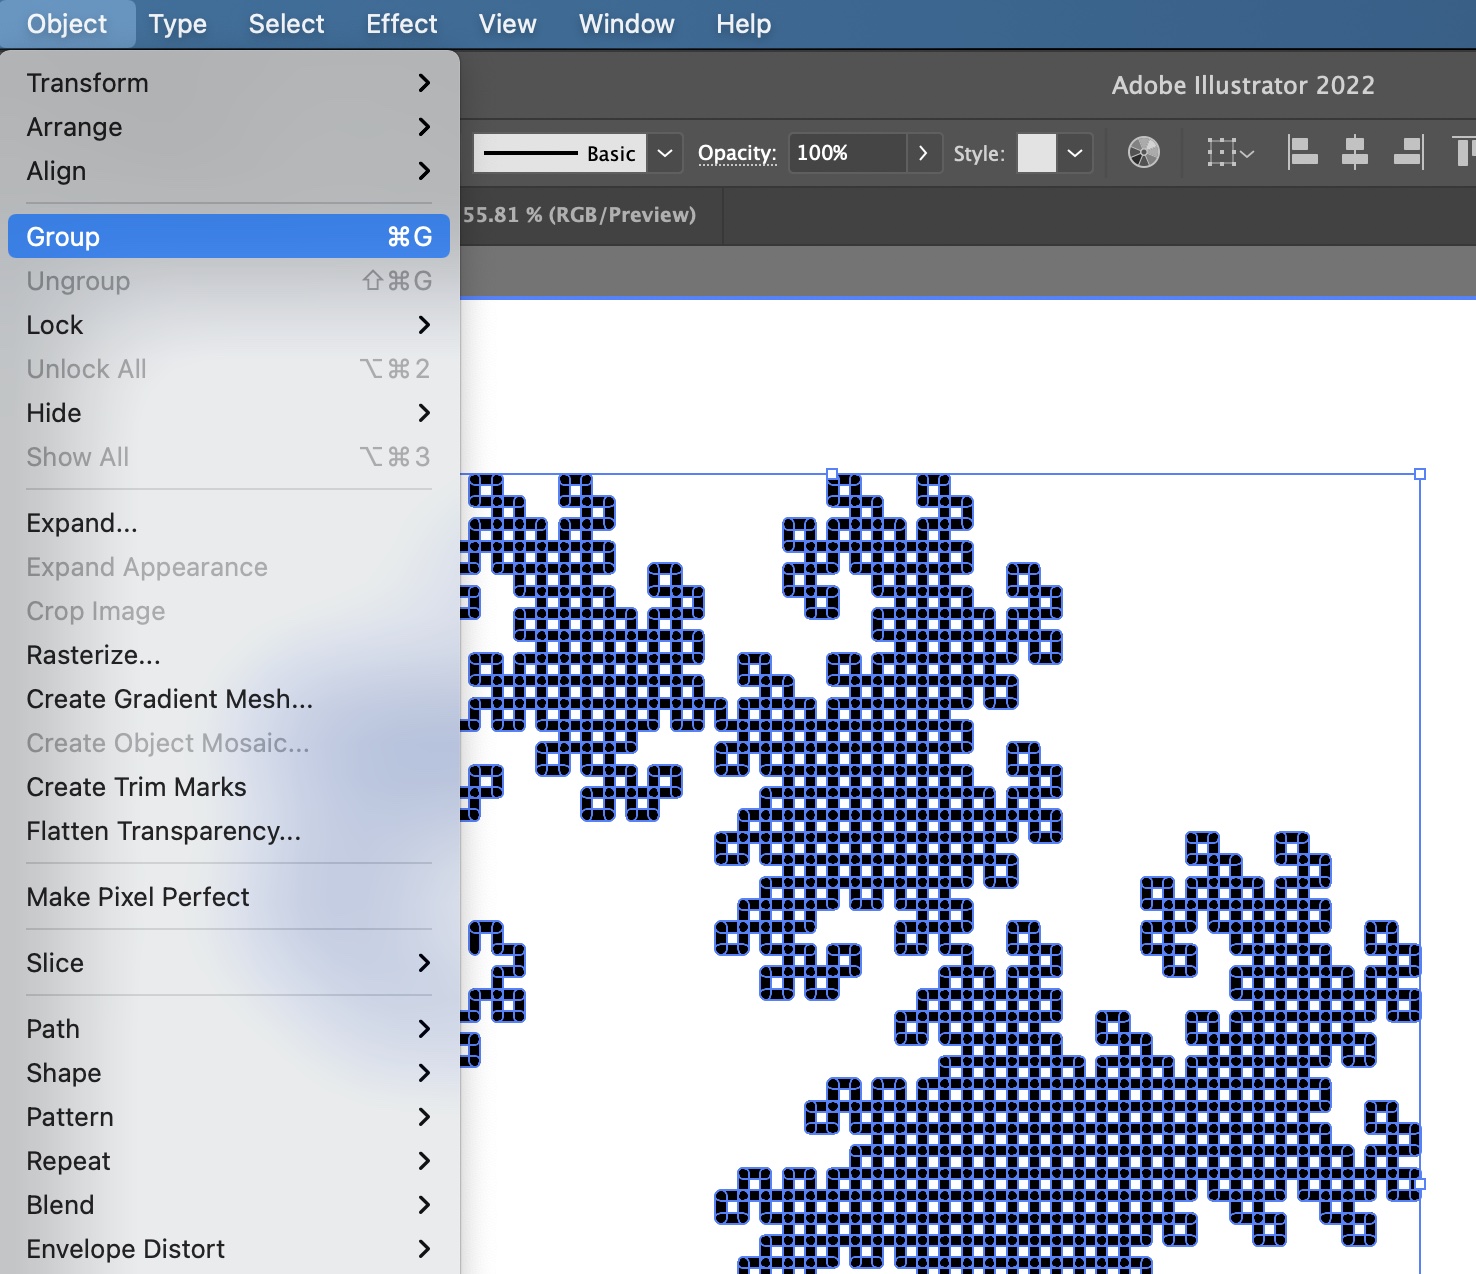
Go to the Object menu and select Expand. - Create one solid shape. Go to the Object menu and select Group to group all of the elements of your drawing. If they are already grouped, ungroup them first and then re-group them.
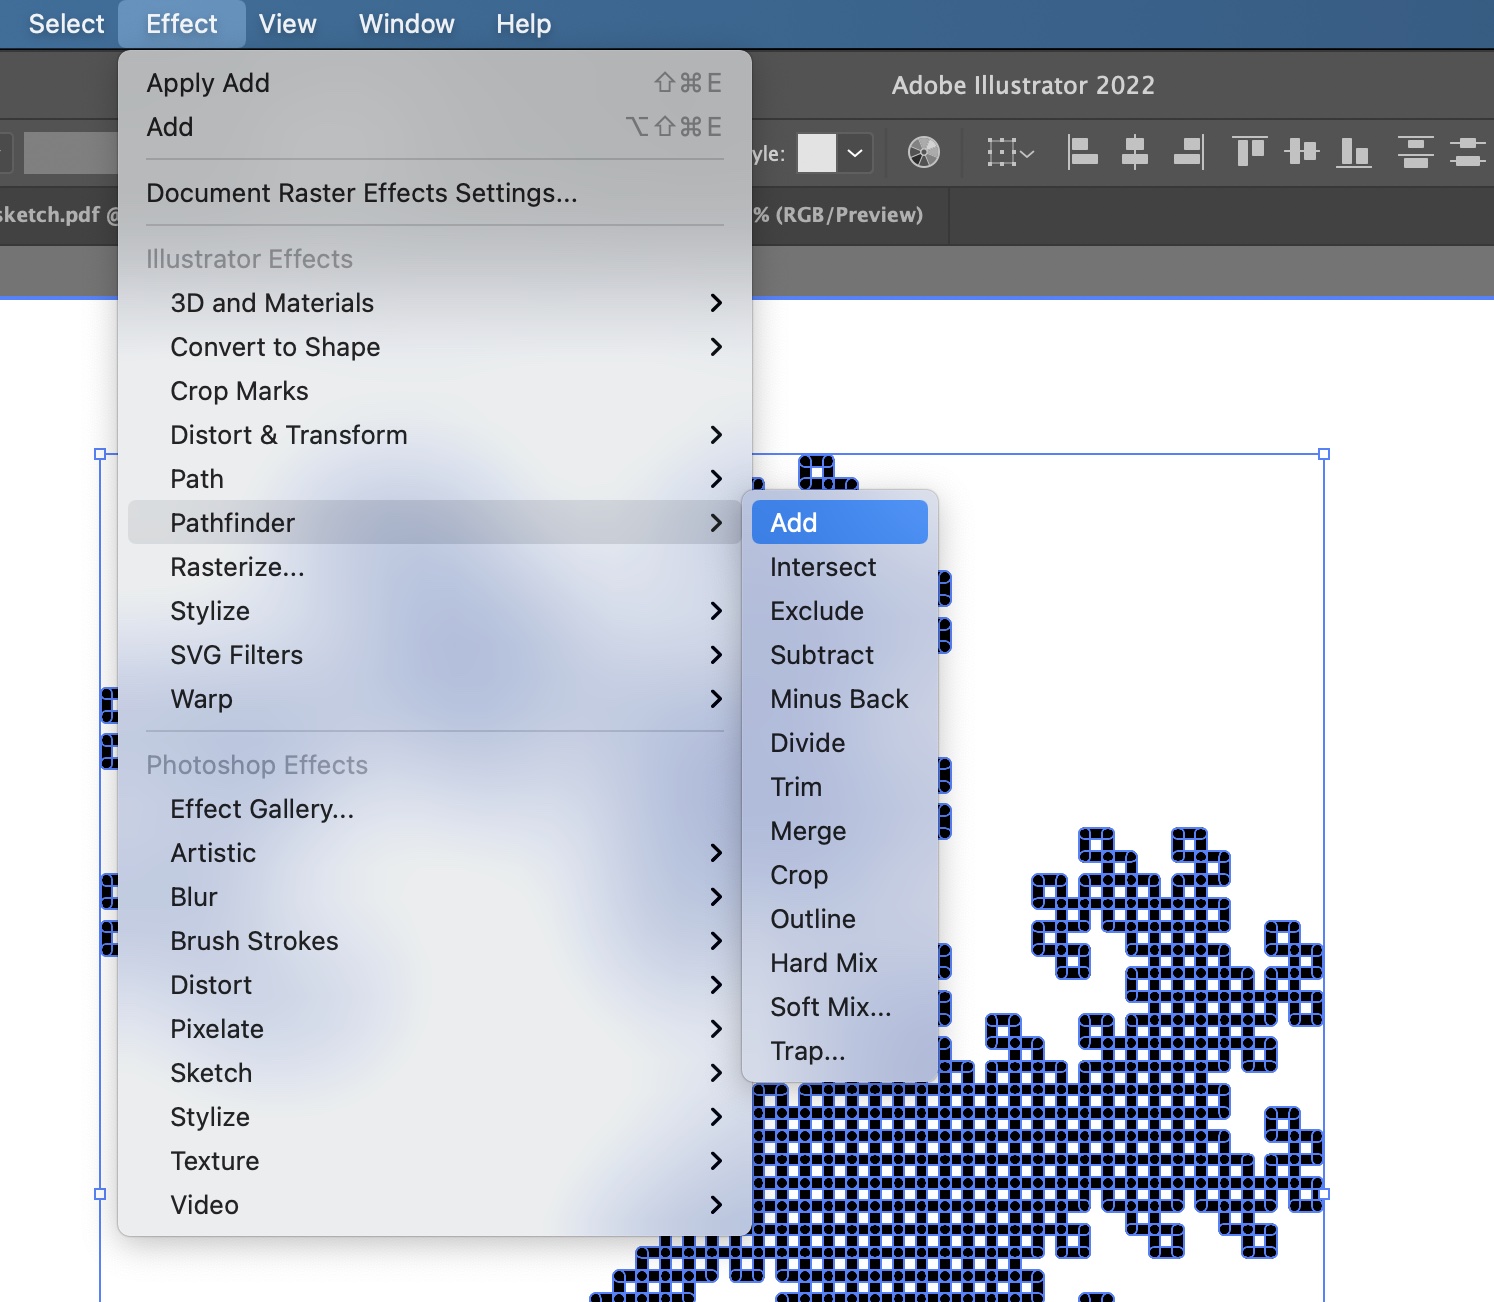
Select this group. Go to the the Effect menu and select Pathfinder–>Add. This will combine all of the shapes you created in the last step into a single solid shape
To finalize this operation, Go to the Effect menu and select Expand Appearance.
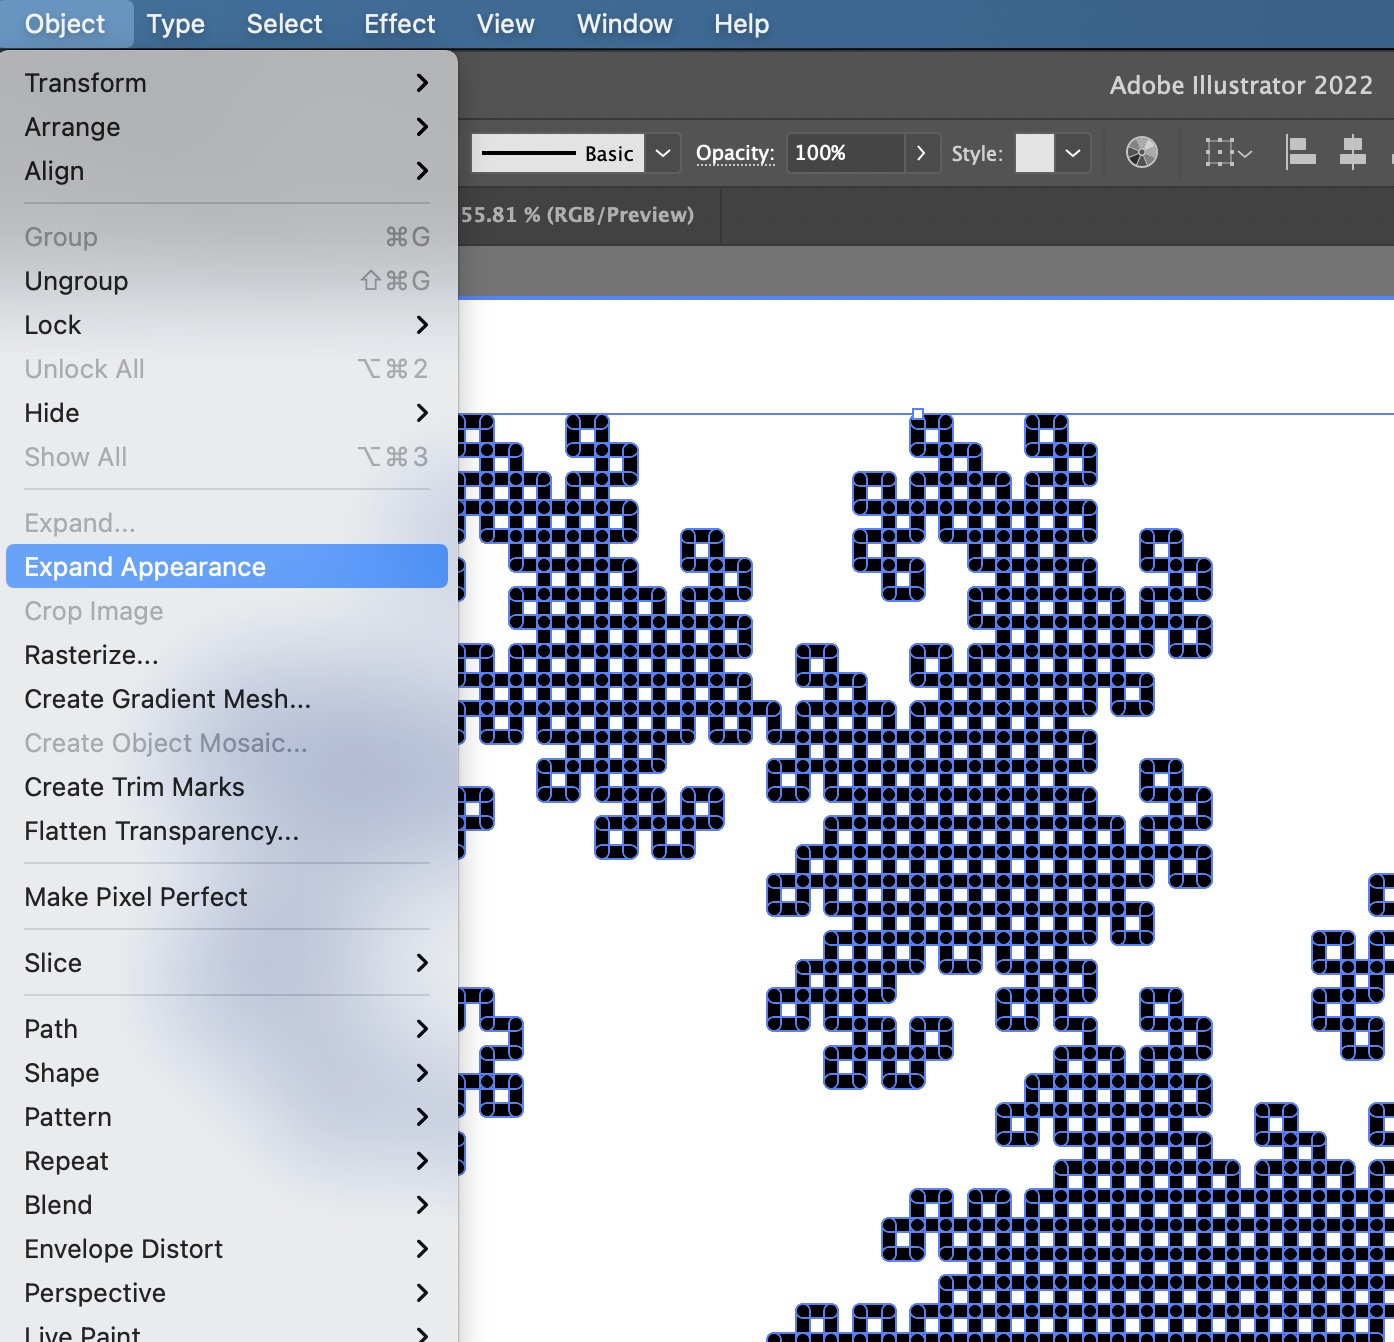
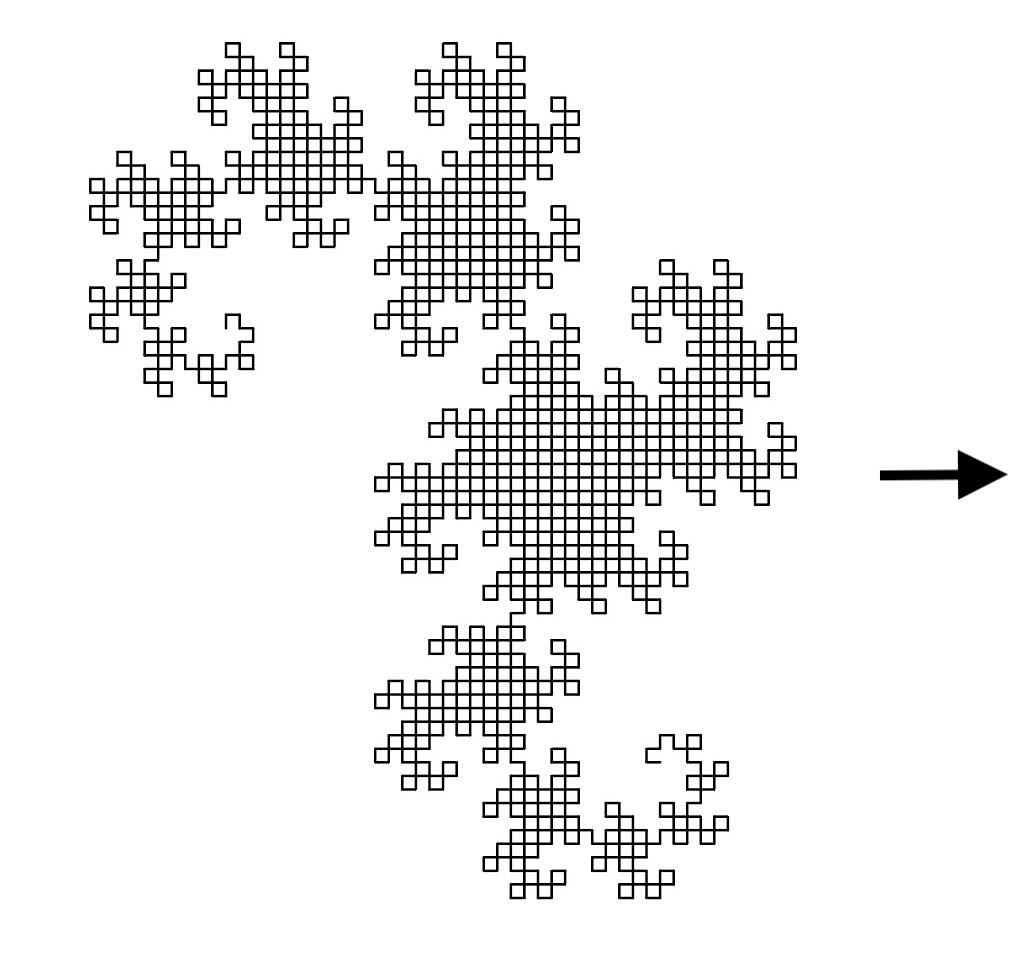
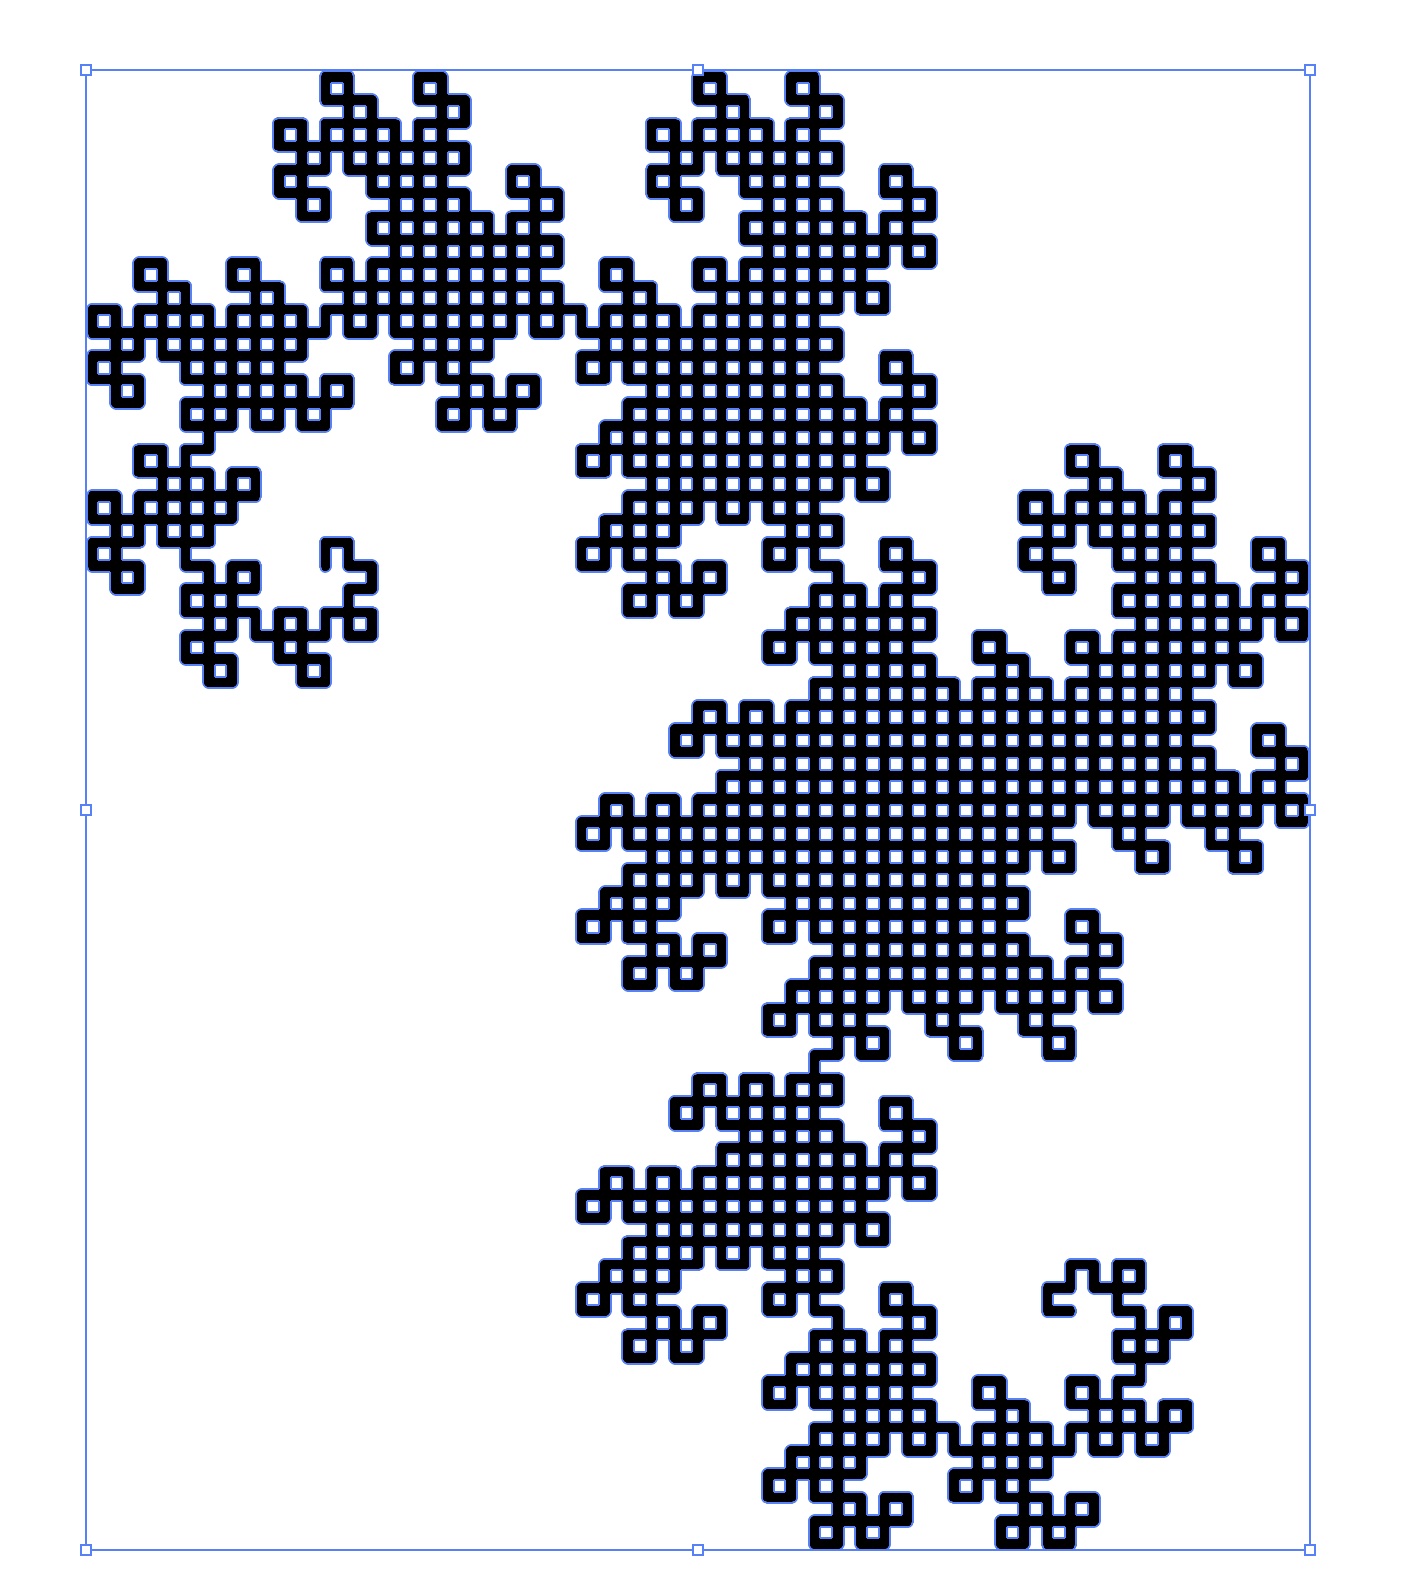
Note how the lines are now one continuous solid shape. See the drawing below.
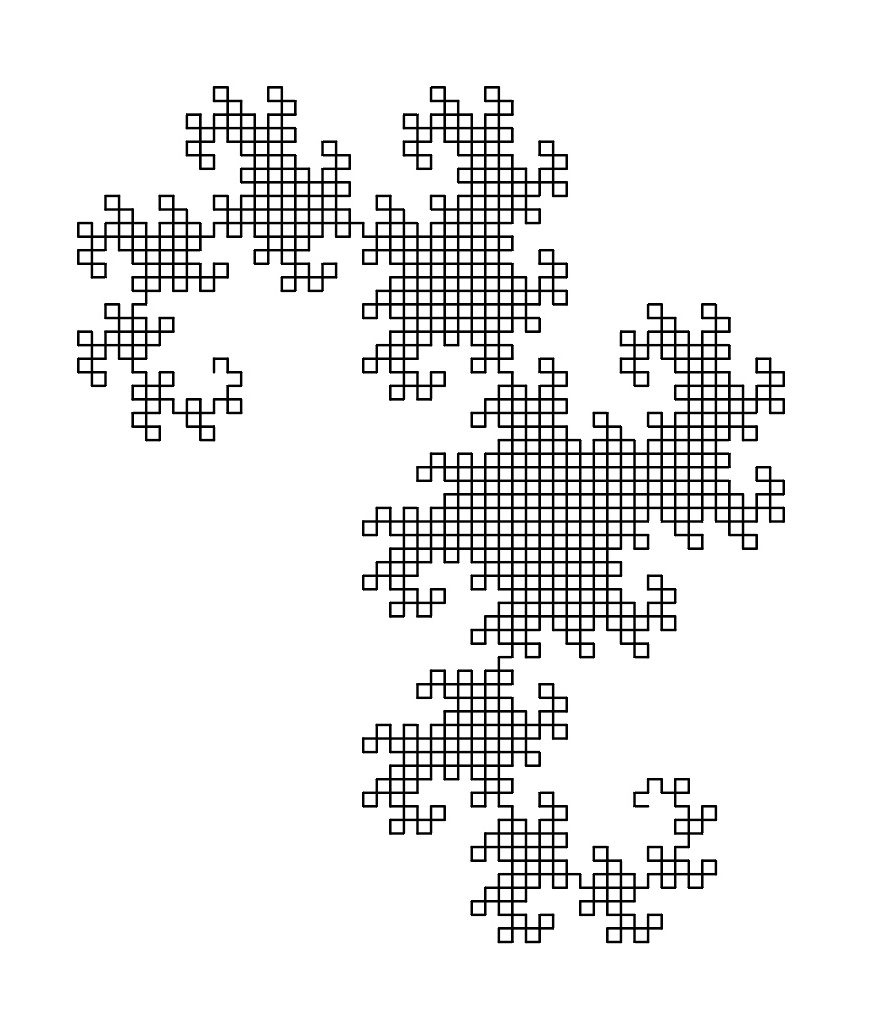
- Unfill and ungroup your shape. Select your shape. Click on the icon for the shape’s fill, (see the circled area in the image below), and choose the no-fill icon. The white square with a red line through it.
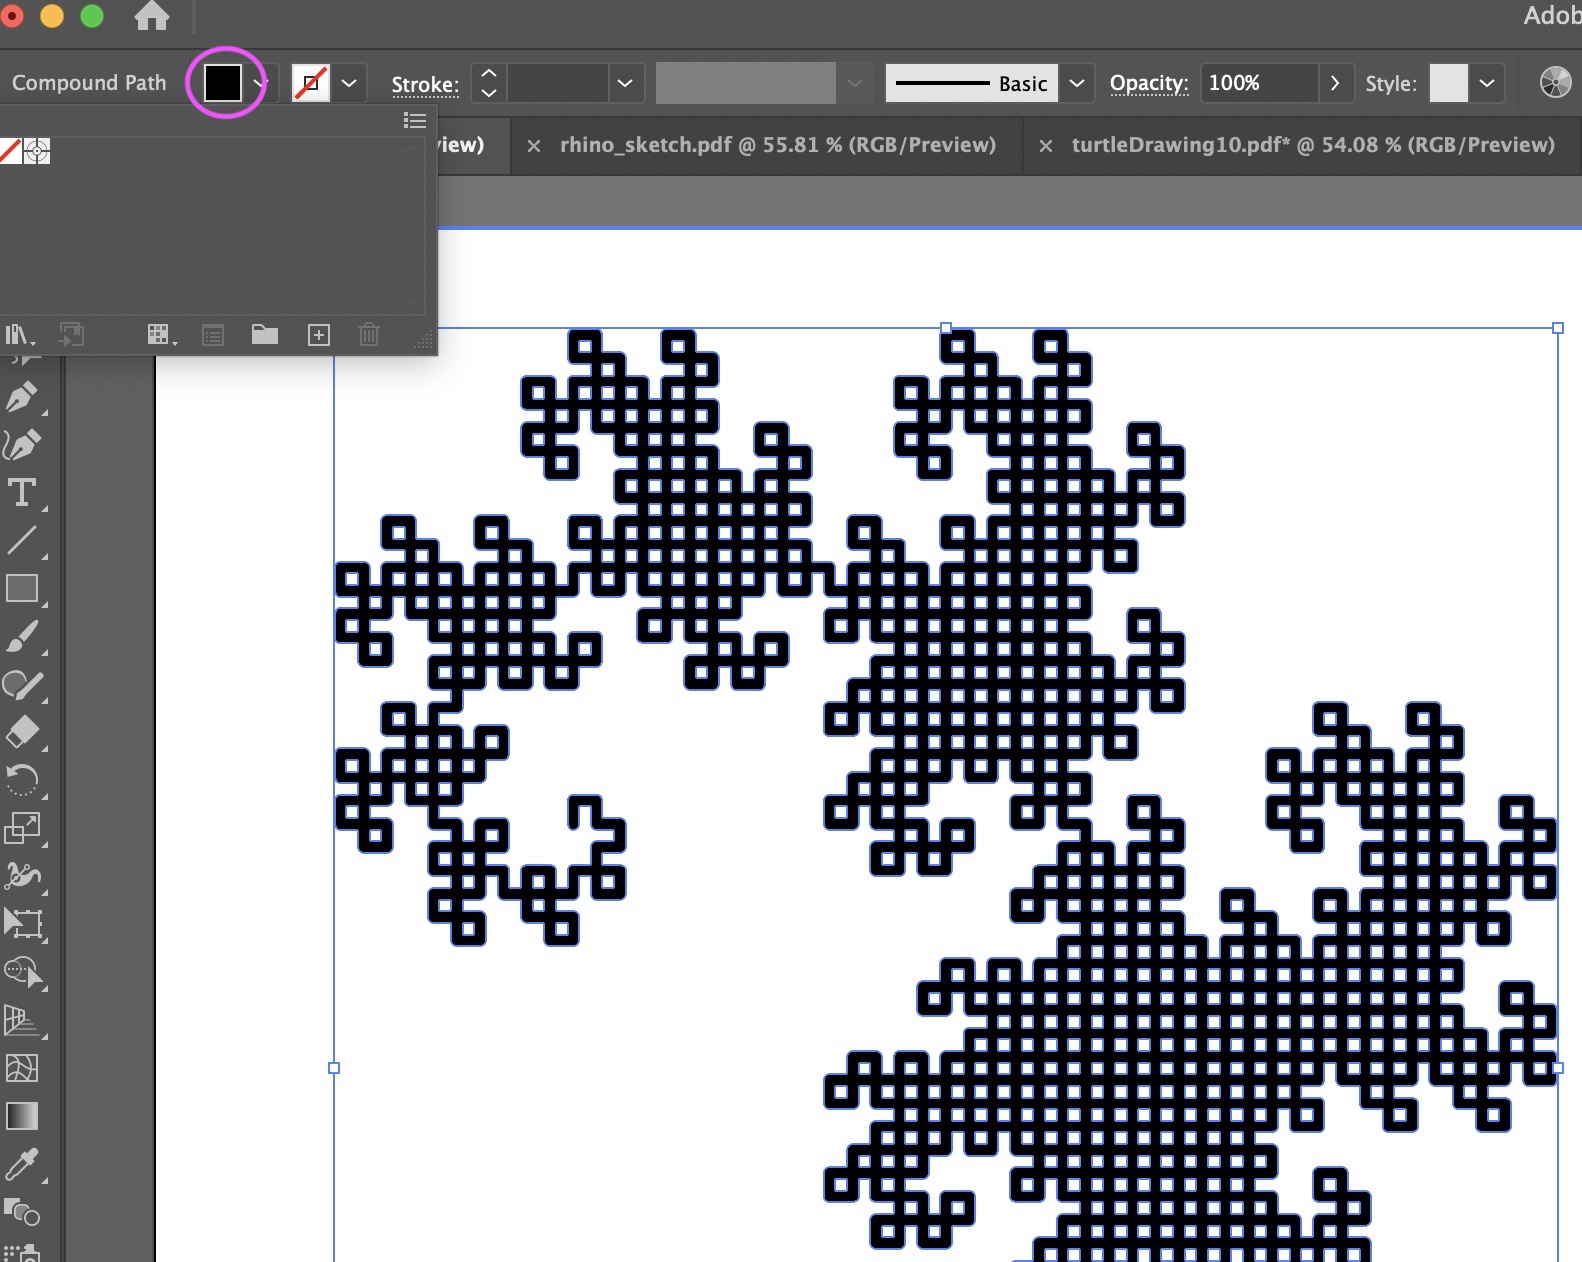
Select a new stroke for your shape by clicking on the stroke menu. Select .1mm.

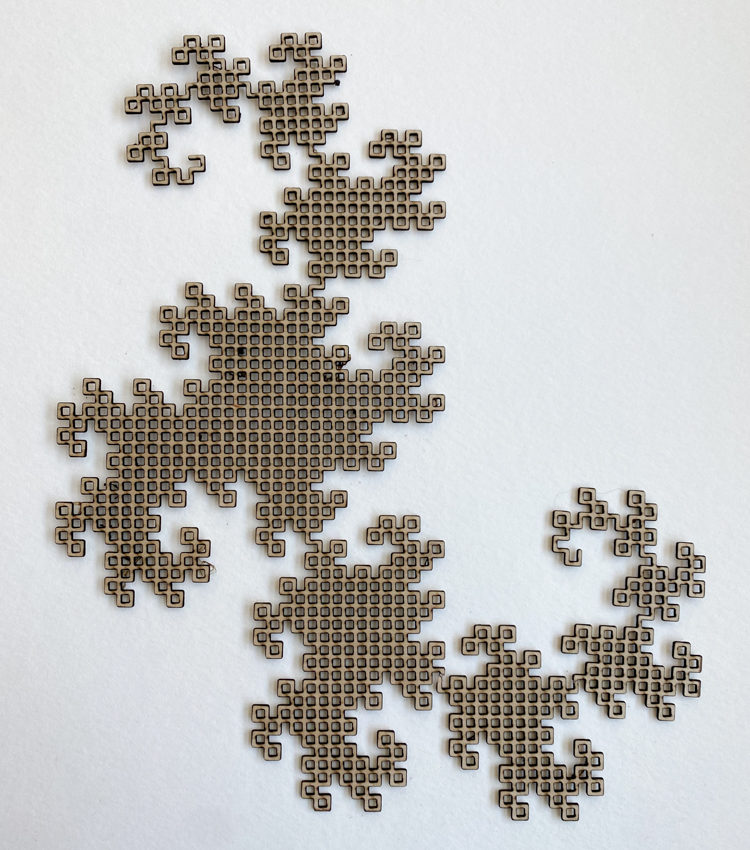
Go to the Object menu and select Ungroup. Your final design should look like the image below.

- Save your file as a .ai file. It is now ready to be laser-cut. See the lab’s laser cutter tutorials here for information on how to cut it.